Monday, January 20, 2025

Valentine's Decor: DIY Shabby Glam Heart


I had so much fun with this! I'm currently working on another project inspired by it. Have you seen the large foam hearts at Dollar Tree?  Get one! OK get SOME!

Supplies: 
  • Large Foam Heart (Dollar Tree)
  • Coffee Filters
  • White School Glue
  • Ribbon
  • Beads and Embellishments

These are the hearts. I got two so I still have another one to play with. I've seen some great ideas on Pinterest too.


I've done this technique before with tissue paper but if you're like me, you're the ongoing recipient of usable things other people buy but can't use, like these coffee filters my Mom accidentally bought the wrong kind but she "knew I'd do something with them". Confess...you're this person too!

Since I didn't know how this would turn out I saved my Mod Podge and figured I'd try Elmers. I love back to school season which is also great for Makers. I stock up on things like white glue and glue sticks which are always on sale then. 


I tore the coffee filters in pieces and applied glue to the heart, then applied the coffee filter and covered with more glue until fully covered. Once dry, I dry brushed with some gold and silver acrylic paint. I wanted light but visible coverage. 


Now the fun part! I love after Christmas deals too and found some great ribbon at Walmart for 75% off so of course I bought a few rolls. At 9 yards for $1.25 c'mon! Better than a Dollar Tree find. I wrapped the ribbon around the heart, securing with hot glue along the way and added some oversized rhinestones.

While I'm still picking up new stuff this year, I'm also very focused on using stuff that sits in my stash. You know how it goes! I found this heart shaped mini-frame by Recollections and had an aha moment. It was already white so I dry brushed it with some of the same silver I used on the heart (Craft Smart Bright Silver Multi Surface). I left it on the plastic backing it came with and just trimmed around the shape. I filled the heart with white seed beads then squeezed Diamond Glaze (a dimensional glue) to cover the beads creating a resin/epoxy look when dry. 


Diamond Glaze dries clear and I love it for small projects. I also added some heart and key charms from my stash and used the same ribbon to create a hanger for the heart.


To finish, I strung a few beads and another charm onto a head pin and pushed through the bottom point of the heart securing with a dot of glue.


Sunday, January 19, 2025

Home Decor: Repurposed Paint Pour Double Heart Canvas


I've had a paint-poured canvas I saved thinking I'd paint over it but then I found these very cool heart frames at The Dollar Tree and an idea came to me that works for Valentine's or all year round for two long-time married people! 

Also, DT has upped their game and I got some other great-looking finds you'll see soon!

Supplies:
  • Blank or Previously Painted Canvas 
  • Heart Frames (Dollar Tree)
  • Coordinated Paint (I used Craft Smart Radiant Gold)
  • Paint Brush
  • Hot Glue and Glue Gun

They were just my style as-is but what Maker can leave something as-is? I decided to go with just a little dry brushed gold. 


I went with Radiant Gold Craft Smart Multi-Surface paint and just dry brushed it over the beaded parts and sides of the frames. I also removed the hangers from the back so they'd lay flat against the canvas. 


Of course, once you start embellishing...I added these bright silver (the pic doesn't do them justice) self adhesive "rhinestone" stickers which I added to each of the knobs on the frame. Since I used gold on the frames to pick up the gold on the canvas, these worked well to pick up the silver. 


To finish, I used hot glue to attach the frames to the canvas! 

Thursday, January 16, 2025

BFF Open House


I'm not sure how it's Friday Eve again already! I've been running around every day this week between errands and appointments so I guess that's how. So many in my life are going through some things...sick parents, job change surprises, fire danger, snowstorms...been there and holding them and others facing things in my heart and thankful that things are quiet for me these days. 

This week I shared some Valentine's Printables and a great Creative Workshop taking place at the end of the month. 

Wishing everyone peace and let's take a look at some great ideas from last week's party!


Try It Like It Create It shared an easy Valentine's Decor idea with this Framed Button Heart


Studio 27 by Jennifer Adams shared how to tie Thrifted Frames together with paint and printables!


Winter is still very much upon us and this Embroidery Hoop Snowman from Creatively Beth adds just the right amount of fun to Winter Decor. 


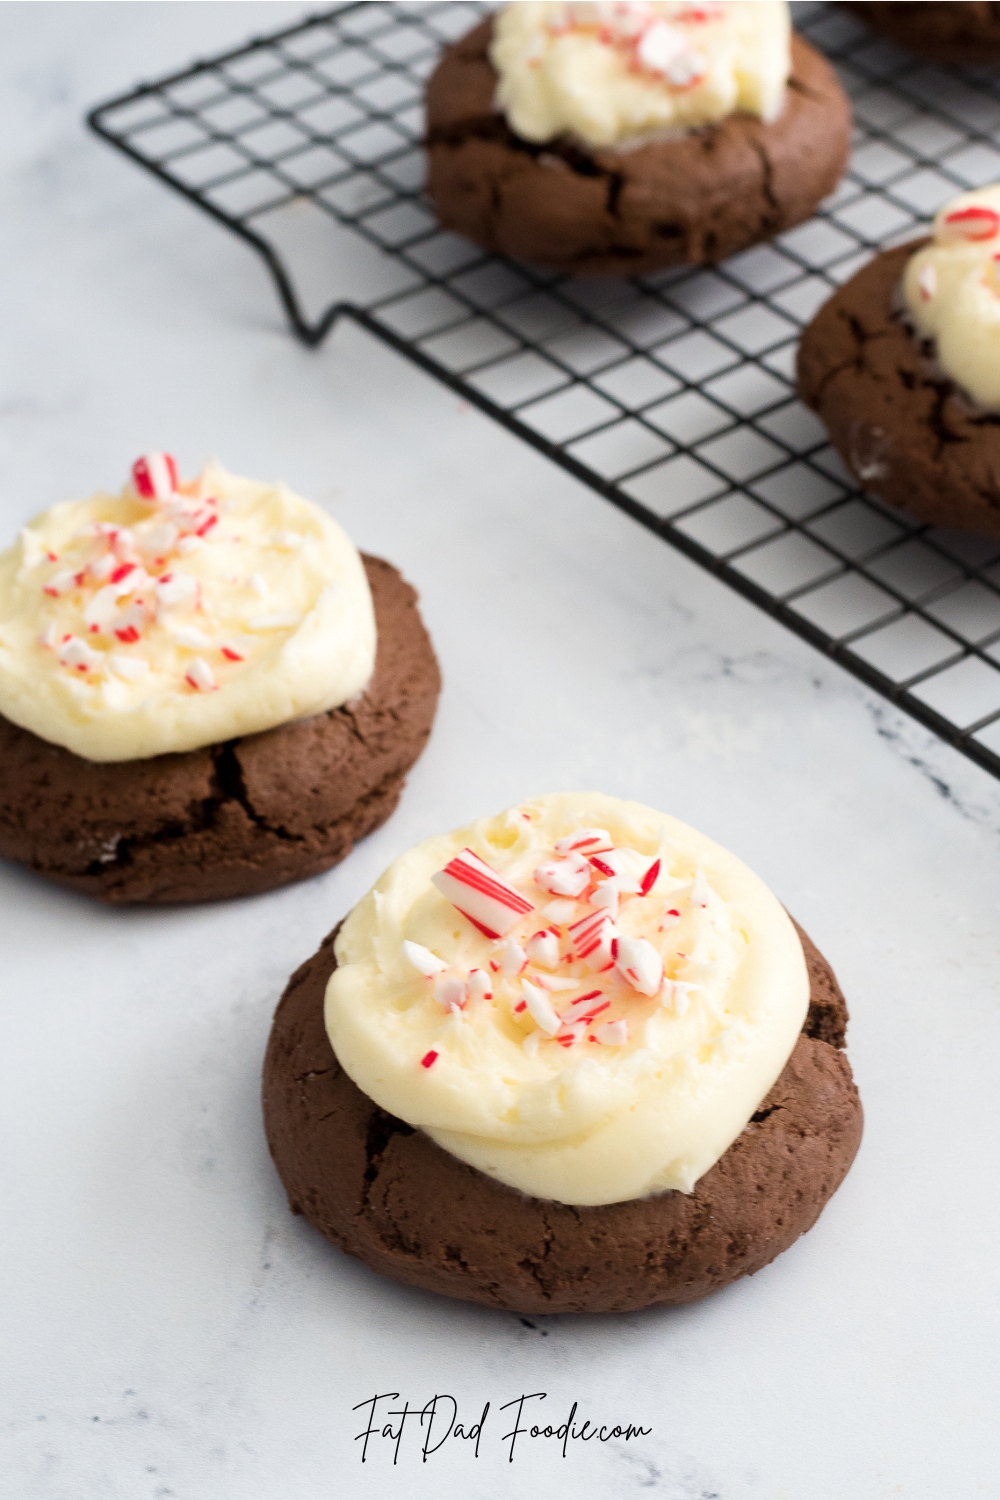
Finally, Crumbl Cookies are super popular but can be pricey! Enter Fat Dad Foodie with a great copycat recipe for Peppermint Bark Cookies

Thanks to everyone who linked up last week and as always, can't wait to see what you've been up to this week! 


You are invited to the Inlinkz link party!

Click here to enter

Wednesday, January 15, 2025

Upcoming Webinar: Home Decor Crafter's Summit


One of the things I want to do more of this year is share Webinars and Creative Workshops I've signed up for. Sharing is caring right? This one is going to feature 27 Home Decor Projects and registration is my favorite price: FREE! 

When: Jan 27-30

Where: Home Decor Crafter's Summit at We Can Make That

What: "It’s a 4-day online event featuring 35 workshops (plus live sessions!) that are perfect for crafters who love making home decor crafts. New videos are released daily from January 27-30, so you’ll have plenty of inspiration to kickstart your next project!"


Monday, January 13, 2025

Free Valentine's Printables


I laughed when I was at the grocery store the day after Christmas and they'd already moved on to Valentine's Day. It seems like we jump from one holiday to the next at light speed from Star Wars and it's no different in the crafting world. 

So naturally, since it's January, we're focused on Valentine's, right? I have a few projects I've worked on that I'm excited to share but for now, here are some free printables to get things started. 

Creative Fabrica and Procreate!


Would love to see if you use them! 

Sharing At: 


Thursday, January 9, 2025

BFF Open House


Greetings all. Sending out thoughts for Southern California as it battles with the current fires. For any Creative Peeps in the affected areas, I hope you and yours have gotten to safety. 

With all the scary things going on, I'm thankful to channel some energy into making things. It won't solve the world's problems I know, but can putting some pretty out in the world ever be a bad thing?

On that note, let's take a look at some of the pretty shared at last week's party. 


Steph Creates Things shared a perfect project for this time of year when we all try to get organized: A DIY Organizer using things from Dollar Tree that's both pretty and practical. 


Selep Imaging shared the stunning Fused Glass Christmas Trees they made after only learning this art in 2024! If you need inspiration to take a class, here you go. 


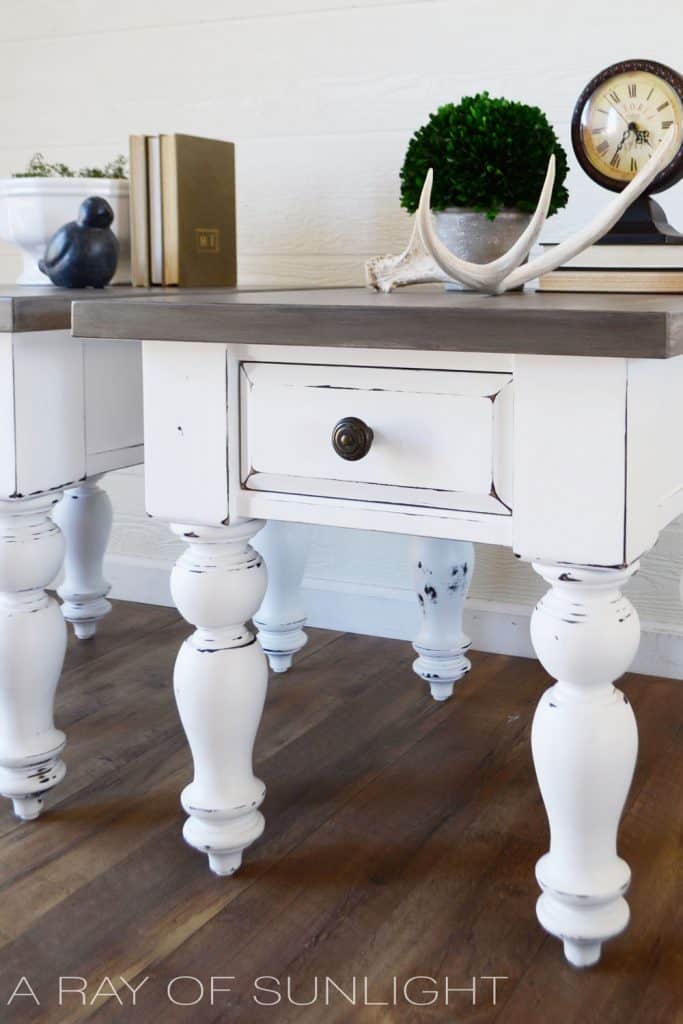
A Ray of Sunlight shared a fabulous furniture makeover: White Farmhouse Tables With Grey Tops. Gorgeous


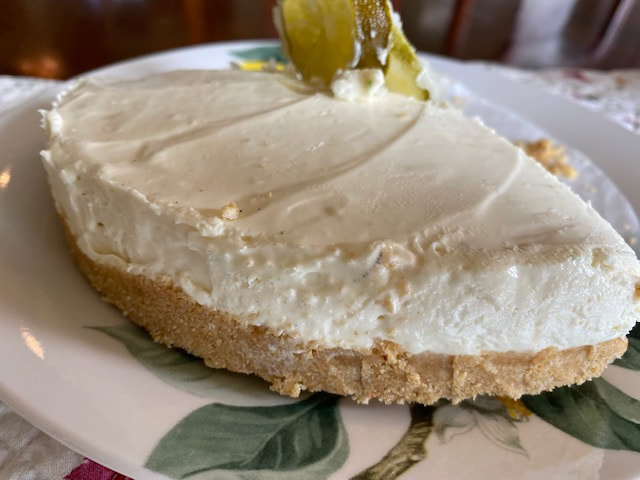
New Year. Same Chocoholic and these Triple Dark Chocolate Sweet Rolls are calling my name! From Cindy's Online Recipe Box.

Thanks to all who linked up and looking forward to what you have to share this week. Be well!


You are invited to the Inlinkz link party!

Click here to enter

Wednesday, January 8, 2025

Winter Decor: Layered Winter Shadowbox


Another Winter transitional decor project...this time a Layered Winter Shadowbox. 


Supplies:

  • Layered SVG (Creative Fabrica)
  • Winter Themed Papers
  • Shadowbox Frame
  • Adhesive Foam Dots

I found an image on Creative Fabrica which I downloaded and imported into Cricut Design Space. I sized it to fit my 8x8 shadow box frame and decided I didn't need all the layers so deleted a few using only four of the eight layers. 


I used foam dots on the underside of each layer and attached the three cut layers.


Once the layers were assembled, I grabbed some rhinestones and added them to the snowflakes then framed it.