Monday, January 31, 2022

Easy Decor : Gnome Garden


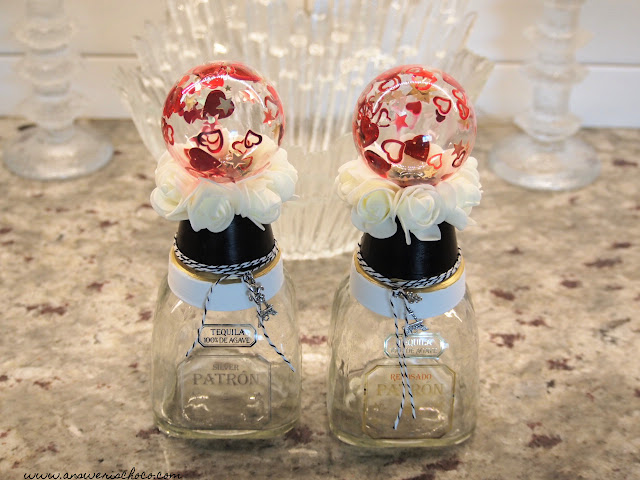
I have a quirky fun and easy project for you today that started with leftover corks from Tequila bottles and an inspiration from Sum of Their Stories, whose project I featured at last week's party! 

I know Faerie Gardens are super popular, but me being me, I wanted to do something a little different and when I found the gnome...
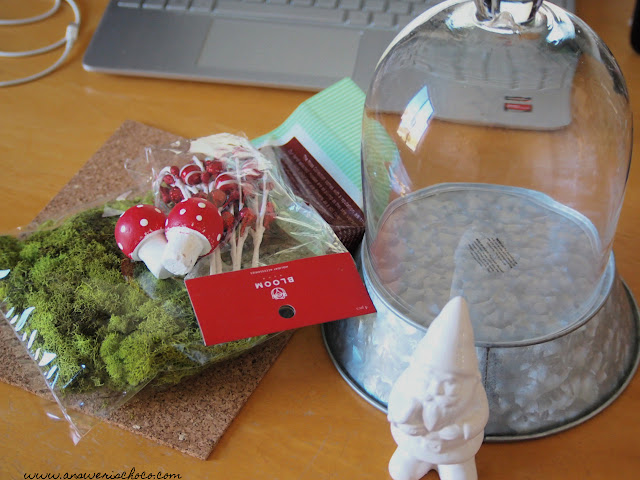

Supplies: 
  • Mushroom shaped corks ( eg champagne)
  • Acrylic Paints 
  • Gnome Figurine (Target)
  • Reindeer Moss (JoAnn)
  • Glass Cloche
  • Cork
  • Floral Pick


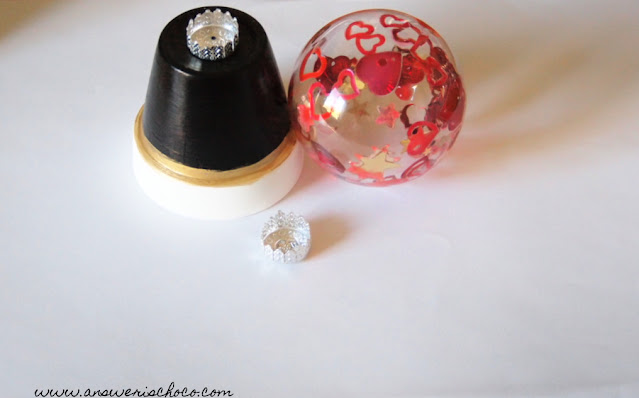
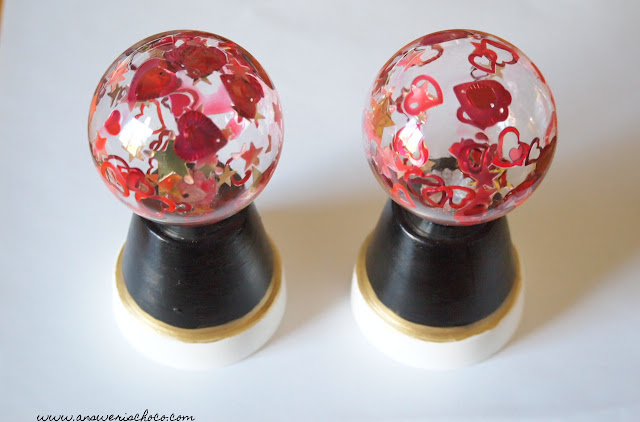
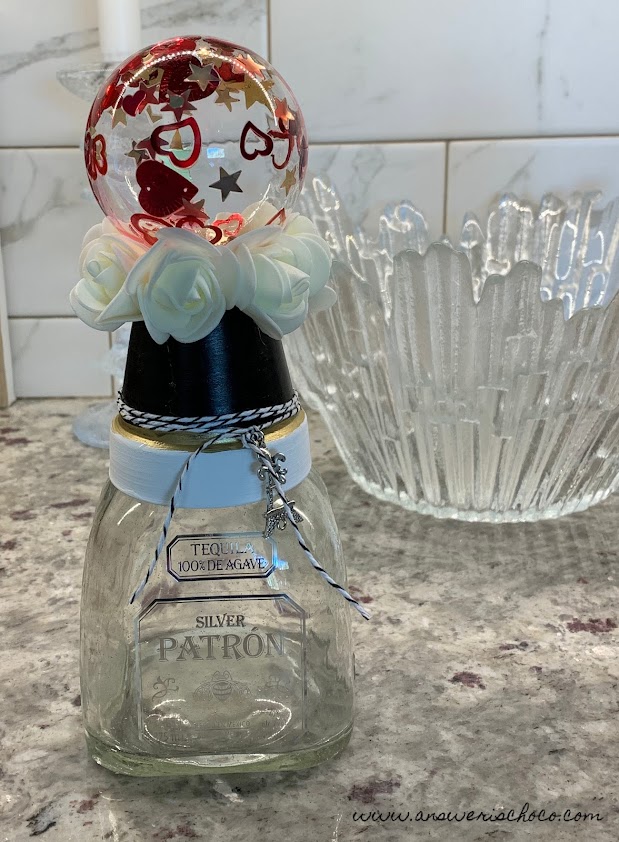
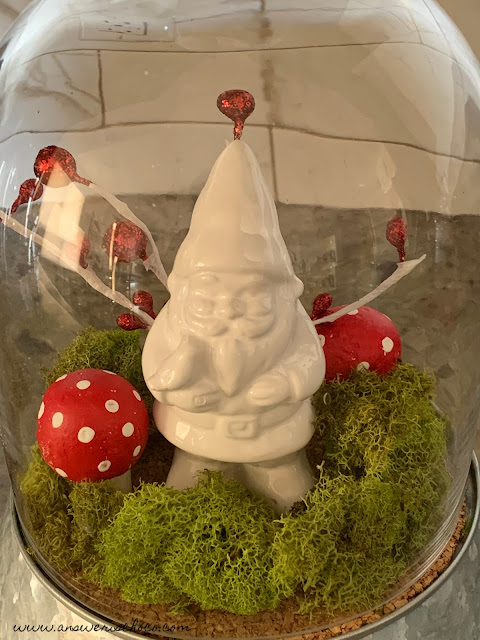
I had a couple of corks from the bottles I used for my Clay Pot Bottle Toppers. I thought they'd make perfect mushrooms...the kind that are cute to decorate with but not eat because they're poisonous! I also have a metal and glass cloche I found a couple of years ago after Christmas at Pottery Barn for 60% off and I use it seasonally for small vignettes. When I saw plain white gnome figurines at Target for $1, I hollered and it all came together in my head. 


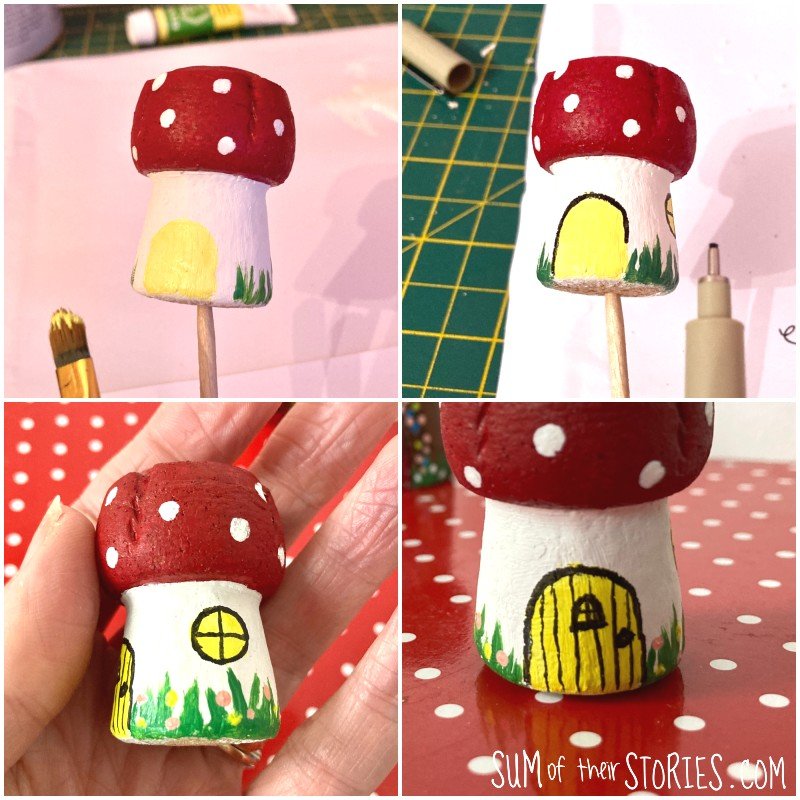
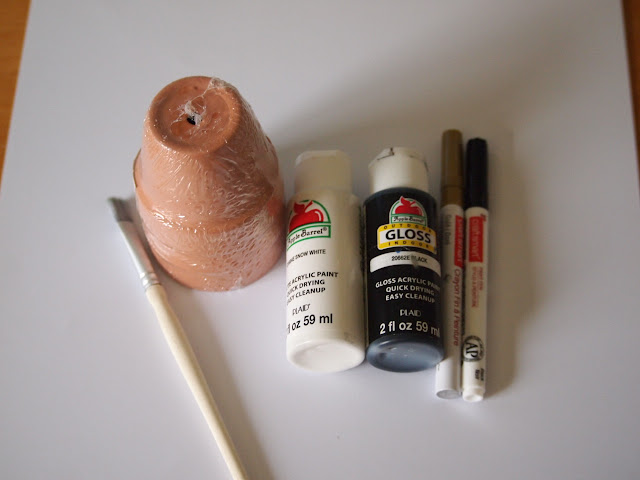
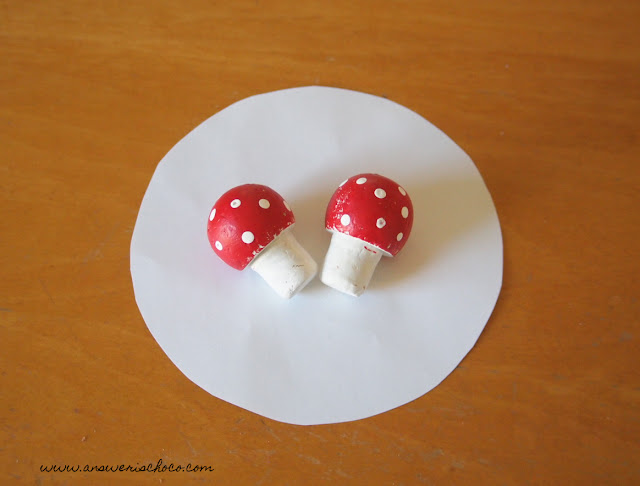
First thing was to make my "mushrooms"


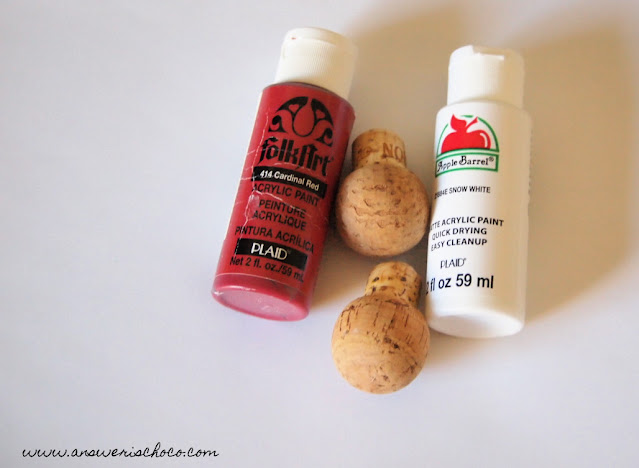
Grabbed my corks, some red and white paint and went to work first painting them all white then painting the caps red. I took a ball end tool (an embossing tool or the end of a paintbrush would also work) and dotted the caps with the white. 


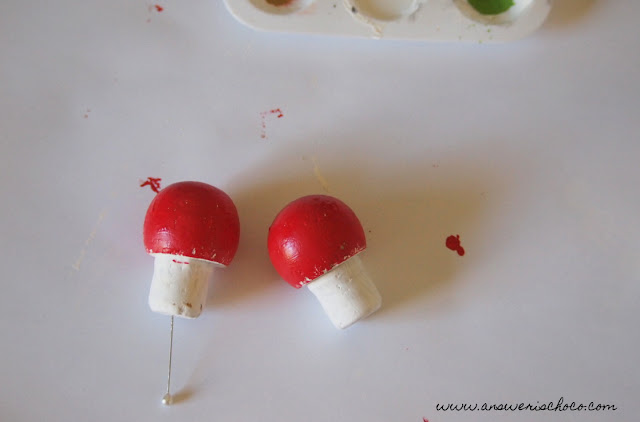
I only did one coat of the read leaving a little of the white to shine through because it looked more natural. 


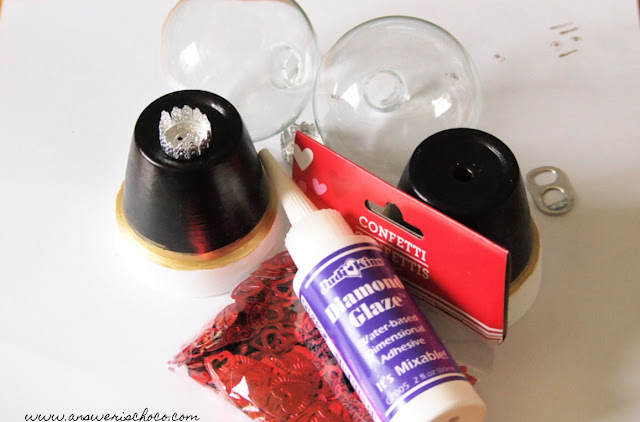
Since I wanted to be able to continue to re-use the cloche I grabbed a scrap piece of cork and cut to fit the bottom. I knew I was probably going to have to use a little hot glue so I wanted a removable base. 


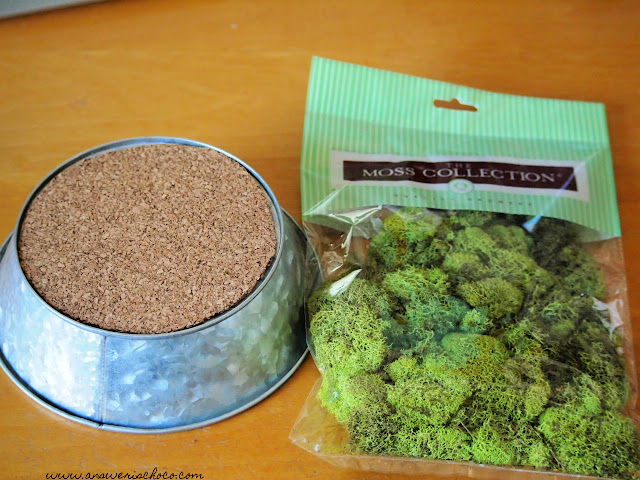
I picked up a package of Reindeer Moss at JoAnn (50% coupon so $2.99 / $5.99 regular price). I made a ring atop the cork (not glued, just laid it down) to figure out positioning. I did glue the mushrooms and the floral pick to the cork then placed the gnome and put the top back on. 


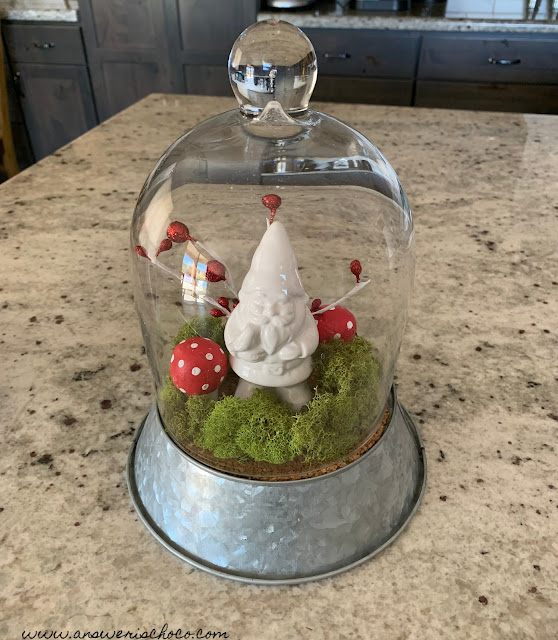
Total cost? $4 since I had most stuff already! There's no place like a home with a gnome right? 


Thursday, January 27, 2022

BFF Open House


Happy Friday Eve all! Welcome back to another party filled with wonderful ideas shared by all of you! Hope you've had a great week and those of you in cold temps are staying warm. We did the math the other day and it was 81 degrees warmer for us than it was for our son in Chicago! YIKES!!! 

Did a couple of fun Valentine's projects this week. Clay Pot Bottle Toppers and a Five Minute Wreath! And what a difference a year makes. After a 2021 filled with too many doctor's appointments, went for a hike up the mountain behind our house this week! 

Let's take a look at some of the fun things you all shared at last week's party!


Penny's Vintage Home shared another of her wonderful vignettes. So pretty and festive and perfect for Valentine's Day! 

Artsy VaVa shared a gorgeous Heart Art DIY that speaks to my vintagey shabby chic heart! 


Speaking of Vintage, you need to see the before for this after transformation shared by The House on Silverado. On my list for 2022? Dixie Belle Paint which was used here. 


Finally, Faerie Gardens are everywhere and Sum of Their Stories has a wonderful way to use corks to add to one! 

Thanks to everyone who linked up and can't wait to see what you share this week!


You are invited to the Inlinkz link party!

Click here to enter

Monday, January 24, 2022

Valentine's Decor: 5 Min Wreath


Want a fast and easy project to add a little Valentine's Decor to your home? All you need are a few supplies and a hot glue gun and you're good to go!

Supplies:
  • Small Wire Wreath Form (Dollar Tree)
  • Valentine's Ribbon (Dollar Tree)
  • Glittered Heart Picks (Dollar Tree)
  • Hot Glue Gun and Glue Sticks


I ended up not using the foam roses shown here. 

I removed the ribbon from the spool to make it easier to wrap the wreath form. Bend a small length of the ribbon over the wreath form and glue down. Once secure, wrap the entire wreath form, glue when wreath is fully covered, and trim. Tie a small length of remaining ribbon in a square knot as shown. 


Put a dab of hot glue on the back of one of the heart picks and glue to covered wreath. Trim the stem. Continue positioning, gluing, and triming the remaining heart picks. Use remaining ribbon to tie another square knot and trim ends. 


Easy Peasy and Done! 


The black white and red on the ribbon went well with my Clay Pot Bottle Toppers so it's sitting on our bar for now. May move it. May not! 

Sharing At: 


Saturday, January 22, 2022

Valentine's Decor: Unplanned Clay Pot Bottle Toppers


NOTE: This week's link party continues here

Some of my favorite projects are ones I didn't plan. I mean I had a conceptual idea for these but I started out thinking I was going to make them into Gumball Machines! Then I decided I didn't want to but didn't know quite what I was doing with them. Even when I finished, I didn't plan to put them on bottles. I thought I'd put them atop those glass candle sticks you can get at Dollar Tree and then realized when I went to get them from my craft closet, I only had one. And that's when I saw the empty tequila bottles I'd saved because I liked the shape! Welcome to how my brain works. Still here? 

Supplies: 
  • Small Clay Pots (Dollar Tree)
  • Foam Roses (Dollar Tree)
  • Valentine's and Star Confetti (On Hand)
  • Acrylic Paints (On Hand)
  • Glass Ornaments (On Hand)
  • Clear Dimensional Glue (On Hand)
  • Paint Pen (On Hand)
  • Baker's Twine (On Hand)
  • Charms (On Hand)
  • Bottles (On Hand)


First step was to clean residue from the clay pots. I just use baby wipes from the Dollar Tree for this. Then I painted the rim of the pot white, the base black, and went around the rim with a gold paint pen. 


I grabbed clear acrylic glass ornaments from my after Christmas sale stash, cleaned the outsides with glass cleaner, and removed the hanger. 


I grabbed some Diamond Glaze which is magical stuff that you can use as glue or for mixed media projects. I poured about a tablespoon into the ornaments then discovered some of the confetti was too big to fit through the opening but was able to push them through by folding them. They sprung back flat once they were inside the ornaments and the smaller confetti fit just fine. Swirl the ornaments to distribute the confetti. Used the handle of a small paintbrush to move some of the larger pieces. I let the ornaments dry overnight to ensure they were good and dry. 


Using hot glue, I glued the ornament cap upside down as shown. It now functions as a base for the ornament which I also used hot glue to secure. 


I found these foam roses at Dollar Tree so I pulled those out and then hot glued the around the bottom of the ornament. 


To finish, I wrapped some black and white baker's twine over  where I'd gone around with the gold paint pen, securing in place with a couple dots of hot glue. Then I finished with some charms from my stash. 


A little ironic that I used French themed charms on Tequila bottles but...


The best part? The clay pots sit perfectly atop the bottles so I didn't even glue them together meaning I can make more of these clay pot toppers for a different season and use the same bottles! Or, next time I'm at Dollar Tree I can remember to pick up another glass candlestick! 


Sharing At


Thursday, January 20, 2022

BFF Open House


Happy Friday Eve all! How are we already past the middle of January? Time is a trickster. One minute it seems like something that happened 10 years ago you think of as five. The next, the present flies by in a rush. I stay with the Dori mantra from "Finding Nemo": "Just keep swimming..."

Had fun making decorations for what has become my year round celebration tree which I shared in this post: Valentine's Decor: The Year Round Tree.  I was also excited to be featured in one of Hometalk's newsletters this week with this post: Valentine's Lanterns. If you're not a member of Hometalk (or their sister sites Upstyle Daily and Foodtalk) you should be! Lots of inspiration and even better, very informative and helpful support for bloggers! 

Lots of wonderful projects shared at last week's party as always, so let's take a look at a few!


Junk Journal shared this great Goodwill find and transformation into a wonderful sign! 


With Valentine's approaching, whip up a bunch of these GORGEOUS hearts shared by Crafts A La Mode. Did I mention they hold a little treat? 

Whether you're looking for an alternative to candy or just trying to be more organized, these Magnetic Sticky Note Holders from Keeping It Real are easy to make! 


Finally, if you need a decadent dessert idea for Valentine's Day (or anytime) you have to check out these Dark Chocolate Butterfinger Brownies with Butterfinger Frosting from Cindy's Online Recipe Box

Thank you to everyone who linked up and let's see what you've been up to this week!


You are invited to the Inlinkz link party!

Click here to enter
>

Tuesday, January 18, 2022

Valentine's Decor: The Year Round Tree


Last year, I told Mr. Chocolate I'd ordered a "Halloween Tree" which prompted a sideways look. He figured I'd ordered a black Christmas tree (which I debated and still love for a Halloween tree) but some part of me must have known the future because I decided to go with a lighted cherry tree. At the time, it was intended to just be a Halloween tree and then once I had it up and decorated, guess who didn't want it to come down when Halloween was over? So it then became a Fall tree I decorated with layered paper leaves and silk Fall flowers. It went away for Christmas when the Christmas tree came out and when we were taking it down, guess who asked if the tree he'd given me a look about was coming back? I debated about doing generic Winter but then I knew I was going to want to do something for Valentine's day so I skipped ahead and made layered heart ornaments and decorated some clear acrylic ornaments for it. 

Supplies: 
  • Cardstock
  • Foam Tape and Foam Dots
  • SVG file
  • Digital Cutting Machine
  • Acrylic Ornaments
  • Adhesive Foil

The image I used was from Creative Fabrica (3d-layered-heart-21). 

I wanted to go with a non-traditional color palette and I decided on black white and gold so I grabbed those papers out of my stash. 


I imported the file into my Cricut Design Space software, sized and then cut each layer, repeating the color pattern: black white gold


You can see that each layer becomes more delicate bottom to top. I used foam tape on the less detailed layers, then switched to foam dots as they became more detailed. 


Black base layer then white layer.


Then gold layer and repeat with the remaining three layers. 


I'm so entranced by these layered cut files! I love how you can peek through them and the depth they create! Once I assembled all of the hearts ( I did 8 ) I added coordinating black and white ribbon with hot glue so I could hang them on my tree. 


I love the lights against the layers, especially at night. I also had some clear acrylic ornaments left over from Christmas projects and decided they'd be perfect with this version "the tree". 


I had some bright silver adhesive foil in my stash and used an image from Cricut Design Space for these. 


I did 9 of these and the foil is so easy to work with I didn't even bother with transfer tape and just removed the hearts from the carrier backing and placed on the ornaments. 


I saved the parts left behind because look at the cool pattern you can still play with! To finish these, I added some black and white twine. 


Sharing At: