Thursday, December 21, 2023

BFF Open House


Crunch time! And I'm not talking about candy canes. Three to four days depending on if you celebrate Christmas Eve or Christmas Day. Are you ready? I have a few small things to pick up and then, baking, but otherwise, I'm as ready as I'm getting!

I also think I'm going to follow the very smart lead of my friends Kathleen and Cecelia who host the weekly Vintage Charm Party at Our Hopeful Home and leave this party up through the end of the year!

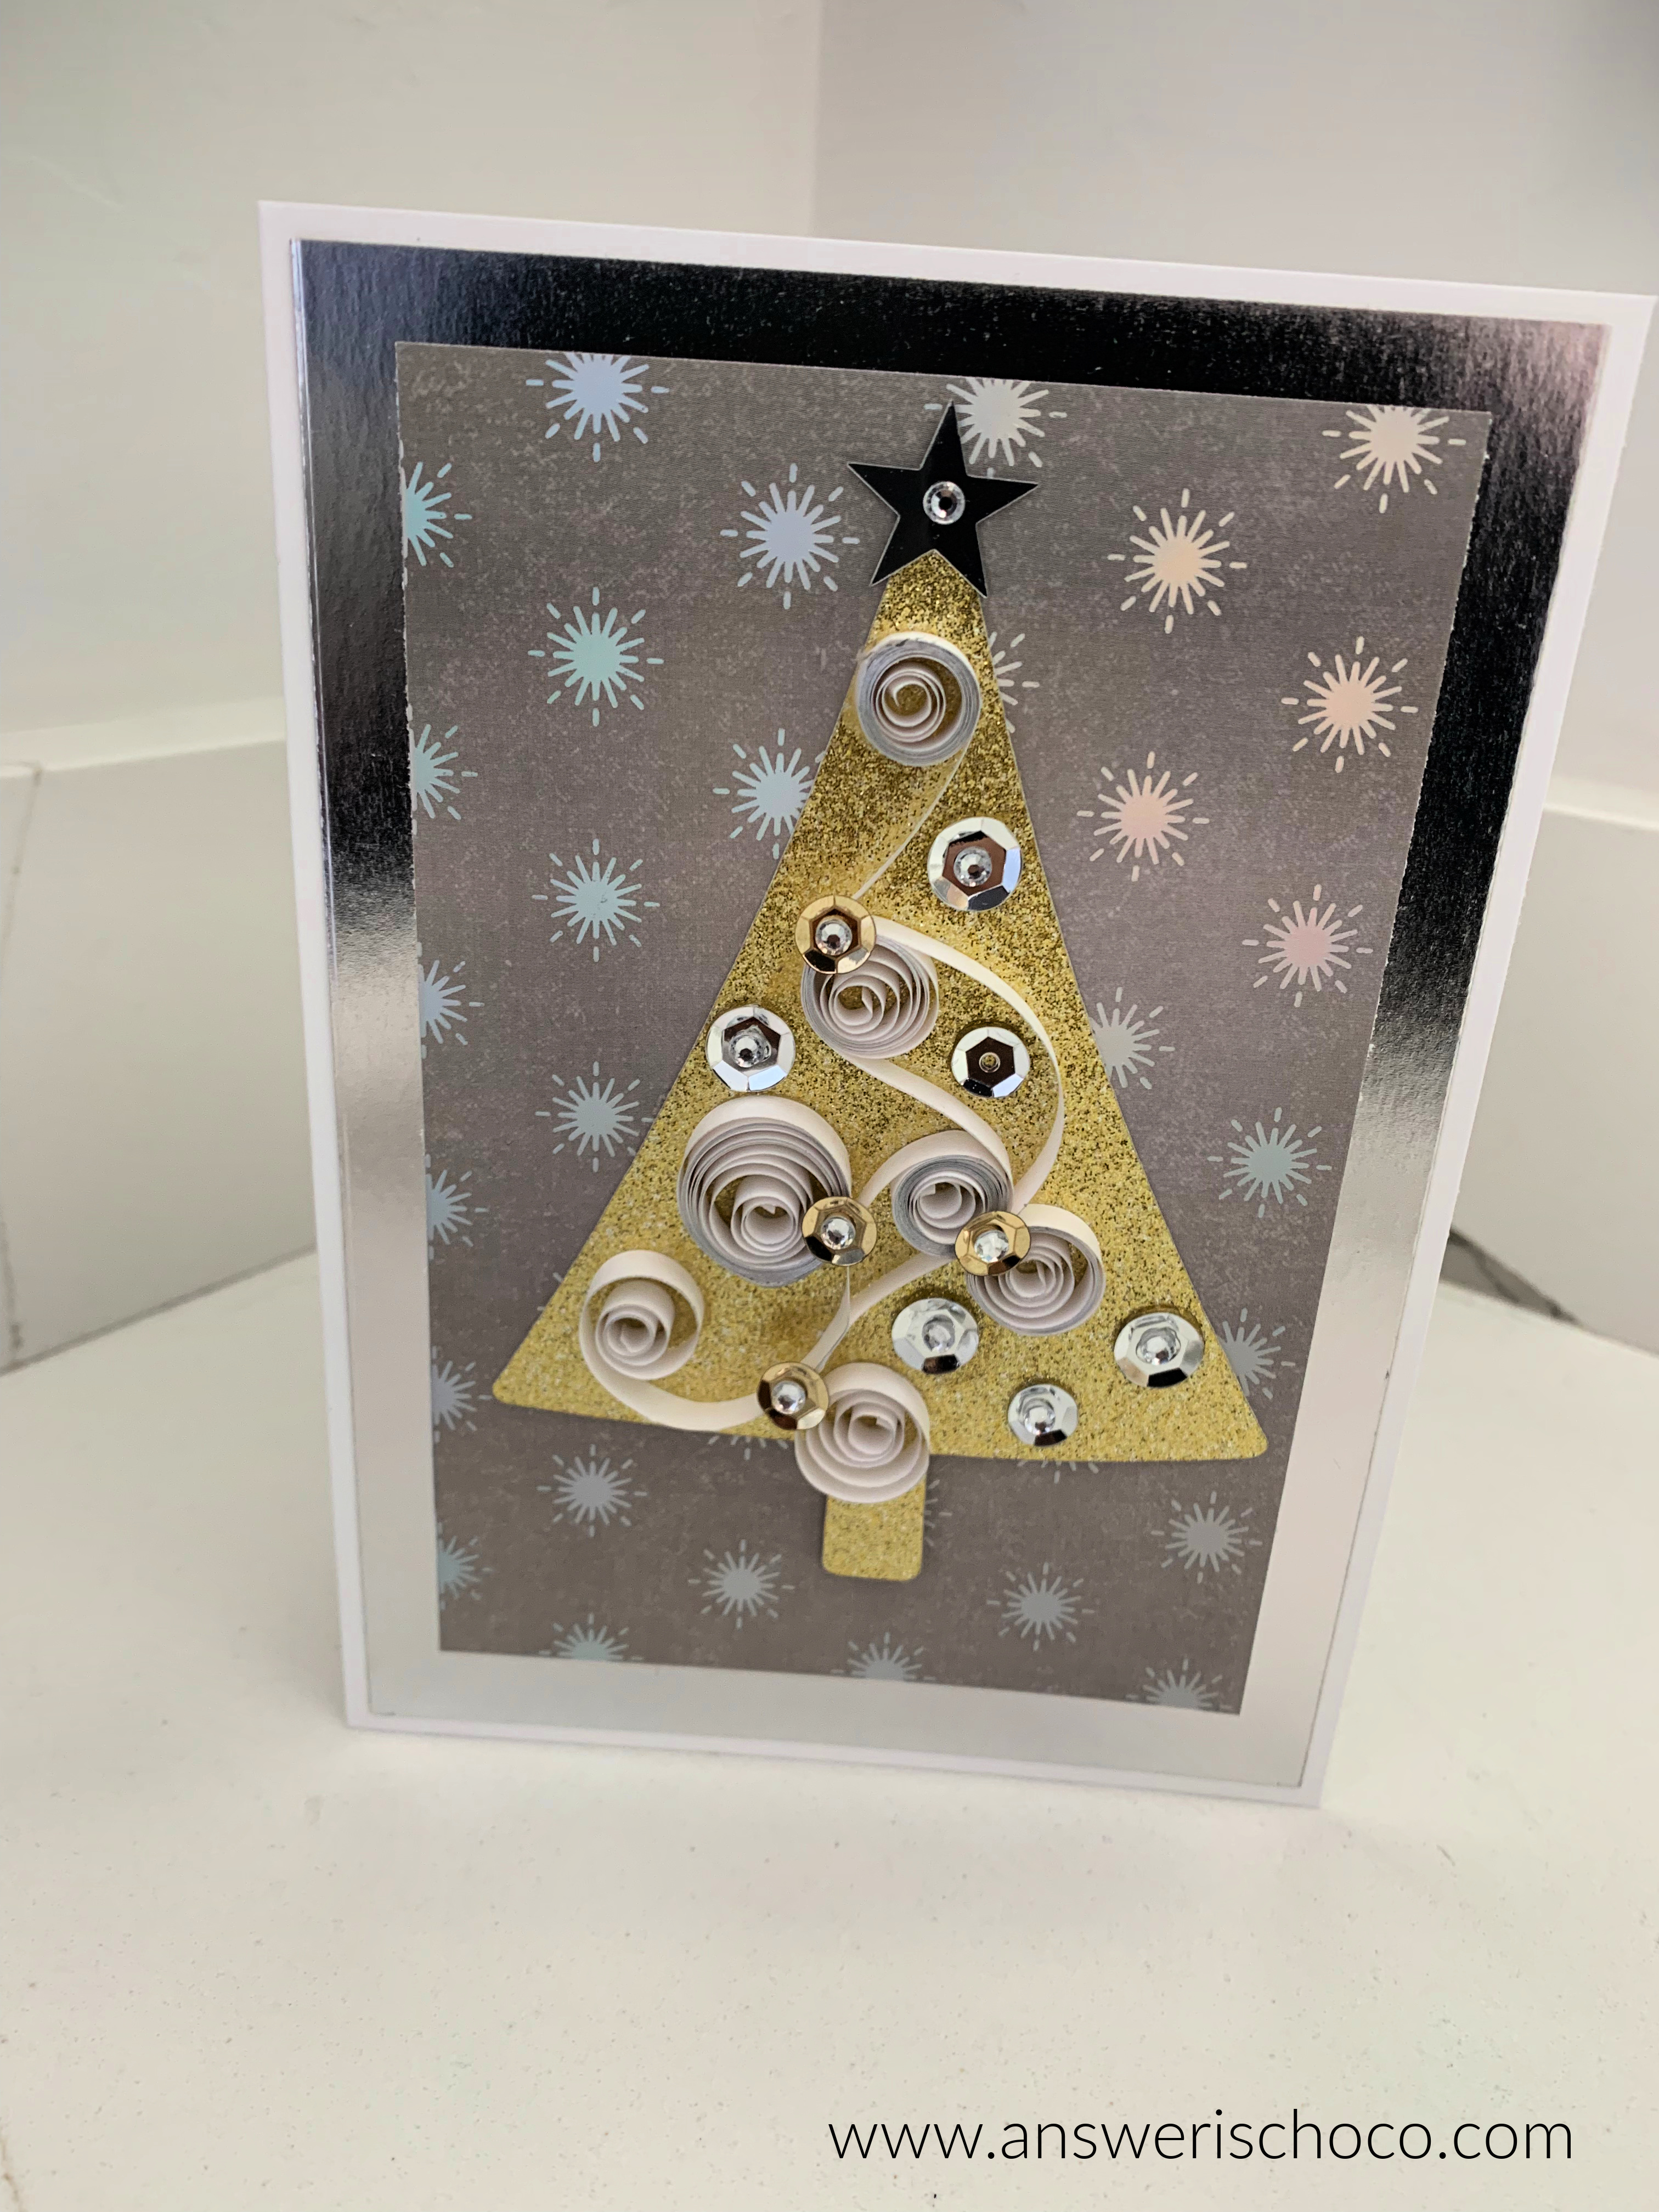
This week I shared my 2023 Christmas Cards 


and a Framed Snowglobe I made as a gift. 


Before we take a look at some of the wonderful features from last week's party and since this will be the last party of the year, THANK YOU to all of the Creative Peeps who've been with this party from the beginning; those who joined along the way; and those who may have joined for the first time. I enjoy hosting this each week to see the creativity of others who get as much joy from Making as I do. Truly, you all give me gifts each week. Wishing everyone a happy Yuletide, Christmas, day off...whatever, and however you celebrate! 


Master Pieces of My Life shared these Dollar Tree Faux Gingerbread Houses I'm putting in my 2024 to make file! It will give me time to pick up a bunch!


The Apple Street Cottage shared another fantastic transformation. We've all seen these retro Ceramic Trees or even have them from family.


Steph Creates shared how to transform a plain Bamboo Tray into a work of art! 


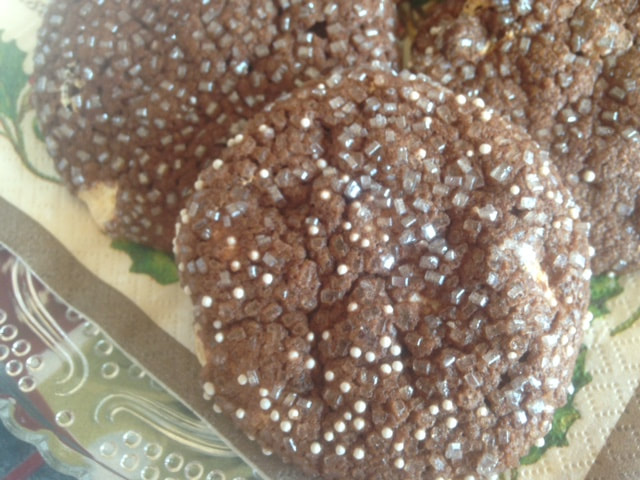
And finally, 3 Boys and a Dog shared these mouth-watering Mini Oreo Cheesecakes that would be a perfect addition to any holiday dessert table!

Now, let's see what everyone's cooked up for the rest of the year! 


You are invited to the Inlinkz link party!

Click here to enter

Wednesday, December 20, 2023

Gift Making: Framed Snowglobe


We live in a town small enough to see the same people regularly. We always go to the same Checker at the grocery store and every Friday we get takeout from our local Mexican restaurant. The owners live in our development, and when I call our order in (we are creatures of habit get the same thing each week) it's only a confirmation of "the usual". So I like to make a little something during the holiday season and this year, I saw something similar and knew what I'd make: A Framed Snowglobe!

Supplies
  • Plastic Ornament that comes in two halves. Craft stores, Dollar Tree etc. 
  • Frame
  • Scrapbook Papers
  • Mini Ornaments
  • Misc Embellishments/Fillers


I cut the snowglobe base from aqua glitter cardstock and then a scallop circle and panel from Christmas scrapbook paper. 


I cut the Christmas paper to fit the frame (5x7) put the glass back in and put the backing back on the frame. This is a great project to use up things you may have from other projects or things that you picked up because they were cute and hadn't used yet, but I repeat myself. I found these cute tree ornaments at Walmart and had some stocking stickers in my stash!


I attached the scallop circle to the glitter background with foam tape to give it just a little dimension.Then I filled the ornament half with faux snow, seasonal sequins, and a couple of jingle bells. 


Then I went about constructing my snowglobe. The best part is, since you're only using half of each ornament you can make twice as many!


I had some mirrored snowflake rhinestones in my stash so I added one as a tree topper with another tiny rhinestone in the middle. The stockings were stickers from a previous year's cards. 

You'll be working upside down here. Run a line of hot glue around the edge of the ornament then flip your layered snowglobe over and attach. You have a few seconds to align if needed and don't worry if there are spots where the glue isn't totally attached. You may have a couple of things slip out if they're tiny like the very small red sequins but no worries! 


To finish (and to really make sure your contents stay in) run hot glue around the edge and attach a coordinating pipecleaner! TIP: Do this in small sections at a time so you can make sure your pipecleaner is good and stuck! Once that's done, use some hot glue to attach your completed snowglobe atop your frame!


Sharing At:


Monday, December 18, 2023

Paper Crafting: 2023 Christmas Cards


Now that I know my Christmas cards have been received and the Post Office hasn't sent me a cease and desist order, I can share the cards I made for friends and family this Christmas season. I previously shared the Hanukkah cards I made and said in that post that Mr.Chocolate thought I was nuts when I said I'd be quilling our cards this year. Here are the Christmas cards! I'm still old school and since cardmaking is my first crafting love, I love making them for those I love! 


Supplies:

  • 110lb Cardstock for Card Base (Recollections from Michaels)
  • Holiday Themed Papers (Michaels)
  • Coordinating glitter and Foil Papers (Recollections)
  • Coordinating Quilling Strips
  • Coordinating Sequins

I was on the lookout early for the Recollections holiday papers this year. Frosted Juniper and Glistening Snow are from this year. Black and White Winter is from last year. 

I'm consistent in my card construction:
  • Cut 110lb paper 7x10
  • Score
  • Cut chosen decorative papers in panels and layer
  • Attach focal 

I didn't take pictures of the quilling process ( I need to grow more arms and hands), I used a random approach and cut out the base tree shapes using my Cricut Explore and then just started making coils and swirls! 


I like to make a few different versions of cards versus making the same card for everyone. Part of that is because I can never limit myself to one set of papers and another part is because I try to match cards to their recipients. For this set, I cut modern looking trees from gold glitter paper and used silver and gold edged quilling strips from Quilling.com and finished with mirror sequins and rhinestones.


I used the Frosted Juniper papers for others, matching the colors with green glitter trees and coils in blues, greens and whites, and then embellished with rhinestones and sequins.


I loved the Black and White Winter stack I got last year (so much so I bought another after Christmas!) and have a few friends who are black and white fans like me. 


For these I cut trees from glitter silver and white papers, and then used coordinating quilling papers. 


I get these ideas before thinking about mailing them and then wait with bated breath! 


Sharing At:


Thursday, December 14, 2023

BFF Open House


Happy Friday Eve, all and how is it time for another party already? It feels like the last one just started! Time is flying by and we have ELEVEN days left til Christmas! PLENTY of time for more Elfing, right?

This week I shared a fabulous thrifty find I turned into a Christmas Vignette:


along with an "old" canvas I repurposed into a Textured Winter Painting:


You all shared some wonderful projects last week so let's take a look at a few.


I had so much fun making my own paper bag snowflakes/stars. Imagine my great honor and surprised to be mentioned in a post by Fresh Vintage by Lisa S when she not only shared hers, but also added Book Page Snowflakes/Stars


Sonata Home Design shared a great tutorial on how to make one of my favorites: A bold Statement Ornament Wreath using pool noodles! 


Creatively Beth shared this adorable Polymer Clay Gingerbread Man that can be used for so many things from a keychain to a package topper. 


Finally, Cindy's Online Recipe Box shared these Hot Cocoa Marshmallow Cookies with Silver non-pareils. 

Thanks to all who shared and as always, can't wait to see what you've been up to this week! 


You are invited to the Inlinkz link party!

Click here to enter

Wednesday, December 13, 2023

Repurposed Canvas: Textured Winter Tree


When we moved last year, I didn't find a place for a couple of paint-poured canvases I had but I didn't want to get rid of them. I was looking through some supplies and found some OLD Martha Stewart Glitter Texture Paste I'd never played with. I wasn't sure if it was even still good but you don't know if you don't try, right? 


Supplies

  • Texture Paste (Pinterest is filled with ways to make your own. I'm going to try after the holidays!)
  • Painting Knife 
  • Acrylic Paint for Trunk
  • Canvas
If you don't have a canvas to repurpose, you can use a blank one or paint one without paint pouring, or of course, you can pour one to use!


Here's the canvas. I didn't do anything more to it other than make sure it was dust free by wiping it down with a dust cloth.


Then, I just went for it, using a paint knife to spread the texture paste into a tree shape. 


I just kept going until I was satisfied with the shape of the tree and used the edge of the paint knife to add more texture. I did a simple trunk with brown acrylic paint. I let dry overnight, then added a plain wood snowflake at the top and finished with a self-adhesive rhinestone (I did tack this down with glue just to make sure it stays stuck!)


Sometimes, I just have to remind myself to go for it when I'm out of my comfort zone!