Tuesday, January 31, 2017

Valentine's Lanterns


Disclosure: This is a sponsored post. Products in this post were provided to me. Project and opinions are mine.

Yikes. How is it almost Valentine's Day already?  Time to get busy with some new decorations right? Fortunately I get to work with Oriental Trading Company and with their selection of  decor and craft items, was able to come up with some new  pieces I now have up not only for Valentine's Day  but as part of my decor all year round! 

Since I tend towards neutrals and metallics, I fell in love ( no pun intended) with these silver metal lanterns. I decided I'd make some altered candles to put inside them but since I knew I wouldn't light them, I chose battery operated flameless candles. They look great lit or unlit and no risk of burning down the house! 


Never one to leave anything plain, I used a Love Letter background stamp to make candle wraps for the candles. 


I stamped on plain white cardstock then tore the edges and went over with a metallic gold rub-on to give them an aged look. Adhered them to the candles with a strong double sided tape. 


Still not content to leave my candlewraps alone, I cut a couple of hearts from some scrap glitter vinyl. And of course, STILL not content, had to embellish some more! What goes better with hearts than more hearts and keys? 


I adhered the large keys with foam dots,  wrapped gold and white Baker's twine around each candle a few times  ( this also keeps the keys in place) and finished with heart charms and a rolled paper rose made w/ scraps from my stamped candlewraps. We makers don't wastestuff  do we?!


Once my candles were done, of course I needed to add some embellishments to the lanterns themselves. Using scrap glitter paper , more Baker's twine,  charms , and paper roses did the trick! 


When lit, the candles give of a calming soft glow. I miss just sitting and looking at the twinkling lights of the Christmas tree. I think I've found a solution! 

Supplies Used ( unless otherwise stated all are from Oriental Trading Co) 
  • Metal Lanterns
  • Flameless Candles
  • Heart and Key Charms
  • Gold and White Baker's Twine
  • White Scrapbook Paper
  • Love Letter Background Stamp
  • Gold metallic rub on (my stash)
  • Strong double sided tape ( my stash) 
Happy (almost) Love Month!!


Thursday, January 26, 2017

BFF Open House Link Party


Happy Friday Eve all. Can you believe we're headed into the last week of January already? Wasn't it just Christmas? 

There were some really cool and inspirational ideas shared at last week's party ( and I've fixed things this week so the thumbnails show...operator error!)


Let's start with this Wood Burned and Stained Mandala Tray that Kileen from Raven Would shared. I recently bought a wood burning tool to play with and this is my inspiration!! Isn't it spectacular?


All the way from Germany is this beautiful illuminated 3D paper art piece from Wesens Art blog. I love what she shared in her post too: 

"Especially this object is important for me. 
It should remind me to really trust my abilities. 
I'm a creative person and want to do more creative things for myself - to keep it or give it away. Just because I want to do it!"
Couldn't agree more!


So I've been seeing a lot about Instant Pots lately and I'm interested in anything that sounds fast in these time compressed times. The ladies from LollyJane sure have me intrigued with 23 Instant Pot recipes! I do have a Williams Sonoma gift card from Christmas I haven't used yet....hmmm

With Valentine's day coming up , here are some yummy treats: 


What's better than a chocolate chip cookie? An Oreo stuffed chocolate chip cookie! Check out Sugar Spice and Family Life for the recipe...if you dare! 

OK on to this week's party!! Happy Weekend all. 


Tuesday, January 24, 2017

2017 Favorite Hand Lettering Resources


Yesterday was National Handwriting Day. I've always been obsessed with handwriting, calligraphy, and now hand lettering which I would describe as a combination of handwriting, drawing, and doodling. My Mom has beautiful handwriting and my Dad did too. 

I went to Catholic school as a child and the rumors about Nuns and handwriting (at least up through my era) are 100% true. Add to that a Dad who went to Catholic school before me and who was equally adamant about penmanship including practice sessions with him. I mean it was a thing. Without sounding too old, it does make me sad that cursive and penmanship are pretty much not taught anymore. 

I've tried self taught calligraphy with OK results. Still want to take an in person clasee. 

When I started seeing "Hand Lettering" all over the place I knew I'd found my people ! This combination of drawing, doodling, etc. drew me like a moth to a flame and I am learning and practicing every day. 

I thought I'd share some of the resources I've found helpful in case anyone else has been bitten by this bug. A huge thank you to all the people who share their talent and tutorials , mostly for FREE! 

In no particular order: 

One Artsy Mama: Amy Latta ( who loves lattes) doesn't probably know it,  but she's the first person who made me feel like I could learn this. She had a series on her blog that was so easy to follow and got me to dip my toes in the water ( er um ink in the well?). Easy to follow tutorials on lettering , accents, banners, etc. 


Checking out her series led me to other amazing places like: 

Dawn Nicole Designs:  Amazing tutorials, free practice sheets, extras if you sign up for her newsletter,. Her You Tube channel, FB page , Instagram....all of her places offer something to learn from. INSPIRING! 


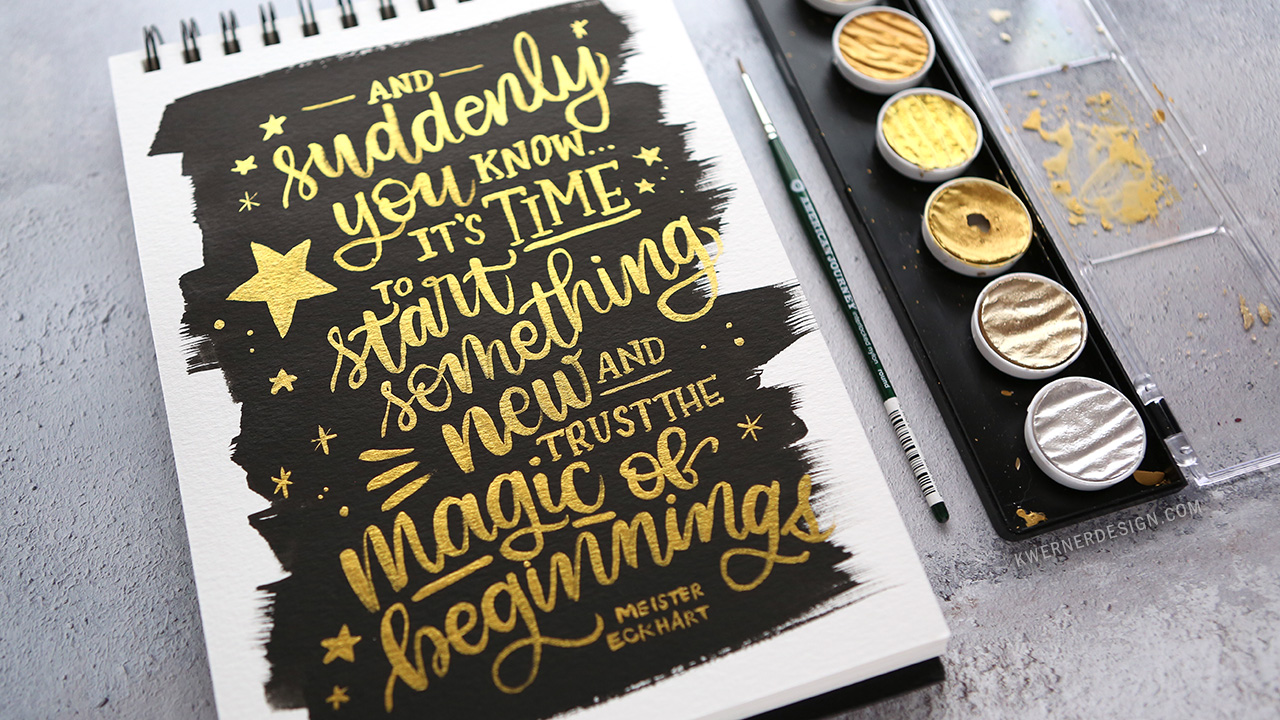
Kristina Werner: Droolworthy ! I especially love her creation of backgrounds she uses for her lettering.


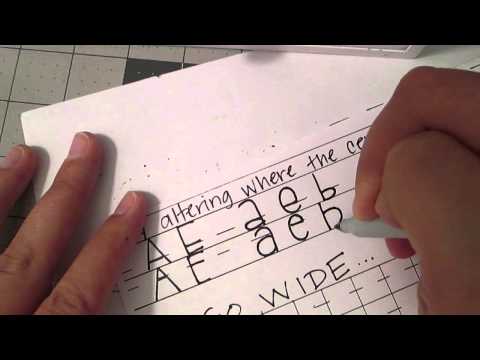
The Postman's Knock: Lindsey Bugbee. Stunning calligraphy and Lindsey provides worksheets and tutorials like this one she shared today: 


Llamas Love Lettering: Cindy Guentert Baldo. Wonderful, easy to follow You Tube tutorials. Cindy is irreverent and funny. She's unfiltered and uncensored so you've been warned! 


Zensipirations: Joanne Fink: I adore her dangle lettering which she makes look completely effortless. Joanne works with Sakura America and is featured on their website as well as her own.  


This is by NO means an exhaustive list ( and none of these folks know I'm doing this so there's nothing in it for me).  There are tons of resources online. These are the ones I continue to go back to again and again so thought I'd share. 

If you've been at all interested in learning about Hand Lettering but have been intimidated, STOP IT! 

Sure it will take practice and you will erase some things and tear up some practice sheets . It's a journey and like every journey begins with the first step! 


HAPPY LETTERING 

Sharing At: 


Sunday, January 22, 2017

Angel Wing Shadow Box


I've mentioned that I'm on an Angel kick lately. This is the centerpiece of it and reason behind it. 

Today is PhD boy's birthday. It's also the day 3 years prior that my dad died. Our son wasn't due for 2 more weeks so the fact that he was born 3 years to the day his grandfather died has always been significant in our lives. Though they never met, in addition to our son carrying on his grandfather's name, he has so many mannerisms and expressions that were my Dad's. 

When our son was home over the holidays we went to the cemetery. Sitting there was this perfect pine cone although neither PhD boy nor Mr. Chocolate understood what the heck I was doing when I picked it up. It was completely closed at the time and they said and I quote " It looks like a giant turd". Well, makers see things other people don't right?  They continued to taunt me as it dried in the laundry room. "You'll see" I kept saying. 


When it completely opened up, I was ready to make something with it. 


I painted the back and sides and using a piece of crackled scrapbook paper, Mod Podged it inside the box. I wanted things to look natural and aged. 


I painted the edges brown, and then using my favorite cracking technique, applied a thick coat of cheap old school glue ( I may no longer have to go back to school supply shopping but I go stock up shopping at back to school time!). You can find lots of glue crackling tutorials on Pinterest.  Basically apply glue ; wait until tacky but  not dry ; apply contrast coat ; watch magic. 

Ooooh crackle crackle

Here's the story on the Angel connection. The obvious is that with my Dad being gone I've always felt like I have a guardian Angel looking after me. The not so obvious is PhD boy has an Angel tattoo that represents many themes for him but is rooted in the story "Flying Home" by the author Ralph Ellison. This project brings these two together. 

The foil wings I found at Michaels for $4.99 for a pack of 6 sheets, 4 wings each. With a 50% coupon, well you do the math on of course I bought them. 


The wings come on a paper backing with built in transfer tape just like Cricut or Silhouette vinyl / foils. Remove the backing and apply to your surface and remove the transfer tape. 

Oh back to the pinecone! I dry brushed it with gold paint and attached it to the shadow box using an eye screw. 

To complete my project and tie the symbolism together I chose a quote about ancestors from Ralph Ellison. My dad is the ancestor ; Ellison is my son's tattoo inspiration and I am the link between them as the daughter / mother / artist. 


The full quote is: 
"Some people are your relatives but others are your ancestors and you choose the ones you want to have as your ancestors. You create yourself out of those values" ...Ralph Ellison
I printed it on kraft cardstock, cut it in three pieces, layered a transparency over top and trimmed it with washi tape. Adhered it to the shadow box with double sided tape and foam dots. Finally to finish, I added a wing charm that's almost identical to PhD boy's tattoo.


The shadow box is my keepsake but I wanted to bond our son to it so I'm not done!


I made him this brown braided leather and Angel wing connector bracelet. 


I also made him this altered candle to match the shadow box to which it's connected, as three generations are connected as a family. 


 Linking At:

Saturday, January 21, 2017

Weekend Plans Printable


Quick printable. Click image to enlarge ; PC users right click to save as! 

Have a great weekend! Party continues here


Thursday, January 19, 2017

BFF Open House Link Party

NOTE: I goofed up somehow and did text only links. Inlinkz won't let me switch to thumbnails so will fix for next week! 

Happy Friday Eve all! Usually the best day of the week. Hope everyone's had a good one. Seems like we were just here doesn't it? But you can never have too many parties ( except in real life...I am a total party pooper!). 

Let's take a look at some great shares from last week's party. 


If you've ever wondered what you'd do with a dress form, here's a spectacular idea. In total love with this stunning Valentine's dress form from My Thrift Store Addiction. Gorgeous! 


The ingenious Mich in LA shared this lovely ring made from fleece and felt scraps! Who'dathunk of this except her? Not me!


Avacadoes aren't just for guacamole ( but oh how I love guacamole!). This time of year is hard on the skin yet so  many commercial masks still have chemicals. This one from Alba Rosa can be made from all natural ingredients you likely have in your kitchen. 

With Valentine's Day rapidly approaching, time to start thinking up special treats. How about this Raspberry Cream and Brownie Trifle for Two from the ladies at Lolly Jane? 


Now, let's see what you've been up to this week! 


Monday, January 16, 2017

Wings of Peace: Coffee Filter Angel Wings


I'm on a bit of an Angel kick right now, and I'm also in the process of updating my mantle after Christmas.  I want it to work throughout the rest of Winter and Valentine's Day so it's a work in progress.

This isn't a new idea but it's new to me since I've done coffee filter wreaths and other projects but haven't done these. I've seen them done as huge pieces but these are smaller having used a 12x12 piece of chipboard as the base. Cost-wise, this is a very inexpensive project. Timewise, I'd say it's a medium commitment and depends on how large you want to go.

Supplies:

  • Coffee Filters. Hello Dollar Tree where I think I got 150 or 200 for $1
  • Heavy cardboard for your base. I used a piece of chipboard that came in something I ordered for Christmas. Reduce, reuse, recyle!
  • Glue Gun and glue sticks
  • Stapler
  • Angel Wing template. I drew mine but there are lots of templates online
  • Netflix and a double iced mocha ( these are optional lol) 
  • Time ( this is not optional) 
I started by drawing my template on a folded piece of paper, cutting out and unfolding.


Trace onto your base, and then cut out. This would be a good time to decide what your binge watching on Netflix. 


You can start from the bottom or top of your cut out base. I started at the bottom and worked my way up just like in life!  Take a coffee filter, fold in half ; fold in half again ; and one more time. I like coffee filter projects to be dense. Staple ;  take a sip of your mocha; repeat. I always think I'm going to count how many I use. WRONG. 


After I finished the first row, I layered the next row and kept going until my base was covered. 


Don't worry if the layers aren't uniform or you have sections that are sticking out. Try not to get hypnotized by all the wavy layers! 

See that layer at the bottom that's sticking out? Don't worry. See the next step.


Once you have all of your filters on trim your project like your trimming hedges. Just go all over with your scissors and snip off anything that's sticking out so they are all the same height. 

I wanted to add a little banner to my wings so I grabbed some glittered letters from my stash , cut out banner shames on my Silhouette and then draped them across the wings with baker's twine. 


I was already happy with the result but I was thrilled when while in Michaels for something else I wandered down the Christmas clearance aisle and found these for 80% off! $3.99 yes please. 


Normally when I find a deal like this I end up making it over but these I left alone. I think they work great w/ my wings what do you think? 


Sharing At: