Tuesday, January 31, 2023

Valentine's Day Easy Cloche


I use this cloche I found after Christmas one year at Pottery Barn for seasonal decor. OK non-seasonal decor too but...

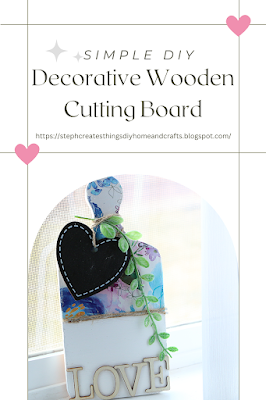
Getting my Valentine's decorating going this week and made this very easy vignette from things I had on hand. 

Supplies
  • Heart Shaped Picks (I found these last year at Walmart and forgot to use them)
  • Small Clay Pot
  • Glass Votive Holder (Dollar Tree)
  • Scrap Vinyl
  • Heart Shaped Confetti


Since I like to use this for different things, I grabbed a glass candle holder I had in my craft closet to use as the centerpiece of the cloche. I knew I wanted to use the confetti and this kept it neat. 

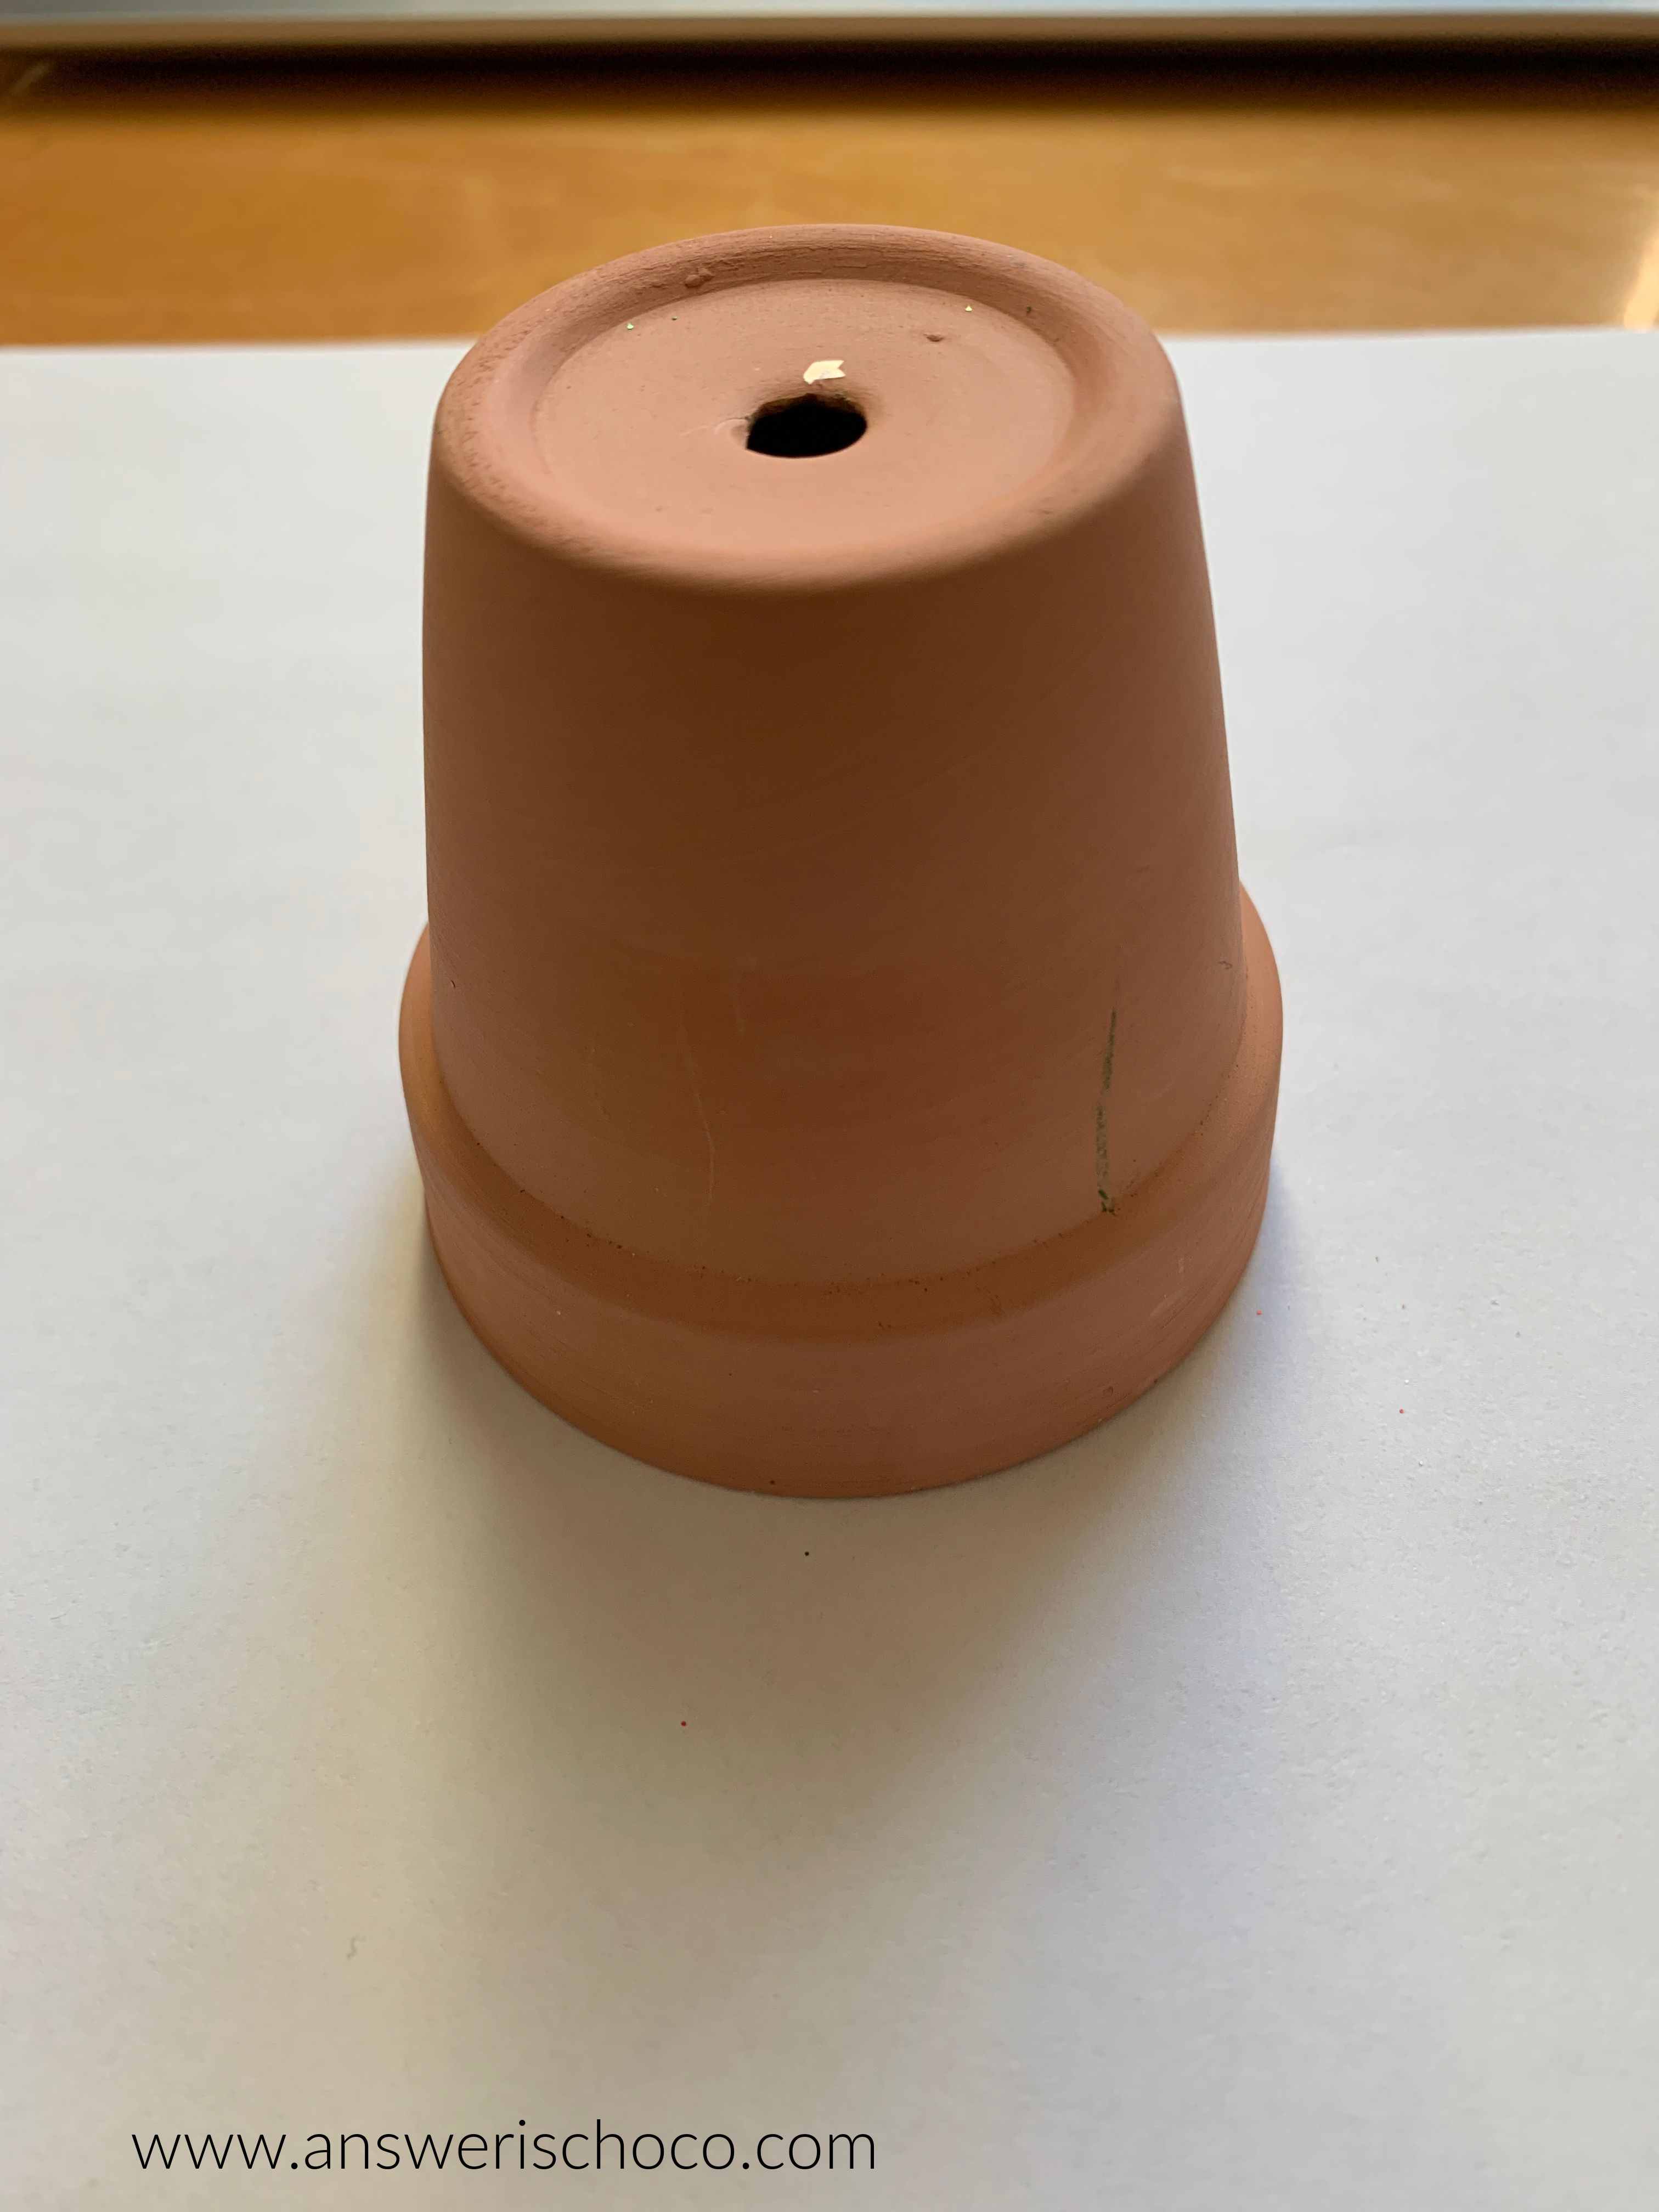
I also had a small clay pot in my stash which fit perfectly (upside down) inside the glass candle holder. I painted it white with one coat of acrylic paint. 


Sometimes I'm smart enough to keep things from previous projects like this silver heart that remained after cutting a vinyl project last year. You could easily just cut a heart or use a sticker. Put this on my painted clay pot. 


Then, I added my picks with the stems cut to fit under the cloche dome. 


To finish, I sprinkled heart-shaped confetti around the clay pot and put the dome on!  


Easy to switch out for its next use!

Sharing At: 


Monday, January 30, 2023

Home Decor: Beaded Wood Wreath and Tag


I love how you never know what you're going to find a Dollar Tree. When I turned the corner of an aisle and found not only a Wood Bead Wreath form but in black? Squeal! And then when I saw a tag to match? Double squeal!

Supplies
  • Wood Bead Wreath Form (Dollar Tree)
  • Wood Bead Strung Tag (Dollar Tree)
  • Faux Leather (On Hand)
  • Silk Flowers (On Hand)
  • Hot Glue and Glue Gun
  • Twine


I remembered I had some faux leather in my stash from JoAnn. Decided this project needed a center bow and that this was perfect for it. I chose a bow image from those I have saved, sized in Cricut Design Space, and cut. 

When you cut faux leather, you need to use a strong grip cutting mat (I use Cricut's purple one) and you also want to lay your leather right side down. 


All of the faux leather I've seen has this woven backing so you want to cut through the back side to minimize fraying.


Here are the bow pieces cut out. I opted out of using the tail. Back in the stash for something else!


To assemble the bow, use hot or other strong glue (eg E6000) and fold in each side. Since this is a layered bow, repeat for the other layer. 


Layer one bow atop the other, then using the rectangle strip from the bow pattern, wrap around and glue to secure. 


The flowers I had on hand from a post-holiday 80% off sale so they were like, $2? I stripped the leaves, cut the stems to where I wanted them, bound them together with floral tape and hot glued to the wreath, then glued the bow on. I left the tag pretty much as-is, just adding the word "Love" cut from white vinyl. 


I decided to angle it just because that's what my brain decided to do. Once I had it positioned the way I wanted, I burnished with my scraping tool and ...


In hindsight, I probably should have attached the tag before gluing the bow on but, I didn't! So I grabbed some twine and used the existing twine loop on the tag to secure it to the wreath. 


Simple. Inexpensive. Love! 

Sharing At: 


Thursday, January 26, 2023

BFF Open House


Happy Friday Eve Creative Peeps! I hope you've had a good and creative week. It's been COLD here in the desert. Woke up to 24 degrees and SNOW the other day which for some of you may be nothing but is not the norm around here. Haven't been up to much creatively since I've been busy getting my mom moved to a new apartment but she's all set now so back to it. 

Looking VERY forward to being able to attend some of the amazing annual Jewelry and Gem events in Tucson next week. I've long wanted to go and now, living nearby, I finally get the chance. You can't imagine how HUGE some of them are. They've been setting up the exhibition tents for weeks now and it's like mini county fairs in several places. I think I'm going to have to pick one or two and not attempt to go to all of them. 

You've been busy as always so let's take a look at some of the projects you shared.


Have some old jeans in your closet (or places like Goodwill are a great source)? These embroidered Denim Hearts from The Apple Street Cottage are a wonderful way to repurpose them and make lovely Valentine's gifts! 


This DIY Cutting Board from Steph Creates is such a sweet Valentine's accent piece to make! 


I've always loved movies and movie theaters and it's the one thing I missed during the worst of the pandemic. Bring the movies home to celebrate an adult or kids birthday with this FABULOUS Birthday Movie Night shared by Simple Joys. This would also be perfect for an Oscars watch party. 


Finally, this Embroidery Hoop Snowman from Creatively Beth is just too cute! The detail of the lace gives is such a great textured look. 

Thanks to everyone who linked up and can't wait to see what everyone's been up to this week! 


You are invited to the Inlinkz link party!

Click here to enter

Thursday, January 19, 2023

BFF Open House


Happy Friday Eve all! I hope those of you in California continue to be safe. We got a bit of the rains this way in Arizona this week. Hard to believe we're already past the halfway mark of this month. Want to know the funny thing about taking workshops? The more you take, the more you learn about TO take, and so on. If you got a new Cricut over the holidays or even if you've had and played with one but want to use it more, you really want to make sure and take one that's coming in February. If nothing else, it's a great way to find new Creative Bloggers and maybe even get some freebies!

You can register here for the event which runs from Feb 4-10 with numerous very talented designers. The workshop is free and I get no compensation for sharing. I'm just a big believer in "Sharing is Caring"!

Thanks to a previous workshop Abbi did, I made my first project of 2023: Family Chinese Zodiac Wall Art. I got to apply the knowledge of how to use Inkscape to convert an image file to an SVG (Scalable Vector Graphic) to import into my Cricut Design Space Software and cut out in vinyl! 

You've all hit the 2023 ground running with lots of creative ideas so let's take a look at a few. 


I have a wonderful cloche I found at a Pottery Barn after-season sale that I like to switch out seasonally. These Valentine Cloche ideas from The House on Silverado are FABULOUS inspiration! 


If you're looking to decorate a new space or switch things up, this Boho Basket Wall by My French Twist is gorgeous! 


Steph Creates shared this beautiful and rustic DIY Heart Garland. So pretty! 


Finally, whether for at home or to package for friends, this Cupid Crunch from Me and My Inklings is a lovely way to celebrate Valentine's Day. 


Thank you to everyone who linked up and can't wait to see what you've all been up to this week. 


You are invited to the Inlinkz link party!

Click here to enter

Tuesday, January 17, 2023

Home Decor: Family Chinese Zodiac Wall Art


Lunar New Year, most popularly known as "Chinese New Year" (but celebrated in other Asian countries) is this coming Sunday. This year is the Year of the Rabbit which is my Chinese Zodiac sign and also happens to also be a milestone year for me. For as long as I can remember, I've always loved rabbits. Even before I knew I was one! In thinking about doing a project I decided to do one that incorporated my sign, as well as my husband's and son. Since this is the first project I'm sharing in the New Year, it makes sense that it's a New Year project, right? 

Supplies:
  • Wood Art Boards (I used 11x14 and 8x10)
  • Acrylic Paint
  • Chinese Zodiac Images (Designbundles)
  • Vinyl (Cricut Glossy Black)
  • Cutting Machine (I used my Cricut Explore Air 2)
  • Gold Leaf Adhesive and Gold Leaf (I used Mona Lisa)


You can find wood art boards in the fine arts sections of craft stores and at art supply stores. I have a few leftover from when I found them on clearance in the arts and crafts section at Target. I wanted a clean graphic look so while red is customary, I chose to match my neutral home decor and painted the boards white and used black vinyl with gold leaf accents. 


A couple of coats of paint (Apple Barrel, White) and you're all good. Allow to dry thoroughly or else your vinyl won't stick properly and the transfer tape will pull up the paint. 


Confession time! I initially planned to put all three Zodiac signs on one board and thought I'd given myself enough space between when I sized the images. I didn't. So after cutting and weeding and not wanting to do that over, I just painted the smaller board and put mine and my husband's on one, and our son on it's own. The two of us made him so this worked in my brain! 


This was a great project that let me test some new skills I learned in a workshop by Abbi Kirsten which was how to use a PNG file to create an SVG file in Inkscape! I bought the graphics from designbundles.net.  


Since gold is another color you see in Chinese art, I decided to add some splashes of gold leaf. I love the Mona Lisa products (Michaels) which are easy to use. I just did some freehand brushstrokes where I wanted to gold leafing, let dry per the instructions on the bottle (actually a little less since the air is so dry where I am) and then applied the leafing using a strong bristled stencil brush. 


Wishing everyone health, peace, and prosperity in the Year of the Rabbit / 2023!

Sharing At: