Thursday, January 12, 2023

BFF Open House


Happy Friday Eve once again Creative Peeps! Hope you're easing into the New Year OK. The images out of California with the flooding are overwhelming and I hope any of you there are safe and dry. 

I've squeezed in a few cards I haven't bothered to post but that's as creative as I've been so far in the New Year. We keep our decorations up until after Twelfth Night so this week was focused on taking down and putting away and now my house feels so naked! Which works with an unintentional theme for this week's features. 


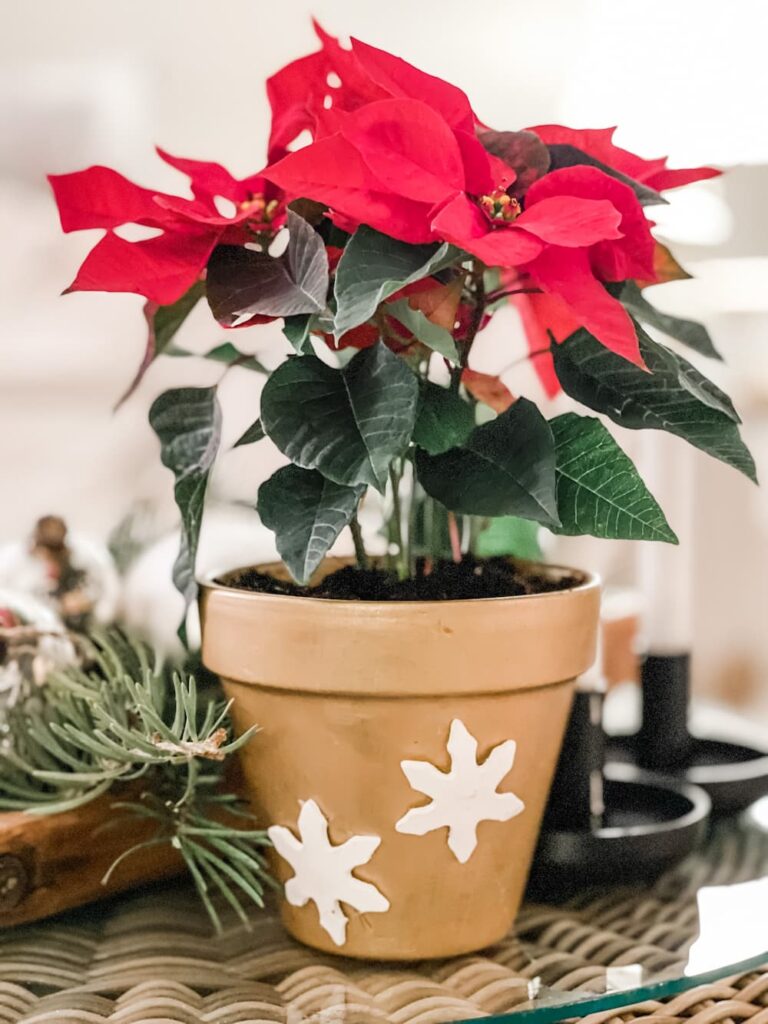
Penny's Treasures shared her very cute After Christmas Decor. I'm inspired to come up with a plan for next year to tackle the starkness that follows taking down the decorations. Love this! 


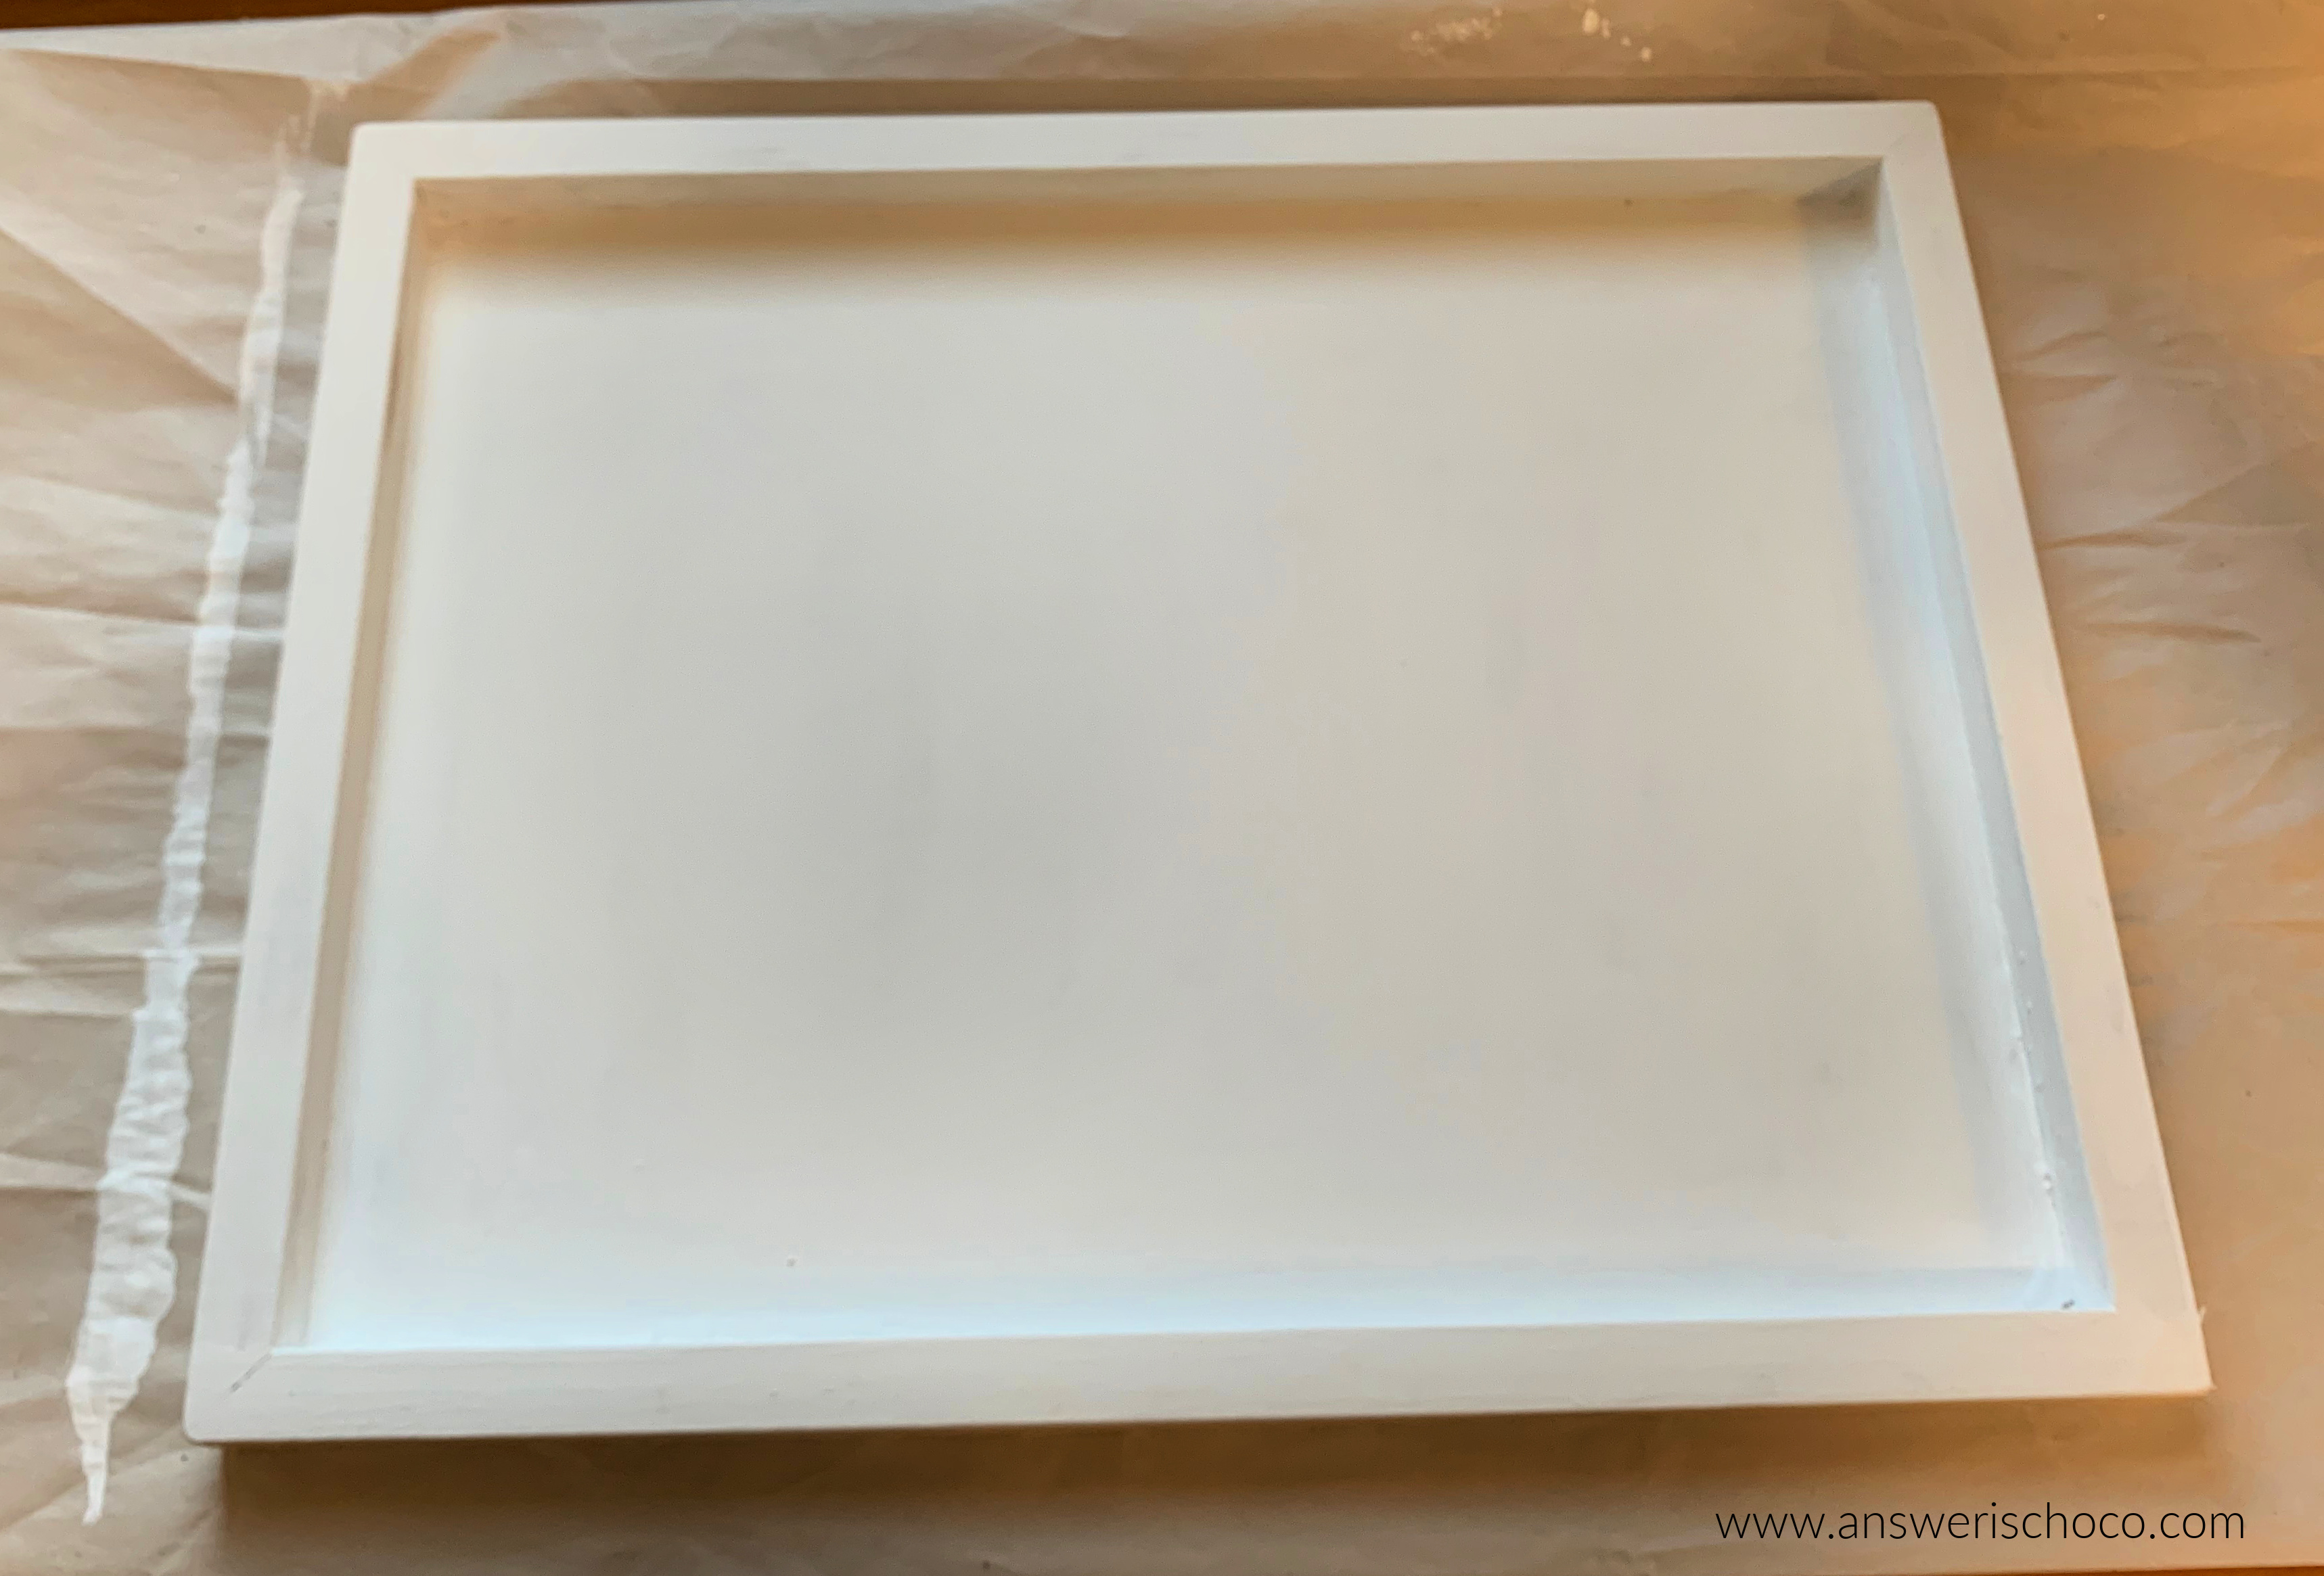
Thrifting Wonderland reminded us that thrift stores also hold post-holiday sales in January and what a wonderful time it is to score some finds to add to our collections. 


My Thrift Store Addiction also shared some inspirational post-holiday finds that are perfect for Winter transition. 


Finally, it's still very much hot chocolate season but what about Hot Chocolate Pancakes? Thank Lou Lou Girls for these! 


Thanks to everyone who linked up last week and can't wait to see what you've been up to in the New Year!


You are invited to the Inlinkz link party!

Click here to enter

Thursday, January 5, 2023

BFF Open House


HAPPY NEW YEAR Creative Peeps! I hope everyone rang in the New Year safe, warm and dry. The weather has been crazy all over the country. Ours was typically quiet and I think we marked the New Year somewhere around London time! 

Each start of the year since I retired a couple and a half years ago has been to focus on my blog, branding, etc.  And each of those years have brought some other life realities into my life that have derailed things. So I'm determined that in 2023, I'm going to achieve this goal.

I have succeeded in upping my creative game by attending more workshops and seminars so let me share this one that's coming up. If you're interested in working with SVGs (Scalable Vector Graphics" and learning more about them, then you want to check out the FREE SVG Crafters Summit which will take place Janauary 12-14.

Thanks for understanding my oops in getting last week's party up. Even not working, the holidays messed with my brain schedule. Let's take a look at some of the ideas shared and again, thank you for sharing your creativity here throughout 2022 and I can't wait to see what you all have in store for 2023!


This Magical Forrest Vase shared by Love My Little Cottage is perfect to stay up throughout Winter. 


The House on Silverado shared another wonderful Winter transition project with this Winter Scene Terarrium. 


If you need a Thank You card and/or want to learn a new papercrafting technique, this card from Paper Seedlings does the trick! 


Finally, one thing I definitely want to do more of in 2023 is thrifting. If I'm lucky enough to find a gorgeous frame to work with like the one Masterpieces of My Life did here with the framed music sheet, I'll be ecstatic. 

Alright...let's get 2023 off to a creative start! 


You are invited to the Inlinkz link party!

Click here to enter

Thursday, December 29, 2022

BFF Open House


Given how the last week has been it's kind of fitting that I'd almost forget my last party of the year. Oops! So here 'tis...all party, no features and apologies. Wishing everyone a safe and Happy New Year  filled with more creativity and whatever sparks your joy! 


You are invited to the Inlinkz link party!

Click here to enter

Thursday, December 22, 2022

BFF Open House


Happy Home Stretch Creative Peeps. It's GO time! Hard to believe, isn't it? Actually organized enough this year to have everything done including gifts wrapped with just cooking left. Picked our son up from the airport yesterday and looking forward to just hanging out and enjoying time together. I hope that whatever you're doing...staying home...traveling...hosting...ordering takeout...whatever...is peaceful and joyful. I committed to reducing my stress this year and not trying to overdo it. 

This week I shared some Hanukkah gifts I made. The same technique can be used for any occasion or just everyday decor. 

And of course, there were lots of inspiring and creative projects shared at last week's party so let's take a look at a few! Wishing you all the joys of Christmas and love and light in the remaining days of Hanukkah! 


We love seeing red cardinals in the trees and they are such a symbol of Christmas. This Cardinal Sign from Artsy VaVa is just perfect for the season!


This "Hot Wheels" Christmas Ornament is such a fabulous idea for car lovers big and small. From Me and My Inklings.What a great way to honor toys that may no longer be played with or to purchase new in honor of someone's favorite vehicle. 


If you're taking a potted poinsettia or amaryllis as a hostess gift, Saved From Salvage has a great way to dress up a Hostess Gift and make it more special. 


Finally, My Thrift Store Addiction shared a delicious holiday treat. Chocolate Filled Puff Pastries in Christmas shapes! Pretty and delicious. 

Stay warm and safe with the crazy Winter weather that's hitting everywhere! 


You are invited to the Inlinkz link party!

Click here to enter

Monday, December 19, 2022

Alcohol Ink and Gold Leaf Hanukkah Candles


Sharing some Hanukkah candles I made for friends. While I'm not Jewish, the Hanukkah story resonates with me as one of perseverance against the odds and a reminder to never give up. Always thrilled when recipients of things I make are happy with them!

Supplies: 
  • Plain Tall Jar Candles (Dollar Tree)
  • Alcohol Inks
  • Gold Leaf and Adhesive
  • Gold Adhesive Foil (Cricut)
  • Digital Cutting Machine ( I used my Cricut Explore Air 2)
  • Mod Podge Matte
  • Vinyl Gloves


I ordered a box of alcohol inks from Amazon and selected two shades of blue. Remove the stickers from the candles and clean with alcohol to remove any residue. 

NOTE: Make sure and protect your work surface. I used an empty box. 


This was my first time using alcohol inks so I just winged it. I turned the candles upside down and then started dripping the inks down the candle, alternating the two blues. The ink dries quickly, but just to ensure it was really set, I let them sit for a couple of days after I was all done. 


I decided to seal them so went over them with a coat of Mod Podge Matte. Once that was dry, I applied gold leaf adhesive (Mona Lisa) around the top, then applied gold leaf using a stiff bristled stencil brush. 


Gold leafing is MESSY so I used the same box to catch the excess. 


In Cricut Design Space, I chose a font I liked and sized the word "Hanukkah" to fit the length of the candle, then cut it out using a gold adhesive foil. Then applied to each candle. 


I also made some gift tags for the recipients to use for their own Hanukkah gifts. I love using scraps to make gift tags, so I grabbed coordinating colors along with some sequins and washi tape to embellish. I cut out some dreidels and stars from some of the scraps. 


I cut out the tag bases from blue cardstock, then just went about decorating them. 


Happy Hanukkah to all those celebrating! 

Sharing At:


Thursday, December 15, 2022

BFF Open House


Is it just me or does it feel like it was just Summer and all of a sudden it's December? I know what the calendar says and I know we had Halloween and Thanksgiving but it just hit me that we're 10 days away from Christmas and 3 days away from Hanukkah and it seems so surreal, like an out of body experience. I mean I've been busy decorating and prepping and shopping but still...

Here's proof! I shared this year's Holiday cards for Christmas and Hanukkah earlier this week, 


along with a vintage-inspired Ice Skating sign for outside. 


Likewise, I know how busy you all have been creating Holiday goodies for home, friends, and family! Let's take a look at some of the ideas from last week's party because if there's one thing we know as Makers...10 days is plenty of time to whip something up! 


I absolutely ADORE this idea shared by Storyteller's Cottage to host a Literary Holiday Tea Party! It could feature a seasonal or favorite book. 


How cute are these Gnome Scarves from Sew Crafty Crochet! Easily worn all Winter. 


Whether you're ahead of the wrapping game or you need last-minute tags, these Snowmen Tags from Whitehouse Crafts can't be beaten for cuteness or ease! 


Finally, Oreos have been a staple of my Holiday cookies forever. They're fun to decorate and make festive. These Iced Wreath Oreo Cookies from Me and My Inklings are no exception. Aren't they pretty?! 

Alright Peeps...let's see what you've been up to this week! 


You are invited to the Inlinkz link party!

Click here to enter

Tuesday, December 13, 2022

Easy DIY Ice Skating Sign


Something you may not know about me is that I was a figure skater for about 10 years. The Olympics were never going to be a thing (although I did skate at the same rink as someone who DID go on to medal and one of my coaches was also an Olympic medalist) but as a result, I love everything to do with ice skating except being at the point now where I'm likely to break a hip! 

I've had a pair of skates as part of my decor for years and this year, decided to put them outside on the bench by our front door. 

Supplies:
  • Wood Art Panel 11x14. These are available at art supply stores as well as Michaels, JoAnn etc.
  • White and Black Acrylic Paints
  • Black Vinyl (I used Cricut Glossy Black) and Transfer Tape
  • Ice Skating Themed Cut File (I found this one at Creative Fabrica)
  • Digital Cutting Machines (I used my Cricut Explore Air 2)


The intent of these boards is to use the flat side but I wanted a framed look so I used the underside. Painted it with a couple of coats of white and let dry while I sized and cut the vinyl.


I downloaded this file from Creative Fabrica where I'm a subscriber, and uploaded into Cricut Design Space and sized to fit within my sign. Cut and weeded, then applied the transfer tape. 


I set that aside and painted the edges of the board with black acrylic paint. I wanted to match the "old fashioned" look of the sign so a few worn spots here and there where the white shows through. 


Then I laid the vinyl where it looked about right, burnished it with my Cricut burnishing tool, and done! 

The outside bench is covered so even if we do get some rain it's safe enough so I didn't seal it. 


We found this cool wreath last year at an art fair. It's made from the wire bristles used to clean chimneys! I also made this giant Santa Mailbox a few years ago that shares the bench. 


Sharing At: