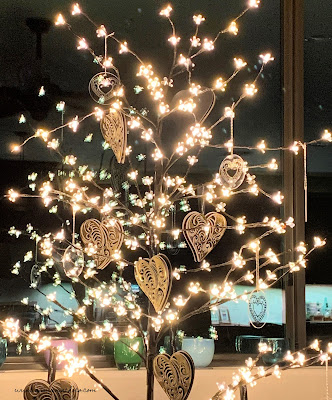
Last year, I told Mr. Chocolate I'd ordered a "Halloween Tree" which prompted a sideways look. He figured I'd ordered a black Christmas tree (which I debated and still love for a Halloween tree) but some part of me must have known the future because I decided to go with a lighted cherry tree. At the time, it was intended to just be a Halloween tree and then once I had it up and decorated, guess who didn't want it to come down when Halloween was over? So it then became a Fall tree I decorated with layered paper leaves and silk Fall flowers. It went away for Christmas when the Christmas tree came out and when we were taking it down, guess who asked if the tree he'd given me a look about was coming back? I debated about doing generic Winter but then I knew I was going to want to do something for Valentine's day so I skipped ahead and made layered heart ornaments and decorated some clear acrylic ornaments for it.
Supplies:
- Cardstock
- Foam Tape and Foam Dots
- SVG file
- Digital Cutting Machine
- Acrylic Ornaments
- Adhesive Foil
The image I used was from Creative Fabrica (3d-layered-heart-21).
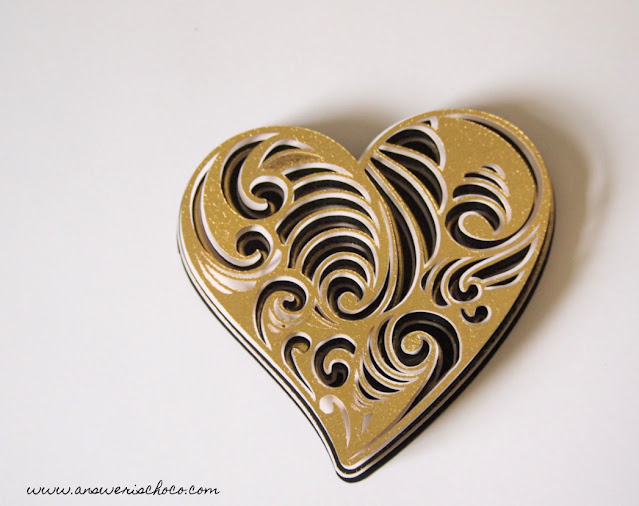
I wanted to go with a non-traditional color palette and I decided on black white and gold so I grabbed those papers out of my stash.
I imported the file into my Cricut Design Space software, sized and then cut each layer, repeating the color pattern: black white gold
You can see that each layer becomes more delicate bottom to top. I used foam tape on the less detailed layers, then switched to foam dots as they became more detailed.
Black base layer then white layer.
Then gold layer and repeat with the remaining three layers.
I'm so entranced by these layered cut files! I love how you can peek through them and the depth they create! Once I assembled all of the hearts ( I did 8 ) I added coordinating black and white ribbon with hot glue so I could hang them on my tree.
I love the lights against the layers, especially at night. I also had some clear acrylic ornaments left over from Christmas projects and decided they'd be perfect with this version "the tree".
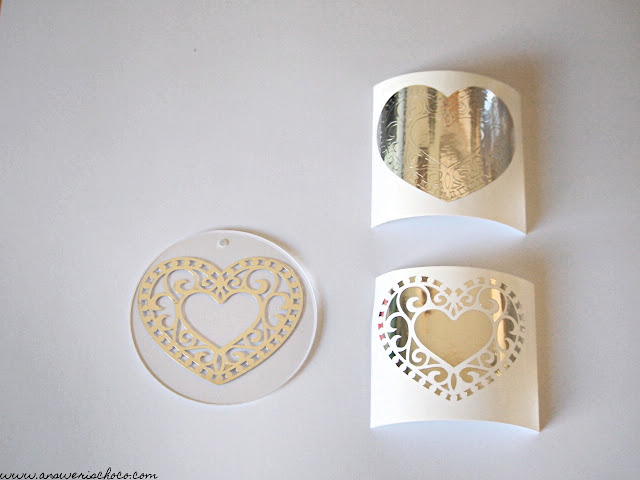
I had some bright silver adhesive foil in my stash and used an image from Cricut Design Space for these.
I did 9 of these and the foil is so easy to work with I didn't even bother with transfer tape and just removed the hearts from the carrier backing and placed on the ornaments.
I saved the parts left behind because look at the cool pattern you can still play with! To finish these, I added some black and white twine.


1 comment:
Love it and go for the holiday tree! I have my winter tree up now, Valentine's coming, Easter, St. Patricks, 4th, Halloween, Fall and then CHRISTMAS! It's fun!
Post a Comment