Thursday, December 16, 2021

BFF Open House


We are in the home stretch Makers! My best present and the one I want the most in the whole world is on his way. Son and Granddog are headed this way and can't wait until they get here. 

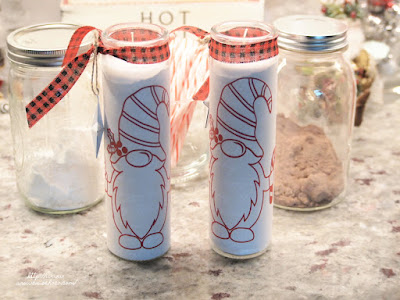
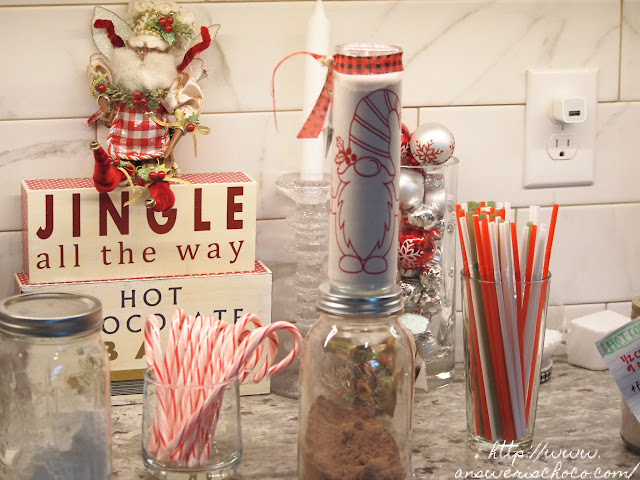
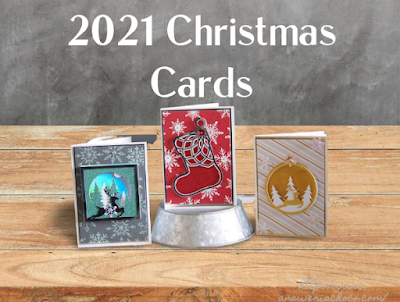
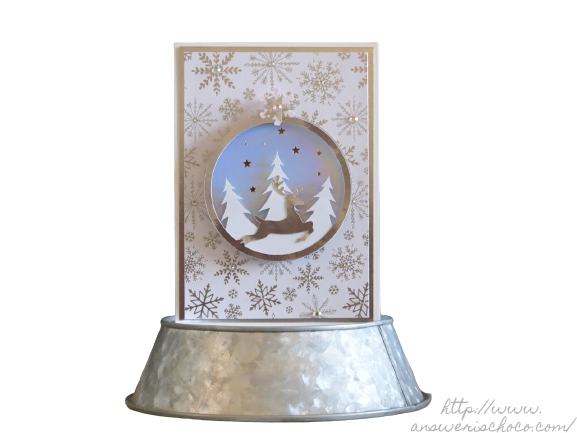
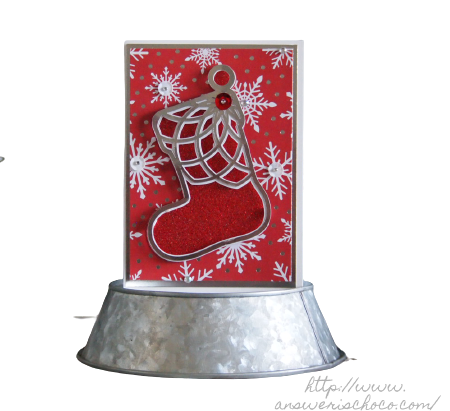
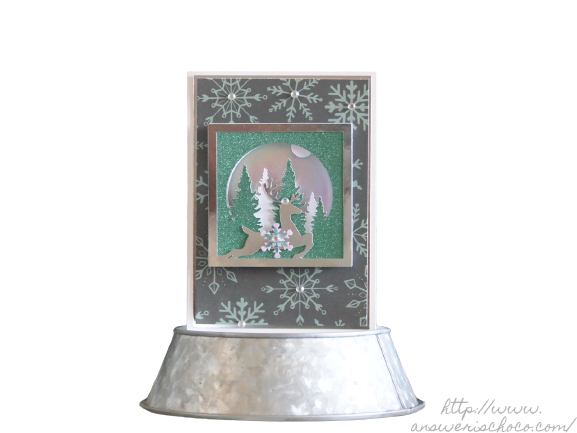
Every time I mail cards I hold my breath in suspense until one of the recipients confirms receipt because the Post Office can sometimes hate me for my thicker than normal cars. Whew! This week I shared the Christmas cards I made this year along with some last minute Peppermint Gnome candle additions to my Hot Chocolate Bar. 

You all have been quite busy so let's take a look at some of the wonderful things shared at last week's party! 


Fresh Lisa by Lisa S shared a way to bring even more vintagey goodness to bottlebrush trees using faucet handles! Love. 

The DIY Dreamer shared a wonderful way to create ornaments from old light bulbs (I've also seen lightbulb ornaments). 

Brilliant! We've seen doll houses transformed into Haunted Houses but Jennifer from Studio 27 has taken it to a whole 'nother level by making a Gingerbread House! Genius. 


Finally, given my husband's Norwegian background and my own ties to Denmark, I really need to make this one year. This is a traditional Danish Christmas dessert shared by Lazy Budget Chef. We do have a tradition of Nisse gifts so I really should make this for Nisse night which we celebrate on 12/23!

OK. Now let's see what everyone's been up to this week! 


You are invited to the Inlinkz link party!

Click here to enter

Wednesday, December 15, 2021

Christmas: Peppermint Gnome Candles


Stash busting meets Christmas! I always have a few of these blank prayer candles from The Dollar Tree in my stash and while grabbing for something else I saw them and thought of a quick and easy idea. This is a fast an easy project that could work as a hostess gift or an easy addition to your decor!

Supplies:
  • Dollar Tree Glass Candles
  • Scrapbook Paper (I used papers from the White Christmas Stack at Michaels I used for my cards)
  • Vinyl (Oracal Red)
  • Image (Creative Fabrica)
  • Ribbon
  • Mini Ornaments
I didn't even take pictures while doing it. If you don't have a cutting machine, you could easily do this with stickers. 


These are the plain candles from Dollar Tree. Similar ones are also sold at many grocery stores. Measure your scrapbook paper for circumference and height, cut. I cut mine 7.25 x 7.25. Tear the top of the paper. Apply to your candle using double sided tape or you can use Mod Podge. 


In your cutting machine's software ( I used my Cricut Explore 2 and Design Spance ) size your images accordingly, cut, weed. Apply transfer tape and then center and apply to your candles. 


To finish, wrap coordinating ribbon with a charm or mini ornament and DONE! Easy Peasy! I like the subtlety of the print on the paper behind the outline of the Gnome image. Easy additions to my hot chocolate bar for which it looks like I  need to make more hot chocolate mix and marshmallows since a certain tall elf who lives here has been enjoying! 


Sharing At: 


Sunday, December 12, 2021

Christmas 2021 Cards


This week's party continues here.

I had maybe the most fun I've ever had with making Christmas cards this year. I've really focused on learning how to work with layered cut files and while I am still a novice at making my own, I almost don't need to ( except for my innate stubborn nature and wanting to do "all the things" ) with all of the amazing files that are out there. For these, I used files from Creative Fabrica and Sweet Red Poppy 

Disclosure: I am a Creative Fabrica affiliate so I do get a small benefit if you order through my link

Supplies:

  • Christmas Scrapbook Papers (I used various packages from Michaels)
  • Foiled Cardstock (Recollections, Michaels)
  • White 110lb Cardstock (Recollections, Michaels)
  • Foam Squares / Tape (Dollar Tree)
  • Coordinating Sequins, Glue, Tape Runner
I used a combination of papers I already had and ones I got new this year because I'm a paper addict and Michaels keeps coming out with gorgeous papers and when they have their buy one get 2 free Hot Buys can you blame me?! 

This year I added White Christmas
and this week (12/12-12/18) they're on sale for $4.99 each!!! Hmmm...

I can never decide on just one style both because the papers are too inspiring and the cutting files too plentiful. So I did some with silver as the primary, some with gold, and some red. 


I'm also having fun playing with a great site called Designify I learned about from Abbi Kirsten, one of my favorite designers, who taught a workshop I attended called The Magic of SVGs and showed how to easily remove backgrounds from photos. Basic use of the site is free ( you can pay to upgrade ) and includes some backgrounds like the one I used in the focal image. 2021 was supposed to be the year I really focused on skills but it had other plans and distractions and I'm glad to be able to get back to it. 2022...don't get any ideas! 


For the red cards, I used papers from last year's Hot Buys: Christmas Red and White.


I imported, sized, and cut my images using Cricut Design Space and my Cricut Explore 2, and then layered them using foam squares and foam tape then finished them by adding adhesive rhinestones and coordinating sequins. 


Cardmaking remains my first crafting love! 


Thursday, December 9, 2021

BFF Open House


Happy Friday Eve all! It's been a week that's gone by quickly and slowly at the same time. I'm not sure how that's possible but that's how it's felt for me. The clock stays ticking and we're almost within the two week window for Christmas which seems hard to believe. Looks like you've all been creative and busy Elves, getting presents done and your halls decked. 

Let's take a look at some of your inspiring ideas!


These Icing Cones from Studio 27 by Jennifer Adams look good enough to eat don't they? However don't! They're made from ... spackle! What a wonderful addition to holiday kitchen decor and/or a Hot Chocolate Bar. 


Even if you don't have a digital cutting machine you can still make beautiful papercuts like this gorgeous tree by Priyam at Simple Joys. Great for a card, ornament, or package topper. 


Speaking of trees, LOVE these rust Twine and Wood Piece Trees from Saved From Salvage


Finally, if you're looking for a special holiday dessert, you can never go wrong with a Chocolate Mousse and this one from Kiku Corner looks perfect! 

Now let's see what everyone's been up to this week! 


You are invited to the Inlinkz link party!

Click here to enter

Monday, December 6, 2021

Christmas: DIY Acrylic Ornaments


I had so much fun with these easy to make ornaments! I found these plain acrylic disc ornaments at Michaels and they were a must get! They can be painted, papered, or as shown here, are the perfect surface for vinyl. 

Supplies:
  • Acrylic Disc Ornaments (Michaels)
  • Assorted Vinyl and Transfer Tape
  • Assorted Beads
  • Snowflake Ornament Hooks (Walmart)
  • Misc Jewelry Supplies (Jump Rings, Head Pins, Pliers)
  • Design
  • Digital Cutter (Cricut, Silhouette, etc. )


NOTE: This project assumes a digital cutting machine and familiarity with applying vinyl but you could use a die cutter to cut the images or cut images using an X-Acto knife. 


The ornaments come 18 pieces to a package. Regular price is $9.99 w/out sale or coupon. I used Cricut Glitter Vinyl and a metallic turquoise vinyl I had in my stash. The images I used were various ones I had in my collection. 

First step is to size your images to fit the ornaments. These are 3 inches in diameter so you want to size your image slightly smaller. Then cut and weed your vinyl. Set aside and prepare your surface. 


I used glass cleaner and paper towels but you could also use alcohol to clean them. You want to make sure you remove any residue plus you want a clean surface! Then apply the transfer tape and apply your image to the ornament. 


Once you've positioned your vinyl then use your scraping tool to apply. Remove transfer tape. Now it's time to embellish! 


I added some iridescent rhinestones to the trees on these, and some black ones on the gnome. 


I picked up these cute snowmen beads at JoAnn's when they were having a great sale. They were perfect for the turquoise. I also found these snowflake ornament hangers at Walmart. I wish I'd bought more! I strung the bead onto a head pin, closed, then  used a large jump ring to attach the ornament hanger to the ornament and a smaller jump ring to attach the bead. Same process for the others shown using coordinating beads. 


And there you are! 


One of my friends did a Krampus tree this year so I had to make her an ornament for it! 


Sharing At: 


Thursday, December 2, 2021

BFF Open House


Happy December everyone! The time crunch is ON! I hope everyone had a nice Thanksgiving and for those who began celebrating Hanukkah, hope it's been fun. It was just the two of us but I cooked like it was 20 of us only without the stress of what mood(s) guests would be in and not having to time cooking to drive, pick up relatives, cook, drive relatives home etc. It was freaking glorious. The halls are now all decked and full speed ahead until Christmas which will be wonderful this year because thanks to the pandemic last year, it was the first one we didn't spend with our son and he'll be here this year! Thank you 🎅🏾.

I don't know about you but the hardest part of this time of year for me is being busy making things that you can't post because they're gifts for people you don't want to see them! However, you can share them here so let's take a look at some ideas from last week's party ok?


If you're still looking for some fun decor projects, these Yarn Loop Trees from The Apple Street Cottage are easy and festive! And there are so many fun yarns to play with.


I love a good Dollar Store project and this Ornament Wreath from Life as a LEO Wife is pretty and easy on the budget. 


My blog is really about this next blog's perfect name: Makeable Crafts. Festive accent pillows can change the whole feel of a room. These are no exception! 


Finally, it's the time of year when dinner needs to be easily doable with everything else going on right? These French Dips from Homemade On A Weeknight are PERFECT for that! 

Alright all you Santa's Elves, let's see what you've been up to this week. 


You are invited to the Inlinkz link party!

Click here to enter