Showing posts with label Dollar Tree. Show all posts

Monday, November 6, 2023

Fall Decor: Tissue Papered Dollar Tree Pumpkins


While last year was our first year in our new home, we also went away for Thanksgiving. So this year is our first Thanksgiving here and I decided I wanted to switch up some of my color palette. Since the leaves don't really change much where we are, I went with the colors we do have in abundance. Shades of greens and golds. The best part is, it will still work with the more traditional Fall colors. 

Supplies:
  • Dollar Tree Foam Pumpkins 
  • Tissue Paper
  • Mod Podge
  • Acrylic Paints


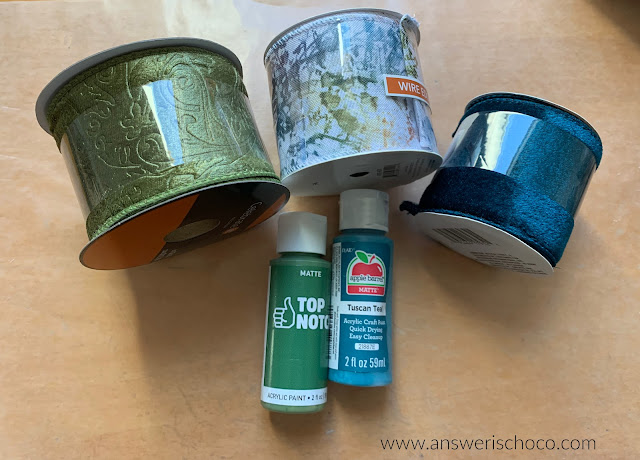
This is the color palette I'm working with. I'm in the process of decorating so will be sharing things as I go along. 


The first step is to cover your pumpkin with tissue paper. Any tissue paper will work. I love the "ugly" pumpkins. The knotted, gnarly, knobby, creased ones. I crumpled the tissue paper then tore it into pieces. This is not scientific or measured! Apply some Mod Podge to the pumpkin, lay the tissue paper on, spread some more Mod Podge and continue until covered, including the stem. 


The tissue paper soaks up the Mod Podge but I like to go over it anyway just to make sure it's really good and on there!


When you're done, yes, it will look like it's been covered in a cocoon! I wanted the teal paint to be just a little deeper so I added a few drops of black and didn't completely mix it so it would have some variegation. 


I was very happy with how the crinkles and paint came together but of course, I wasn't done! The final step was to go over the pumpkins with gold, which I dry brushed all over, and covered the stem.



Tuesday, January 31, 2023

Valentine's Day Easy Cloche


I use this cloche I found after Christmas one year at Pottery Barn for seasonal decor. OK non-seasonal decor too but...

Getting my Valentine's decorating going this week and made this very easy vignette from things I had on hand. 

Supplies
  • Heart Shaped Picks (I found these last year at Walmart and forgot to use them)
  • Small Clay Pot
  • Glass Votive Holder (Dollar Tree)
  • Scrap Vinyl
  • Heart Shaped Confetti


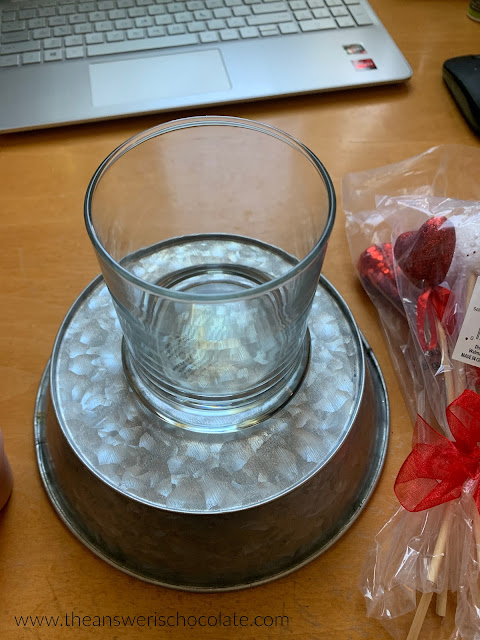
Since I like to use this for different things, I grabbed a glass candle holder I had in my craft closet to use as the centerpiece of the cloche. I knew I wanted to use the confetti and this kept it neat. 

I also had a small clay pot in my stash which fit perfectly (upside down) inside the glass candle holder. I painted it white with one coat of acrylic paint. 


Sometimes I'm smart enough to keep things from previous projects like this silver heart that remained after cutting a vinyl project last year. You could easily just cut a heart or use a sticker. Put this on my painted clay pot. 


Then, I added my picks with the stems cut to fit under the cloche dome. 


To finish, I sprinkled heart-shaped confetti around the clay pot and put the dome on!  


Easy to switch out for its next use!

Sharing At: 


Monday, January 30, 2023

Home Decor: Beaded Wood Wreath and Tag


I love how you never know what you're going to find a Dollar Tree. When I turned the corner of an aisle and found not only a Wood Bead Wreath form but in black? Squeal! And then when I saw a tag to match? Double squeal!

Supplies
  • Wood Bead Wreath Form (Dollar Tree)
  • Wood Bead Strung Tag (Dollar Tree)
  • Faux Leather (On Hand)
  • Silk Flowers (On Hand)
  • Hot Glue and Glue Gun
  • Twine


I remembered I had some faux leather in my stash from JoAnn. Decided this project needed a center bow and that this was perfect for it. I chose a bow image from those I have saved, sized in Cricut Design Space, and cut. 

When you cut faux leather, you need to use a strong grip cutting mat (I use Cricut's purple one) and you also want to lay your leather right side down. 


All of the faux leather I've seen has this woven backing so you want to cut through the back side to minimize fraying.


Here are the bow pieces cut out. I opted out of using the tail. Back in the stash for something else!


To assemble the bow, use hot or other strong glue (eg E6000) and fold in each side. Since this is a layered bow, repeat for the other layer. 


Layer one bow atop the other, then using the rectangle strip from the bow pattern, wrap around and glue to secure. 


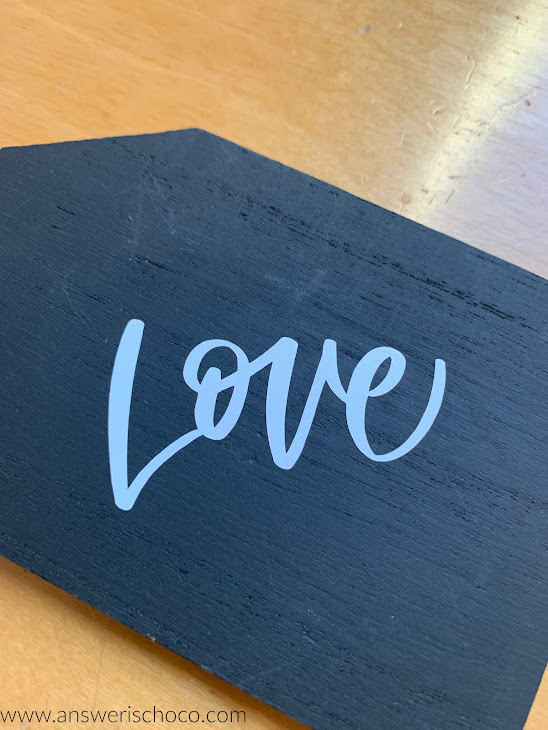
The flowers I had on hand from a post-holiday 80% off sale so they were like, $2? I stripped the leaves, cut the stems to where I wanted them, bound them together with floral tape and hot glued to the wreath, then glued the bow on. I left the tag pretty much as-is, just adding the word "Love" cut from white vinyl. 


I decided to angle it just because that's what my brain decided to do. Once I had it positioned the way I wanted, I burnished with my scraping tool and ...


In hindsight, I probably should have attached the tag before gluing the bow on but, I didn't! So I grabbed some twine and used the existing twine loop on the tag to secure it to the wreath. 


Simple. Inexpensive. Love! 

Sharing At: 


Tuesday, November 8, 2022

Fall Decor: Silver and Copper Geometric Pumpkins


I love it when a plan you didn't have comes together. I mentioned in my post about the Textured Copper Candles, that I'd show what I did with the vinyl that was left on the backing sheet so here we go! 

Supplies:
  • Foam Pumpkins (Dollar Tree)
  • Multi-Surface Craft Paint, Bright Silver (Michaels)
  • Geometric Textured Vinyl (Previous Project)
  • Kraft Butcher Paper
  • Strong Wire
  • Mod Podge


I'd picked up a couple of these foam pumpkins at Dollar Tree when their Halloween supplies came out and didn't end up using them but they still work great for Thanksgiving/Fall Decor. I painted themwith a couple o coats of multi-surface paint (Craftsmart from Michaels). I also removed the "stem" that came with them since I had another idea in my head. 


To make the stems, I tore some kraft butcher paper (guestimated the size) and some strong wire. I twisted the paper, leaving enough at on end to fan out a bit so I could attach to the pumpkin. I utwisted the wire, the using hot glue, tacked the wire in the middle, then re-twisted. 


I left a little tail of the wire at the bottom to push into the pumpkin to stabilize then fanned out the bottom and hot glued in place. If you don't have enough to fit, just tear some more small pieces of paper. 


Don't worry if the paper is sticking up. You can bend and twist your "stem" as you like, and trim if needed. 


To finish the stems, grab some Mod Podge and a brush and then go over the paper, soaking it pretty well. Once it dries, your stem will be secured to the pumpkin. 


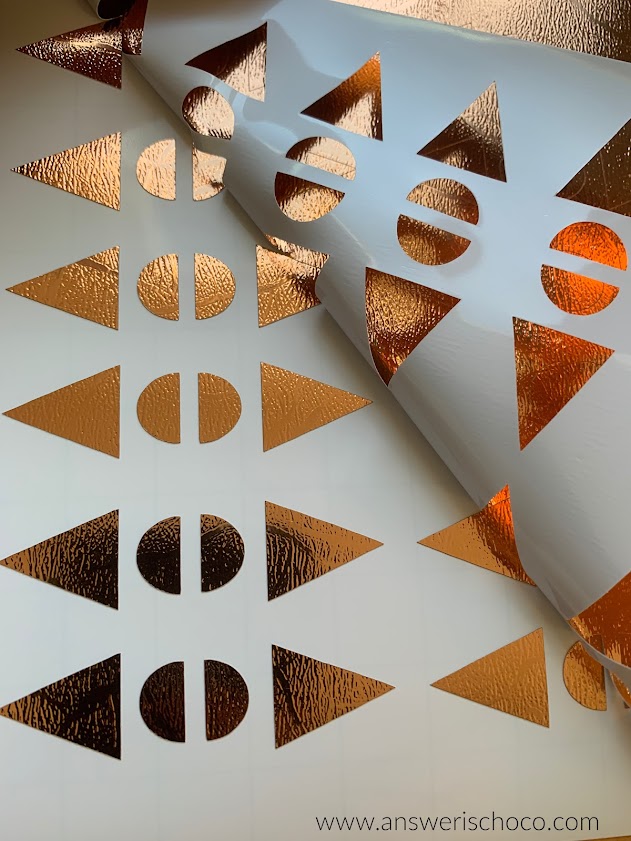
Now it's time for the "leftover" vinyl from my candles! I cut the backing paper in rows, then applied transfer tape, then cut strips of each set of triangles and half circles and then applied them to the spines or whatever they're called, of the pumpkin.


Sharing At: