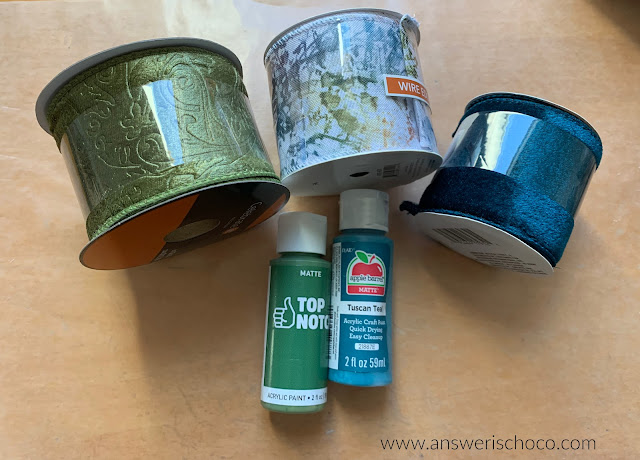
While last year was our first year in our new home, we also went away for Thanksgiving. So this year is our first Thanksgiving here and I decided I wanted to switch up some of my color palette. Since the leaves don't really change much where we are, I went with the colors we do have in abundance. Shades of greens and golds. The best part is, it will still work with the more traditional Fall colors.
Supplies:
- Dollar Tree Foam Pumpkins
- Tissue Paper
- Mod Podge
- Acrylic Paints
This is the color palette I'm working with. I'm in the process of decorating so will be sharing things as I go along.
The first step is to cover your pumpkin with tissue paper. Any tissue paper will work. I love the "ugly" pumpkins. The knotted, gnarly, knobby, creased ones. I crumpled the tissue paper then tore it into pieces. This is not scientific or measured! Apply some Mod Podge to the pumpkin, lay the tissue paper on, spread some more Mod Podge and continue until covered, including the stem.
The tissue paper soaks up the Mod Podge but I like to go over it anyway just to make sure it's really good and on there!
When you're done, yes, it will look like it's been covered in a cocoon! I wanted the teal paint to be just a little deeper so I added a few drops of black and didn't completely mix it so it would have some variegation.
I was very happy with how the crinkles and paint came together but of course, I wasn't done! The final step was to go over the pumpkins with gold, which I dry brushed all over, and covered the stem.


2 comments:
I love a nice Dollar Tree craft! -You did a fabulous job creating your tissue-papered Dollar Tree pumpkin.
You really did a great job on these. Such an improvement from the dollar store look. I’m pinning this for future ideas!
Post a Comment