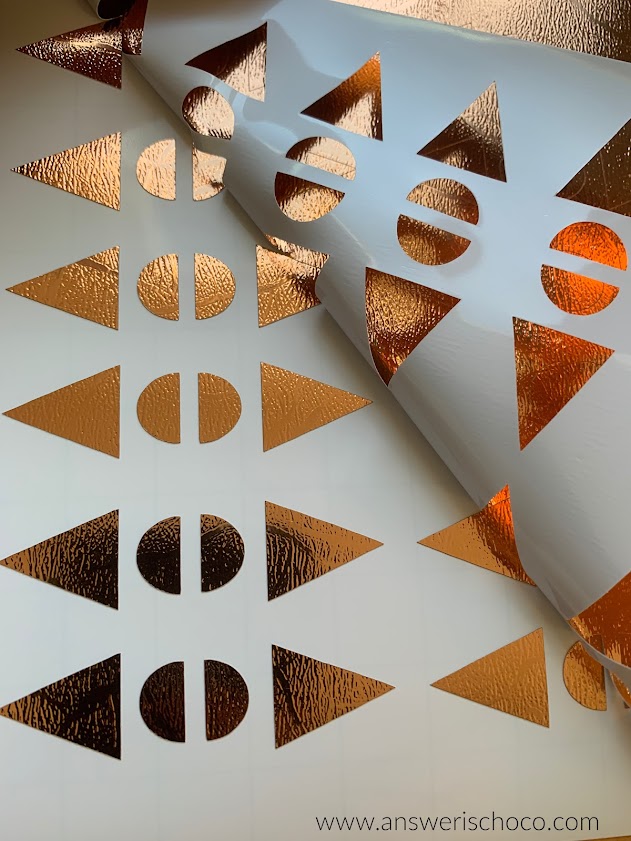
I love it when a plan you didn't have comes together. I mentioned in my post about the Textured Copper Candles, that I'd show what I did with the vinyl that was left on the backing sheet so here we go!
Supplies:
- Foam Pumpkins (Dollar Tree)
- Multi-Surface Craft Paint, Bright Silver (Michaels)
- Geometric Textured Vinyl (Previous Project)
- Kraft Butcher Paper
- Strong Wire
- Mod Podge
I'd picked up a couple of these foam pumpkins at Dollar Tree when their Halloween supplies came out and didn't end up using them but they still work great for Thanksgiving/Fall Decor. I painted themwith a couple o coats of multi-surface paint (Craftsmart from Michaels). I also removed the "stem" that came with them since I had another idea in my head.
I left a little tail of the wire at the bottom to push into the pumpkin to stabilize then fanned out the bottom and hot glued in place. If you don't have enough to fit, just tear some more small pieces of paper.
Don't worry if the paper is sticking up. You can bend and twist your "stem" as you like, and trim if needed.
To finish the stems, grab some Mod Podge and a brush and then go over the paper, soaking it pretty well. Once it dries, your stem will be secured to the pumpkin.
Now it's time for the "leftover" vinyl from my candles! I cut the backing paper in rows, then applied transfer tape, then cut strips of each set of triangles and half circles and then applied them to the spines or whatever they're called, of the pumpkin.


No comments:
Post a Comment