Monday, October 1, 2018

Sunday Dinner Made Easy: InstaPotRoast


So I don't do a lot of cooking posts mostly because I forget to take pics, but thought I'd do one since I haven't for a while.  The calendar has said Fall for several days but here in the desert it's still been 100 or more. We're expecting a storm though, and it got cloudy and "Fall" looking yesterday, and nothing says Fall dinner to me like a Pot Roast. 

I got an Instant Pot (which I call InstaPot) last year for Christmas and has become my favorite way to make a Pot Roast. PIP ( Pre InstaPot) this would be an all day endeavor for me, slow roasting in the oven for hours. Now though, start to finish, the whole meal took 2 hours and most of that time was me reading a book while things were cooking. 

I served it with Roasted Fingerling Potatoes , Roasted Broccoli and Glazed Carrots. 


Ingredients: 
  • 3 lb Chuck Roast (you can use a smaller cut of meat but I planned leftovers for French Dips!) 
  • 1 shallot
  • 3-4 cloves of garlic, peeled
  • Olive oil
  • Salt and pepper
  • Bay leaves
  • Beef broth

My InstaPot has a Saute function so I used this to brown the Chuck Roast on all sides. 

While this is heating up, peel your garlic, slice your shallot, salt and pepper your roast. 


Once your roast is browned on all sides, throw in the garlic and shallots. I also drizzled with a little garlic infused olive oil just for some extra flavor and since I'd gone a little crazy at a local olive oil place called Cave Creek Olive Oil where if you can't find a flavored oil or balsamic vinegar you like, I'm not sure it exists.  I know there are many places like this all over the country but they do ship! 

Once your roast is fully browned, add about 2 cups of beef broth, place the lid on, and hit pressure cook and set for 1:20 (80 minutes). Go read for a little bit and come back with about 40 minutes to go and put your potatoes on a sheet pan in the oven. These I tossed with more of the garlic olive oil, salt and pepper and roasted at 400. About 20 minutes in, I added the broccoli to the sheet pan. 

When the roast is done, you can either use the quick steam release or let it cool down on it's own so you can open the lid which will take about another 10 min. Mr. Chocolate kept asking what time dinner was so it was quick release for me! 

Remove from your InstaPot and let rest. Pour remaining liquid through a mesh strainer into a measuring cup or bowl ; turn InstaPot back to Saute, return strained liquid to pot, bring to boil. 

While this is going on, drizzle some olive oil ( I also picked up some Blood Orange Olive Oil which is what I used) and a small pat of butter in a saute pan. I'd already sliced my carrots and also semi-cooked them in the microwave for about 4 min, and then added them to the pan with a couple large tablespoons of brown sugar. Sprinkle whatever herbs you like. I used oregano and marjoram and while these are finishing, mix a slurry ( flour or cornstarch mixed with water) to your liquid in the InstaPot to finish your gravy. 


While your carrots and gravy are finishing, shred or slice ( we like it shredded) your roast, plate and serve w/ your veggies. 


I know many of you have an InstaPot but several still don't. If you're on the fence, I'd jump! Put one on your holiday list. They're lifesavers!! I still haven't explored all the things it can do but I'm working on that. 

Next time I make Spaghetti: 

I'll share the steps. I will NEVER make spaghetti any other way again. (Excuse my well worn plates...yikes I need some new ones!)

Thursday, September 27, 2018

BFF Open House Link Party

It's Fall "y'all" ! Officially. My first ever Fall still wearing shorts but it's Fall. But it's still one of my favorite times of the year and even though I am still in shorts here in the desert, there's a change in the air. Clearly you are all in Fall mode too given the projects you linked up last week. Let's take a look.


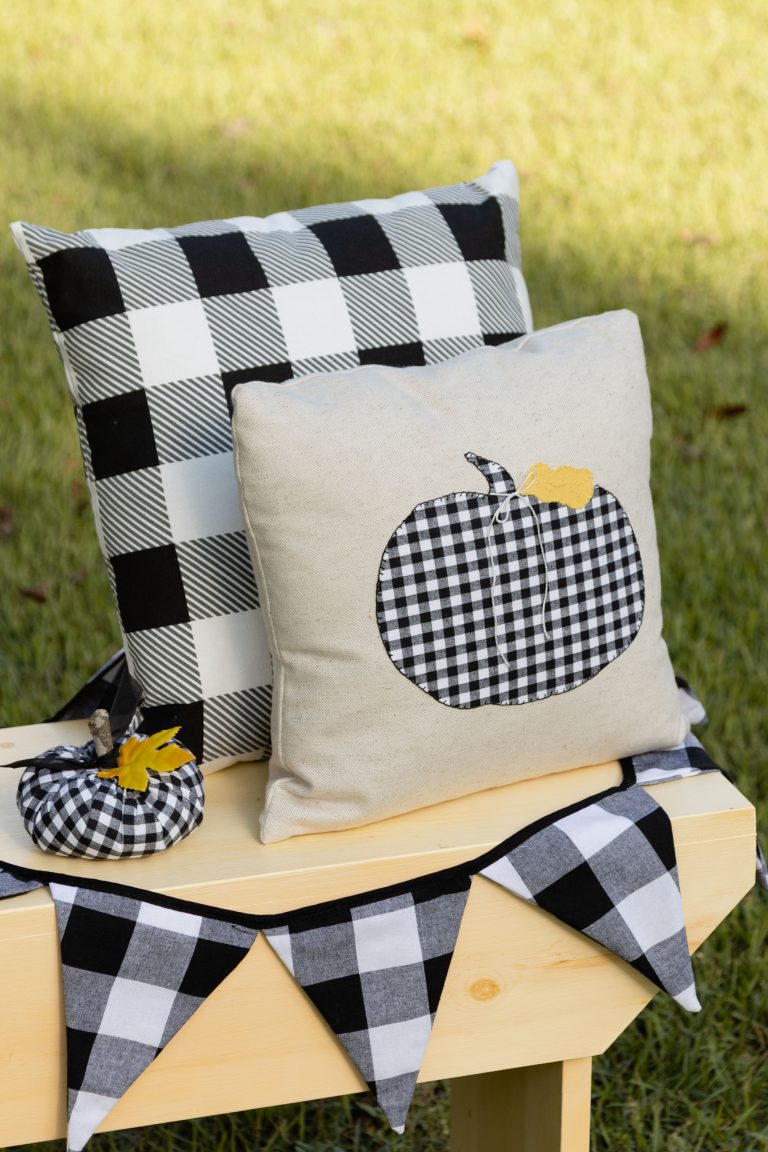
Black and white are my signature colors. I mean is there anything that doesn't look great in B&W? I adore these pieces shared by Kippi At Home ! 


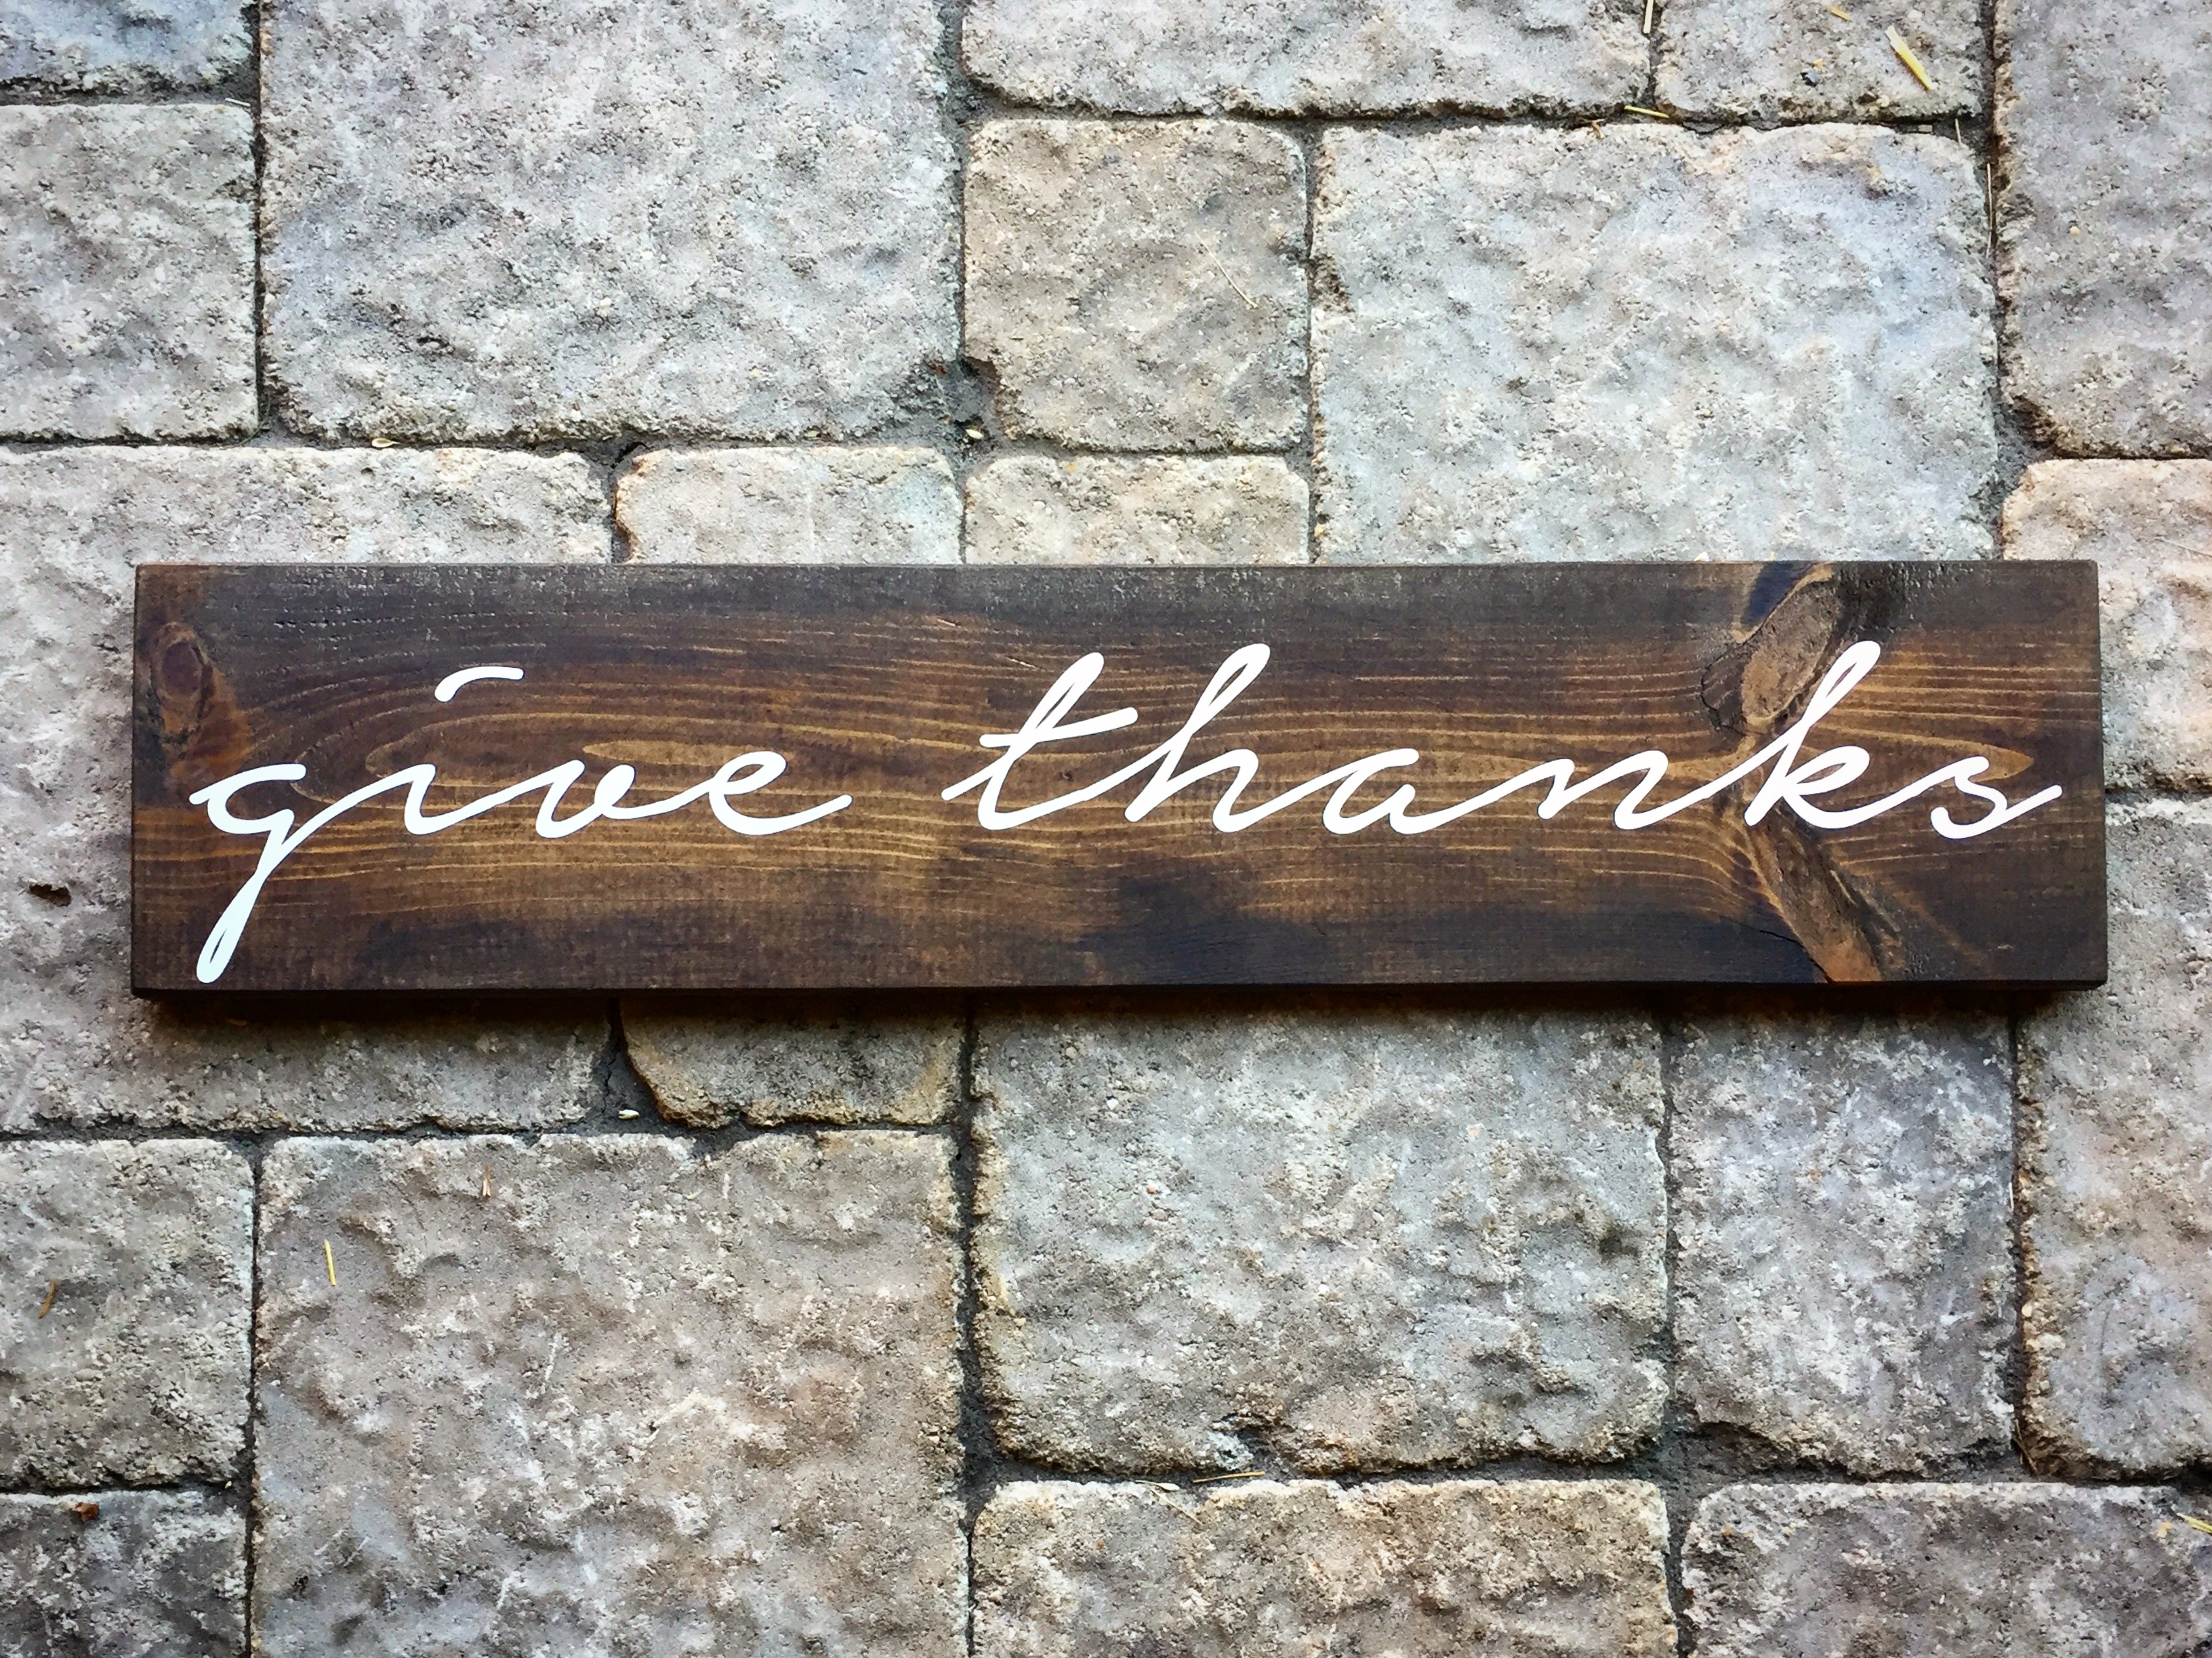
Fall is the season of giving thanks and what better way than with a wonderful sign like the one from Hazel and Gold Designs. Simple, rustic and elegant at the same time. 

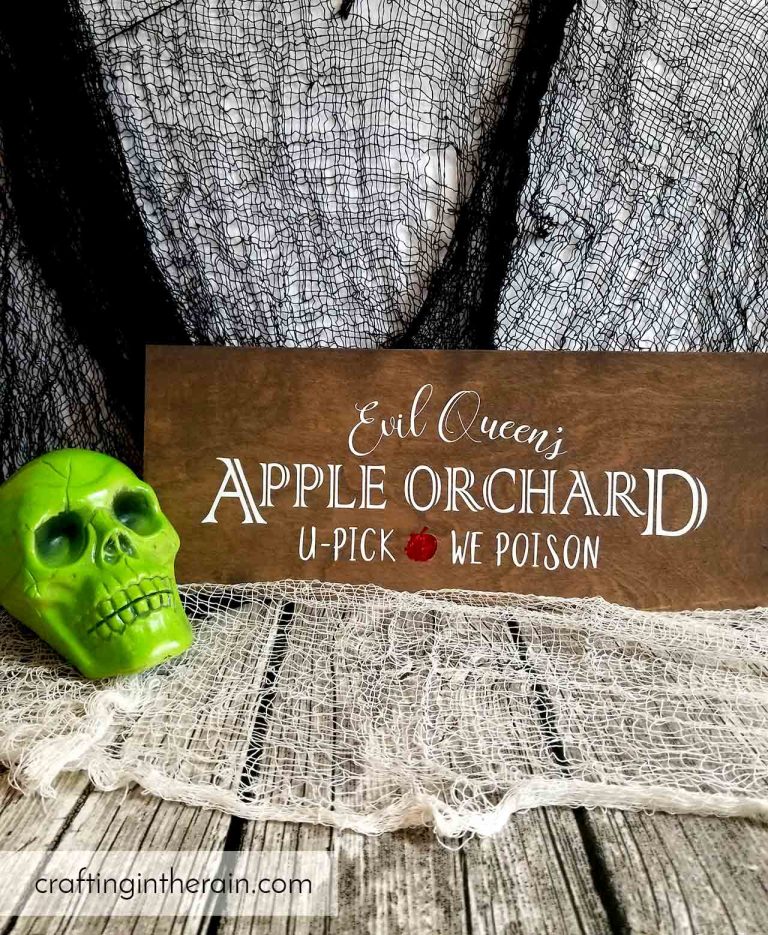
But Halloween comes first so here's another sign idea from Crafting In The Rain

I love this,  complete with the Granny Apple Green skull! 


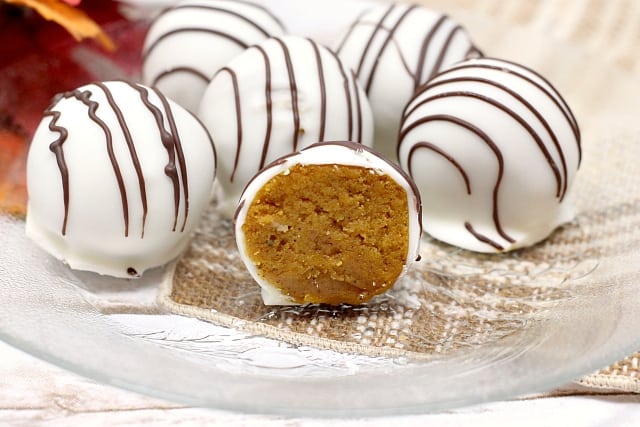
Finally, Pumpkin Spice may be nice for a lot of you but my go to Fall flavor is Salted Caramel and Chocolate ANYTHING. So these Brownies from A Sprinkle of Joy are right up my alley. YUM!! 

Now, let's see what you've all been up to this week! 


Monday, September 24, 2018

My First Paint Pour: Paper Towel Swipe Method


So while I was without a craft room, I became obsessed with paint pouring. I may be very late to the party but I'm here now and I'm so hooked! If you haven't played with this let me warn you, it's so much fun and addictive from the first project and expect to see more projects!

What is paint pouring? In my own words, it's basically thinning acrylic paint with a medium that increases it's fluidity and flow, to create cells that dry into different patterns.  I'm sure there is a more official description but that's what it boils down to for me.  I just decided to experiment based on the concepts I'd seen on Pinterest and You Tube. 

Supplies: 
  • Canvas or other surface. I used a 12x12 canvas from Michaels
  • Acrylic Paints. I used 2oz bottles from my craft stash, nothing fancy ( in other words, not from the fine art section)
  • Flow medium. I decided to go with an official medium and used Liquitex Pouring Medium ( Michaels ) but have seen references to everything from just water, silicone, other brand name pouring mediums, even hair care products.  Since this was my first time I decided to be "official"  and use something designed for this.
  • Containers and utensils to mix paint and medium 
  • Paper towel


I added enough pouring medium to make my paints pourable. I craft like I cook...by instinct so it was about 2/3 paint 1/3 medium and as you can see, for this size canvas you don't need a lot. 


You will want to make sure you have your work surface covered because it will drip down the sides. I just poured a couple of colors in random patterns as shown and kept adding paint until I felt like I was ready to do the swipe. 


I started with black and silver, and then added gold and white, and just kept pouring and swirling. 


When you're done adding your paint, you'll need a wet paper towel for what is called the "swipe". I went for wet but not sopping and just kept it at the ready in its own cup. This is something you'll want to watch a video to see the technique because I couldn't do it and take pictures at the same time but basically you straighten out your wet paper towel and then line the bottom of it up with the top of your canvas and swipe ( to me it's really more of a drag) your wet paper towel down to the bottom of your canvas. 

You'll pick up paint on your paper towel which you can offload on an extra piece of paper. I actually saved my paper towel once it dried. It looks like a piece of handmade paper which I guess it is! Repeat on the remaining un-swiped area of your canvas. 

Now don't do what I did! I prefer to think of creative mistakes as "happy accidents". I am impatient and I wasn't sure if I'd totally mucked up my project ( I hadn't) because I wasn't seeing the cells develop immediately.  This is the part where you don't want to repeat my mistake ( unless you decide you do!). 


I dragged my paper towel sideways instead of just leaving it alone because I thought maybe I hadn't covered my canvas well enough. I ended up making these kind of wave patterns which in the end turned out fine since there really is no right or wrong here but that's not what you're supposed to do. I also wasn't seeing as much gold as a result because I'd dragged too much black paint over it so I just randomly dropped some from the cup with the gold in it.  

Had I been more patient, I would have realized that the interaction of the water from the paper towel with the paints and the medium just took a little time. As the canvas sat there, the cells began to emerge. I'm still happy with the outcome and it fits right in with the rest of how one of the walls in my office is coming along!


and it goes with my "cement" focal wall: 


Thursday, September 20, 2018

BFF Open House Link Party


Happy Friday Eve once again. Best day of the week! Not only because tomorrow's Friday but because I get to see all the wonderful creativity you share each week. 

Let's see some ideas from last week's party!


Leanna from Faeries and Fauna is back with another wonderful project. This one modeled on a clam basket. Large baskets are hard to find and when you do they can get pricey so I love that you can make this and make it any size you choose!


Who doesn't have an empty tissue box? Save your next one to make this Upcycled Halloween Candy Container from Marie at DIY Adulation.


I have been in love with Velvet Pumpkins since I first saw them but Lisa from Fresh Vintage by Lisa S has now added Velvet Acorns which take things to another level! She did these in pink in honor of Breast Cancer Awareness Month.


I know this is the time of year that Pumpkin lovers rejoice, so all of you who are need to check out these gorgeous Pumpkin Spice Cake Balls from Butter With A Side of Bread


Now let's see what you've all been up  to this week. Thank you for visiting!


Thursday, September 13, 2018

BFF Open House Link Party

Happy Friday eve all! Here's to another weekend on the horizon. Weekends are the best aren't they? When someone says "How was your weekend"? my answer is usually : "It was the WEEKEND so by definition, awesome". 

Fall is definitely in the air ( even though temps here are still 100+) so let's take a look at some ideas from last week's party. 


Vignettes and tablescapes do so much to change the mood of a room. I love this gorgeous Fall display from Faeries and Fauna which includes instructions for how to layer your pieces for the best look. 


If you want to bring a little Fall color into your home, love this idea from The Red Painted Cottage ( and I'm in super love with that galvanized basket).


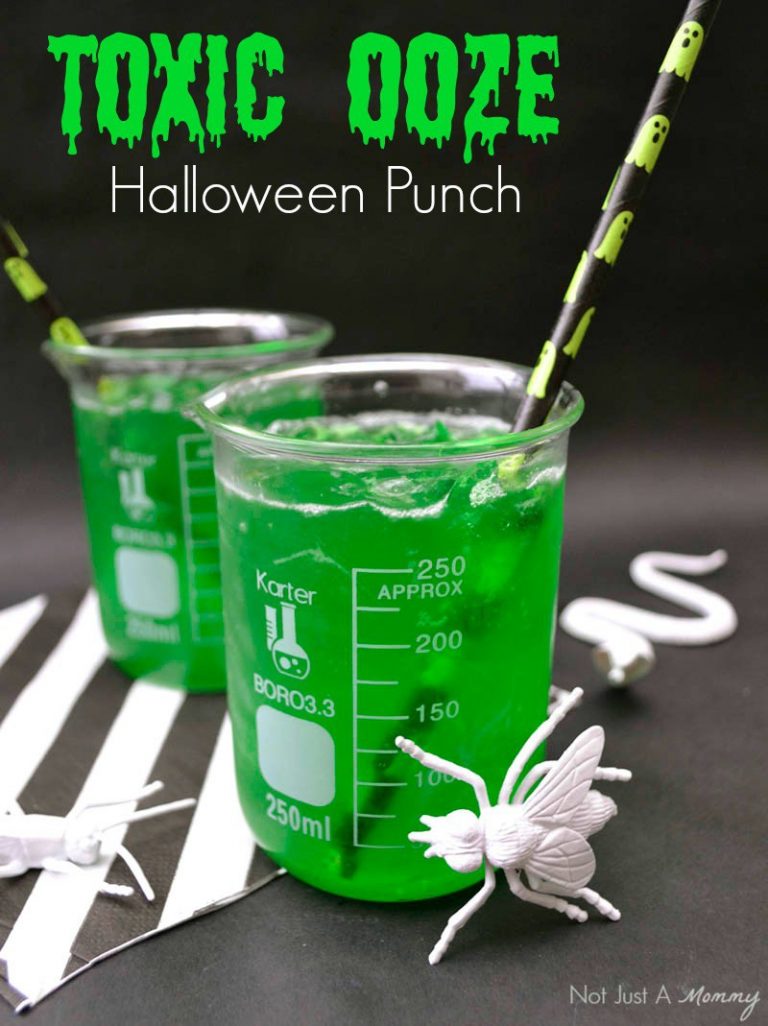
Is it bad when you see an idea and immediately think "Now I have a reason to buy what I just saw at Michaels last weekend"? Does this happen to anyone else? Fess up! My Michaels has a whole collection of labware for Halloween and these Mocktails from From Playdates to Parties would be just the thing to fill the beakers I thought about getting but wasn't sure why and now have a reason to get...I digress.  You could make Appletinis if you want to change this to an adult beverage. 


Finally, I love the vintagey goodnesss of this Reverse Canvas sign from Vintage Paint and More, especially the ombre coloring of the letters. 

Now, let's see what everyone's been up to this week! 


Sunday, September 9, 2018

DIY All Natural Room Deodorizers


This week's party continues here through tonight! 

My first project in our new home! Well it's new to us but it's not a new house. It's the first time in a long while we haven't lived in new construction. 

Like people, houses have their own personalities which includes smells. This is not to say that our house smells bad, but had its own smell! Coming from the PNW, we're just used to being able to open windows a lot throughout the year and you don't get to do that in the Summer in the desert. I think "stuffy" is a better descriptor. The house smelled stuffy, and I wanted something to address that. 

Being a lifelong asthmatic, I also needed to avoid things that would trigger my asthma. So may sprays, perfumes, cleaners etc. do that. I was thrilled to find an easy solution on Pinterest that used all natural ingredients. Here we go: 

Supplies: 
  • Jars: I used 8oz Ball Jars from the grocery store
  • Baking Soda 
  • Essential Oils: I got mine on Amazon
  • Scrapbook paper


This is such an easy thing to make. 


The hardest part of this is deciding on the scrapbook paper you'll use for your lids. I'm a neutral girl so I chose a neutral paper. 

Remove the center of the jar covers. Set aside for future Christmas ornament idea. 

Using the jar rim, trace onto the reverse side of your scrapbook paper, cut. 


Once you've cut your paper lids, place inside rims, set aside. 


Next step is to fill your jars with baking soda. I just poured until they were evenly filled. Then add your essential oils according to how strong a scent  you want. 

As I've tried to explain to Mr. Chocolate, I wanted these to absorb as much as emit a scent. I used a combination of orange, lavender, and peppermint essential oils but I didn't want them to scream "I'm orange lavender and peppermint". In case you haven't read between the lines, he thinks I should have used more oils. 

Once you've added your oils, stir to evenly distribut, then put the lids on. Almost done! 


The final step is punching holes so your deodorizer can both diffusely emit the scent and the baking soda can do it's job of absorbing. I used the pointy side of a basic school compass to poke the holes because I didn't want them too big. And done!


I noticed a difference after having them out the first day. A fresher air smell which is what I wanted. 

Thursday, September 6, 2018

BFF Open House Link Party


Eeeek! (no, not a Halloween post). Between continued unpacking and Monday holidays always throwing me off the rest of the week, I didn't have time to do features this week. Will catch up next week. But that doesn't mean we're not going to have a party so please link up and check out what fellow Chocoholics are sharing!! Happy Friday Eve all!