Thursday, December 6, 2012

My Red and Green Whimsical Tree

Red and Green Tree

I’m tackling our main tree on Saturday, but I thought I’d share one of the tabletop trees I did get done. This one is what I call my Whimsical Tree filled with lots of bright red, lime green, and a little black and white. I unintentionally started collecting Santa and Stocking ornaments so they all go on this tree, along with any little things I pick up along the way that match the color scheme. 

Whimsical Table

It sits atop my painted table with a big bowl of ornaments that I keep this alabaster bowl ( a thrifty find, glued to a thrifty found crystal candlestick).

PC027239

These little guys sit patiently under the tree.

Whimsical Topper

The tree topper is lime green and red tulle, a sprig of lime green glittered berries, and two clusters of felt holly leaves with pom pom berries found during an after Christmas sale.

Red and Green Wreath

I re-purposed  a  wreath  this year to match the tree.

This tree is home to some  little snow people. We have one for special people in our lives who are no longer with us. This one’s for my dad.

Joey The Snowman

They light up but we wait until Christmas Eve to turn them on.

And this is one of my favorite ornaments:

PC027247

Tuesday, December 4, 2012

Christmas Printable Fun and My Memories SW Giveaway!

Dear Santa-001

I enjoy making printables and using them in my décor . You can also size to use  for tags or cards or wherever your imagination leads you.

I created this one using the newest version of My Memories Suite digital scrapbooking software ($40 value). 

They just released a new version and there are lots of fun background papers and embellishments to play with, not to mention tons more fun kits and quick pages that can be found in their online store from the best price of “free” on up. You can import your own photos to pre-designed quickpages, modify them. or start completely from scratch. And you can use any fonts already installed on your computer. So why am I telling you this?

Tis the season to be giving and one of my readers can win their own copy of this fun software!

I'm using Rafflecopter for this giveaway. To enter:


a Rafflecopter giveaway


The giveaway will run through Tuesday 12/11 with the winner announced on Wednesday 12/12. If you can’t wait and want to play now, you can save  $10 off your order of the software here. Just use code STMMMS58014 at checkout.

Of course I couldn’t stop at just one printable!

Snowglobe-001

To download, click on the image to bring to full size, right click to “save as” and then you can re-size in any editing program.

Sharing At: 


Disclosure: This is a sponsored post through my affiliation with My Memories

Monday, December 3, 2012

DIY Vintage(d) Tree Topper: Scrapbook Paper, Glitter, and Paint

Vintage(d) Tree Topper

I decided when I took down last year’s tree that I wanted a new tree topper. I’d been using big ribbon bows but they were looking a little tired. We get a real tree, and nature does not always provide that perfect branch at the top for most of the vintage or vintage inspired glass  toppers I like. So natch, I made my own !

For this project you will need:
  • Paper mache cone
  • Craft paints ( I used a Sterling Silver and Sterling Silver Glitter)
  • One 12x12 sheet of scrapbook paper
  • Oversized bottle cap ( you could also use a jar lid)
  • Paper cut to fit inside your cap
  • Focal point ( I used a vintage looking brass sticker)
  • Glue Gun
  • Glitter
I painted my paper mache with a couple coats of silver metallic, then went over that with a couple of coats of the silver glitter paint.

Before and After Metallic Cone

In between coats of paint, make the medallion that is the centerpiece of this tree topper. Cut one 12x12 page of scrapbook paper into 4 6x6 sections. I used a sheet music page from Recollections and made one inch score marks using my Martha Stewart scoring board.

Martha Stewart Scoring Board

Once you’ve scored and folded each of your sections, hot glue them together. Since the paper I used was pretty heavy I used hot glue vs tape.

Paper Medallion

Then I took a small paintbrush , thick glue, and silver glitter and made my way around my medallion until it was edged.

Glitter Edged Medallion

I had some giant bottle caps in my stash but a small jar lid would work for this too. Cut a circle of silver glitter paper to fit inside, Mod Podged it in there, and then added an embossed brass colored sticker to the middle. The one I used is by K&Co.

Giant Bottle Cap

I hot glued a silver tinsel pipe cleaner around the inside edge. I had some silver glittered snowflake pics from my after Christmas deal scrounging last year so pulled on out, stuck it through the top of my cone and added a dab of hot glue to keep it in place. Glued  my completed medallion on to my cone and done.


Vintage(d) Tree Topper

Vintage(d) Tree Topper

Sharing At:


BFF Open House Link Party #81 Wrap Up and Features

A big thanks to everyone who linked up to Friday’s party. It’s clear that everyone’s in full holiday mode. Here are a few ideas that caught my eye.


Rachel over at Holy Craft not only shared how to make these adorable sheet music trees, but also how to make the cones she used for the base.


Rox, from fourelevenrox shared how to make a meltproof snowman complete with a frost brimmed hat.


Bethany from Pitter and Glink shared an idea that would be great for Christmas décor or as a gift. Transform Dollar Store items into this wire cloche for an elegant boutique look.

I kinda have a thing for waterless snow globes and snow jars and snow things under glass. Fonda from Southern Scraps shares how easy these are to make.


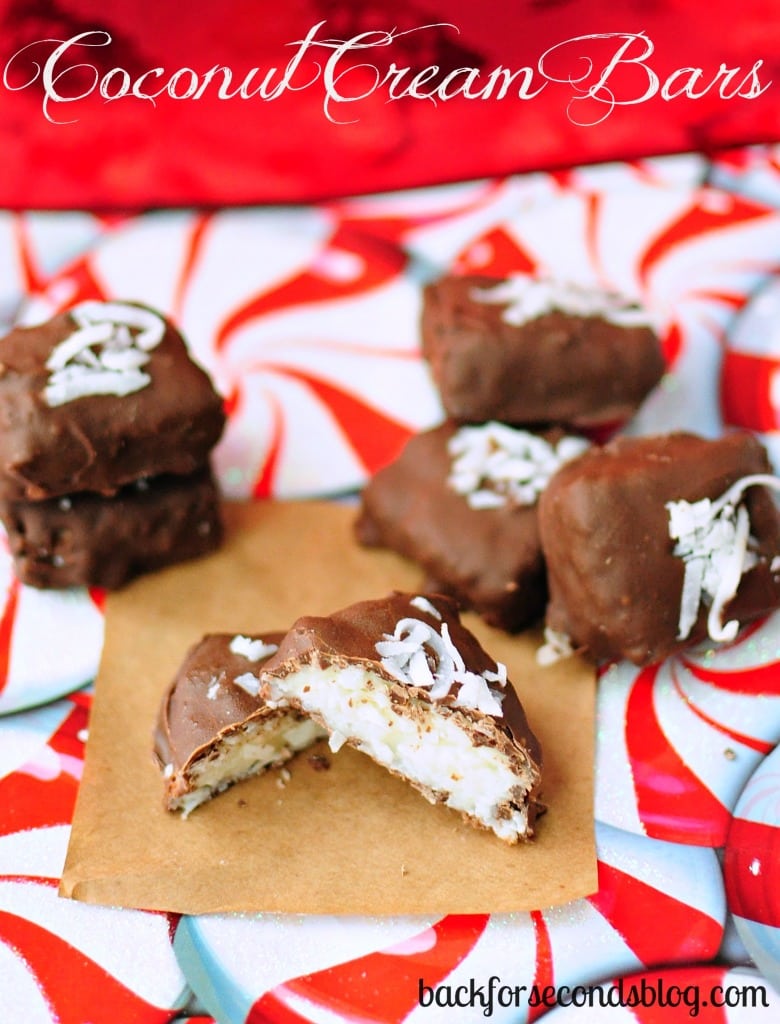
This week’s chocolate feature uses only four ingredients to make my very favorite combo…chocolate and coconut! Go visit Stephanie at Back For Seconds for the recipe!

4 Ingredient Coconut Cream Bars by Back For Seconds  #nobake #easy #candy #christmas

Thanks to all who link up each week and welcome to those joining for the first time.

Sunday, December 2, 2012

Easy Christmas Signs "Joyeux Noel"

Joyeux Noel Signs Border

I made these signs for a treat exchange as a little something to go with the chocolate butter cookies I brought.

For this project you will need:
  • Wood Scraps ( these are from a package of scraps found at Michaels)
  • Craft paint, your choice of colors. I used Martha Stewart Metallic Gold and Wedding Cake
  • White glue ( Elmers or generic)
  • Vinyl for lettering ( or you could stencil)
  • Die Cuts
  • Embellishments ( I used paper roses, washi tape and adhesive rhinestones)
Joyeux Noel Crackle

Paint your wood pieces with desired base color ( mine was gold). Let dry, apply white glue and when almost dry, go over with top color ( white). If you’re impatient, use your embossing gun ( lightly) or hair dryer to speed up drying. This also helps the crackling.

Joyeux Noel Vinyl

I used my Silhouette Cameo to cut out vinyl letters from green vinyl.  I like to use transfer tape to apply lettering to get it somewhat straight.

After my letters were on, I cut a branch and holly leaves using my Cuttlebug and Tim Holtz Holly Branch die:
*Tim Holtz Sizzix HOLLY BRANCH Die Bigz 657468
Getting a lot of use from this die. It’s the same one I used in my wreath makeover here. Mod Podged a branch and one leaf onto my signs and outlined the branch with iridescent glitter glue, and used red rhinestones for the berries.

Joyeux Noel Signs Border


Joyeux Noel Signs Border

I’ve gone crazy for washi tape so grabbed a roll of peppermint striped tape and put a piece on just because. 

Finished by hot gluing a silver tinsel pipe cleaner to each.

Sharing At: 


Saturday, December 1, 2012

Vintage Paper Snowmen Under Glass

Vintage Snow Jars

When I was at a scrapbook show a few weeks ago, I saw some really cute domed jars. I fell in love with them but they were $5 each and I couldn’t justify it knowing I’d want to use more than one.

So I kept walking. Then I was at Dollar Tree and saw these clear glass candle holders that were similar in shape. Ding Ding Ding. Idea!


For this project you will need:
  • Clear glass jar or candle holder
  • Paper snowman 
  • Small tree
  • Epsom Salts
  • Glitter
  • Pipe Cleaner
  • Chipboard
  • Scrapbook Paper
  • Tinsel Pipe Cleaners

Vintage Snow Jars

The diecuts I used are actually vintage cards I picked up somewhere. You could print a vintage graphic on cardstock and trim  to get the same effect.

Stickles Snowmen

I added some Stickles glitter glue to the buttons on these snowpeople to give some dimension. Since these are cards they open and are hinged in the middle. The bottoms aren’t connected so I made a stand by folding the front one way and the back the other.

Using your candle holder as a guide trace circles around two pieces of scrapbook paper and a piece of chipboard. Apply scrapbook paper to either side of chipboard.

standing snowmen

Hot glue your snow people to the circles. Hot glue your trees in place.

Snowman jar

Pour Epsom Salts and glitter into candle holder and then hot glue your diorama in place.

Frosty Snow Jar

I added some coordinating washi tape just cause and finished by hot gluing tinsel pipe cleaners around the bottom.

Frosty Snoman Jar

Sharing At: