I'm not a big Spring or Summer Maker. So I kind of combine the two seasons in my home decor because it overlaps both seasons. I'm a master word masher, so Spring+Summer = Sprummer!
Last year, I went bright with some Llamas I still love and did a little Tucson-focused theme. I added it to it this year with these bowl vases from Dollar Tree.
Supplies:
- Fishbowl Vases, Dollar Tree
- Variety of Acrylic Paint Colors
- Dotting Tools, Paint Pens, or Pointed Brush

I grabbed a variety of paint colors and my paint dotting tools and this was a very "go with the flow" kinda project.

I cleaned the outside of the bowl vases with alcohol, and then started dotting! I randomly went around the vase with white to start, then added colors from there.

Shown here with yellow and turquoise added.

Kept going until I was happy! Most of the paints I used are multi-surface use. I don't plan on these needing to go in the dishwasher, so I didn't "cure" them by baking them in the oven.

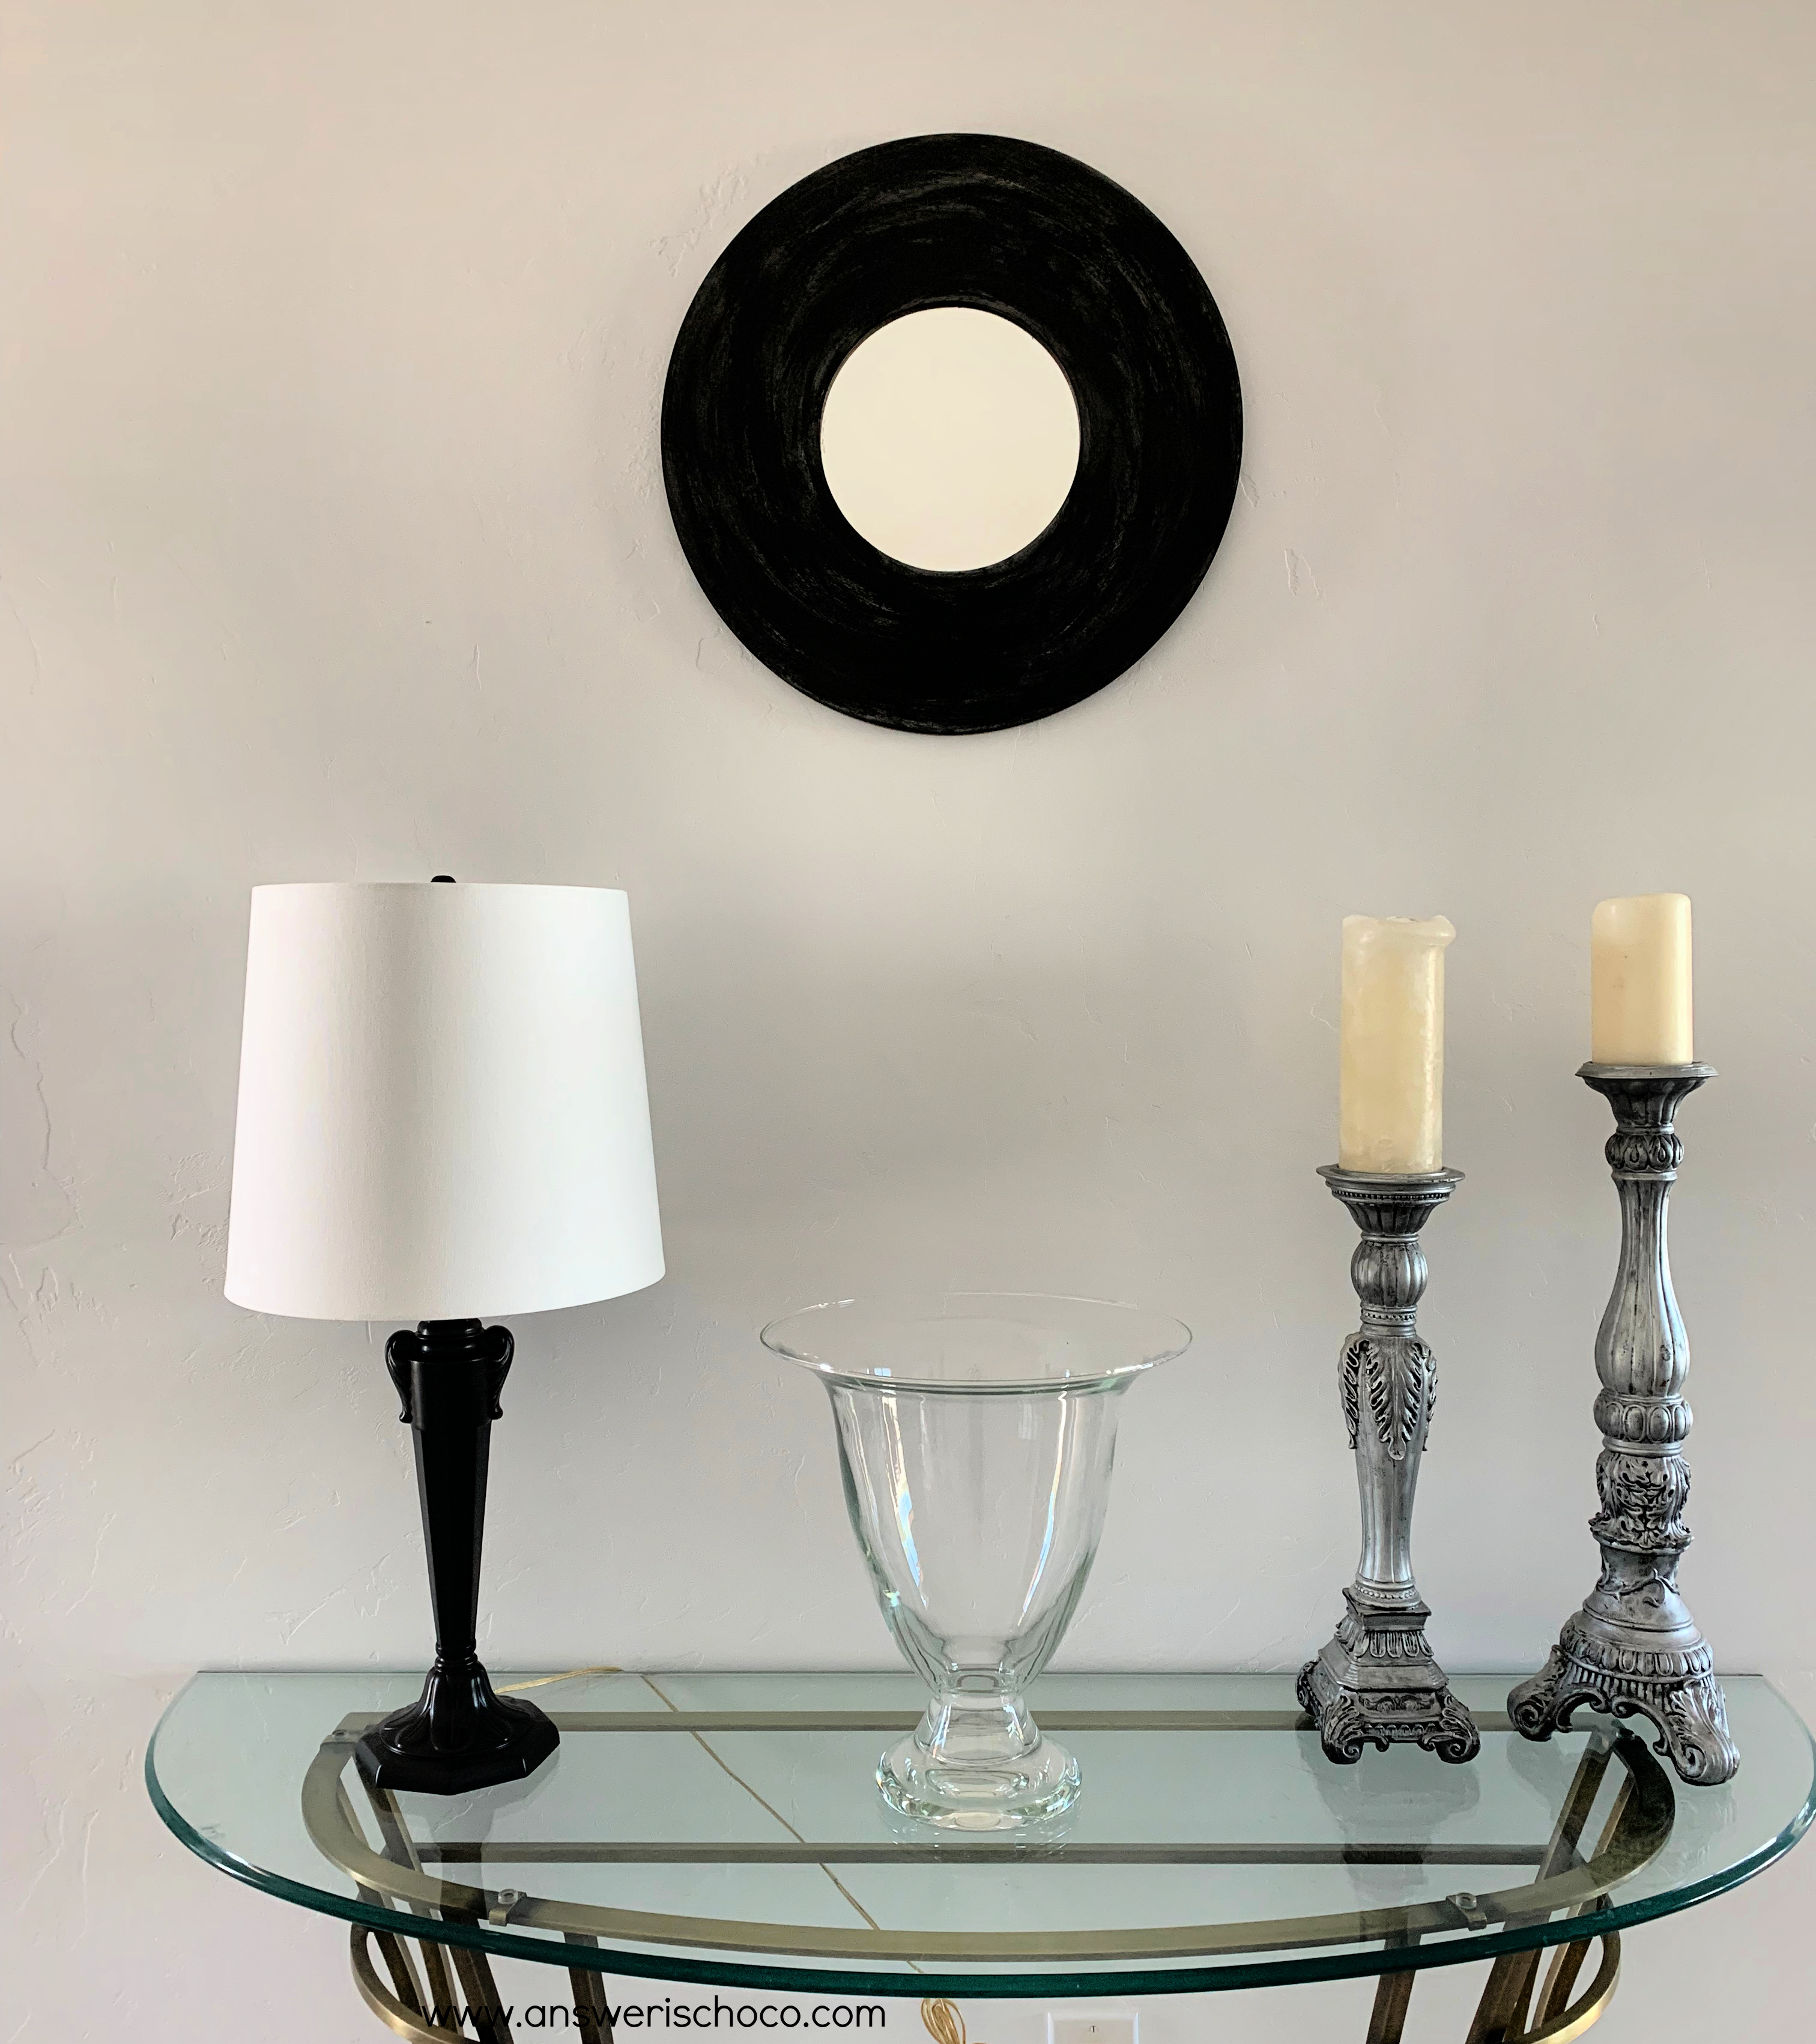
For storage reasons, I don't glue things like this together because I like to use things differently so they just rest on these wide candleholders. Also from Dollar Tree. I filled them with some white rocks, and then placed some embossed metal flowers I also made last year atop the rocks.

That's it! Mr. Chocolate claimed them as his because I don't usually do a lot of bright colors, and he is the King of bright colors!


What do you think?


Sharing At: