Monday, August 8, 2022

Papercrafting: Birthday Magic


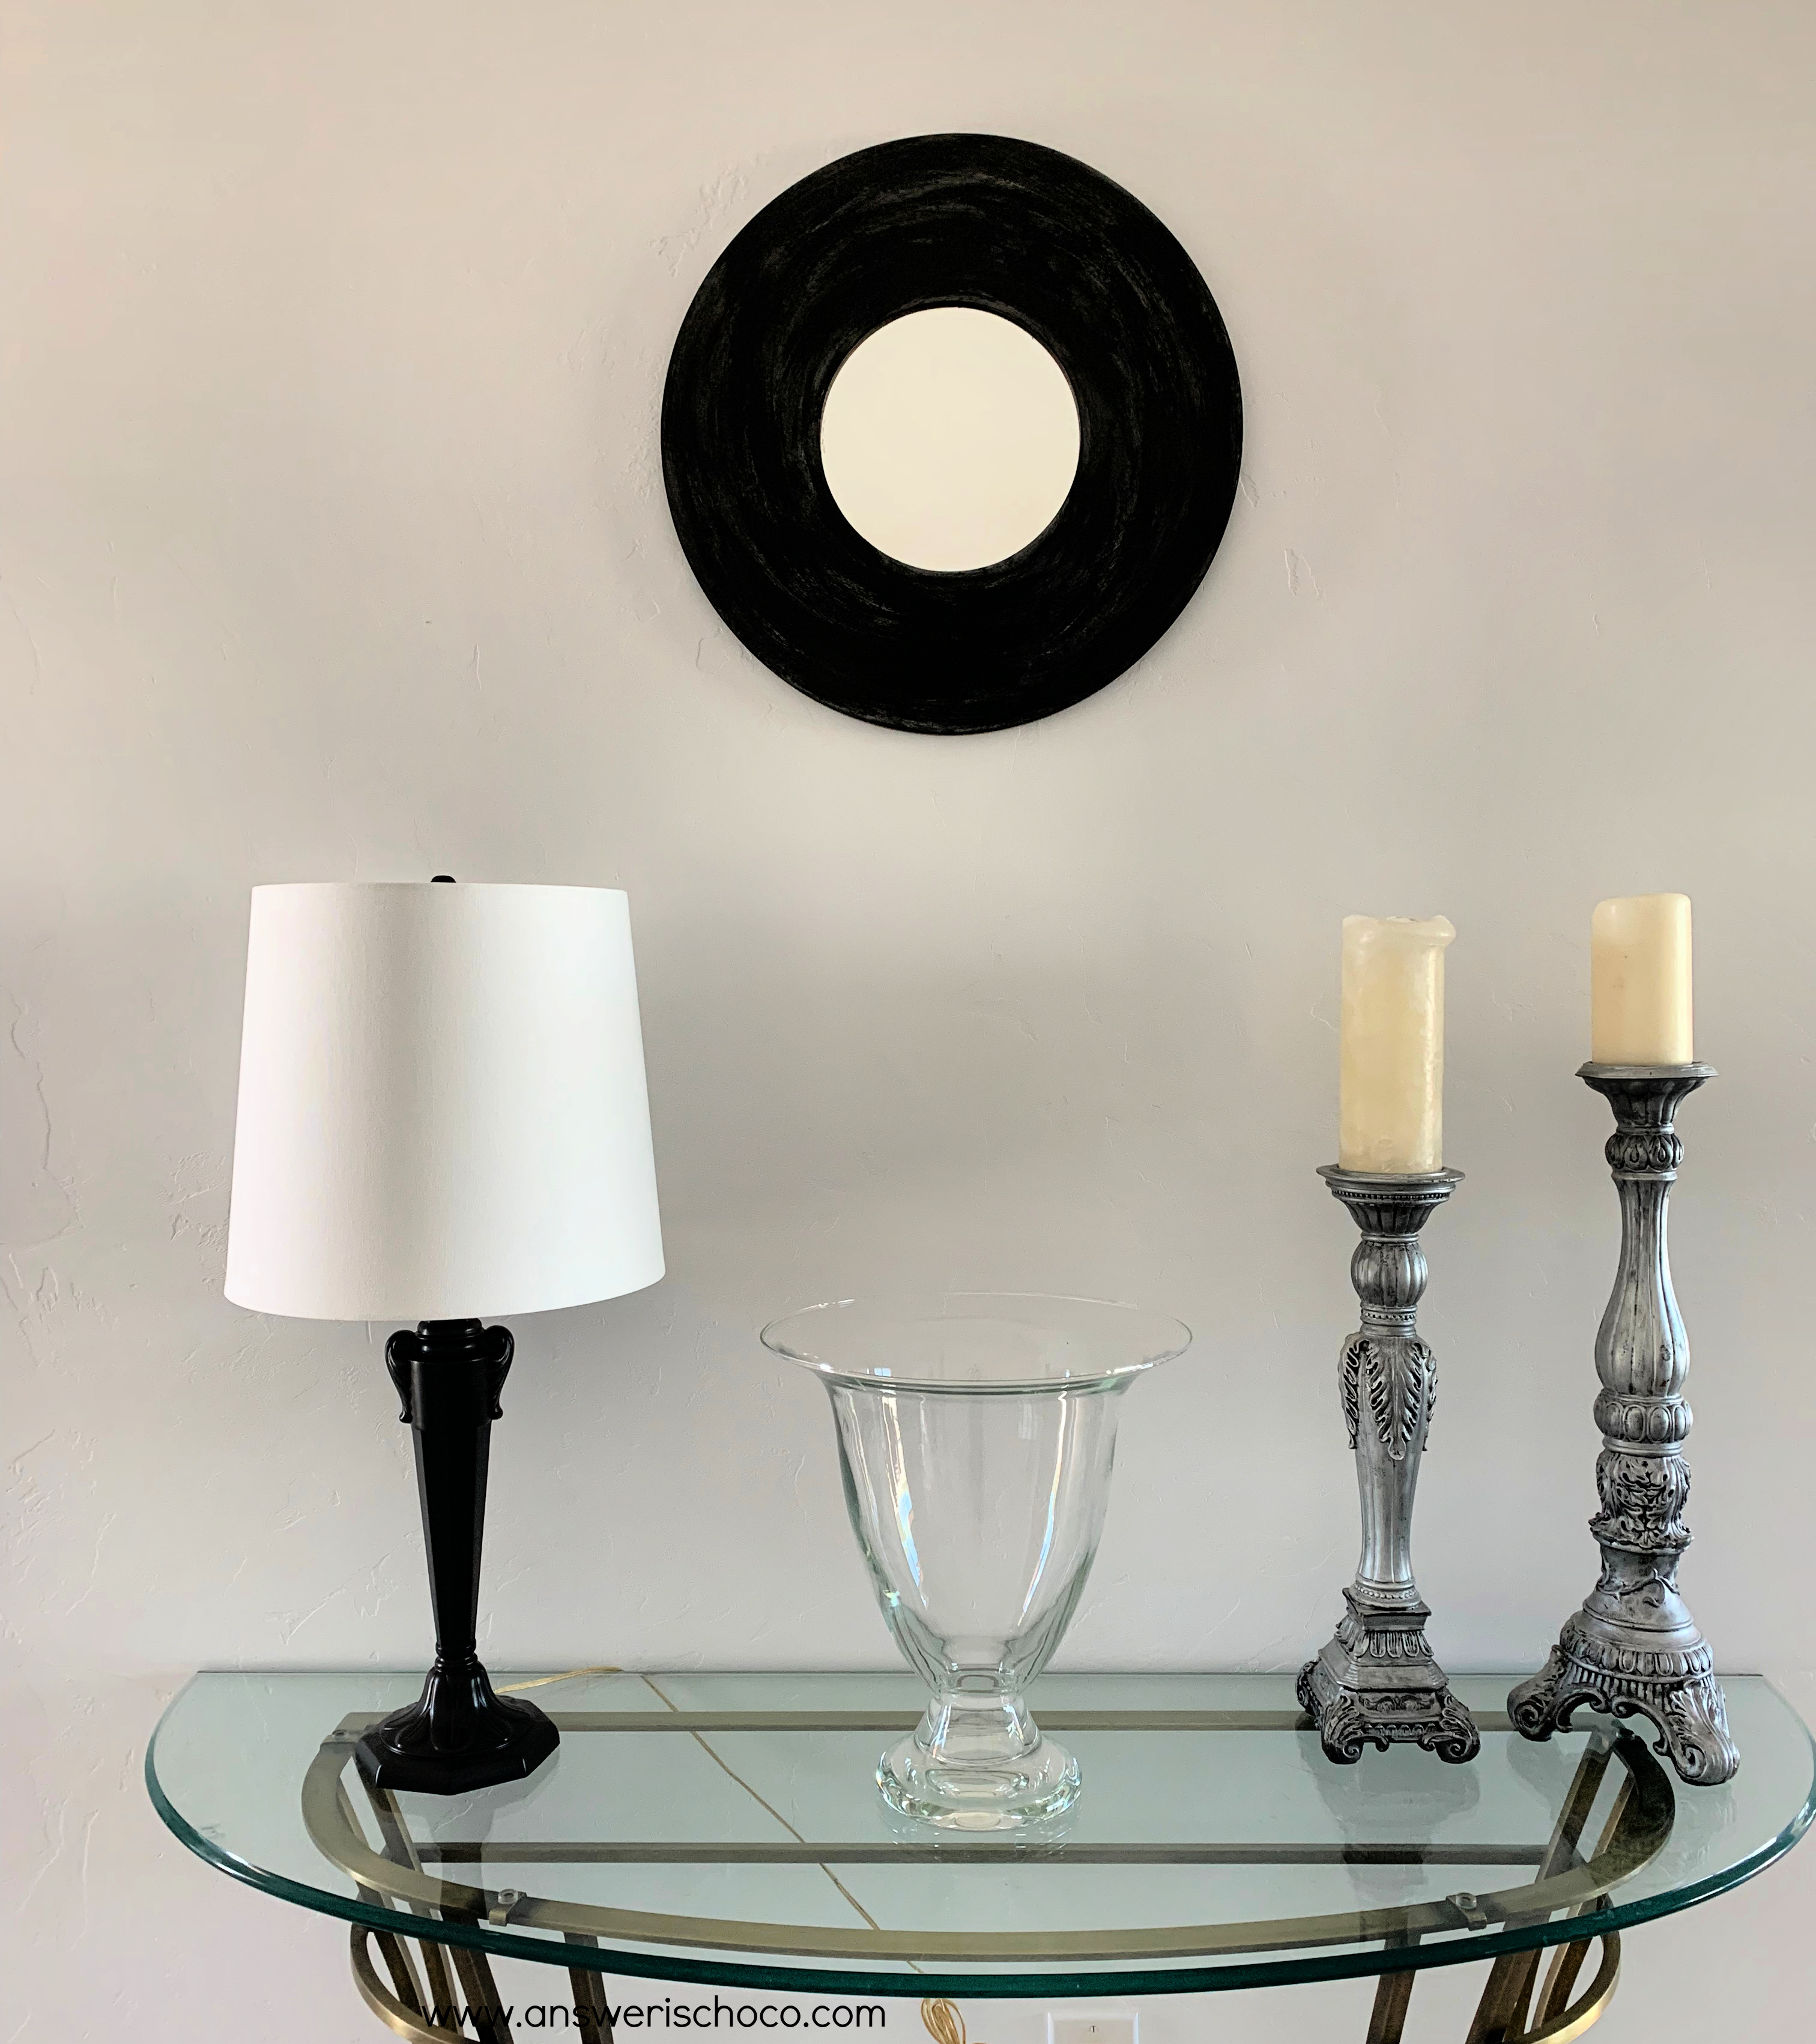
I've been busy with updating and making home decor. I was thankful that a friend had a birthday so I had a reason to make a card, my first love!

Supplies: 
  • Recollections Paper Stack, Spring Inks (Michaels)
  • Recollections White Cardstock 110 lb (Michaels)
  • Black and White Polka Dot Paper
  • Capitol Chic Designs Die Cuts (Michaels)
  • Crafter's Square Embellishments (Dollar Tree)
  • Foam Tape
  • Tape Gun


I pulled out some supplies from my stash. The Capitol Chic Designs die cuts,a while I picked up at Michaels awhile ago when they first came out. It's great having more diversity in crafting supplies and I love their work! I chose a couple of images to use as the focal for the card. I also love that Dollar Tree has increased and expanded their craft supplies and find a lot of embellishments there. 

I chose a foiled-marble paper from the stack that coordinated with the die cuts, and them made a card from white cardstock (5x7) and cut a panel (4.75x6.75) from the polka dot paper. 


I've had this Martha Stewart scoreboard forever and use it for all of my cards. I scored the 10x7 cardstock panel down the middle to create the 5x7 card, then applied the marbled panel and die cuts using foam tape to mount.


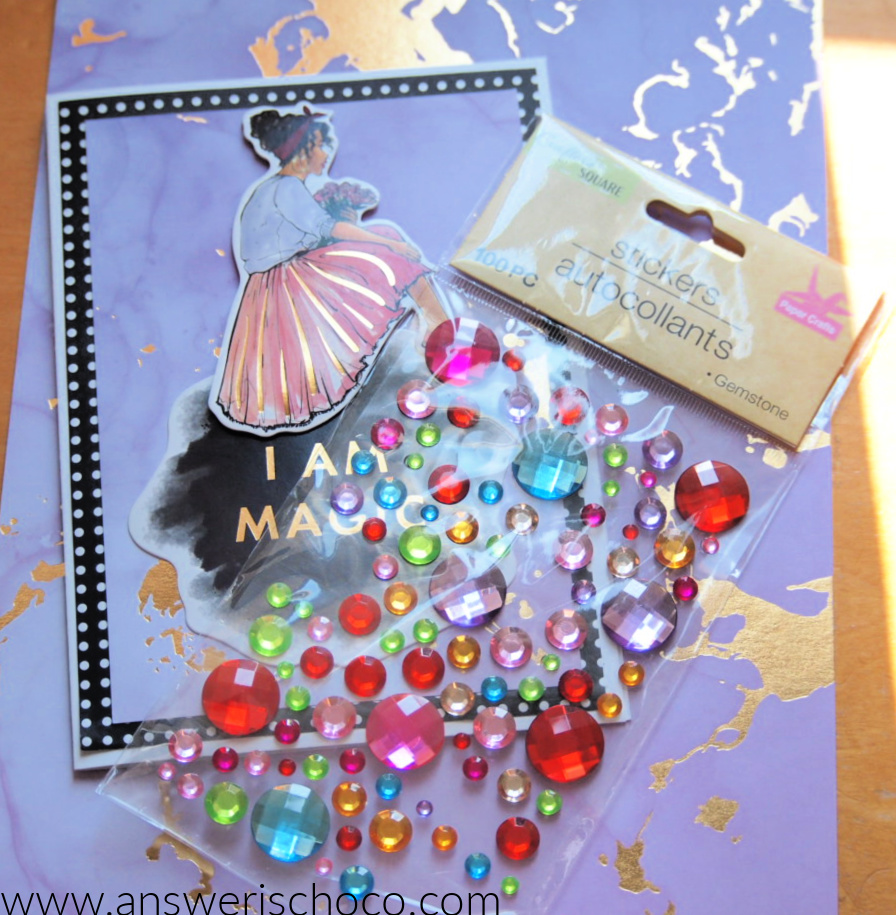
I skipped the cupcake stickers and just went with the rhinestones in coordinated colors to embellish. 


Et Voila!


Thursday, August 4, 2022

BFF Open House


Happy August, everyone. How it's already August, I don't know but here we are which means maker season is about to go into overdrive. Seeing more Halloween and even a little Christmas popping up in the stores and some of it is already on sale! Riddle me that. 

This week I shared two more home decor projects. A Lamp and Mirror Makeover and some more DIY Wall Art in Shades of Blue

Some wonderful projects as usual were shared at last week's party so let's take a look at a few!


LOVE this transformation of a stand ashtray from The Apple Street Cottage .


Whether you have a box of maps you've collected or just grab some new ones. Creatively Beth has you covered with Three Ways to Use Recycled Maps.  


If you want to get a headstart on Christmas cards, this one from Paper Seedlings is a stunner! 


Maybe you've been gardening or picked up some Zucchini at a Farmer's Market. Here's a great way to use it and it doesn't hurt that it means getting more veggies in. Check out this Double Chocolate Zucchini Cake from The House on Silverado


You are invited to the Inlinkz link party!

Click here to enter

Wednesday, August 3, 2022

Home Decor: Shades of Blue DIY Wall Art


See? Not everything I'm working on lately is black! With a lot of wall space to cover and not trying to break the bank buying art for it, I continue on my DIY Wall Art journey. Our master bathroom has blue cabinets which are a nice contrast to the gray tile on the floor and in the shower. I decided to do a new painting to tie the two together. 

Supplies: 
  • 36x48 Canvas (Michaels)
  • Acrylic paints in shades of White, Silver, Blue
  • Paint Scraper and Brushes 


My "easel" is a folding card table that works perfectly for these larger canvases. There was no master plan here. I started by painting a section of white, then blending in two different shades of silver. FOr the "water" effect, I did dots of blues and white and then dragged through the paint with a paint scraper. 


For the center of the painting I did a deep blue that coordinated with the color of our cabinets, then did the reverse order of the silvers to white using a wide paintbrush. 


Coincidentally, I'd done a couple of blue-themed paintings before we bought this house that fit perfectly into this room. 


The toilet is situated in its own area so this is in that "room". I'd also previously done this Acrylic Paint Pour canvas which also works in this room! 


I must have been psychic because both of the pieces I did before we even found this house remind me of the fluidity of water so they're perfect for this bathroom. 


No Galleries will be calling to offer me a show, but I'm happy with my DIY Artwork and my biggest fan, Mr. Chocolate, is too! 


Monday, August 1, 2022

Home Decor: Lamp and Mirror Makeover


So I promise not everything I'm making and/or making over is black! In fact I have a couple of colorful projects to share coming up. But, today I'm sharing an easy update to an existing lamp and mirror. 

Supplies:
  • Items to make over
  • Craft Smart Multi Surface Premium Satin Paint, Black
  • Martha Stewart High Gloss Multi Surface Paint 
  • Craft Smart Metallic Paint Silver


I started with this brass Stiffel lamp we've had forever. I originally thought I was going to spray paint it but the weather's been iffy lately and I'm not exactly patient so I decided to test whether Craft Smart's multi-surface paint would do the trick. Boy did it! It went on very smoothly from the fist coat and I only needed to do two coats to get great coverage. 


LOVE this paint! The original shade was a parchment color and I wanted a different shape. We found this one at Target. I was very nervous I'd muck up a nice lamp but now, I love it even more! 


The mirror also went with our prior style and color scheme so it too got a makeover. 


I cut a circle of contact paper to cover the glass then painted it with a matte black paint, dry brushed with silver and then again with the Martha Stewart Gloss paint which added a bit of depth that's hard to see in the picture. 


I wanted to capture the essence of the original which wasn't a solid finish.  


I have plans to spray paint the table since we're moving away from the brass but need monsoon season to calm down since it's definitely an outside job! 


I'm very happy how they work with the Thrifted Candlesticks I've used on this same table, and am looking for some tall branches and vase fillers for my big vase (Pottery Barn) but didn't want to wait until it's all done to share!


Thursday, July 28, 2022

BFF Open House


Happy Friday Eve and end of July! The month's flown by and been a whirlwind getting moved in to our new home, unpacking etc. It's been a serious monsoon season this year with lots of rain, which is needed, and some amazing lightning light shows. It's also felt good to get back to being able to make some things. This week I shared another piece of DIY Modern Wall Art and have been playing with more. 

As always, the projects shared at last week's party were inspiring and beautiful. Let's take a look at a few. 


I've mentioned that I love combining modern and vintage. The Soiree Blog has an incredible roundup of re-purposed vintage sewing machine tables that do just this. I absolutely love this one with a natural wood top! They're all amazing. 


Artsy VaVa shared this AMAZING Corner Cabinet transformation. The color is fabulously named Cactus! 


Dragonfly Treasure shared this lovely Succulent Garden made using old cement trays (molds). Aren't they fabulous?!


Finally, I love pickles almost as much as I love chocolate. When I was little and we went to the deli, I loved the pickle barrel and the crunch of a good garlicky pickle. My husband laughs at me and pickles because I will just sit and eat them standalone. These, from The House on Silverado inspire me to actually make some! 


Thank you to everyone who linked up and can't wait to see what you've all been up to this week! 


You are invited to the Inlinkz link party!

Click here to enter

Monday, July 25, 2022

Home Decor: DIY Black White and Silver Wall Art


I've been having more fun with DIY Wall Art and exploring modern looks. The first piece I showed was for our second bathroom and this one is as well. The bathroom is a "Jack and Jill" with two entrances, but it's also split into two sides. The first side that I showed here has the vanity, sink, and cabinets. The other side has the toilet, shower, tub with black and white subway tiles which is what influenced this piece. 

Supplies: 
  • Wood Art Board 11x14
  • Acrylic Paints
  • Paint Scraper and Brushes

I bought a bunch of these wood art boards at Target when they were on clearance so I had them in my stash. You can get similar at Blick Art and I've also seen them at Michaels and JoAnn.  To start, I covered the board with a couple of coats of white paint (Apple Barrel Snow White).


For this, I didn't want any of the wood bleeding through so I made sure to get a good opaque coverage. After that, I placed black paint (Craftsmart) dotted in a grid pattern, then used a paint scraper to rough out a rectangle. 


It doesn't matter if the grid is straight because you can even it out with the paint scraper and brush and it doesn't have to be perfect. Once dry, repeat the same process for however many other sections you want to do. 


To finish, I once again used a black paint pen to outline and draw some squiggles. There's no right or wrong. Just what you like. 


I think it picks up the tiles perfectly and also works with the shower curtain we put up! 


The black and white ties together with the black and white from the other piece on the other side of the bathroom. 


Sharing At: