I was finally able to make some things and wanted to share the Easter and Passover cards I made for friends and family. I will forever be a snail mail girl!
Supplies:
- Scrapbook Papers (I used coordinating pastel-colored stacks)
- 110 Pink Cardstock (Recollections)
- Digital Images (Creative Fabrica and Cricut Design Space)
- Digital Cutting Machine (Cricut Explore Air 2)
- Tape Gun
- Foam Squares
- Self-Adhesive Rhinestones
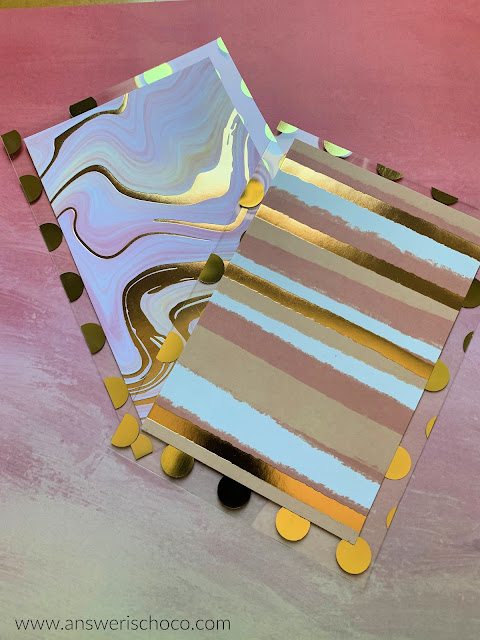
Whenever Michaels has deals on their paper stacks, I stock up so I can coordinate things when I'm making a project. I had these "Spring Inks" and "Spring Pastels Glitter" stacks in my stash and since they're both by Recollections, they coordinated perfectly. I also used Recollections 110lb cardstock for the base which went with these colors.
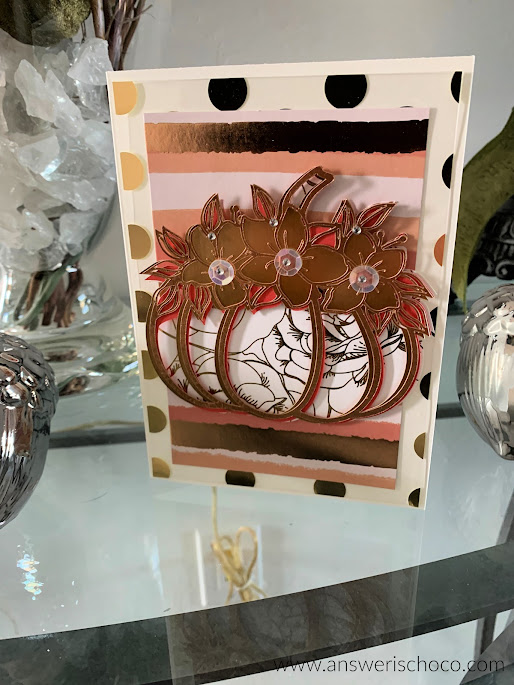
I cut the pink cardstock to size for 5x7 cards (10x7), scoring down the middle. Then I selected some foiled sheets from the Spring Inks stack and cut 6x4 panels. I used some mirrored cardstock cut 6.75x4.75 (also Recollections) to mat these panels.
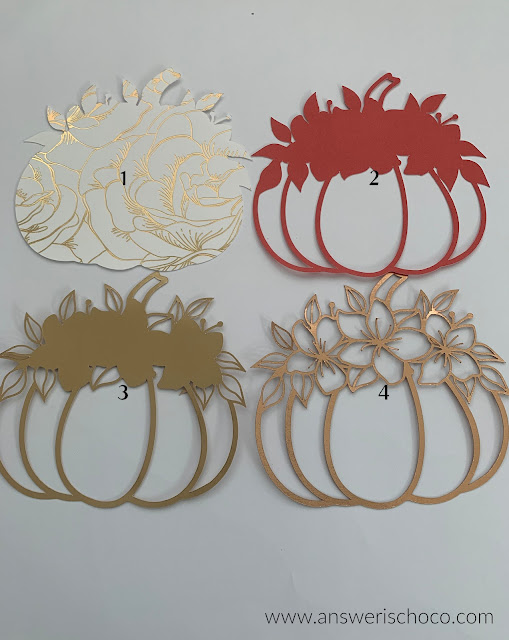
I found a layered image from Creative Fabrica (I am a subscriber) and downloaded, imported into Cricut Design Space, sized, and then cut each layer. The base layer was done using the solid sheets from the Spring Inks stack. The second (top) layer, I cut from the glitter paper.
I used a spray adhesive to attach the glitter layer to the solid, and then used foam squares to attach the bunnies to the panels.
I could have stopped here, but what fun is that? I decided I wanted to add another layer to the carrot and then figured since I was cutting carrots, I cut extras!
This image also came in two layers so I cut one from green mirror cardstock and the other from coppery orange glitter. The tops were close enough to the top of the bunny's top layer, so I layered as shown using foam squares.
To finish, I went around the inside of the bunny's ears with tiny self-adhesive rhinestones.
Passover begins this week as well. I used the same papers to make these cards. I found another layered image at Creative Fabrica and followed the same process. This image came in more layers, a total of 7 of which I used 5. You can see the first three (silver, metallic blue, and lavender) which I adhered together using spray adhesive and then attached to the turquoise glitter panel with foam squares, doing the same to attach to the gold panel.
I used the same basic process to make the base cards.
I love how all of the layers of this cut file allow peeks here and there through the different layers!
Whatever you're celebrating, I wish you peace! And of course...CHOCOLATE!