Showing posts with label Thanksgiving. Show all posts

Wednesday, November 15, 2023

Papercrafting: 2023 Thanksgiving Cards in Pink Copper Gold and White


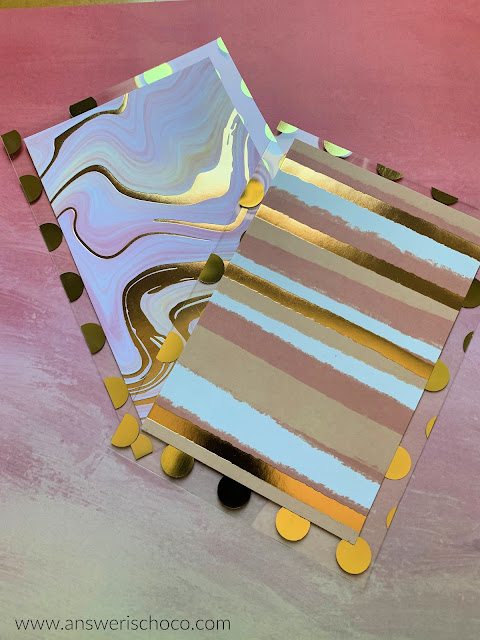
I make Thanksgiving cards for friends and family to show my thankfulness about having them in our lives. Some years I set out to buy specific paper stacks based on color but this year I went through a bunch of stacks I already have (imagine that!) and pulled out coordinating papers from different stacks or from my loose papers. I found myself drawn to these colors which may not be traditional but neither am I! 


I had a bunch of these gold foiled transparencies from stocking up on past sales. I love how stylishe they make projects look! So those became the background panel for the cards, cut at 4.75 by 6.75. To maximize the yield from my 12x12 patterned papers, I cut these panels 4x6 and got 6 panels per sheet. 

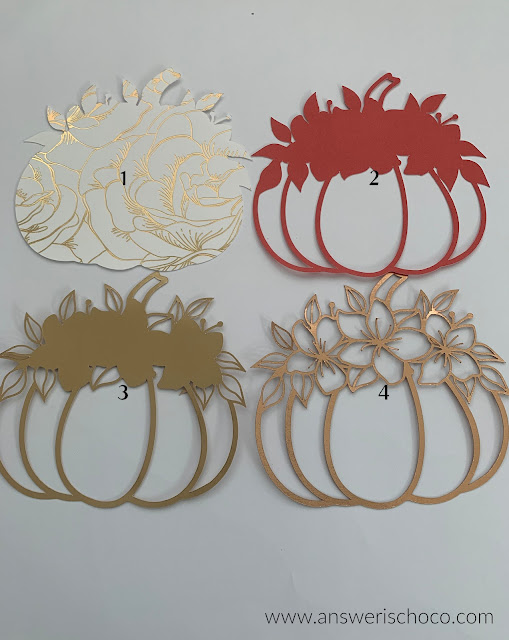
I'm a Creative Fabrica subscriber so I downloaded this beautiful Floral Pumpkin to use as the focal for my cards. 


I imported into Cricut Design Space, sized, and cut my layers. This is where Mr. Chocolate usually appears in my craft room to say "Too much work!". 


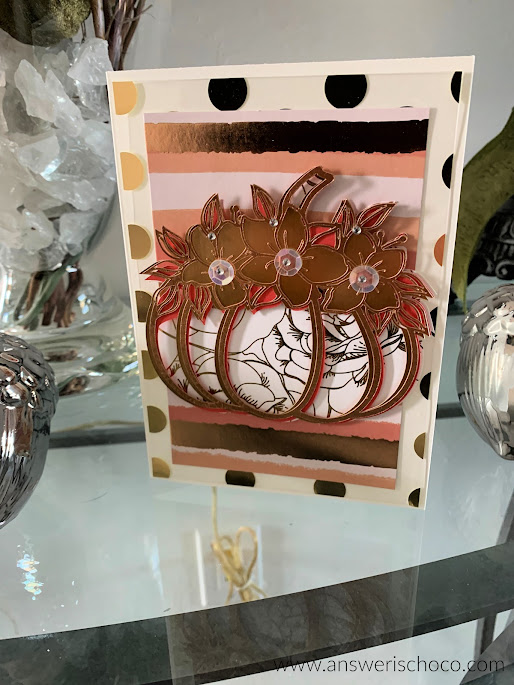
I attached layer 2 to layer 1 with foam tape, layer 3 to layer to with my tape runner, and layer 4 to layer 3 with spray adhesive. 


You can see that some of the cards had a solid base layer in different colors, others had a patterned base but they're ll the same construction and color palette. 


To finish, I attached iridescent sequins with dimensional glue, and then tiny rhinestones to the center of those. 


I hope the recipients like them! 

Sharing At:


Thursday, November 24, 2022

BFF Open House


Whatever you're doing today, including nothing at all, wishing you a day of peace. I'm thankful for my family and our blessings. 

Going to open things up early and just do links, no features this week. We ran away from home and for the first time in over 30 years, I am not in the kitchen! Be well creative friends! 


You are invited to the Inlinkz link party!

Click here to enter

Monday, November 14, 2022

Papercrafting: Copper and Berry Layered Pumpkin Thanksgiving Cards


Cardmaking has always been and probably will be my first love. I should probably have kept track of the number of cards I've made! And I love making Thanksgiving cards to send to friends and family. This year, I went with copper and berry for my colors. Technically, the "copper" is considered rose gold but it's copper to me! 

Supplies:
  • Scrapbook Papers (I had these on hand. Craftsmith, Craftsmart, and Recollections from Michaels.)
  • Layered Pumpkin SVG (I used one from Creative Fabrica)
  • Digital Cutting Machine (I used my Cricut Explore 2)
  • Tape Gun and Spray Adhesive
  • Iridescent Sequins


The great thing about "building up a paper collection" (or what Mr. Chocolate calls "How can you possibly need MORE paper?") is how you can pull out different stacks and mix and match. It's also a  great way for me to find inspiration. These were the stacks from the stash I used. 


I downloaded the image, imported into Cricut Design Space and used 3 of the 4 layers. (Orange, Pink, and Grey).


This is the first layer. 


Second layer.


Layers one and two. I used a 3M Spray Adhesive to attach each layer since they're so delicate. 


And finally, all three layers combined! For the cards, I used a 110lb cream cardstock (Recollections) and then cut panels from the paper stacks I'd selected. 


I used foam tape to attach the layered pumpkin to the cards just to give things a little depth. To finish, I grabbed some iridescent sequins from my stash and used a dimensional glue to attach. 


Sharing At: 


Thursday, November 25, 2021

BFF Open House Happy Thanksgiving


Happy Thanksgiving  all! By the time you see this you will have probably gobbled til you wobbled. Hope you all had a wonderful holiday. It's full speed ahead from here on out and keeping it simple this week with just the link-up and no features. Wishing everyone who will be celebrating Hanukkah starting this weekend much love, light, and latkes! I'm grateful for fellow creatives who choose to share your work and talents here each week! 


You are invited to the Inlinkz link party!

Click here to enter

Thursday, November 27, 2014

Happy Thanksgiving

From our home to yours, wishing you a very


Enjoy the day with family and friends, filled with lots of love and good food. 

Thursday, November 20, 2014

Cornhusk Altered Candles


Sharing the details of the guest post I did for Mod Podge Rocks earlier this week. As you can see from a few projects, I'm a little obsessed with cornhusks this year! 

For this project you will need: 
  • Plain glass prayer candles ( I got mine at Dollar Tree)
  • Cornhusks ( wherever Mexican food ingredients are sold these are used for tamales) 
  • Mod Podge ( my go to is the Matte formula)
  • Dimensional Mod Podge ( I used gold) 
  • Craft Paint
  • Your choice of paper(s)
  • Ribbon
  • Coordinating paper scraps
  • Glue gun and glue sticks

Apply your choice of paper to your candle with what else? Mod Podge. I used paper from a roll I found in the paint section at the hardware store. I think it's normally used to cover glass when painting things but I love it because it's thin, absorbs the Mod Podge beautifully and is a neutral color you can paint or stamp or leave as is. Measure enough to fit around your candle. I tore the top and bottom edges of the paper because I like torn paper. I also scrunched the paper up to give it a more rustic feel. 


Apply enough Mod Podge to cover one side of the paper ( you can see the torn edges and "scrunching" ) and then attach the paper to your candle. I find it's easiest to leave the paper where it is, lay the candle on its side and then roll until it's covered. Once secure, apply another coat of Mod Podge to seal. 


While this is drying, you can make your cornhusk leaves. You may have seen that Mod Podge can be used to preserve Fall leaves. I figured it might work on cornhusks too! Cut leaf shapes ( I just did this freehand) from  your cornhusks. If they are really really stiff you can mist with water to make them more pliable. Apply Mod Podge to both sides and once dry, you can use as is or as I did which was to paint the tips with some glitter craft paint.  If they curl a bit wait until fully dry and you can flatten them out by bending them in the opposite direction.


Once the paper was dry on the candle I went around it with a piece of washi tape paper but you can also use a coordinating piece of scrapbook paper, book page etc.  Hot glue the leaves together as shown then glue to your candle. I added some scrap velvet ribbon at the top of the leaves. 


To finish, I grabbed some paper scraps from my stash and made rolled paper roses.  Waste not want not. I had some scrap cornhusk pieces so I painted those silver and glued the rose on top of them as shown. I edged the top of the candles with the ends left over from the washi paper.  Finally, I filled in the center with gold dimensional Mod Podge. 


Sharing At: 


Wednesday, November 5, 2014

Lazy Frame Makeover and Thanksgiving Printable

Frame Makeover After

This quick frame makeover was the laziest project in the history of lazy projects. It took longer to make the printable than update the frame.  I love neutrals and black and white in case you can’t tell. I did try for a few years to do the color thing and I LOVE nature's colors this time of year , especially here in the PNW where the leaves are brilliant right now. But I went back to my comfort zone this Thanksgiving.

Frame Makeover Before

See ….proof! I had a metallic orange frame that’s been part of my décor the past few years. It just wasn’t going to go with what I had in mind for my mantel this year. I thought about painting the frame which wouldn’t have been that hard, but I was tired and I did mention this was a lazy project right?  Thank goodness for self adhesive glitter tape!

For this project you will need:
  • Simple frame
  • Glitter tape ( I used Recollections from Michaels)
  • Printable
I dis-assembled things, cleaned the glass, and said goodbye to the previous printable. Then I just went around the edges of the frame with my (black)  glitter tape. This does not require advanced crafting skills. This does not require ANY crafting skills.

Then I printed out the printable I made in PicMonkey. I couldn’t decide on a font so I made three versions.

Gather Together

Gather Together Scriptura

and the one I printed out

Gather Together Delicious Cake

Oh did I mention I'm sharing them? Click on to bring to full res, right click to save as. 

Confession. I goofed on my sizing when I printed it but waste not want not. Instead of reprinting, I just mounted it onto some gold cardstock that was the right size for the mat. Done and done!

Frame Makeover After 1

Thursday, November 21, 2013

BFF Open House Link Party #132

The Answer Is Chocolate

Welcome back to another party here at The Answer Is Chocolate. I want to start off with a big thanks because last week's party was the biggest ever. I never get tired of seeing the amazing ideas you all continue to come up with. Here are just a few:

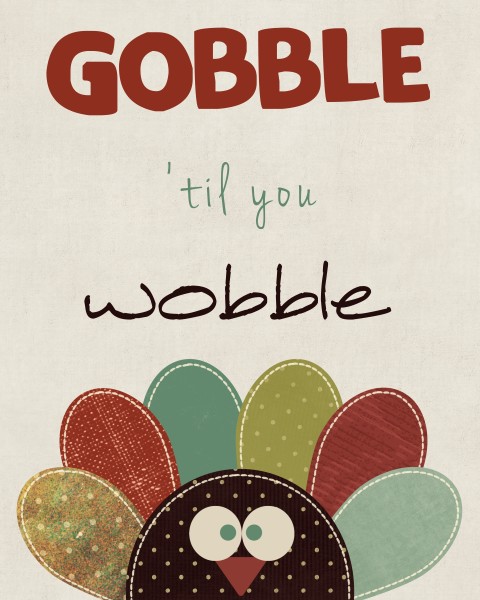
gobble

If you need a quick and easy piece of Thanksgiving decor, you don't want to miss this printable from Tara at A Spectacled Owl

Chain Reaction Necklace - tutorial by Rena Klingenberg

Looking for a stunning necklace to wear for Thanksgiving or the holidays check out this tutorial from Rena at Jewelry Making Journal


How stinkin' cute is this piece of embroidery hoop art from Bethany at Pitter and Glink? Think of all the images you could use for this idea!

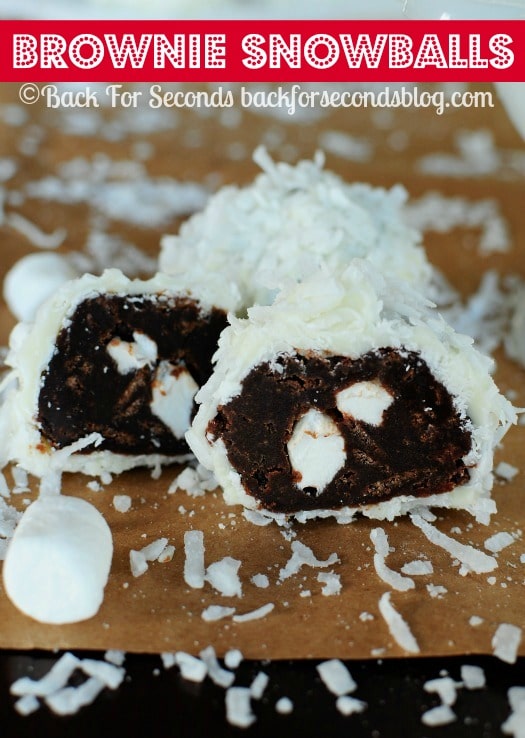
Brownie Snowballs - A fun, festive treat to add to your holiday baking list! http://backforsecondsblog.com #christmasdessert #snowball #brownierecipe #shop #KraftEssentials

Finally, I can't wait to try this week's chocolate feature that combines my favorite duo of chocolate and coconut: Brownie Snowballs from Stephanie at Back for Seconds ( and Thirds, Fourths etc. ) 

Now time to see what you've been up to this week! Who's already started decorating for Christmas?