Monday, October 12, 2020

Halloween: 2020 Cards Using the Spook Hill Stack from Michaels


I make cards all year round for all holidays, birthdays etc. but Halloween through Christmas and Hanukkah is full production mode. If you've been around my blog for a minute, you know that I am a helpless paperholic so I always love taking advantage when Michaels has deals on their "Hot Buys" especially when they're either buy one get two free ( I mean c'mon!) or they're on sale for $4.99. Mr. Chocolate will try to convince you that I own all of them. Not true. But many? Yes, that I admit to! 

I picked up this stack called "Spook Hill" (by Recollections) on one of their buy one get two free ( I get giddy just typing that!) and it was so my style! It includes foiled and non-foiled papers.  Now oddly, I can't find it on their website but it is available on Amazon.


This isn't a tutorial post but almost all of my cards are 5x7 and I used Black Recollections 110 lb cardstock ( Michaels ) for most of them w/ the exception of a couple I made using a heavy piece of 12x12 paper from my stash. 

I went with the color palette of the stack: Black, grey, gold, white. 


I cut panels 5.75 x 4.75 and layered with gold foiled transparencies ( previous Michaels trips!) and cut out some Halloween images using my Cricut Explore which I layered using foam tape. For the Haunted House image, I added windows using paper scraps I had on hand. 

Finished everything with gold self adhesive rhinestones in gold! And yes, those of you who know who you are, they're on their way. Boo! 


Thursday, October 8, 2020

BFF Open House


Happy Friday Eve ( thank goodness for calendars because otherwise I'm not sure I'd know which day it was!). Hope you've all had a peaceful, healthy, and creative week! I'm excited to start working on some Thanksgiving inspired projects I can't wait to share. My most recent Halloween themed creation is here: Skull Earrings and Bracelet

If we're not already following each other on Instagram, I'd love to make sure I'm following you all. 

Let's take a look at some of the inspiring ideas from last week's party! 


Just because I've been on the hunt for them, I haven't found any more of those foam Dollar Tree pumpkins but Jasmine from Eccentricities by JVG did and I absolutely LOVE what she did with them! Perfect to leave up now through Thanksgiving. 


This colorful, poured, and hand lettered Hey Boo sign from Kristie at Love My Little Cottage is all kinds of perfect! 


Mary Jo from Masterpieces of My Life shared how she updates this awesome birdcage seasonally. I love pieces that can change from season to season. 


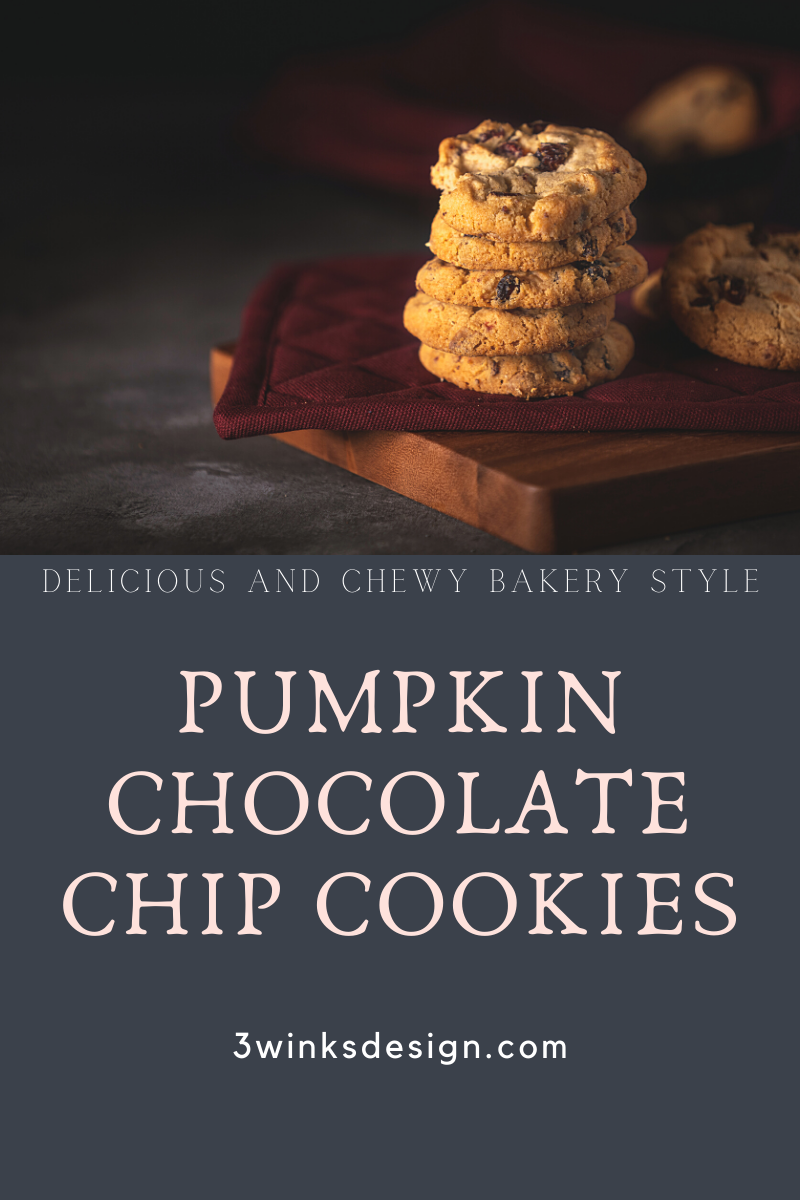
Finally, tis the season for all things pumpkin and while I confess to not being a fan, as my blog name tells you, I am a fan of chocolate. So these Bakery Style Pumpkin Chocolate Chip Cookies from 3 Winks Design just may convert me because they look amazing!

Thanks to everyone who linked up!

Let's see what everyone's been up to this week.


You are invited to the Inlinkz link party!

Click here to enter

Wednesday, October 7, 2020

Halloween: Don't Forget To Decorate Yourself...Skull Earrings and Bracelet


Not that I'm going many places these days, and I know a lot of people are barely wearing clothes, but I do go out once or twice a week to run errands, and despite the fact that it's still triple digits here in the desert, and I'm still wearing shorts and tanks, that doesn't mean I can't get into the season right? Right! 

So I made myself some seasonal earrings and a matching bracelet. 

Michaels continues to expand their jewelry making supplies and there's not a trip that I make without a few things sneaking their way into my cart. 

Supplies: 
  • Skull Charms ( I found mine on clearance at Michaels but they have some other similar beads)
  • Silver Connector Links 
  • White Marble Beads 
  • Filigree Bead Caps
  • Rhinestone Dangle Charms
  • Small Silver Spacer Beads
  • Jump Rings
  • Misc Charms
  • Jewelry Making Pliers

All of my supplies except for the little star charms, small silver spacer beads, and the swirly flat bead shown at the top of the earring are from Michaels Bead Landing / Charmalong lines).  


I found these on clearance when I wasn't even looking for them. They were up by the register, on clearance, so naturally I bought two sets! 

Step 1: 

If you're a novice jewelry maker, there are tons of great tutorials on You Tube. Here are some on "How to Open and Close Jump Rings") 

Open a jump ring, then use it to attach the skull bead and silver connector link. Sorry this is blurry! One handed photography while trying to hold up pliers with your non-dominant hand is tricky! 


I used the same process to attach the little star charm to the other end. 

Step 2: 

If like it seems 95% of people, you have pierced ears, you'll use the same process to attach an earwire. I'm in the ( I made up this stat) 5% of people who doesn't have pierced ears. Can't. Apparently I'm missing the connective tissue that prevents them from ripping so....it's me and your grandmas and people deathly afraid of needles. 

For us "clippies" the good news is Michaels has us covered. 


Problem Solved!

I use Loctite Gel Glue to adhere these to whatever misc flat backed findings I have. And then you're done! 


Bracelet
I do a lot of my bracelets on stretch cord which is how I did this one. 

Supplies: 
  • Stretch Magic Jewelry Cord ( Michaels)
  • White Marble Beads
  • Filigree Bead Caps 
  • Skull Charm
  • Dangle Charm 


I always cut off more stretchy cord than I need because I've found it makes it easier to knot and I learned the hard way of trying to be very specific in my measuring only to find out I couldn't quite tie the knot. 

Clamp one end ( you can use an official bead clamp which they sell in the jewelry supplies or I've used clothespins, binder clips, or clamps I found in the hardware section of the Dollar Tree). 

Starting w/ a bead cap string as follows: bead cap, white bead, bead cap, spacer. Lather, rinse repeat until your bracelet fits your wrist. For reference, I have what are considered small wrists and I used 10 of the marble beads. Once you're satisfied w/ the sizing, close your bracelet with a knot. Dab a dot of Loctite Glue and then knot again dot of glue, knot again and trim the ends. 


Open another jump ring and attach your skull charm and rhinestone bead dangle and you're done!

And since it's 2020, my accessories wouldn't be complete with out a mask right? 


I already had this fabric in my stash so it was a no brainer! I've been using a pattern from Sweet Red Poppy to make my masks. 


I hope you've found some inspiration! 


Monday, October 5, 2020

Halloween: Ghosts of Projects Past...Coffin Boxes


I was in Michaels recently and noticed that they again had plain wood box coffins which they've had in years past. I've had fun playing with them and thought I'd share some ideas of what you can do with them because the possibilities are endless!  


They come in some fun and different shapes from the traditional coffin shape I bought, but the concept is exactly the same. 

Supplies:
  • Plain Coffin Boxes ( Michaels)
  • Acrylic Paints
  • Scrapbook Paper
  • Mod Podge
  • Misc Embellishments
We'll go in order from left to right in the above picture. 

Skully Boxes: (Original Post Here)

For all of these the process is the same. You can do any combination of painting and scrapbook paper, including all paint or all paper or combining the two. For these I painted the sides using a crackle effect and then Mod Podg'd (because that's a word in my vocabulary!) the scrapbook paper on top. 


Decide on your color scheme ( you could go bright and whimsical with this too). I painted my plain boxes black, let dry, then painted a layer of white school glue ( plain old white glue) over the black paint. Let almost dry and then went over that with white paint. Let air dry or help along with a blow dryer.  Oooohhhh crackle crackle.


For these, I topped with plastic skulls that you can pick up lots of places, Use an acrylic paint that adheres to multiple surfaces ( I used Martha Stewart on these) and then glue wherever you like on your coffin. 


Vampire Coffin Boxes: (Original Post Here)

I had some "True Blood" fans in my life so that year I made some of these as gifts  for them. I think you can see the reason for the color choice! 


Same process of paint and scrapbook paper and on these I used different washi tapes. 


Glitter paint glams these up! 

French Gothic Coffin Boxes: (Original Post Here)


The inspiration for these were these great French themed embellishments I found that year (guess where...Michaels) along with a package of complementary 3D stickers. 


These remain some of my favorites and the Skully Boxes and these remain part of my annual Halloween decor. I hope you've found some inspiration! Grab some paints, paper, and embellishments and have fun! 


Thursday, October 1, 2020

BFF Open House


Is it Friday Eve already? This week has actually kind of flown by. Maybe it's because I've been on Halloween overdrive and having so much fun. Or, maybe, if you'll indulge me for a moment, I've been on Cloud Nine since one of my project was featured in the Hometalk Newsletter this week! 

Eeeek!!! I can't believe it's October already which means we're in Halloween full steam ahead mode. Let's see what brilliance you all shared at last week's party!


Michelle from My Bijou Life captured the spirit of the season with this incredible pendant she shared ( and she has others you really need to check out!)


Niky from The House on Silverado shared this G O R G E O U S Fall Wreath, perfect from now through Thanksgiving. This is like a marriage of my love of neutrals and my love of wreaths! So pretty.


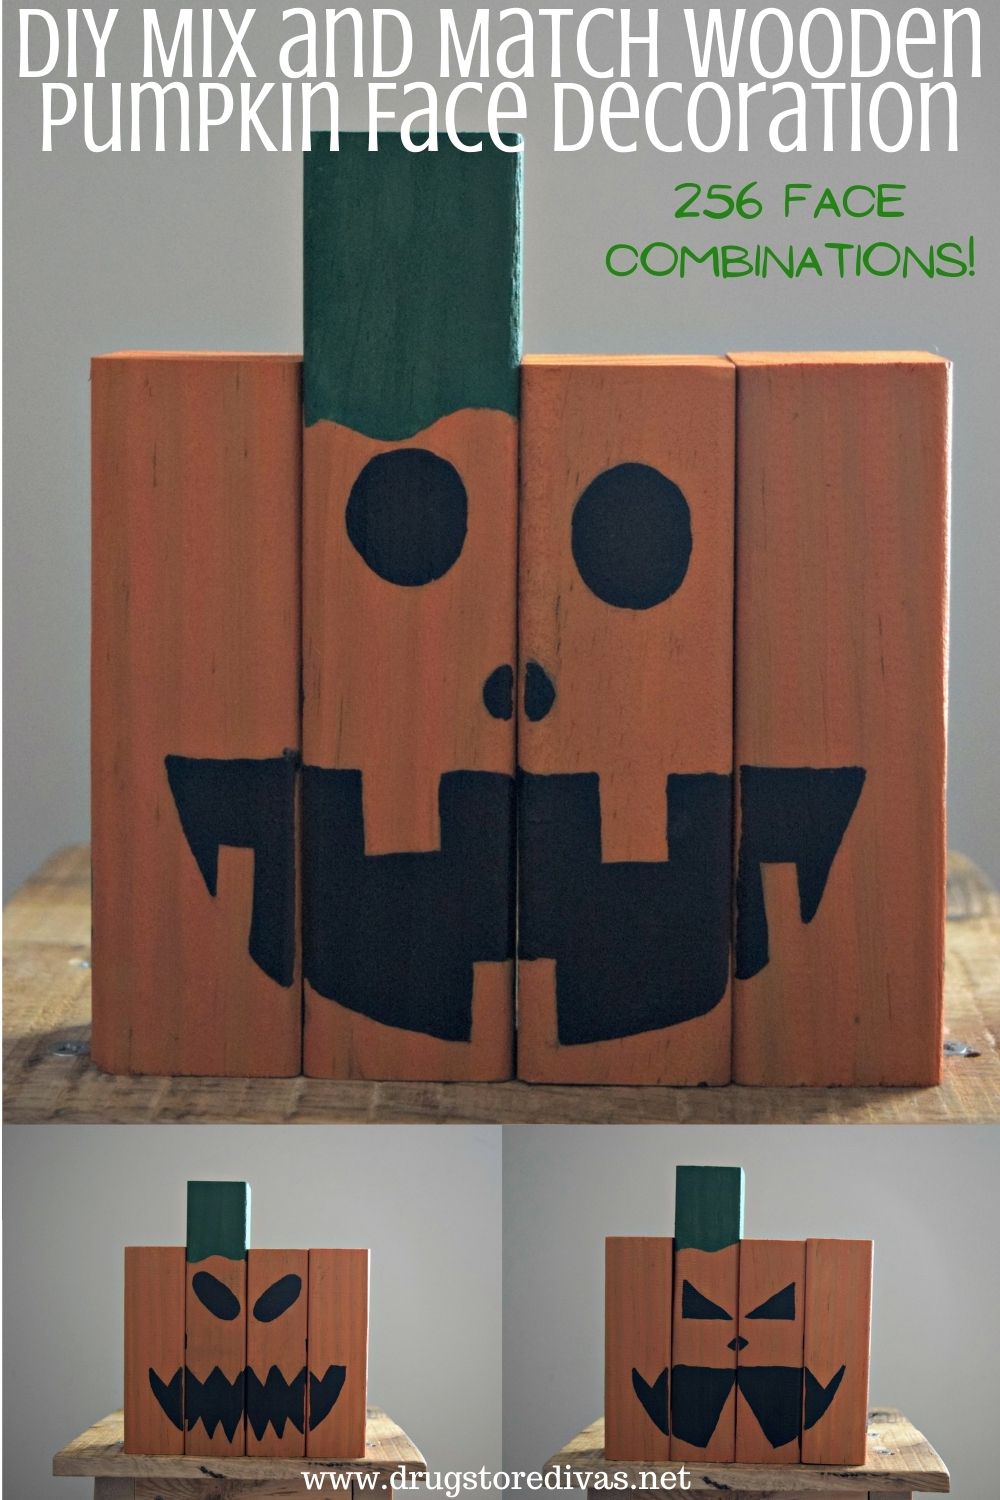
Lisa from Drugstore Divas shared this fun collection of DIY Mix and Match Pumpkins. I love all of the faces! 


Bird's Party shared this incredibly beautiful and spooky Halloween Cake with Meringue Ghosts. Maybe this year you're only gathering with family or a few friends and this would be a spooktacular extra special treat! 


Finally, if you're looking for an extra special Halloween adult beverage, Tracey from The Kitchen Is My Playground can hook you up with this Dracula's Blood Cocktail (and she's got several other concoctions worth checking out)! 

Thanks to everyone who linked up and now let's see what you've been up to this week!  


You are invited to the Inlinkz link party!

Click here to enter