Mr. Chocolate is going to visit his dad for a couple of weeks and FIL Chocolate has a lovely woman companion for whom I wanted to send something along. They're both widowed and neither are interested in getting remarried but it's been so great for us to know that he has someone to do things with.
They live on the Washington Coast so when I looked in my bead stash, I went with colors inspired by that.

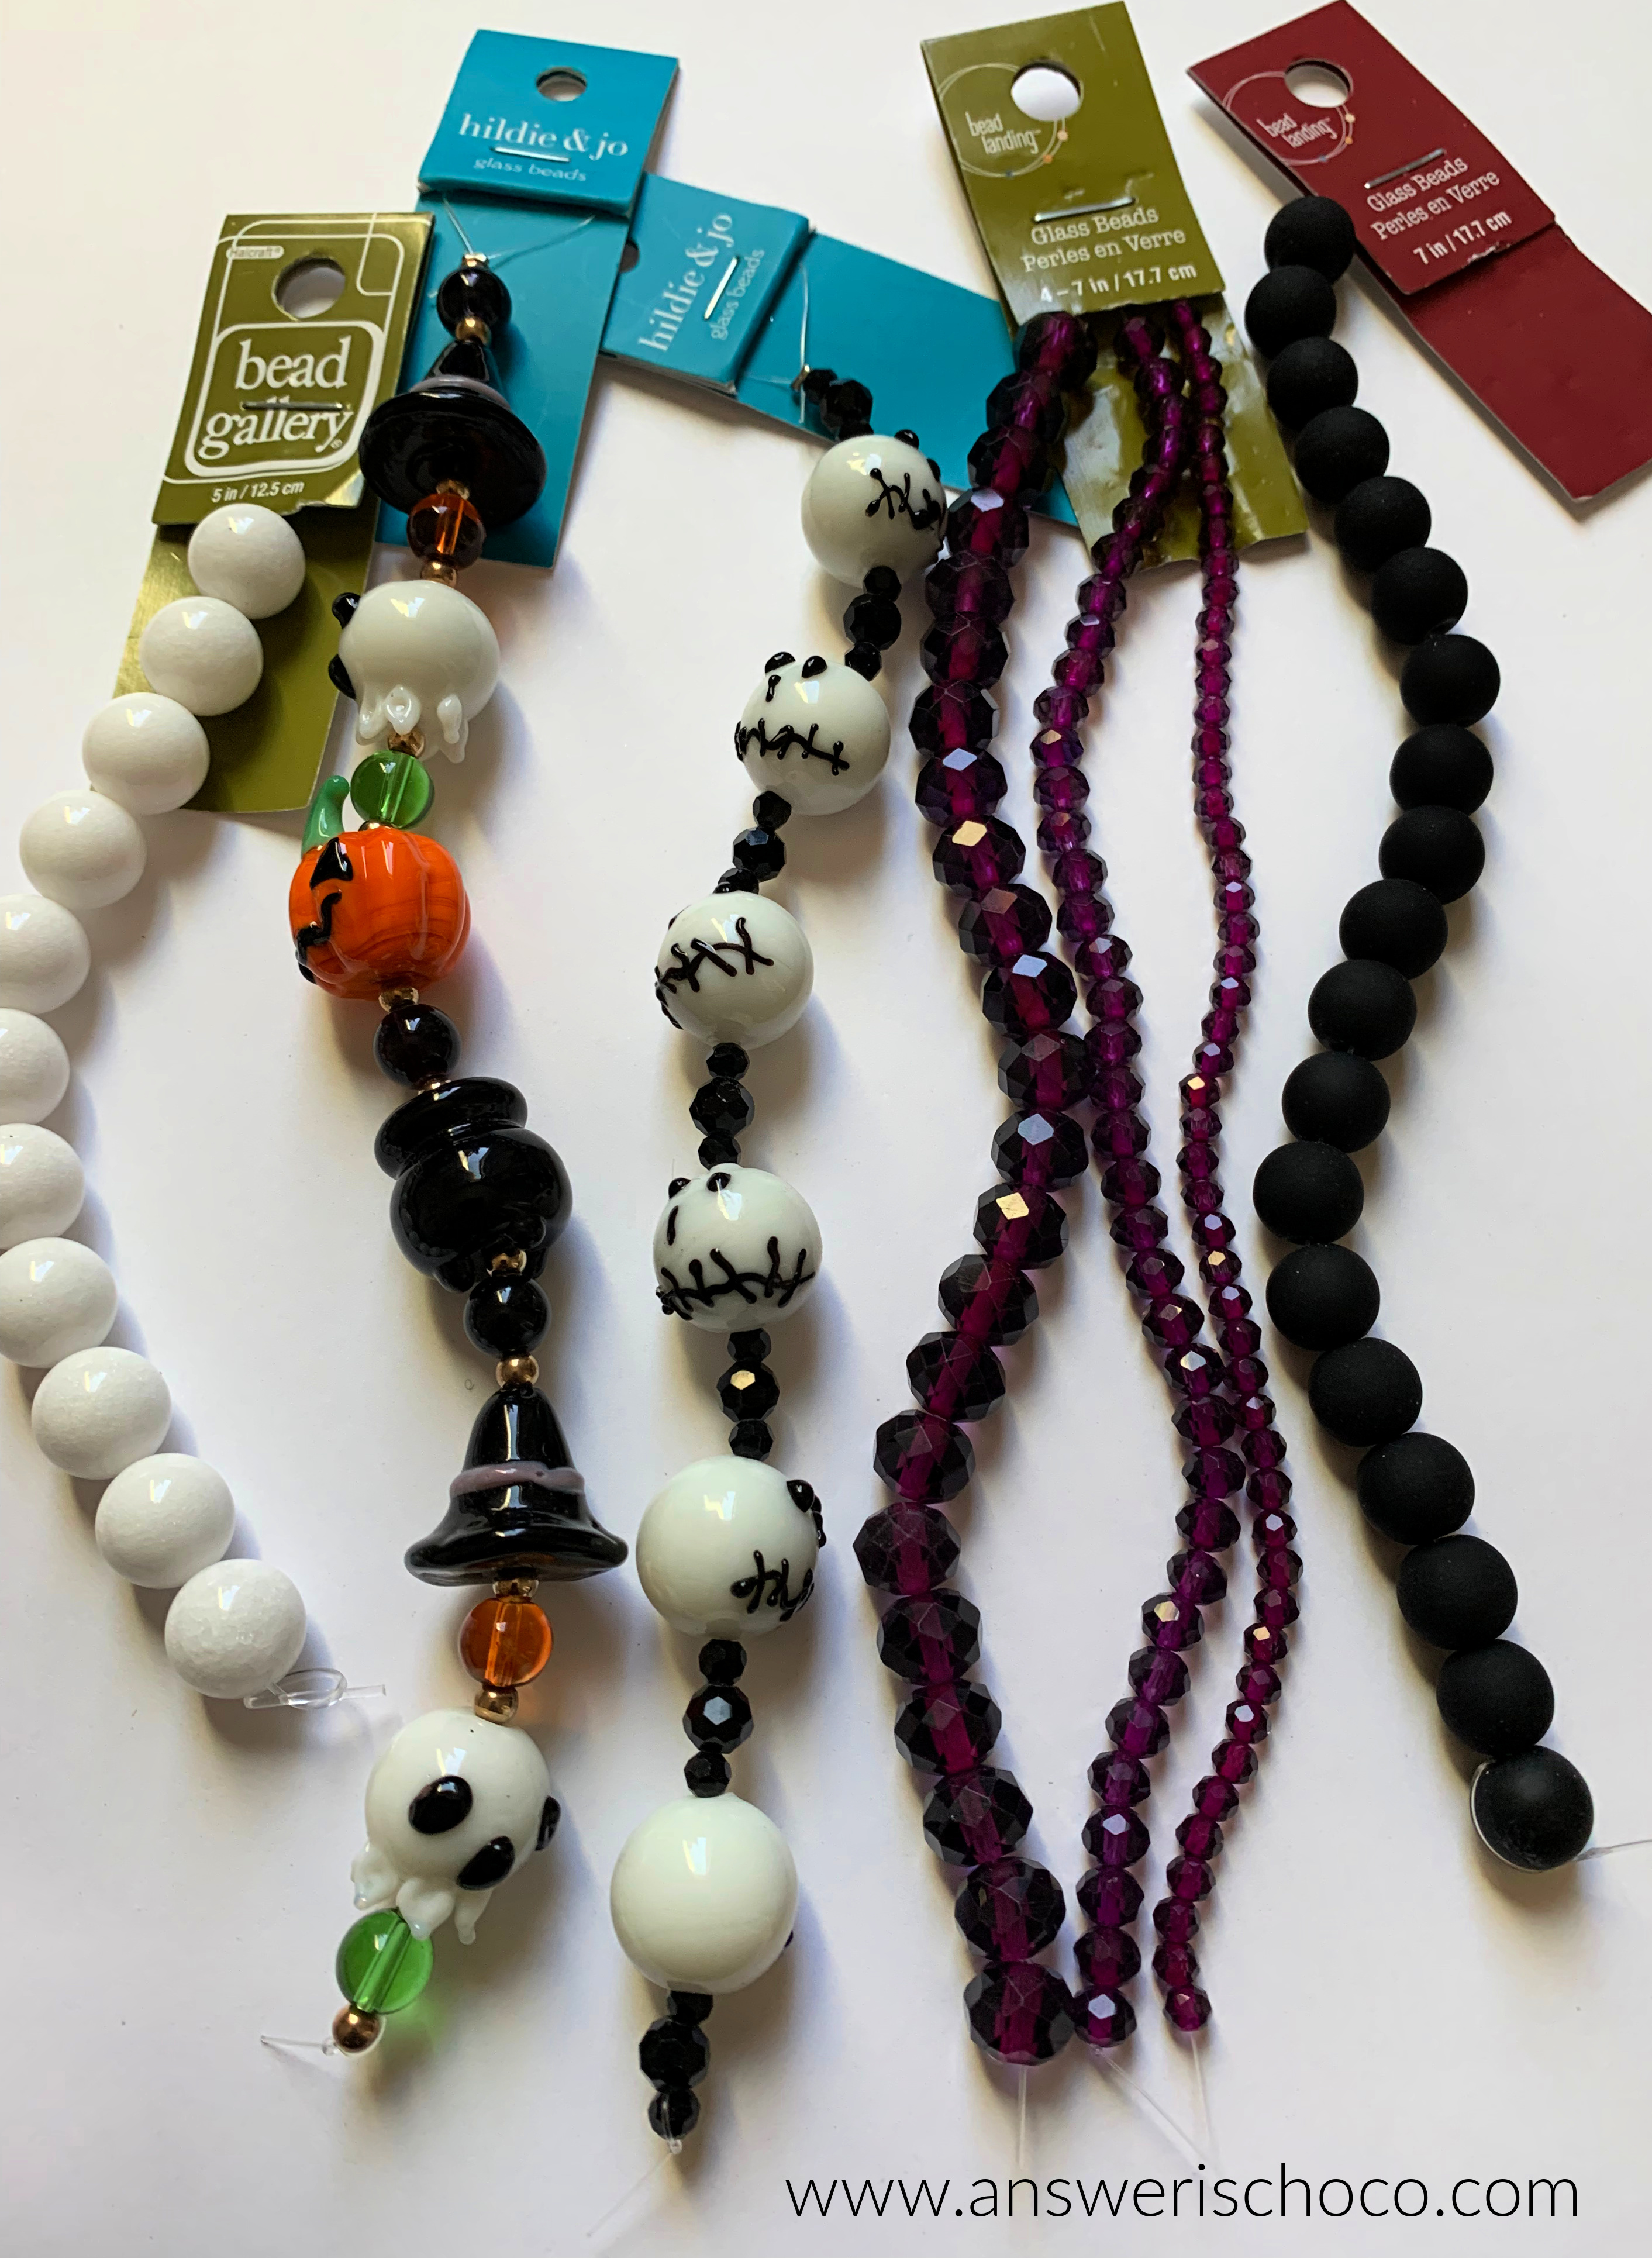
Supplies
- Bead Landing Blue Green Swirl Glass Beads (Michaels)
- Bead Landing White Glass Beads (Michaels)
- Bead Landing Silver Spacer Beads (Michaels)
- Silver Bead Caps, Head Pins (usbeadwarehouse.com)
- Stretch Magic Cord (Michaels)
- Jump Rings
- Ear Wires
- Jewelry Pliers
I'm one of those Makers who buys things on sale without necessarily having a project in mind but let's come back to that point later! I didn't do a lot of in process pictures but these are very straightforward basic jewelry making projects.

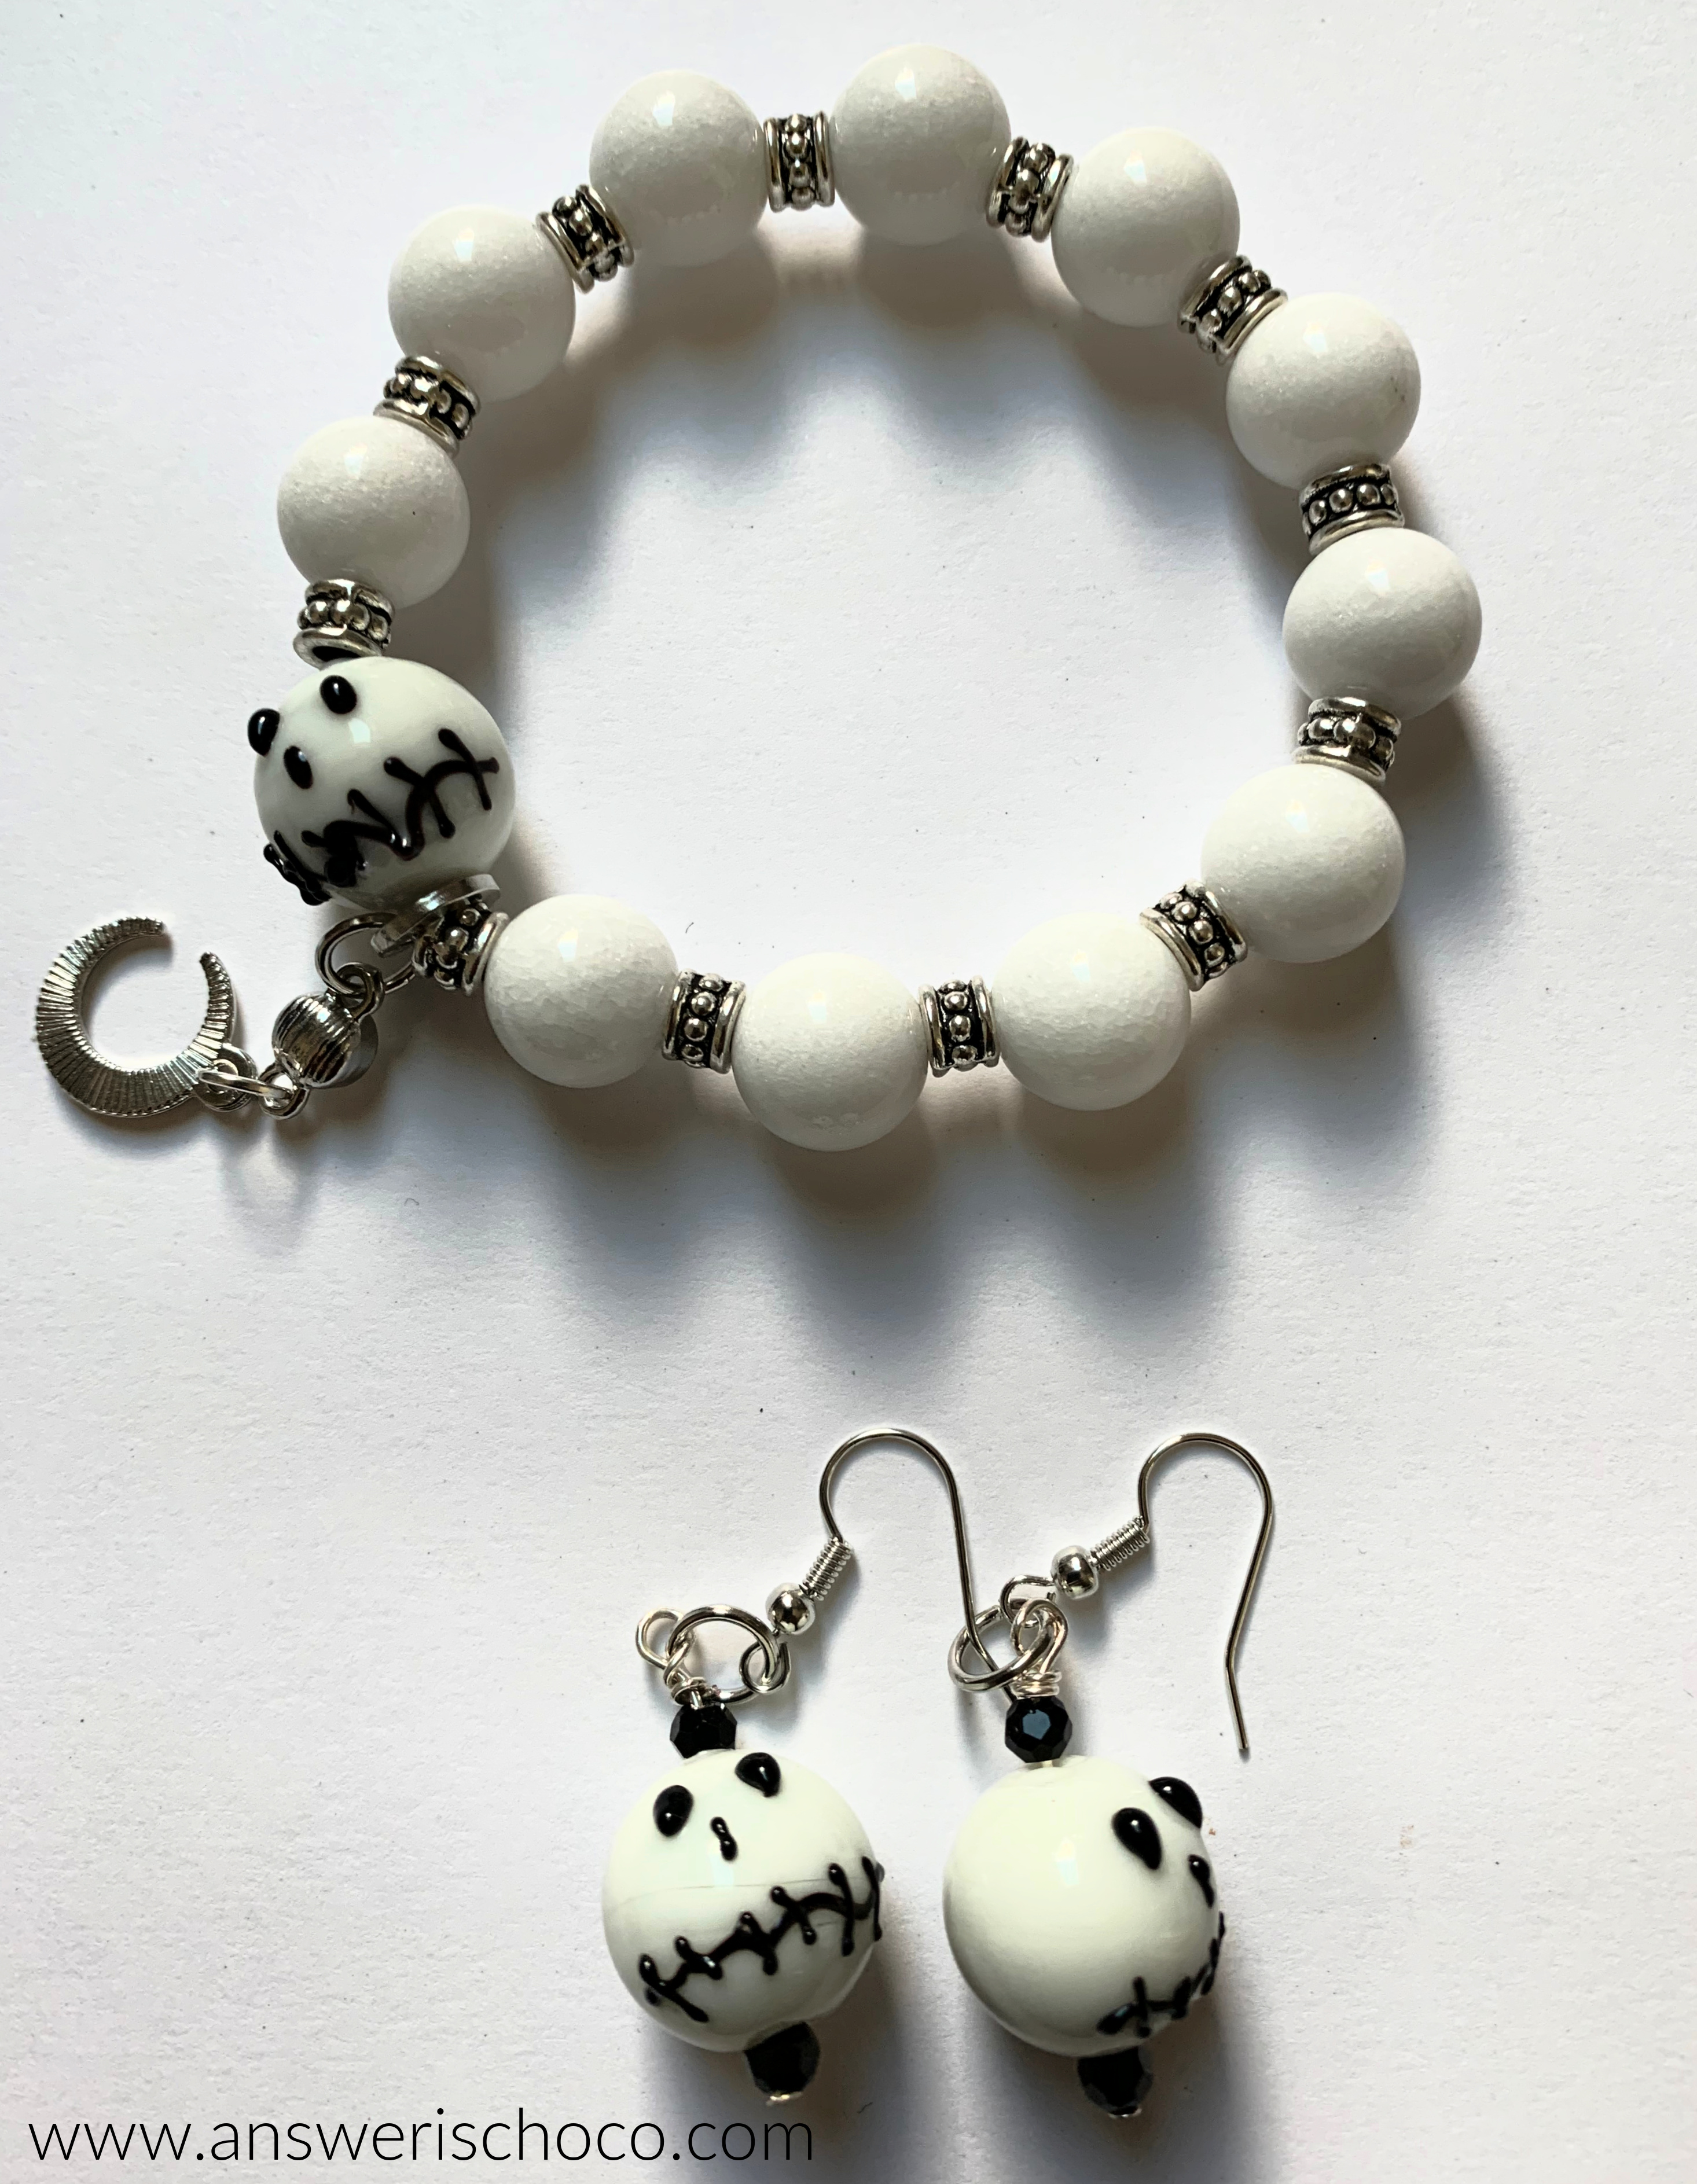
For the earrings, I strung a white bead, then a swirl bead, and bead cap onto a decorative head pin then made a closed loop and attached to a fish hook ear wire. For the bracelet, I always cut the stretch cord longer than I need because for me it makes knotting easier and I've had to re-do one too many a bracelet when I don't. So if you track costs to the penny this may be wasteful to you but my frustration level is worth it!
I love these clamps I got at Dollar Tree (automotive supplies) that I use on one end of the cord to keep the beads from falling off. Then used another bead cap, white bead, bead cap, swirl bead, spacer bead until sized to approx 7 inches, my standard women's bracelet size.

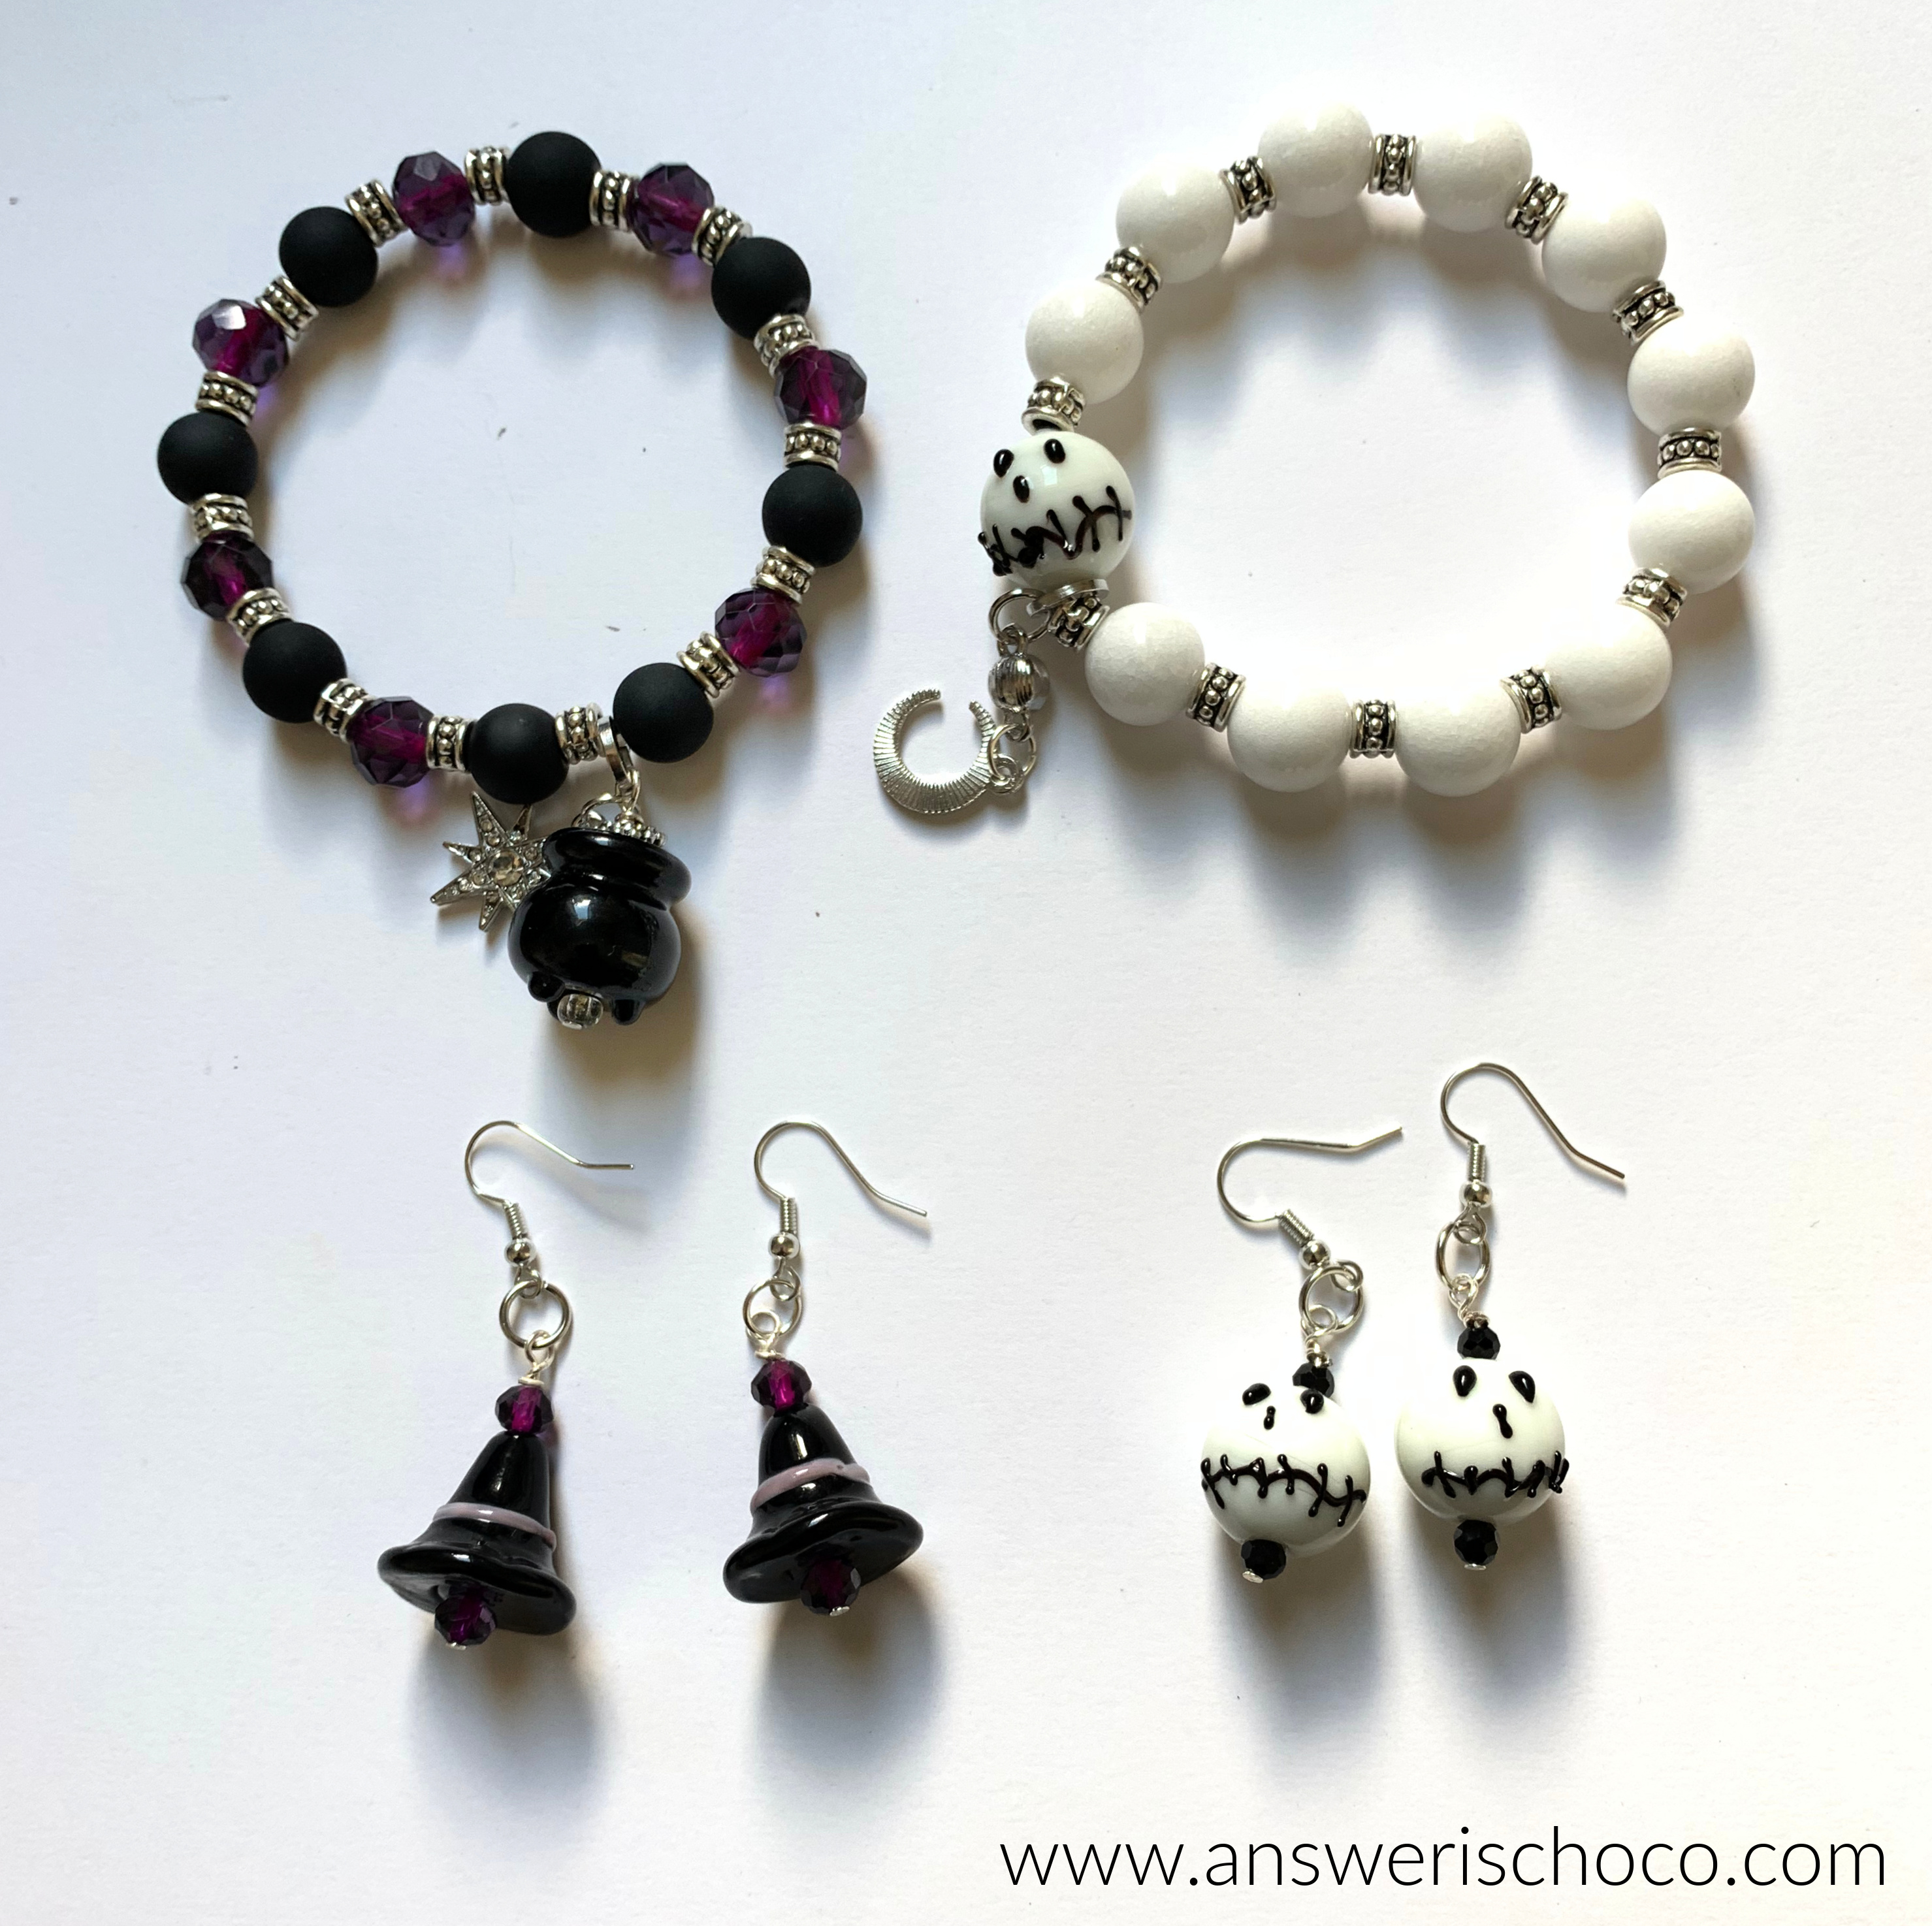
The colors and swirls remind me of ocean waves so I think they'll be perfect "at the ocean". After I showed these to Mr. Chocolate, he asked if I would make something for his dad too. Twist my arm!

The best thing about being a hoarder, I mean Maker, is having choices in my stash. Living where I do and having now been through two bead show seasons (Tucson is a world leader in bead and gemstone shows) I'd picked up some Fancy Mixed Jasper that I thought worked colorwise. I used the same silver spacer beads and chose a silver bead as the focal bead.
But why are there two bracelets shown? Because that's how things go in Casa Chocolate. I'll nake something as a gift. Mr. Chocolate sees it and says "I want one". And that's exactly what happened here so twist my arm! I made him one too!
This really reminds me of all the colors you can see on the Washington coast. Heathers, and evergreens and the ocean that sometimes looks green, the overcast skies etc.
I love that gemstones all have a story.