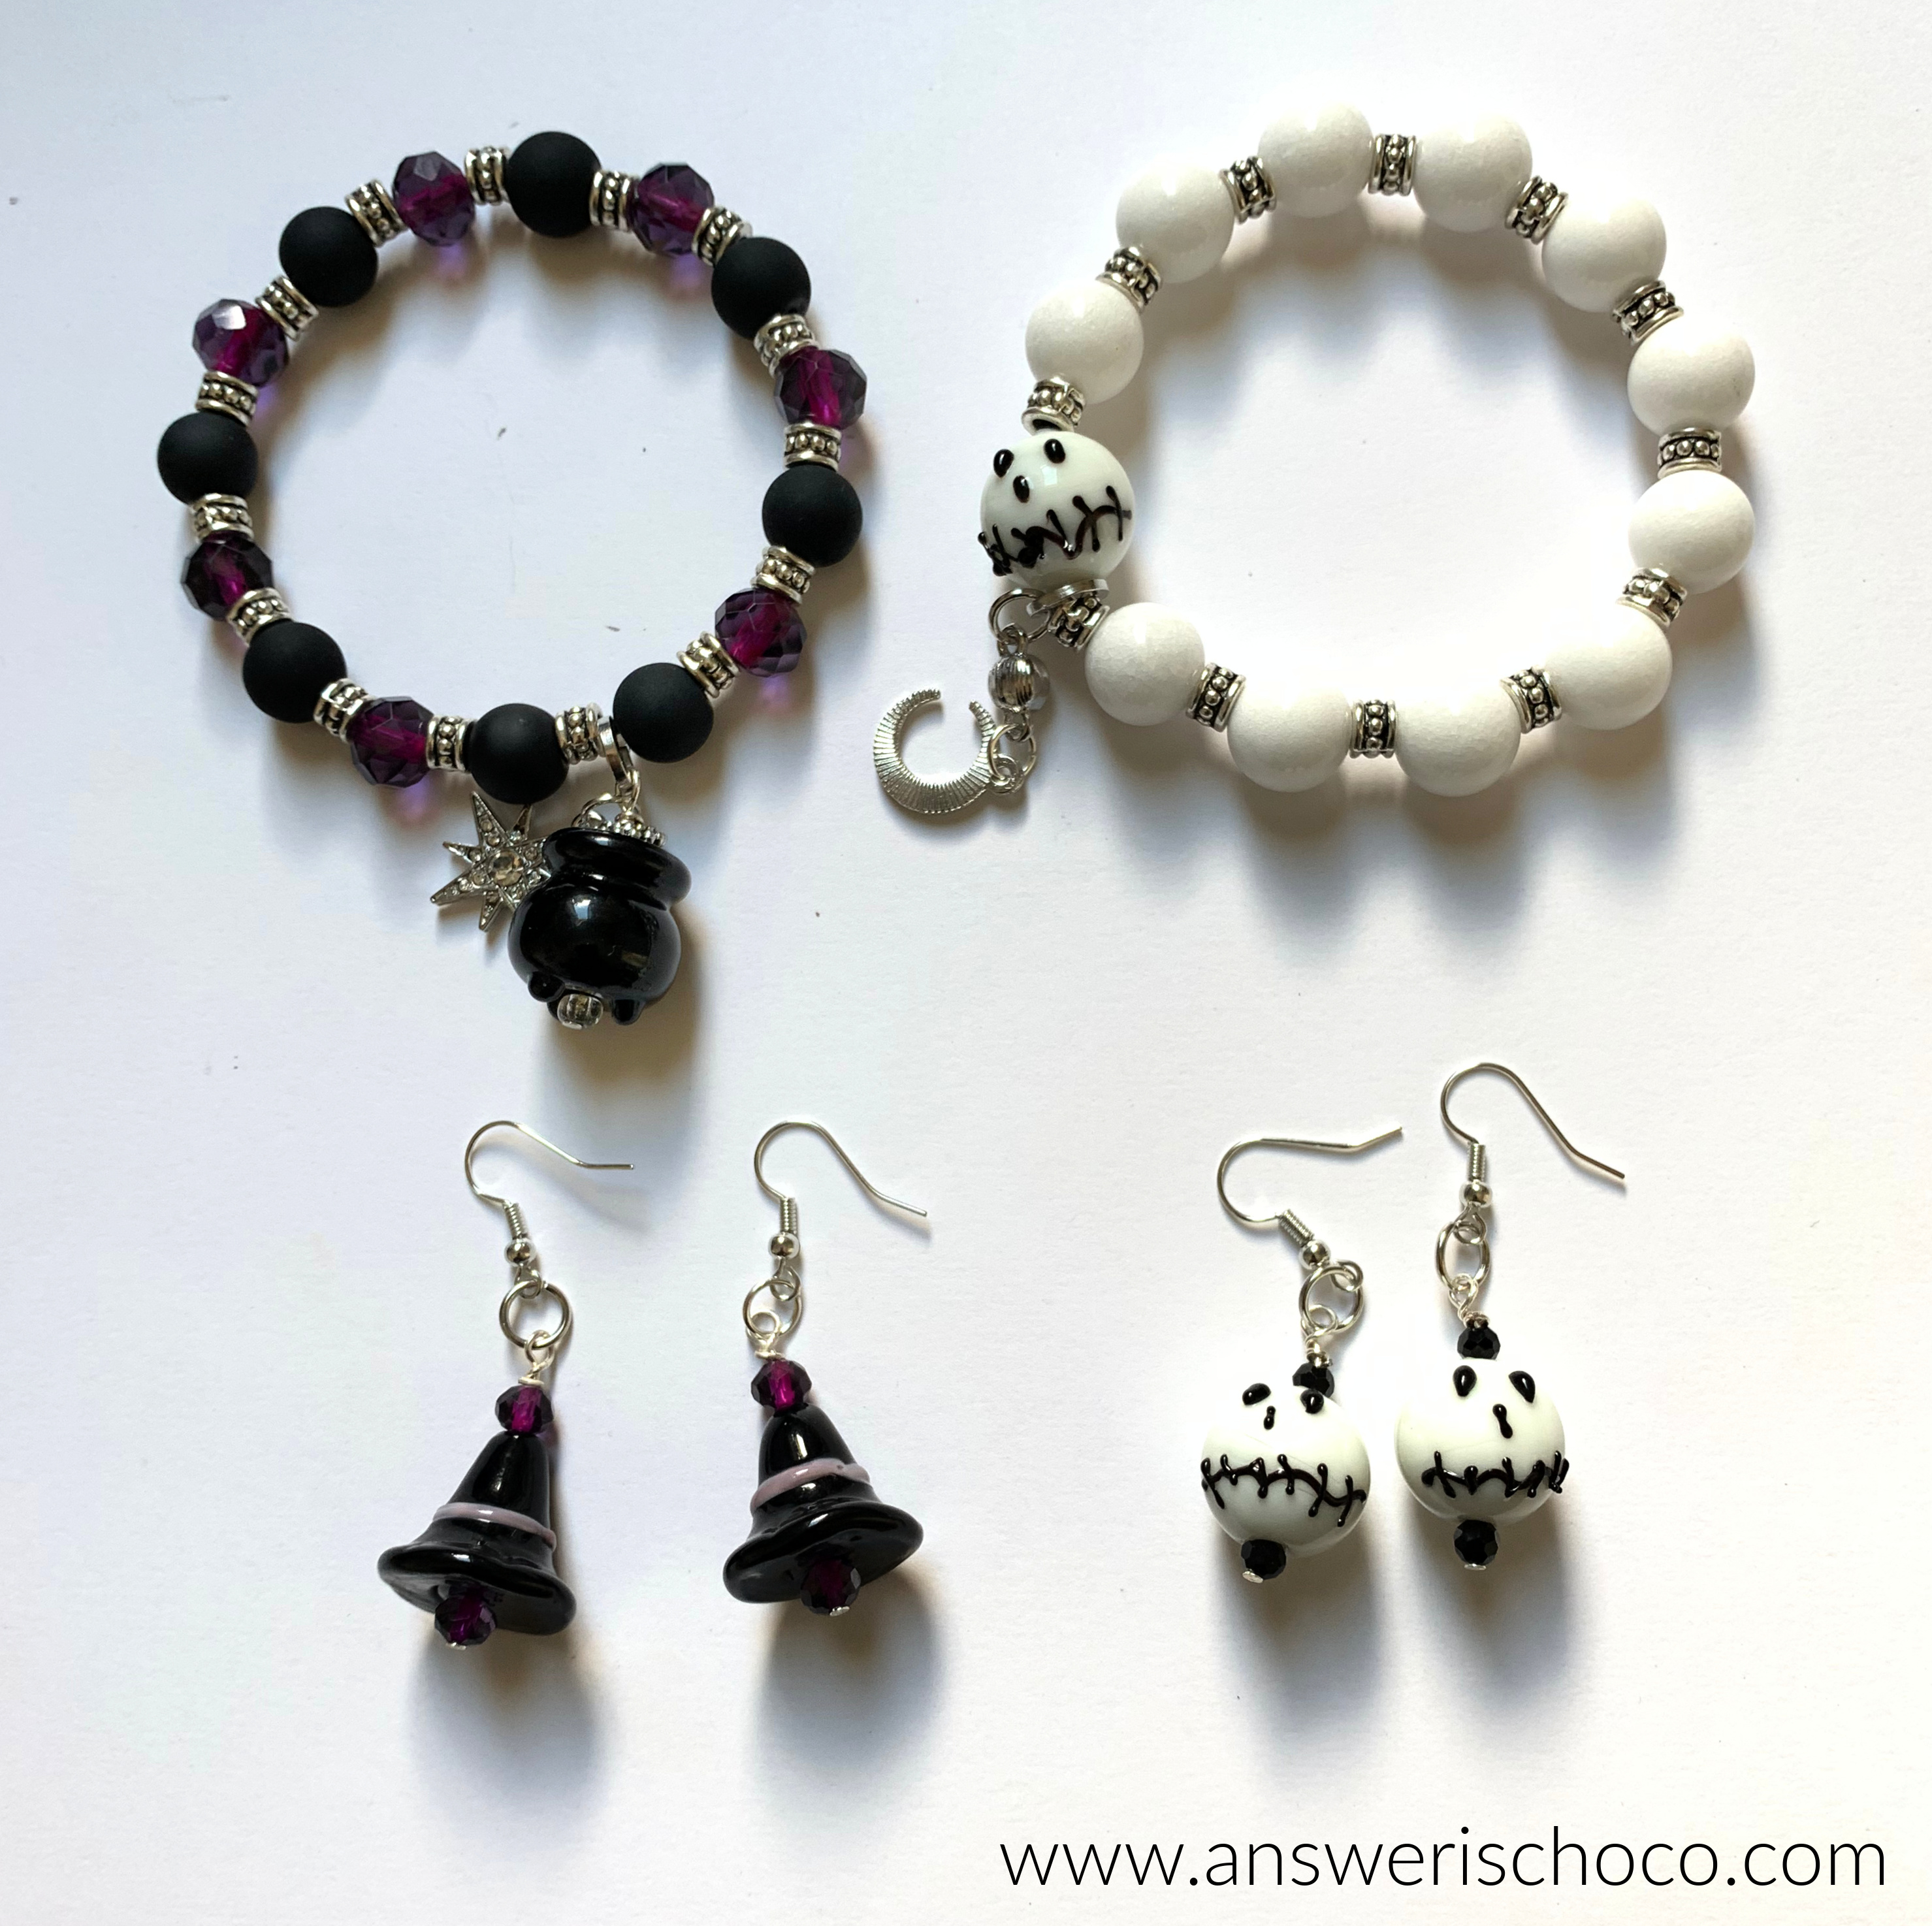
I had a "hoot" making these. Couldn't resist. But I did have fun and what's great about being able to make your own jewelry is when you get tired of something you can switch out parts and make something new! I had a different pair I didn't love so I took them apart and can repurpose the parts. I used the tops for these.
Supplies
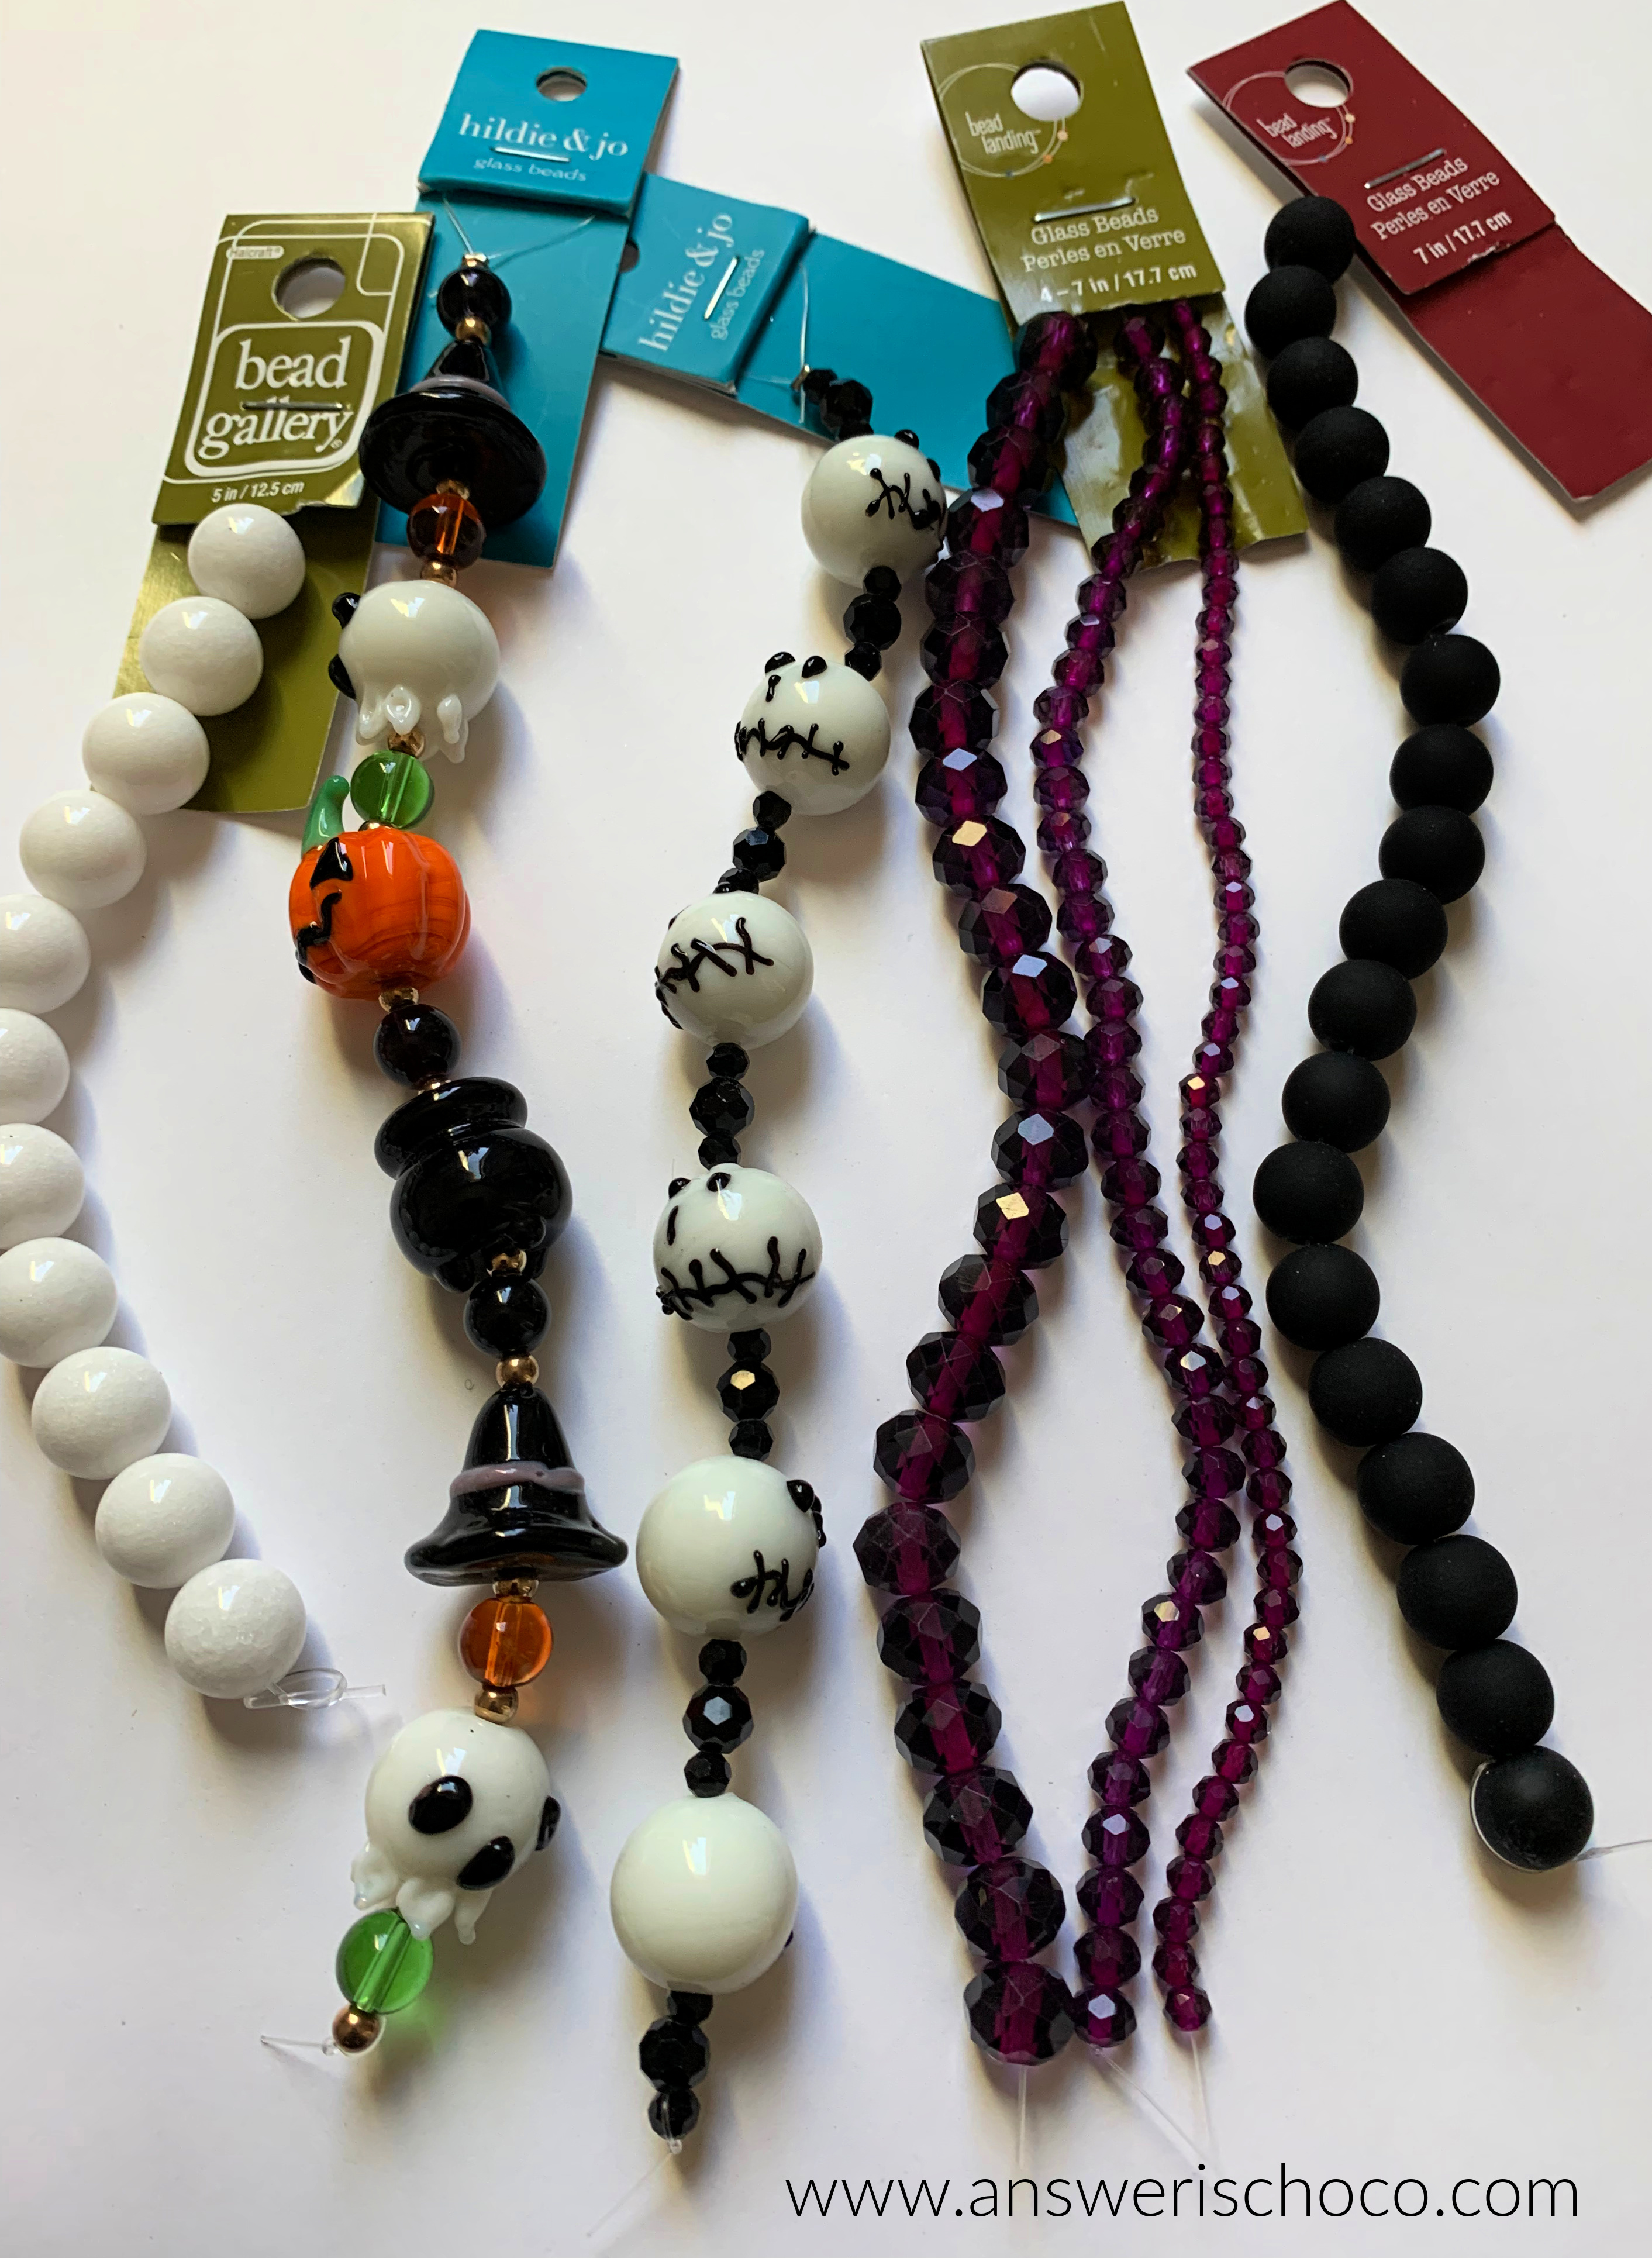
- Charms to use as earring posts*
- Jump Rings
- Head Pins
- Silver Ball Beads
- Jewelry Pliers
- Owl Ceramic Beads (JoAnn)
I don't have pierced ears, so I'm always on the hunt for charms or small pendants to which I can glue clip-backs. You could do the same with post-backs or skip this part and use fish hook earring wires.


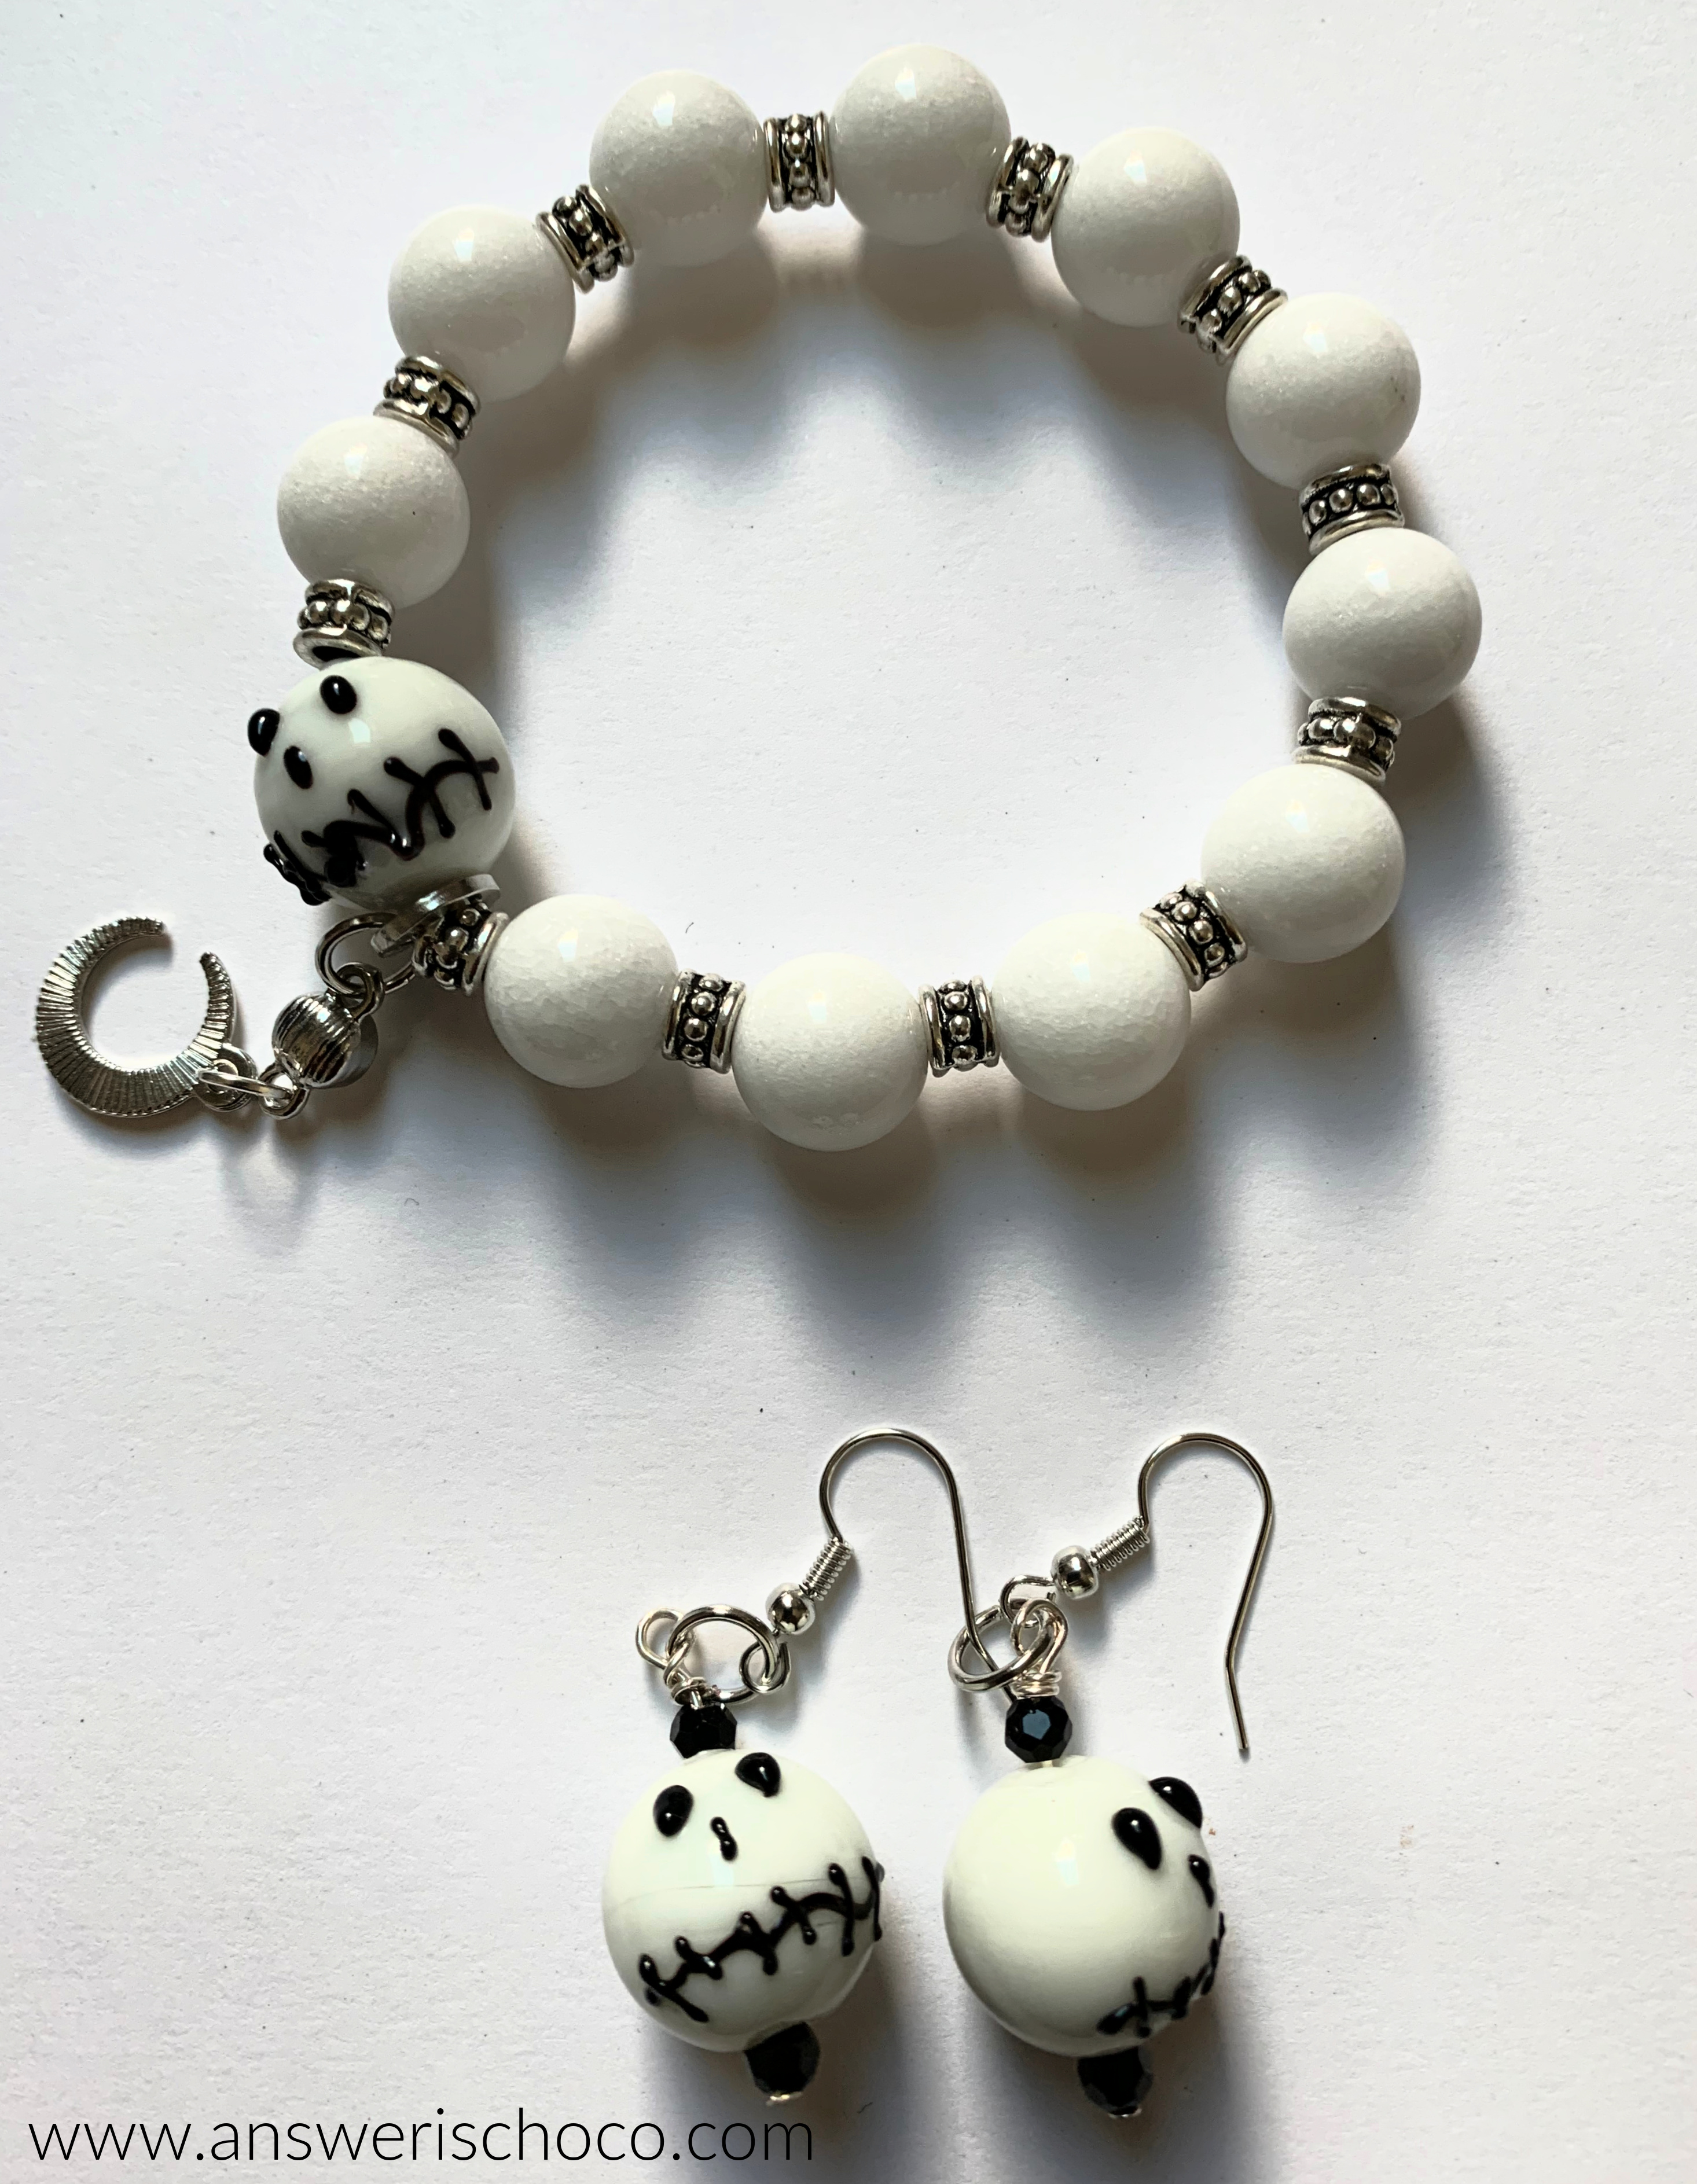
I love owls and couldn't resist these cute little guys. I grabbed some silver ball beads from my stash along with head pins and jump rings and strung a silver bead, an owl bead, and another silver bead onto a head pin.
If you're using ear wires, you can make a wrapped loop and attach to the ear wire. Since the clip backs were already attached to these, I just attached the two parts together with a jump ring.

I think I saw these owls came in blue too so now that beads are on an even better sale...