Thursday, July 11, 2013

BFF Open House Link Party #112

The Answer Is Chocolate

Happy Friday Eve all! I hope everyone had a safe and happy Fourth of July. Can you believe the month is halfway over? Let's get back into party mode with some features from 2 weeks ago:


Let's start with this fabulous suitcase table from Artsy VaVa. I'm forever looking at suitcases at flea markets etc. and wondering what to do with them. Problem solved! 


Bethany from Whistle and Ivy shared a great tutorial that every crafter who wants to see their work published should check out.  I definitely plan to follow her guidance!


Mason jars continue to be popular but a mason jar with a book page ruffle? Too cute. Diane from An Extraordinary Day has the deets. 

And you know I have to have a chocolate feature right? The only thing I love as much as chocolate is coffee and chocolate. A batch of these mocha brownies from Sarah Lynns Sweets is definitely in my future! 


Now let's see what everyone's been up to in the past couple of weeks. 


Wednesday, July 10, 2013

Kiwi Turquoise and Silver Chain Necklace

Blue Moon Beads Kiwi and Teal Necklace

I recently received some design team supplies from Blue Moon Beads. Disclosure: I am a member of the Blue Moon Beads design team and receive supplies to use but no compensation. All designs and opinions are my own

Included in my supplies was a connector piece with metal beads that I fell in love with and immediately wanted to play with. I had a birthday present to come up with and the colors were perfect.
Blue Moon Beads Kiwi and Teal

Using the metal connector strand as the focal, I chose some coordinating beads from my supplies. I really liked the kiwi and turquoise combination against the silver.

I left the connector strand as one piece and then used beading wire to make double sided wire wraps from the kiwi, turquoise and stone colored beads.

Blue Moon Beads and Chain

Using oval jump rings , I connected these pieces to lengths of antique silver chain until I had a length equal to my connector strand. I added an additional strand of the silver chain and connected the three strands together with  jump rings which I connected to two heart shaped lobster claw clasps:
Blue Moon Beads Silver Kiwi Teal

Blue Moon Beads Blues and Greens

I had some leftover beads and realized they went well with some other beads I had in my stash, so I made a matching bracelet and earrings to go with the necklace.

Blue Moon Beads Silver Kiwi Teal

The bracelet is on stretchy cord and I used the kiwi, turquoise, and stone beads along with a large green focal bead. For the earrings, I used the stone and turquoise beads along with silver bead caps. All supplies by Blue Moon Beads. Most supplies should be available at JoAnn Stores.

Sharing At: 


Monday, July 8, 2013

Cardmaking With Diecuts. No Stamps, Inks, or Machines Needed

Kiwi and Turq Cards

As a cardmaker, I love using anything and everything in my cards. I’ve written before that you don’t have to have a fancy schmancy machine to create shapes that add variety and texture to your cards. Heck , you don’t even have to stamp. All you need are pre-packaged die cuts that are available wherever scrapbooking supplies are sold.

For this project I used:
  • Diecuts. I used ones I had in my stash and coordinated my cards around them
  • American Crafts papers: green and white floral, teal and green
  • Coordinating ribbon and rhinestones
Die Cuts

You can use your diecuts as is or you can embellish them. For the card with the big butterfly, I layered in onto the teal paper and trimmed around it to give it a border. Also added some Stickles glitter glue and rhinestones.

Cuttlebug Embossed Paper

For this card, I also ran a teal panel through my Cuttlebug using an embossing folder but you could also .leave the paper plain.

Cuttlebug Embossed Panel

I added a piece of coordinating ribbon to my embossed panel.

Butterfly Diecut Card

Covered the front of the card with the green and white floral paper and added a floral diecut embellished with a clear rhinestone.

Butterfly Diecuts

For the second card, I layered a panel of the green and white floral onto the teal paper, tore a scrap of the teal and wrapped with the ribbon and added the diecuts which I embellished with rhinestones.  I used my Cuttlebug to emboss paper for the first card, but I also wanted to show you can make cards just using the paper as is.

Embossed Scraps

Waste not, want not so for this one I used leftover strips of the embossed paper from the first card to accent the second card.  So see? No stamps , inks, or die cut machines needed!


Sharing At: 


Becca Lee Paperie Giveaway Winner

Thanks to everyone who entered the giveaway I recently hosted to Becca Lee Paperie. The Rafflecopter thingy-ma-widget has selected the winner and congrats to Jenn Erickson !!!

Thanks Rebecca for giving one of The Answer Is Chocolate's readers this great prize. Continued success with your Etsy shop.

Wednesday, July 3, 2013

Last Minute Fourth Of July Project: Firecracker Candle


I don't do a lot of decorating for the Fourth, but I have a few things on my mantle. Since we can't light fireworks in our city I wanted something that symbolized them so I altered a candle 

For this project you will need: 

  • Tall jar candle ( ie prayer candle available at Dollar Tree or grocery store) 
  • Patriotic colored papers (I used products from CutCardstock.com)
  • Coordinating cupcake liners ( mine were left over from Christmas!)


Here's the plain candle and papers. To add a little extra sparkle to the "sparkler" go around the top and bottom rims of the candle with clear embossing ink and then dip in bright gold embossing powder and heat emboss. 


Measure and tear cream cardstock, trim it as well with gold embossing powder and adhere to candle. I used extra strong double sided tape but hot glue would work too. 


For the stripes, tear strips of the red paper and crinkle them ( I like vintagey looking Americana) and adhere them to the candle. 


I was going to make a lollie for my focal point and then remembered some red and white cupcake liners I had left over from Christmas so I ran to the kitchen and got those. 


Punch a circle from cardstock, fold cupcake liner in quarters and adhere to cardstock circle. Repeat until satisfied with thickness. 


The cupcake liners I had came in two different sizes so I made another layer of them using the smaller ones. Finished up with smaller punched circle in the middle, a navy button, and gold rhinestone center.  Shown here on my mantle with a previous Fourth project you can see here


Monday, July 1, 2013

Happy July. Let's Celebrate With a Fun Giveaway from Becca Lee Paperie

Happy July everyone. I hope wherever you are, you're managing to stay cooler than I am. Let's start July off with a very cool giveaway ( yes I'm punny).

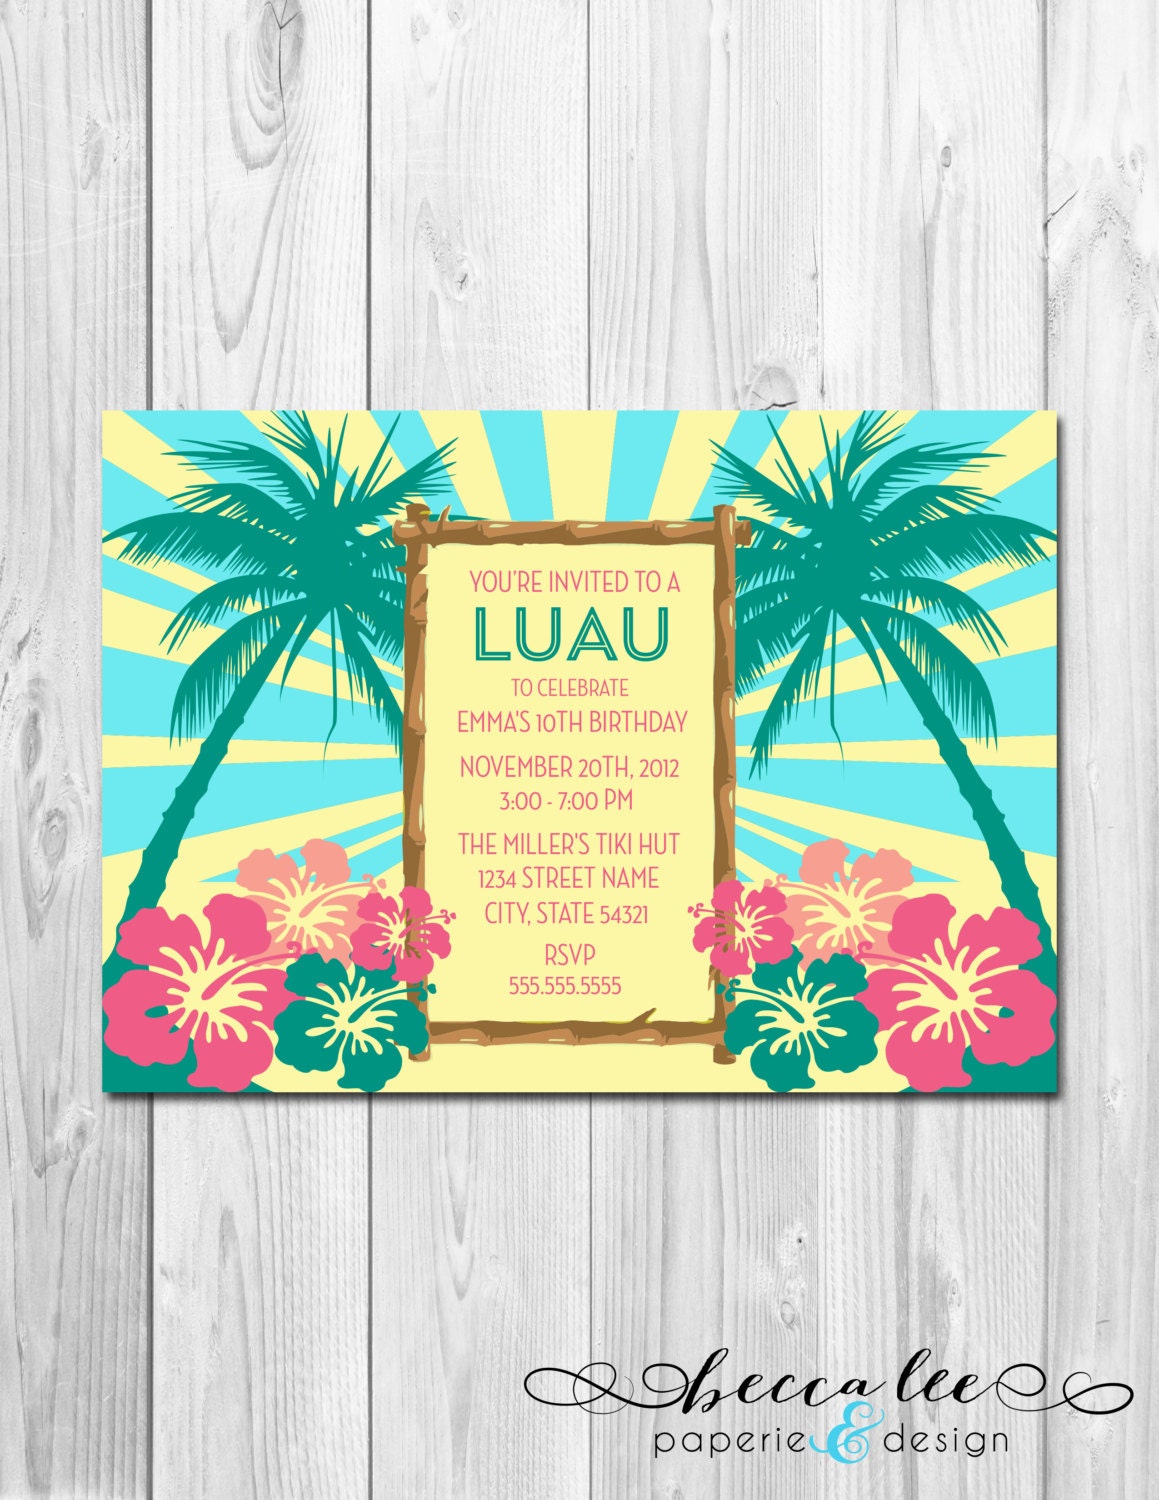
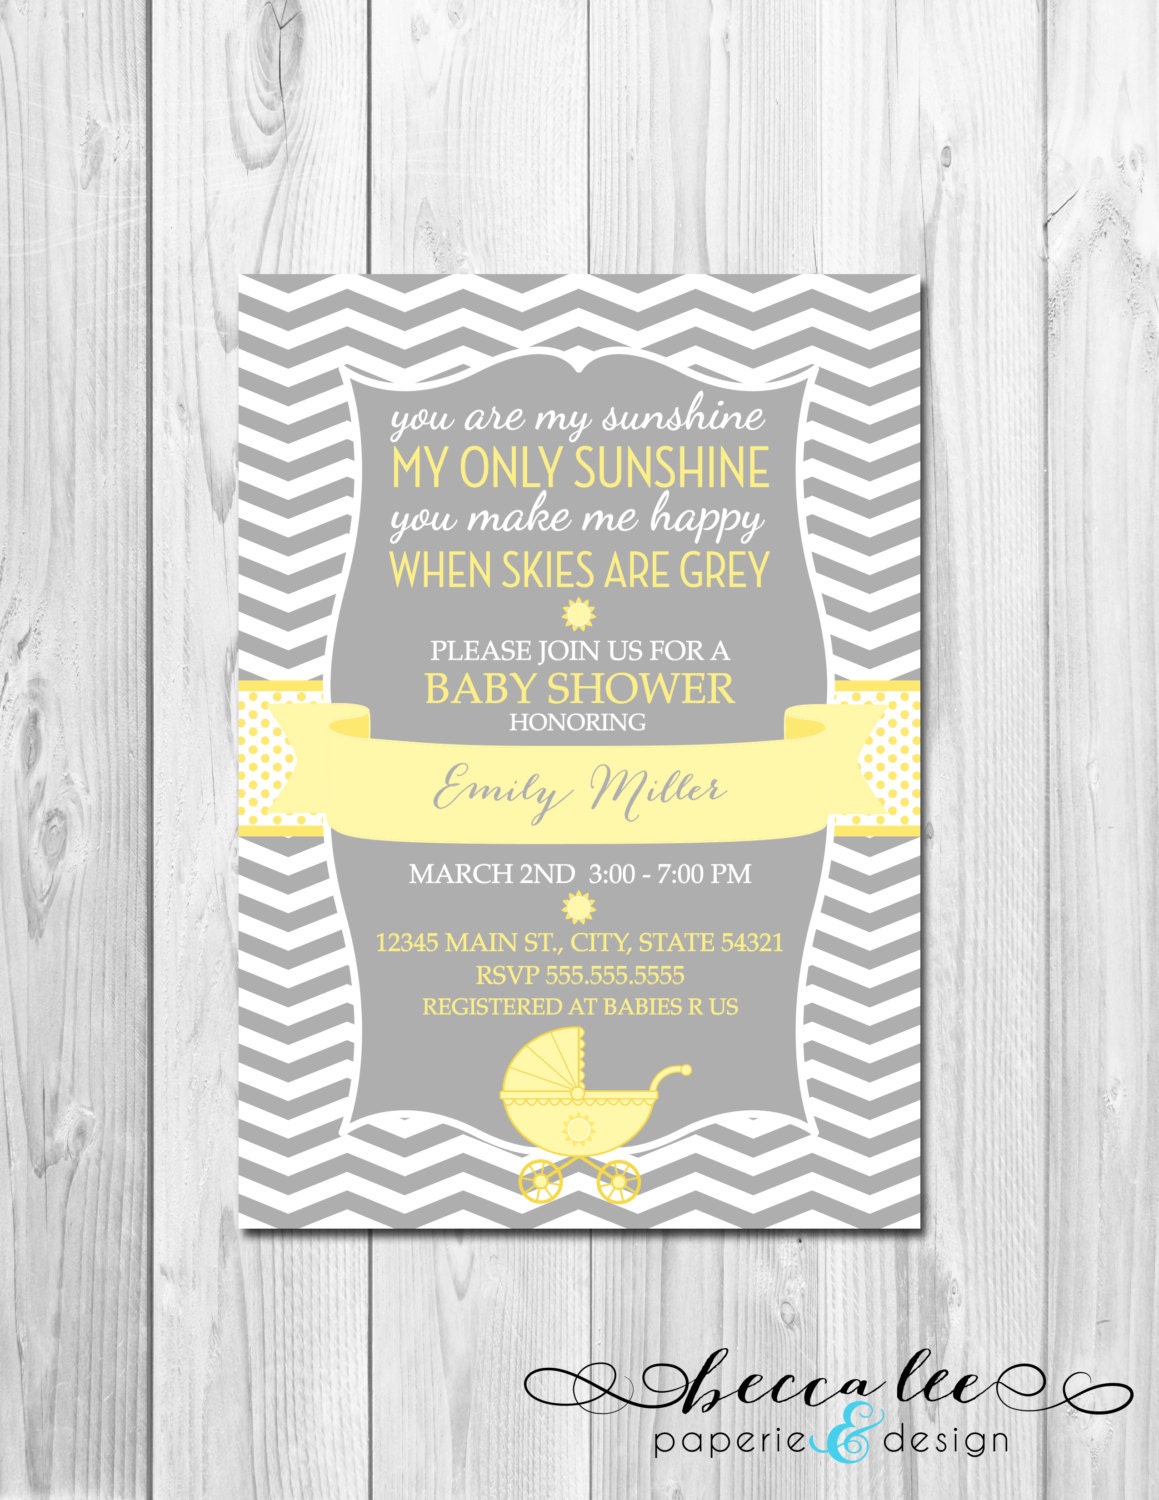
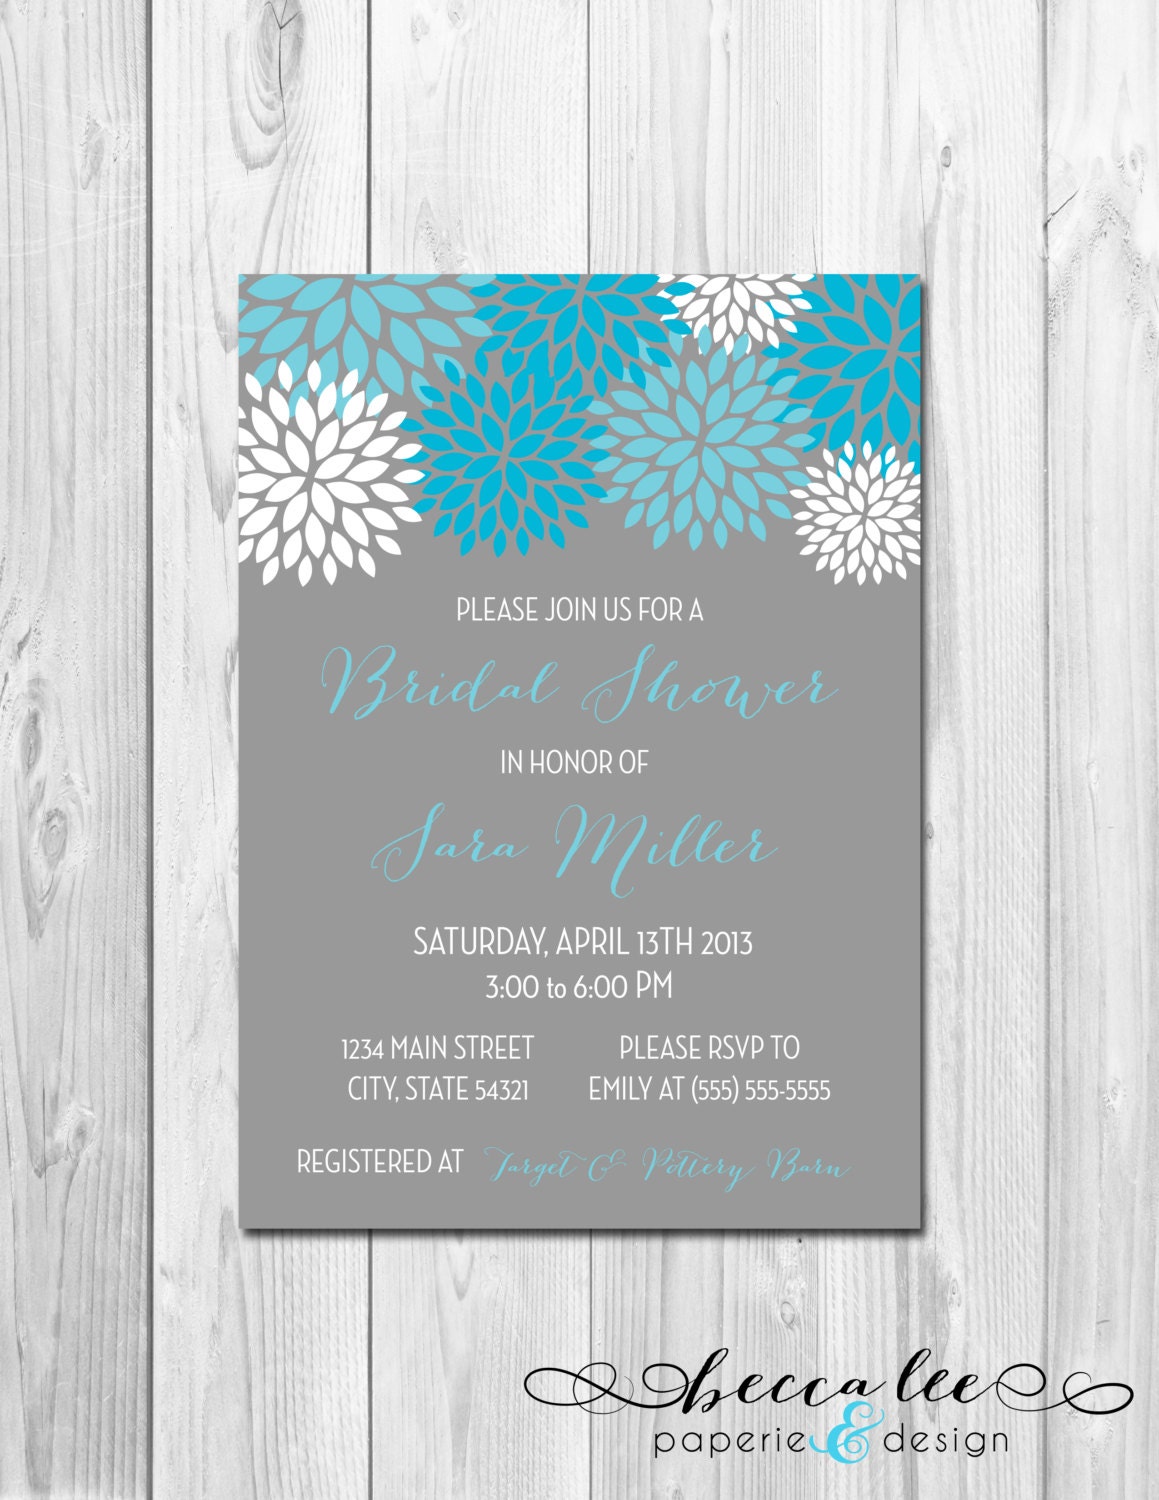
About a year ago I introduced a lovely Etsy shop owned by a sweet couple and run by Rebecca. It started off as Pick Print Party and has grown over the year and is now Becca Lee Paperie where you can order customized invitations  in a wide variety of designs. Every occasion from showers, birth announcements, birthdays, weddings and just because is covered.

Having a Summer party?


How about a Luau themed invitation?  My readers know I love yellow and gray. This is such a perfect color scheme for a baby shower:


Or having a party just because? There are invites that can be customized for any occasion. This one is for a bridal shower but could easily be for anything. 


There are many more fun designs to peruse and choose from. To celebrate, Becca Lee Paperie is offering one  of my readers the chance to win a $50 credit to their shop!  This will be a Rafflecopter giveaway and winner will be announced Monday July 8. Good luck! 


Thursday, June 27, 2013

BFF Open House Link Party #111


Hi all and welcome to the party. I'm traveling for work  this week so there won't be any features. I'll catch up on those after the Fourth of July holiday next week. 

We'll get right to the party!