Monday, June 24, 2013

Lazy Person's Chocolate Croissants

Chocolate Puff Pastry

I made these last week and now Mr. Chocolate wants me to make them all the time. I call them the lazy person’s croissant because you are not making the pastry from scratch. They are fast, easy, and yummy!

For these "fauxsants au chocolat" you will need:
  • 1 sheet puff pastry
  • Chocolate Chips
  • Powdered Sugar
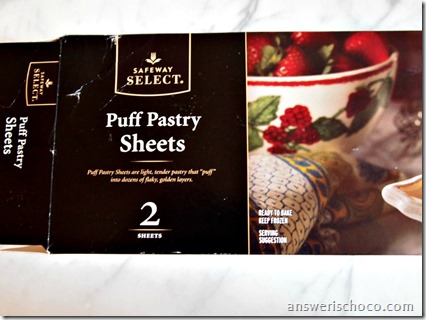
I just used store brand puff pastry. You can find it in the frozen aisle at the grocery store. The longest part of making these is thawing the pasty dough out which takes about 40 minutes.

Puff Pastry

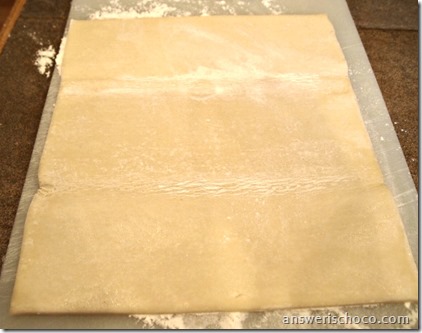
Roll out your thawed pastry. It’ll come folded in thirds.

Rolled Out Puff Pastry

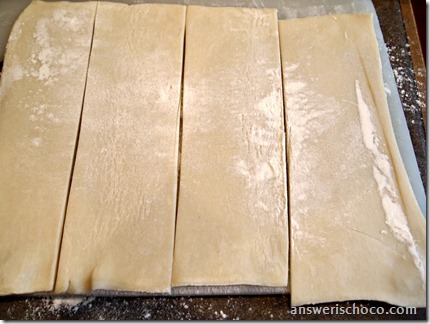
Roll out on a lightly floured surface then cut into strips.

Puff Pastry Strips

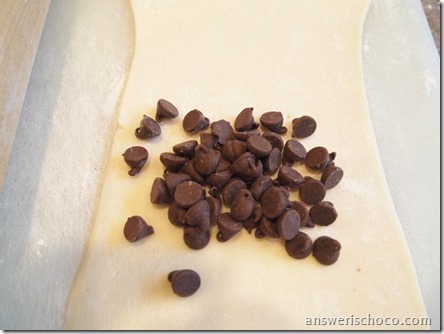
Roll out each of your strips a little more and sprinkle a handful of chocolate chips onto each strip.

Puff Pastry Chocolate Filling

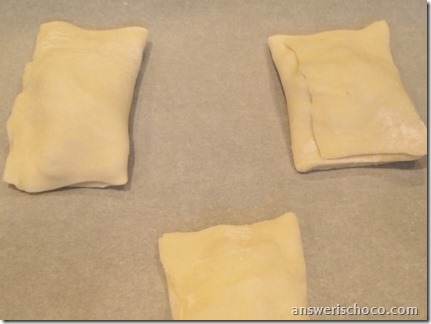
Fold the pastry over the chocolate chips and then again.

Folded Chocolate Puff Pastry

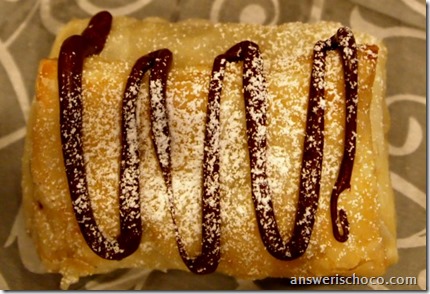
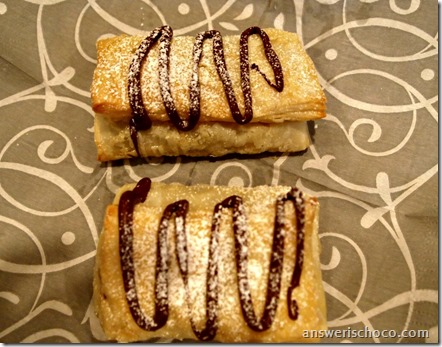
Bake at 400 degrees for 15 minutes, drizzle with melted chocolate and sprinkle with powdered sugar.
Chocolate Filled Puff Pastries

Thursday, June 20, 2013

BFF Open House Link Party #110


Happy Friday Eve all. Hope everyone had a very happy Father's Day and all the dads in your lives were wowed by your creativity. First time that College Boy wasn't here for Father's Day so I spoiled Mr. Chocolate appropriately. 

Let's take a peek at some ideas shared at last week's party and then we'll jump into this week's. 


These polka dot planters by Fonda over at Southern Scraps are just the thing to brighten up your porch or patio. 


Christine from I Dig Pinterest share her tutorial for this festive Fourth candy jar. Wouldn't a mantel full of these be fun? 


Rhonda from Messy Roost made this portable craft caddy that she can take anywhere inside or outside. Perfect for Summer crafting. 

And unless I missed it , I don't think I had ANY chocolate recipes linked up ! However, this delicious Strawberry Pizza shared by Leigh Anne at Your Home Based Mom could easily have some chocolate drizzled on it don'tcha think? Not that it isn't perfect just the way it is. 


Now on to this week's party. If it's your first time linking up, following's not required but I do love to meet new bloggers so at least leave a comment and say hi. 


Tuesday, June 18, 2013

Father's Day Cards in Cream and Blue

Tim Holtz Vintage Truck Card

Now that Father’s Day has passed, I can share some of the cards I made to celebrate. The first card is a combination birthday and Father’s Day card for my FIL.  For this one I used papers by Basic Grey and Cut Cardstock.com and  vintage truck and sentiment stamps by Tim Holtz.

Vintage Truck Card Materials
Made a 5x7 card from cream cardstock, ran some light blue cardstock through my Cuttlebug using a Tim Holtz embossing folder, stamped the truck with blue pigment ink and the sentiment with black. I kinda goofed on the first stamp of the sentiment, so went back over it and was actually pleased with the shadow effect. That’s my story and I’m sticking to it anyway.

Take Some Time 2

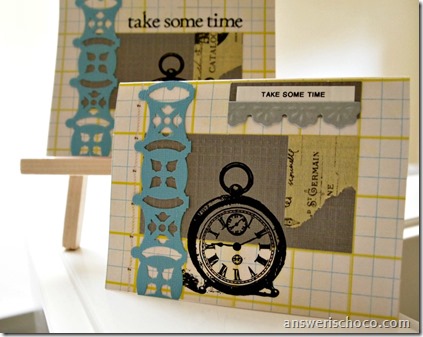
For these cards, I used some pre-made cards  and embellisments from the David Tutera cardmaking collection along with another sheet from a Basic Grey pack.  The clocks are rub-ons I had in my stash but you could get the same effect with a clear sticker or stamp. I only had one of the “take some time” sentiment rub-ons but liked the sentiment so generated the second one using my label maker and then spruced it up with some embellishments.

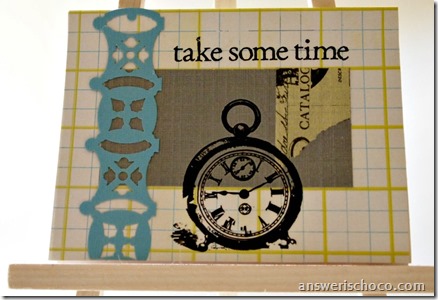
Take Some Time Card
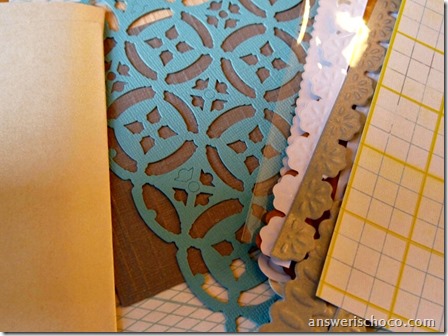
The turquoise strip is a pre-cut David Tutera overlay that I trimmed to size. Finished with some coordinating washi tape.
Take Some Time Card Materials

Hope all the dads in your lives had a great Father’s Day!

Monday, June 17, 2013

Graduation Gift: Silver Softball Themed Necklace and Bracelet

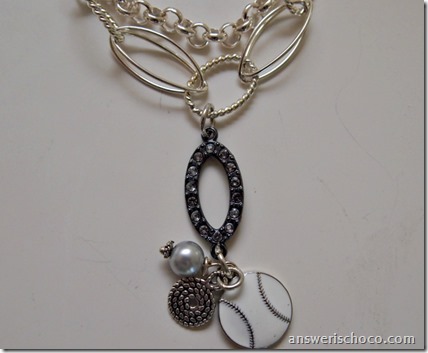
Silver Softball Necklace and Bracelet

Sharing a graduation gift I made for the daughter of one of my besties. We have been friends forever (7th grade) and now her baby has now graduated from college!

My “niece” is a lifelong softball player and earned a scholarship to play softball in college. I knew I wanted to incorporate softball into her necklace but now that she’s a college graduate, also wanted something grown up that she could wear. I found this enameled softball charm that was neutral in color and designed things around it.

I used a combination of silver chains and a rhinestone chain I picked up at Michaels and deconstructed.

Softball Graduation Necklace

I didn’t take a lot of pictures while I was making it but basically just laid out the chain the way I wanted it, added a couple of the rhinestone links along the way, and then used one as the base for a pendant, attaching the softball charm, another silver charm, and a silver pearl attached using a head pin.
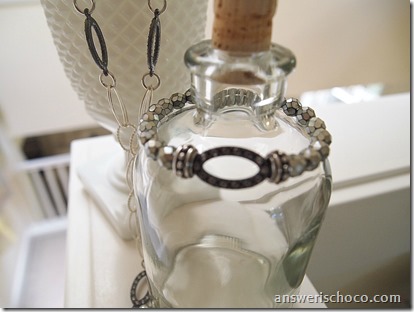
Silver Bead Bracelet

The bracelet (this pic came out a bit blurry) is a mix of silver crystal beads, silver pieces, and another link from the rhinestone chain.

Graduation was yesterday and I am really honored that she chose to wear these for her graduation. Wishing you all the best Ro!

Saturday, June 15, 2013

Jewelry Makeover: Clearance Earrings Into An Easy Necklace

Teardrop Metal Necklace 3

I’ve shared before that since I don’t have pierced ears I often buy pierced earrings and convert them to clips. This time, I found some on sale that I couldn’t see myself wearing as clips, but the parts intrigued me and the price ($4.99) was too good to pass up.

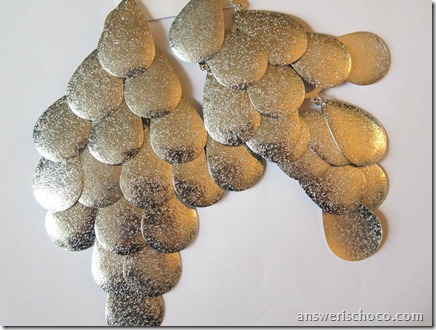
This is the before pic. Aren’t they ginormous? Each earring was made from 16 metal teardrop pieces.

Drop Earrings Before Pic

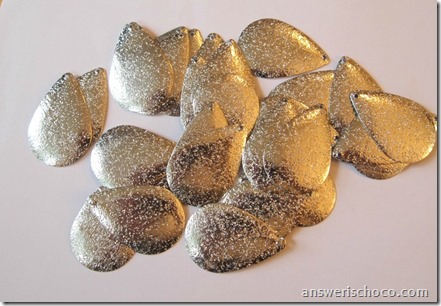
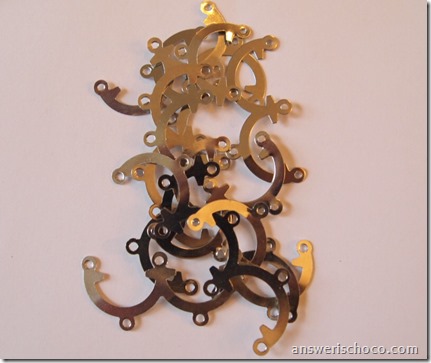
The teardrop metal pieces were attached with jump rings so I disassembled each earring and ended up with a pile of parts:

Earring Parts

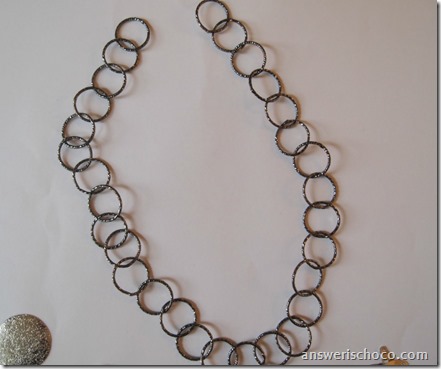
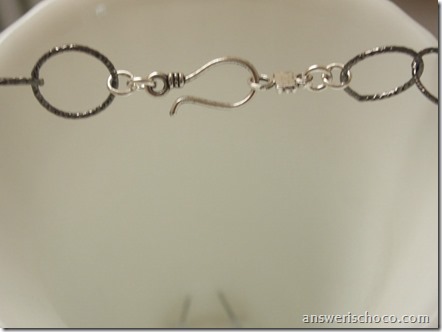
I had some dark pewter metal chain in my stash, measured out 18 inches and then attached a clasp.

Gunmetal Chain

Teardrop Metal Necklace Clasp

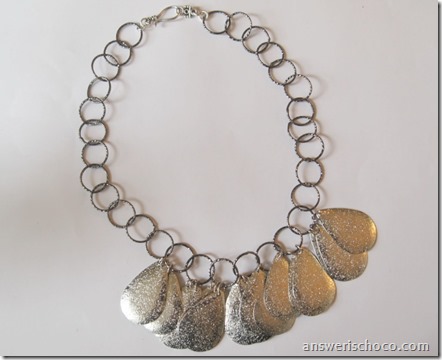
Then I attached three of the metal pieces ( saved the jump rings I’d removed) to a 7 links of the chain.

Teardrop Metal Necklace

I ended up using 21 of the 32 tear drops so I have some left over to play with. In deconstructing the earrings, I also ended up with another pile o parts that sparked some more ideas. Stay tuned!

P6140043

Sharing At:


Thursday, June 13, 2013

BFF Open House Link Party #109


Happy Friday Eve all. It's been a crazy week so apologies...no features today. We'll just jump right into the party OK? 


Monday, June 10, 2013

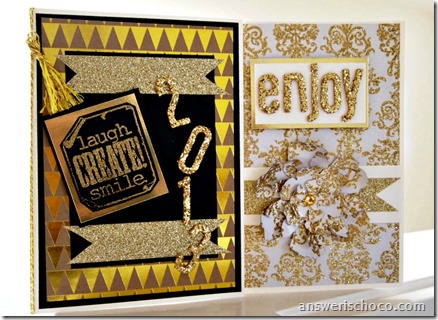
Glittery Gold Graduation and Retirement Cards with American Crafts

American Crafts Gold Cards
Disclosure: I received products from American Crafts but was not financially compensated for this post. Projects and opinions are mine.

I recently received some glittery gold goodies from the wonderful folks at American Crafts. I love metallics and glitter and the timing was perfect since I knew I had a retirement and a graduation card to make. Both of these occasions just scream gold to me. Yes, I am the paper whisperer.
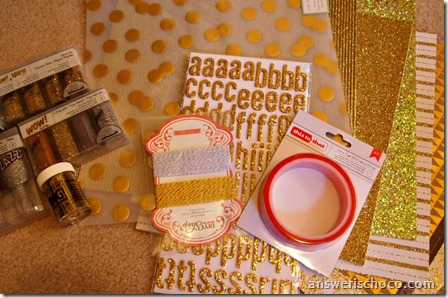
American Crafts Gold

Gold papers, metallic glitter, gold embossing powder, gold baker’s twine!

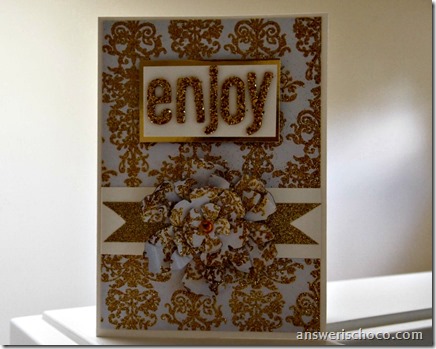
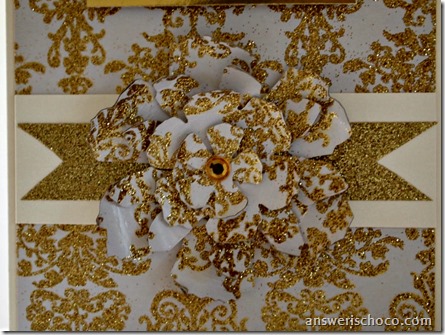
For the retirement card, I made a 5x7 card from cream card stock and then cut a piece of the American Crafts  gold and white damask paper to size. I also die cut  a layered flower from the same paper and curled the petal edges.

American Crafts Gold Retirement

Since the paper is so detailed with the damask pattern and the glitter, I kept this card simple and just used this one paper for the card.

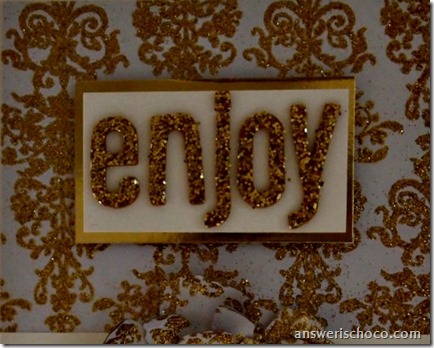
Layered scraps leftover from my card with AC gold glitter tape and spelled out the word “enjoy” using the gold glitter Thickers alphabet stickers I received. Layered these as shown.

American Crafts Gold Damask

American Crafts Gold Retirement
Finished with a gold rhinestone in the middle.
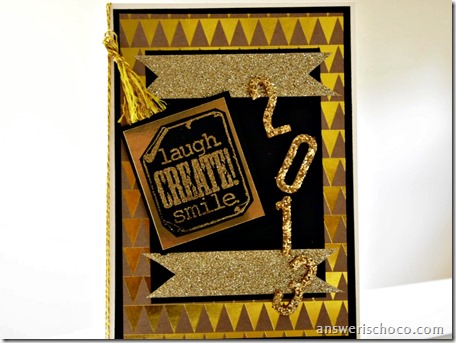
American Crafts Gold Graduation

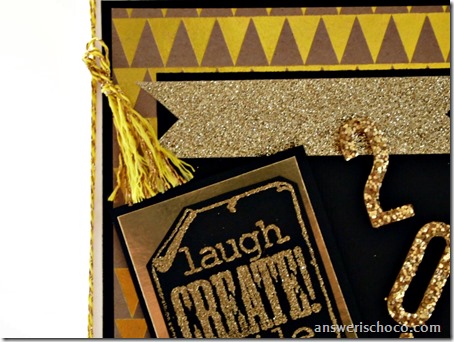
For the graduation card, I used a foiled piece from the American Crafts Atlantic collection along with plain black cardstock, more glitter tape, an embossed image with the American Crafts ZING embossing powder, and the glitter Thickers stickers. I wrapped some of the gold baker’s twine around the card and even made a little graduation tassel with it.

American Crafts Gold Baker's Twine

Sometimes working with metallics and glitter you can end up covered in it. I really like the glitter ribbon ( did I mention it’s self adhesive?) because it doesn’t come off on you. Same for the Thickers stickers. The papers are incredible both in the design and the weight. I like making layered, heavy cards ( the post office just loves me) and these work great w/ die cut machines and can stand up to altering etc.

You can see more from the American Crafts line here as well as on Facebook and Twitter.