Thursday, November 21, 2024

BFF Open House


Happy Friday Eve again all and someone needs to explain how US Thanksgiving is a week away because I didn't agree to that! And what does Black Friday even mean anymore since I've seen sales since October!

That means full steam ahead to Christmas and Hanukkah, the start of which falls on Christmas this year. It's felt great to be back in my craft room and here's what I shared this week and had so much fun making!


So many busy elves! Let's take a look at some of the ideas shared at last week's party and with time enough to still complete!


Fresh Vintage by Lisa S lives up to her blog name with this new Vintage Christmas Tree Sign!


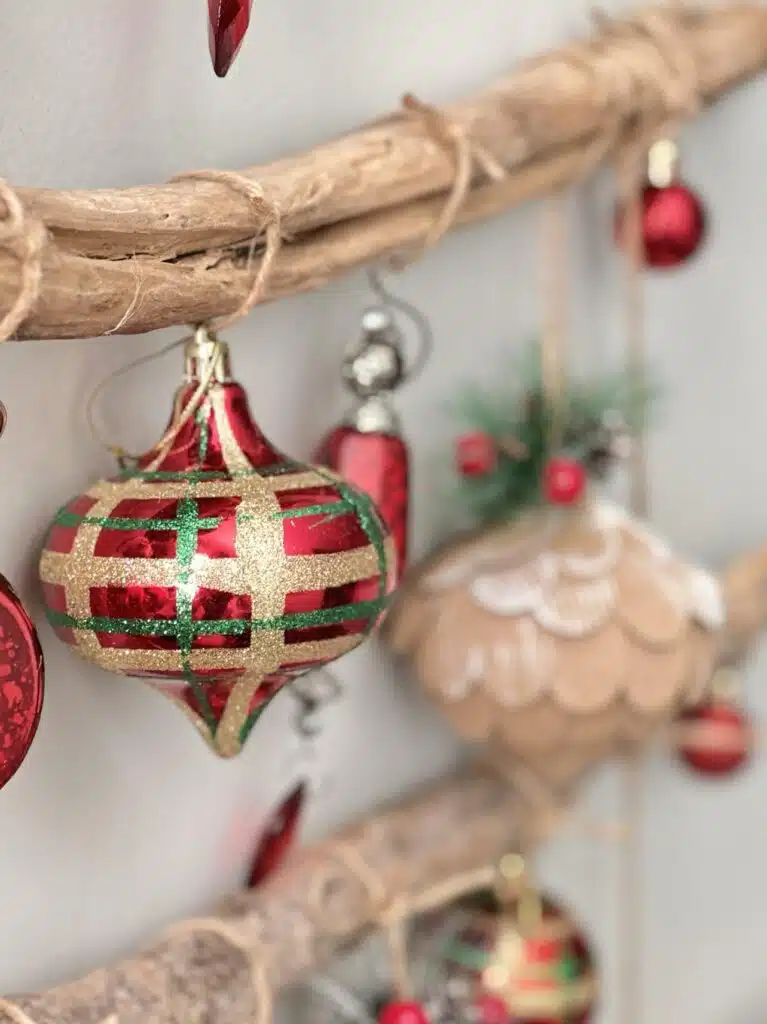
Sonata Home Design shared a great addition or alternative to a standing tree with this DIY Wall Tree.

The House on Silverado shared this magnificent Vintage Oil Lamp Upcycle


Much to my chagrin, Thanksgiving is not a big chocolate holiday but it is a big apple holiday so celebrate with these Apple Cider Mimosas from Organized Island!

Thanks to all who linked up and can't wait to see what's in store this week! 


You are invited to the Inlinkz link party!

Click here to enter

Tuesday, November 19, 2024

From Dollhouse to Gingerbread House


I originally picked these up to make a Haunted House but with my knee accident...Gingerbread House instead! 

Supplies:
  • Plastic Dollhouse (Dollar Tree)
  • White Glue
  • Acrylic Craft Paint
  • Puff Paint
  • Waverly Chalk Paint (See NOTE)


This was the style of house I found and bought two since the can hook together to make them 3D. You could use just one to make a facade. I know there was another style but I've been unable to find anymore of these in the bajillion Dollar Trees I've scouted! 

NOTE: I just knew I had an all surface / no pimer required paint on hand. Didn't. So if you don't, this is what I did. But I would STRONGLY recommend using that kind and as you'll see later, there's one that works GREAT! 


My solution was to cover the houses with a coat of white glue to give the paint I did have something to adhere to. After that was dry, I used a white acrylic paint as a base coat. 


I then chose my "gingerbread" colors. I thought I'd use both shown here but ended up doing just the "Brownstone" Glitter paint.


I really like how the glitter catches the light. I ended up doing two coats on each half. 


Since I knew I was going to join the two halves, it bugged me that you'd be able to see the pink through the windows. When I went to get the Puff Paint at Walmart, I found they had 2oz bottles of Waverly Chalk No Prep Paint so I got a one in brown. Lemme tell you...I love this stuff and will be getting more! I used that on the inside to cover the pink.


Your imagination is once again your guide. I wanted a classic simple brown and white but you could go wild with Puff Paint colors. As mentioned, I found the Puff Paint at Walmart. Also, while each half has hinges that imply they snap together it's "meh" on that so I used hot glue to make sure they were really held together. 


I got White and Diamond. If you get the Diamond, use it over the white after it's dried unless you want a fairly transparent look. I then just freehanded designs with squiggles and dots because snow's not perfect right? Just follow your instincts. I let each side dry overnight so I wouldn't smudge. 


When I put this out, I'll scatter some epsom salt around the house and add a few bottlebrush trees. 


Monday, November 18, 2024

Dollar Tree Snow Globes and Ornaments


I feel like I lost a month because I lost a month being able to be in my craft room because of my knee injury. So, it was great to spend some time in my craft room this weekend getting out my Christmas stash and having a chance to play. 

Over the Summer, I found these Disney, Pixar, and Sesame Street figurines at Dollar Tree. I knew from years past they made snow globe ornaments and was stalking them waiting for them to re-appear. 

Years ago, my Mom had given us a wonderful set of Disney ornaments. My main tree is more formal. Call it my Martha Stewart personality disorder. Even as a child, I had thoughts of the kind of tree I wanted when I had my own but when our son was born, I also wanted him to have a very kid-friendly tree. 

Mr. Chocolate and Son were in charge of this tree while I tended to my other three "frou-frou" trees with one stipulation: "Hands off our tree fancy pants". But kids grow up and he's lived on his own for a while and it's a conundrum. He doesn't put up a tree because of his dog who's a bundle of energy and while he was in grad school, his schedule allowed him to come home and trim the tree with Dad. For the last couple of years though, reality has set in and he won't always be able to do that. I FINALLY convinced them that I could honor the tradition of the tree but "spruce" (pun intended) it up a bit. I bought new lights and made a few ornaments to honor our continued love of Disney, Pixar, and Muppets. 

Supplies:

  • Mini Character Figurines
  • Snow Globe Ornaments
  • Hot Glue and Glue Gun
  • Epsom Salt
  • Coordinating Glitter,Sequins, Ribbon,Pipe Cleaners

These are super easy and fun to make.


Some of the figures sit on a base like Jack Jack here. Learn as you go. While it fit within the circumference of the lid (bottom) I realized after I glued it in that the lid didn't quite screw on correctly so I had to glue it in. The process for all of these is the same.

Make sure your figure will fit through the opening and the lid will close. Glue the figure either directly to the lid or as I'll show, to something to elevate it a little. Then, use a length of pipecleaner and hot glue around the top of the ornament. This will create a seal because otherwise the filler may spill out. What goes inside is up to your imagination!


I used epsom salt and various sequins along with other small things like pom poms as my filler. Once you've "sealed" the top of your ornament, load it up with your filler then screw on your lid with the figurine attached and you can be done now, or do as I did and wrap the base with coordinating ribbon,


Your only limit is your imagination. The hardest part is if you are looking for a specific character. No guarantees that every store has what you want but then you just go from store to store, right? 


Jack Jack is Mr. Chocolate's favorite character so I was ecstatic to find him. I'm still looking for Edna Mode! 


I mentioned above that some of the figures don't come with a base like Jack Jack did. These, I was able to elevate a little higher using some wood blocks (Dollar Tree) from my stash. I glued the block to the lid, then the figure to the block. Since these ornaments are tall, there's room.


I did this with Oscar and then followed the same steps using coordinating colors. 


But wait...there's more! Some of the figures are just too big for the ornament opening. Solution? The Snow Globes that they also sell at Dollar Tree!


Sully's arms were too wide for the ornament so I made him into a snow globe! Same overall process...fill with coordinating sequins and/or glitter and epsom salt and wrap with ribbon.


I threw some sparkly pom poms in here along with some sequin snowflakes.


I'm really happy with how easy and fun these were!


Thursday, November 14, 2024

BFF Open House


Happy Friday Eve all! We enjoyed spending last week with our son and getting to know his neighborhood, which is FILLED with lots of wonderful local shops. Picked up a handmade ornament for my Mom, some new Christmas items, ate some great food and just enjoyed being together.

Started working on some fun additions to "the boys" Christmas tree. Father and son have had a tradition of decorating their own tree since, while they love our big main tree, it's too formal and they've had one to make more fun. But our kids grow and live on their own, and even though we were fortunate to have him be able to come for Christmas all through undergrad and grad school, it's been more reality-based the past few years between COVID and work and I finally got permission to let me play with that tree. Next week I'll share a few of the new things I'm making for it which are fun, sentimental, and easy! 

Thanks for understanding about last week's party w/out features. For some reason I wasn't able to get picture links to work from our hotel. So let's take a look at some Fall and Christmas ideas from last week's party! 


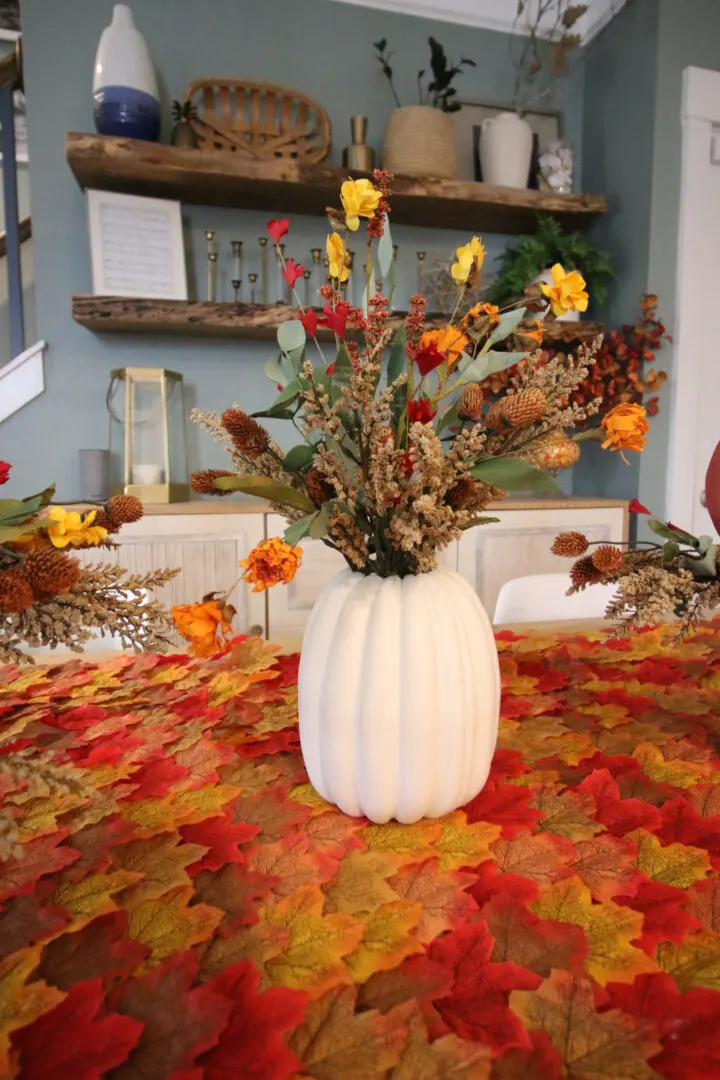
Charleston Crafted shared a DIY Pumpkin Vase using a carveable pumpkin which you should be able to pick up for a steal right now since Fall stuff is heavily discounted. Great for your own centerpiece or host/hostess gift! 

Master Pieces of My Life has a BRILLIANT Dollar Tree Hack to make this Sherpa Pumpkin! Seriously...BRILLIANT! 


Printables remain the easiest high-impact decor item and Hunny I'm Home DIY has a pair of Thankful Printables available, FREE to download. Print. Frame. Done! 


Finally, if you're working on Christmas projects, these Wood Christmas Stars from Steph Creates are a must to check out! 

Thanks to all who linked up and can't wait to see what you've been up to this week! 


You are invited to the Inlinkz link party!

Click here to enter

Thursday, November 7, 2024

BFF Open House


Happy Friday Eve all! As mentioned last week, we're visiting our son this week. The wifi is being weird and spotty, so this week it's all links and no features. 


Hope you're all hanging in! 


You are invited to the Inlinkz link party!

Click here to enter