Monday, November 6, 2023

Fall Decor: Tissue Papered Dollar Tree Pumpkins


While last year was our first year in our new home, we also went away for Thanksgiving. So this year is our first Thanksgiving here and I decided I wanted to switch up some of my color palette. Since the leaves don't really change much where we are, I went with the colors we do have in abundance. Shades of greens and golds. The best part is, it will still work with the more traditional Fall colors. 

Supplies:
  • Dollar Tree Foam Pumpkins 
  • Tissue Paper
  • Mod Podge
  • Acrylic Paints


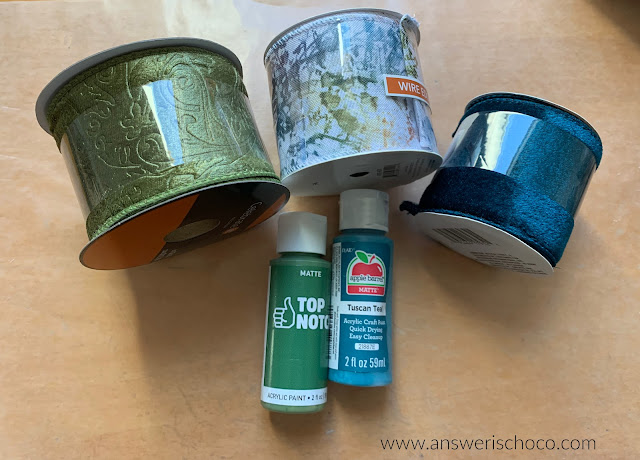
This is the color palette I'm working with. I'm in the process of decorating so will be sharing things as I go along. 


The first step is to cover your pumpkin with tissue paper. Any tissue paper will work. I love the "ugly" pumpkins. The knotted, gnarly, knobby, creased ones. I crumpled the tissue paper then tore it into pieces. This is not scientific or measured! Apply some Mod Podge to the pumpkin, lay the tissue paper on, spread some more Mod Podge and continue until covered, including the stem. 


The tissue paper soaks up the Mod Podge but I like to go over it anyway just to make sure it's really good and on there!


When you're done, yes, it will look like it's been covered in a cocoon! I wanted the teal paint to be just a little deeper so I added a few drops of black and didn't completely mix it so it would have some variegation. 


I was very happy with how the crinkles and paint came together but of course, I wasn't done! The final step was to go over the pumpkins with gold, which I dry brushed all over, and covered the stem.



Thursday, November 2, 2023

BFF Open House


Happy Friday Eve, and Happy November! Thanks for holding down the fort while I ran away to Disneyland last week where we had more fun than people our age are supposed to have, and thankful that our feet and backs were up to the challenge. 😂 
We alternated between Disneyland and California Adventure day to day and then on the last day went back and forth between the two. We hadn't been since right before COVID and there are some changes to things like their former "Fast Path" program, and the need for park reservations in addition to your ticket,  so if you're planning a trip, read up ahead of time. 

There were also a few new rides / attractions since we were there last which of course we had to try and LOVED. Disneyland: Rise of the Resistance in Galaxy's Edge and Runaway Railroad in Toon Town. CA Adventure: Spiderman Web Slingers in the Avengers Campus. Both parks were all decked out for Halloween and next time we go for Halloween we plan on doing the "Oogie Boogie Bash" which is held after California Adventure closes. The costumes we saw on "mature adults" like us down to the youngest, were amazing!

I hope you all had a fun and safe Halloween and now let's take a look at some ideas shared over the past two weeks! 

Steph Creates shared this Fall "Book Stack" project using something from her regular source: Dollar Tree. What a perfect Fall accent to mark the transition from Halloween to Christmas! 


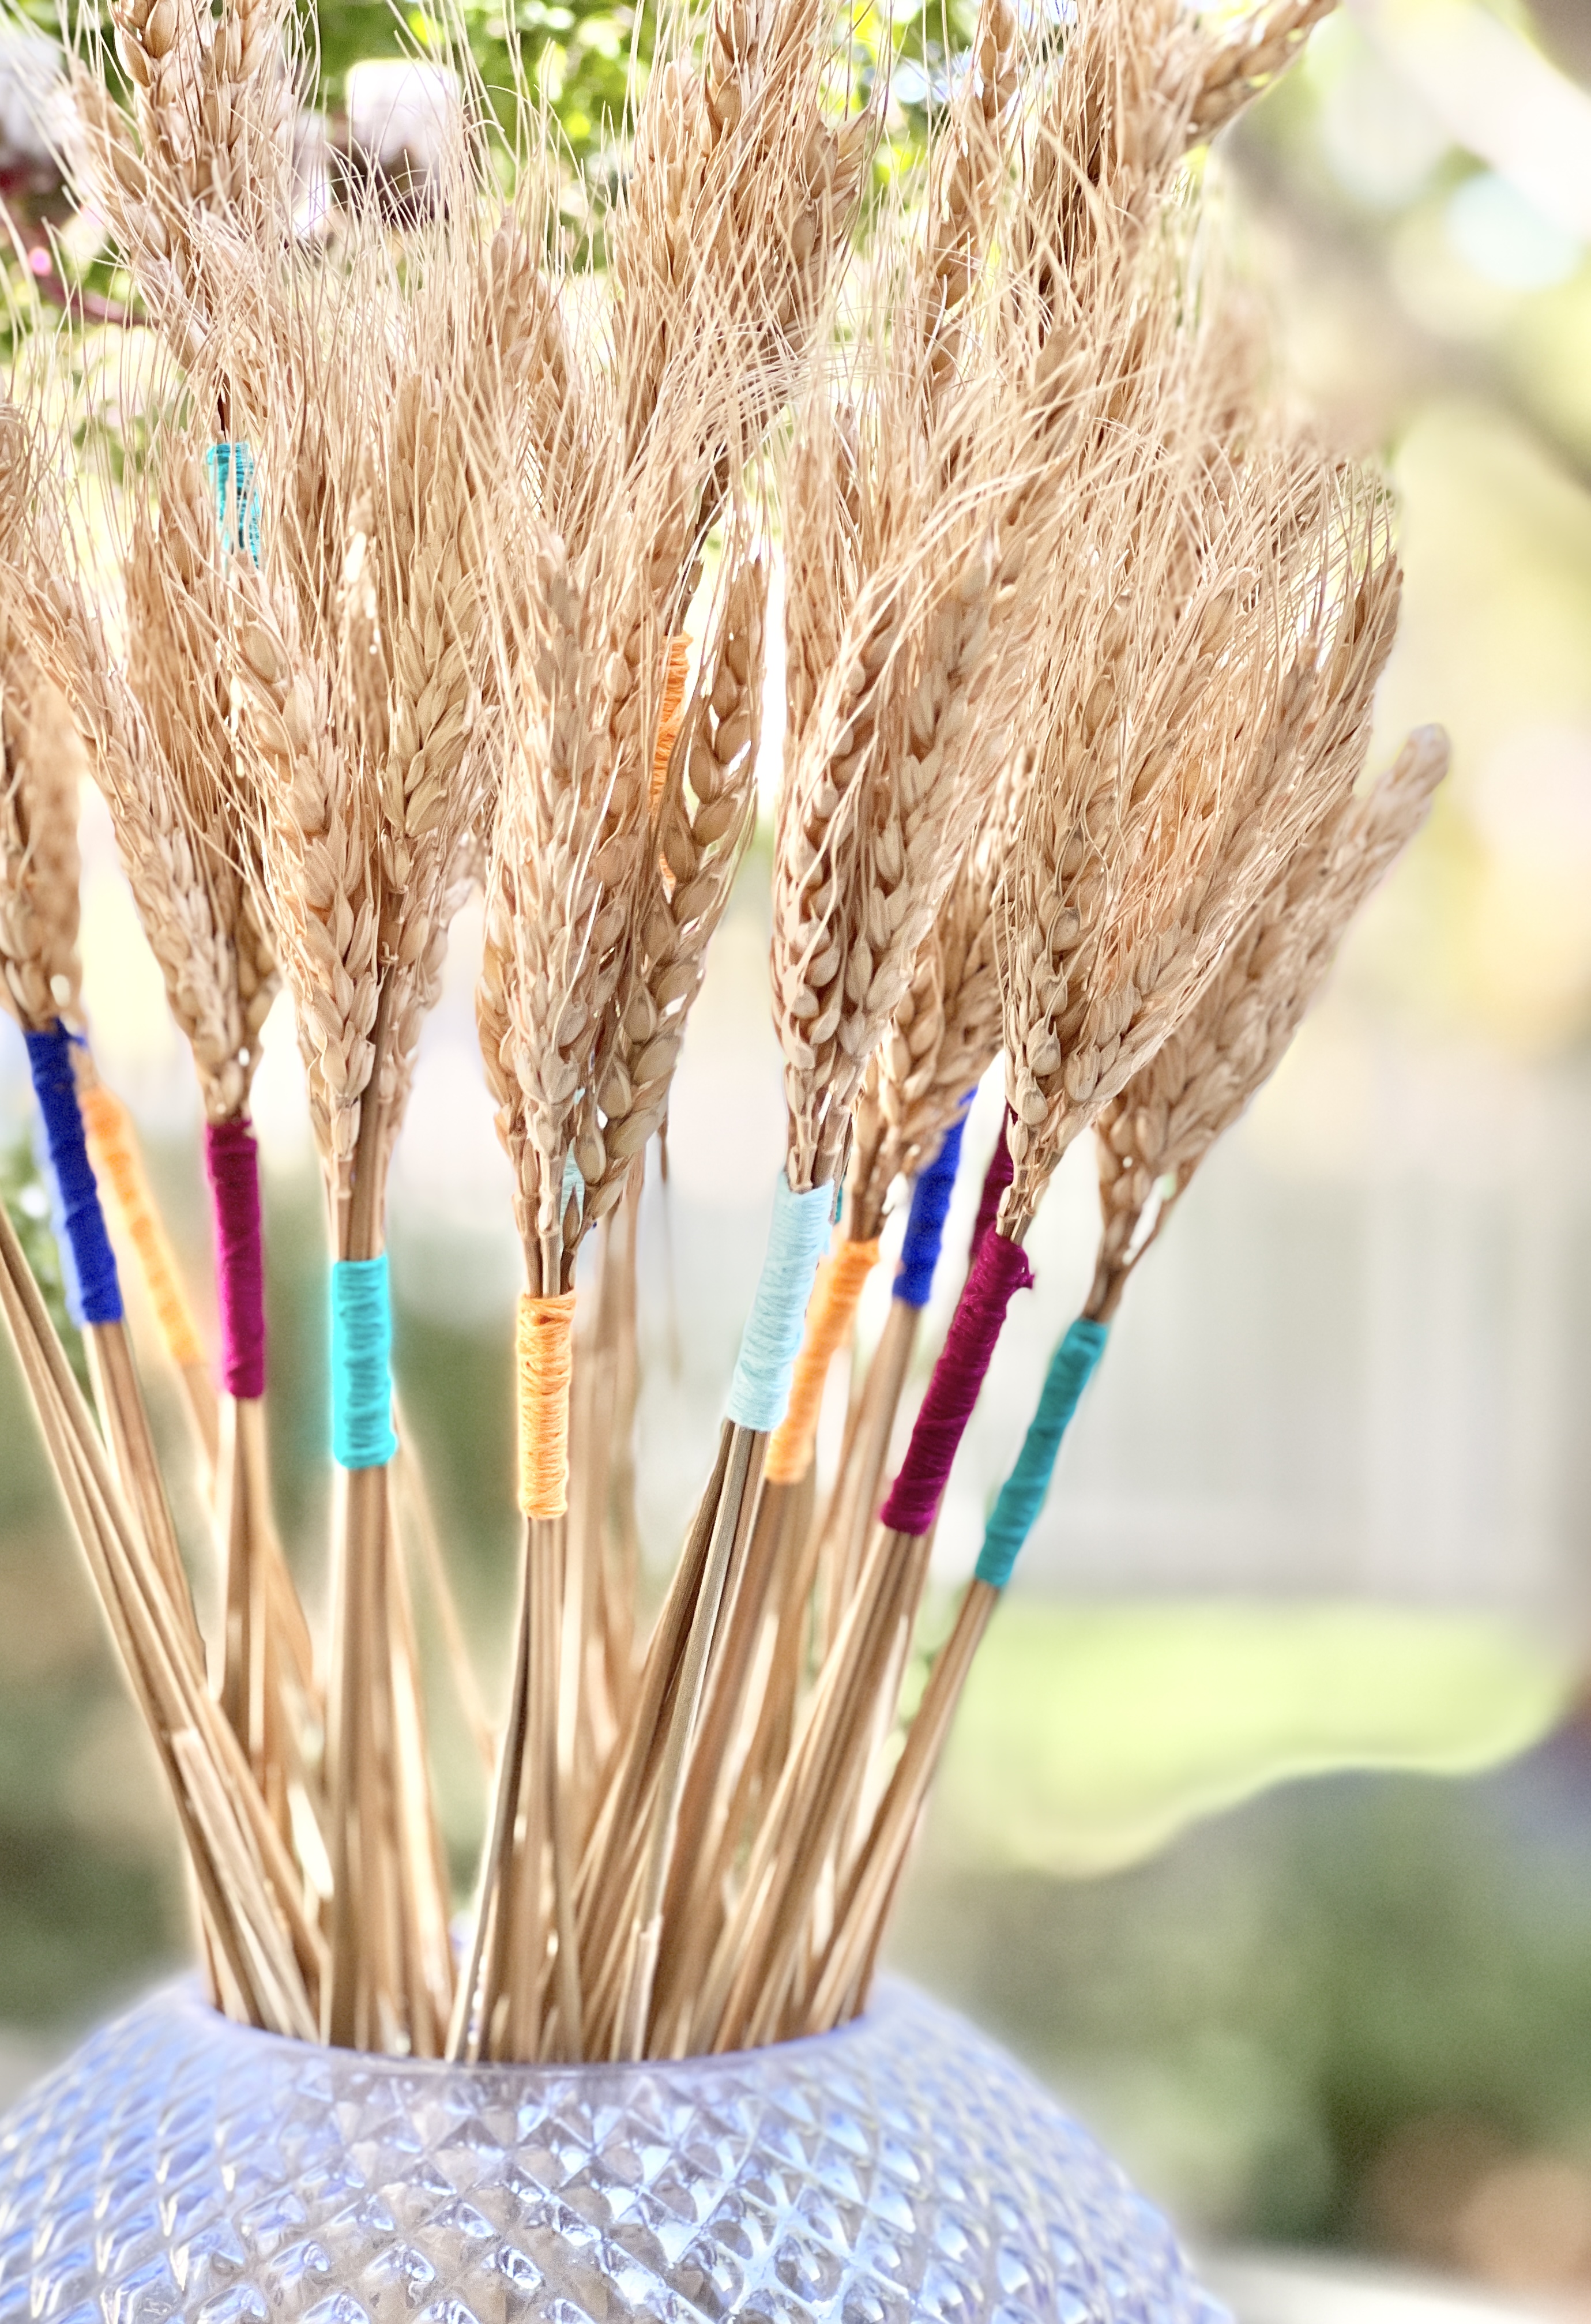
Sonata Home Design has a great roundup of Thanksgiving Decor ideas including these Wrapped Wheat Stalks which would make a lovely accent to any table! 


Maybe you're refreshing some things before holiday entertaining or there's a gift you'd like to make for someone. Artsy VaVa has a wonderful Secret Path to a Table Makeover tutorial on how to make over a table! Design possibilities are endless. 

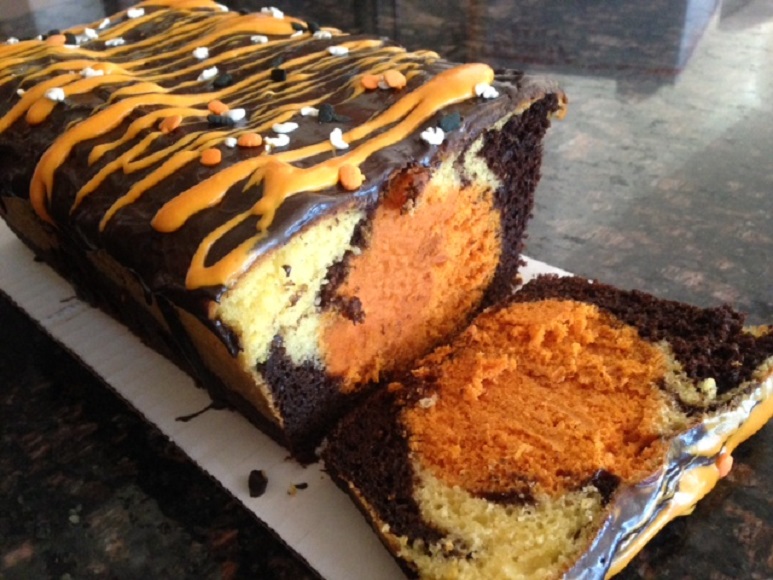
Finally, whether as an addition to your own Thanksgiving goodies or to make as hostess or neighbor gifts, Cindy's Online Recipe Box share this marvelous Double Drizzle Pumpkin Surprise Marble Cake!

Thanks as always to everyone who linked up. Don't forget to change your clocks this weekend! We don't so I'll get to be confused for a few weeks 😢.


You are invited to the Inlinkz link party!

Click here to enter

Thursday, October 19, 2023

BFF Open House TWO WEEK Edition


Happy Friday Eve all! Before we get started, a note: I'm leaving this party up to cover next week as well because I'll be running around Disneyland and California Adventure like the mature adult I'm not. We're going to celebrate my birthday (last month) and wanted to wait until it was a little cooler to go. So there will be features this week, the party will stay open to link up next week and I'll do double features the following week. 

Mr. Chocolate might have opinions on how early holiday supplies hit the craft stores, but that didn't stop him from wanting a Christmas mug yesterday when we were at JoAnn and it was already 40% off! 

But before we start with December holidays, let's take a look at some Halloween ideas there's still time to make. This week I shared two projects: Easy Halloween Candles and a Dia de los Muertos Canvas


The Apple Street Cottage shared a great Easy Halloween Candle project. I love the combination of elegant and creepy! 


Anyone else loathe cleaning out pumpkin guts to carve pumpkins? Creatively Beth has us covered with these Printable No-Carve Pumpkin Faces


If you're looking to dress things up, My Thrift Store Addiction shared this Elegantly Eerie Arachnophile Tea Party


Finally, these Skeleton Cookies from Two Chicks and a Mom are just perfect for the season! 

Thanks to all who linked up and remember,, this party will be up for Two Weeks! Now, let's see what everyone's been up to! 


You are invited to the Inlinkz link party!

Click here to enter

Tuesday, October 17, 2023

Layered Dia de los Muertos Canvas


Living in the Southwest, I am surrounded by beautiful Sugar Skull imagery and art. Our Friday tradition for years now has been Mexican food and one of the things that was a factor in where we chose to live when we moved last year, was a nearby place to continue this tradition. We definitely found that and they know me by voice when I call in our order each week. I included them in seasonal cards last year and this year I wanted to do something more so my brain came up with this Sugar Skull Canvas. 

Supplies:
  • 5x5 Canvas
  • Multi-surface paint, black (I used Craft Smart from Michaels)
  • Scrapbook papers / lightweight cardstock
  • Self Adhesive Rhinestones
  • Layered Sugar Skull cut file (I used one from Cricut Design Space)
  • Digital Cutting Machine (I used my Cricut Explore Air2)

I chose pink, yellow, and turquoise papers to cut my skull. I knew I was going to do a black background and rhinestones and thought these colors would really pop. I sized the file accordingly and then cut the layers using my Cricut.

I used foam squares to attach the layers as shown.


Once the layers were constructed, I set aside and painted the canvas. I really love this multi-surface paint because fewer coats are needed. This just took one!


It was still wet here but it dried perfectly! Once it was dry, I attached the skull to the canvas with a few dabs of superglue. 

To finish, I used different-sized self-adhesive rhinestones to decorate!


And now, I'm hungry and it's not yet Friday! 


Sharing At:


Monday, October 16, 2023

Halloween: Easy Skull Candles


Can you ever have enough candles? Especially ones easy to "make" and that go with your Halloween decor? Clearly, my answer is: "Of course not!"


These are super easy to make and can be done in any style you like.


Supplies:

  • Plain Glass Candles (Dollar Tree)
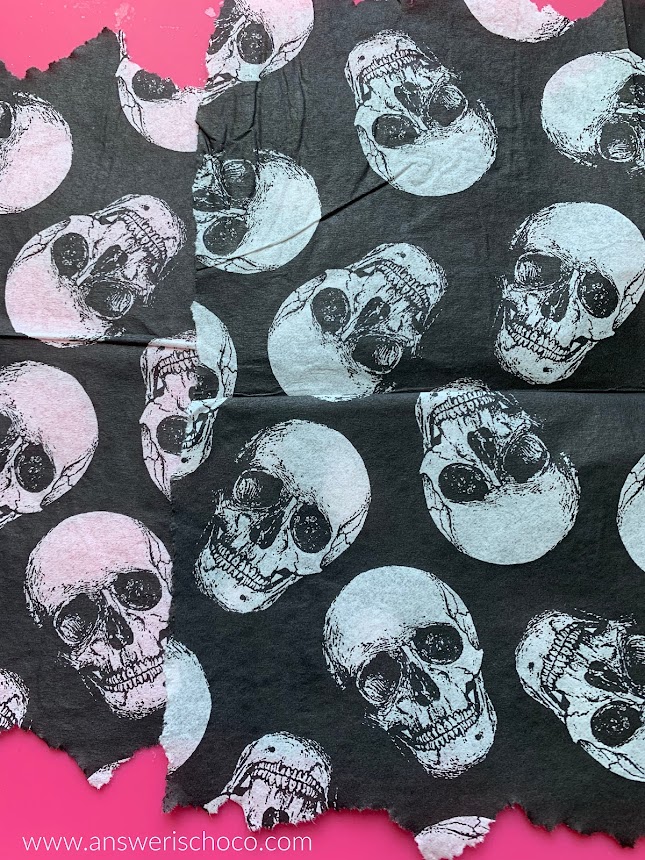
  • Decorative Napkins (Walmart)
  • Mod Podge (Stash)
  • Cording and Beads (Stash)
I keep plain glass jar prayer candles from Dollar Tree in my stash, and picked up a $.98 package of napkins at Walmart. 


If you want a more opaque look, you can skip this part but I was going for a more translucent effect so I separated the patterned layer from the white backing. 


This also lets the Mod Podge seep through better. After I separated the layers, I tore the edges of the napkins both for appearance and because they were too tall for the candles. 


If you have any edges hanging over, no worries. Use lightweight sandpaper, a sanding block or an emery board to sand off once the candles are dry. 


Spread Mod Podge down the length of the candle and adhere one edge of the napkin. Normally, I coat the object and the paper I'm adhering but since the napkins were so absorbent, I just tacked one edge, and then applied the Mod Podge atop the napkin as I wrapped it around the candle. 


For this project, all of the crinkles and wrinkles just added to the look! I let these dry overnight. 


You can see here where I had some edges that were hanging over. I used a sanding block on them and they came right off. 


To finish, I grabbed some waxed cotton cording and crystal beads to wrap around the tops. 


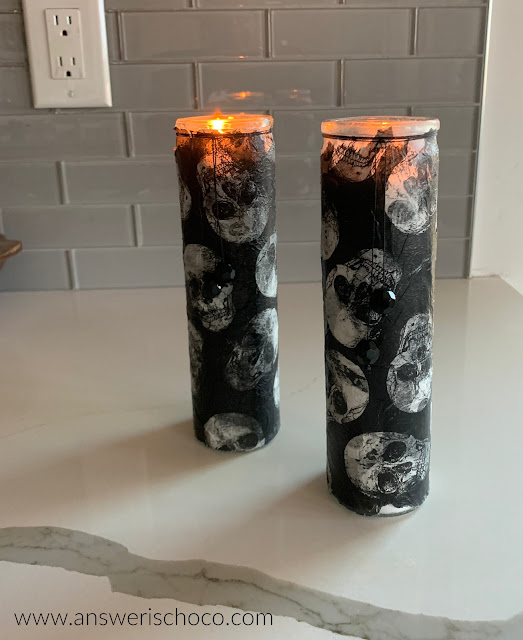
When lit, you can see the glow come through the skulls! 


So now we have some spooky candles to accent our table!