Showing posts with label Michaels. Show all posts

Tuesday, January 15, 2013

DIY : Upscale a Dollar Store Tray (With Matching Journal)

Dollar Store Bar Ware
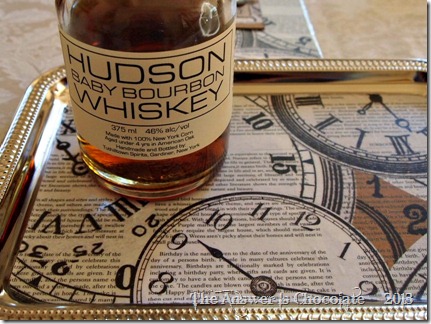
I might have to start calling Mr. C, Mr. B. He’s become an aficionado of small batch bourbons (not to excess!)

I don’t mind because I get all kinds of cool bottles to play with. He mentioned the other day that he saw an online bourbon journal but it only allowed 5 entries until there was a charge for it, so I decided I’d go old school and make him a hardcopy journal. He’s also into watches and time pieces, and I already had some very cool clock themed paper in my stash. Win-win since I’m working to bust some stash this year.

DIY Bar Tray Supplies

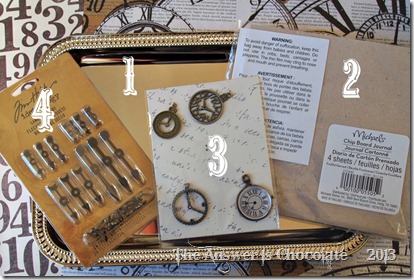
For this project you will need:
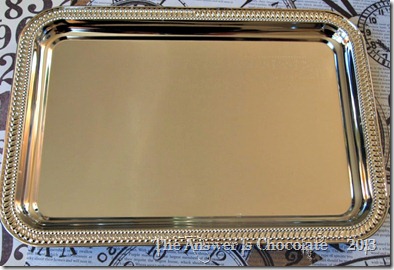
1.) Dollar Store Silver Tray ( I got mine @ Dollar Tree)
2.) Pre-made (or make your own) chipboard journal….This was on sale after Christmas at Michaels for $.25! A whole quarter. Cheaper than making my own.
3.) Coordinating charms to match your paper of choice. These were NOT on sale at Michaels but they were $2 for the pack and totally justified given the $.25 journal ( which I may or may not have purchased more than one)
4.) Embellishments. In this case I had these Tim Holtz game spinner thingies in my stash. So my total cost was $3.25.

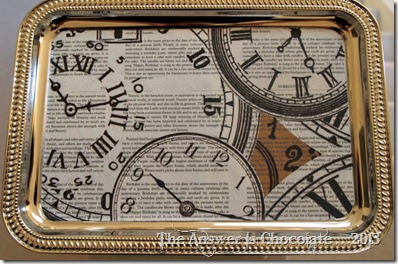
I cut my watch themed paper to fit the inside of the tray. Applied Mod Podge to the tray, applied the paper and finished with two coats of MP.

Dollar Tree Silver Tray

Mod Podged Dollar Tree Tray

Before Christmas we saw some high end barware at Macy’s . Gorgeous, but $$.  I like my price a lot better!

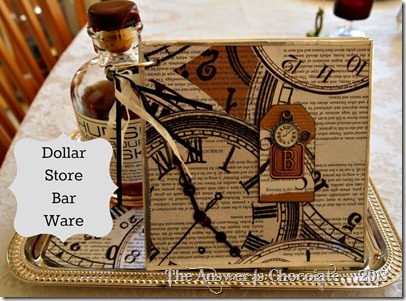
Bourbon Journal and Tray

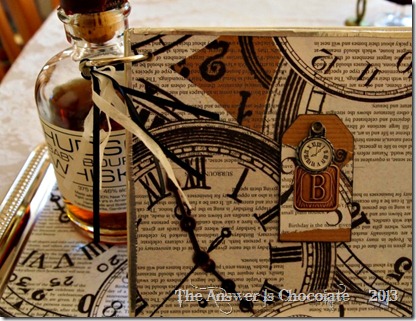
For the journal, I covered two pieces of the chipboard ( it actually comes w/ four pieces but I’ll use the other two for something else) with the watch paper on one side and some number themed paper on the other. Mod Podged these on. Went around the edges with some aluminum tape.

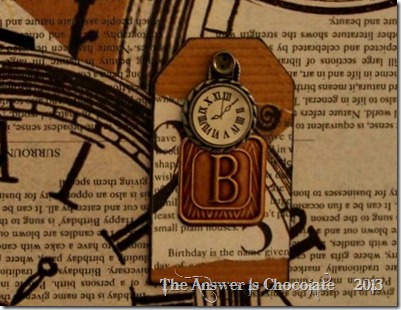
I had a chipboard tag in my stash which I left naked and applied a scrap of the watch paper to, then edged with black ink.  I added one of the watch charms (one of four from my $2 package so this was $.50), and an antique embossed monogram sticker I had in my stash.

Bourbon Journal and Tray

To finish off the journal, I added some of the game spinners to the watch hands on the paper.

Dollar Store Bar Ware

Just gives it a little dimension. I cut the inside pages to size from paper I had on hand, and put on the ring that came with the journal ( added some ribbon on hand just cause) and done.

So now Mr. C or Mr B or whomever I’m married to , has a place to display his current favorite find, as well as keep track of what he likes, doesn’t like, etc. about them.

Barware Tray

If adult beverages aren’t your thing, you could easily adapt this for any kind of theme from coffees / teas, flavored syrups, olive oils, balsamic vinegars or just cause you want to decorate a tray!


Sharing At:


Monday, January 7, 2013

First Cards of 2013

Distressed Watch Card

My first projects of 2013 happen to be my first craft love, cards. I have a few January birthdays. Proud mom moment when your College age child asks when you’ll be making the thank you notes he needs to write for Christmas presents.

I am on a mission this year to,  if not craft SOLELY from my stash ( hear that Mr. Chocolate…I did not say I was not going to my homes away from home so you cannot quote me on that no way no how) but to bust a lot of it.  So everything I’m showing here I already had in my stash.

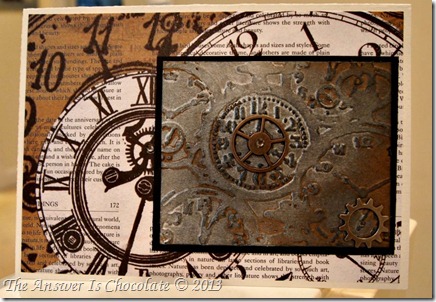
For the first card ( above) I used a watch themed paper by Recollections. This paper is so great I hardly needed to add anything to it. But we can’t have that now can we? I ran a piece of kraft cardstock through my Cuttlebug using a Tim Holtz Alterations embossing folder.

I distressed my embossed watch panel with Tim’s ( we’re on a first name basis even though we’ve never met) Distressed Inks in Black Soot and some mica gloss inks in silver. Added a couple of sprocket gears , also from Tim’s line.

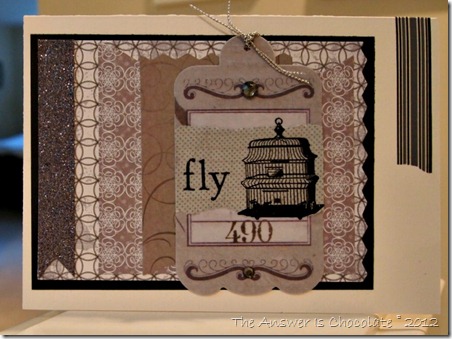
Mixed Ephemera Birthday

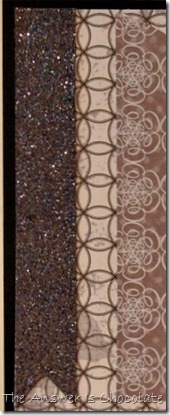
For the second card, I used a paper pack from EK Success “Life’s Little Occasions” line. I picked up a bunch few of these at JoAnn’s on one of my trips…they come in coordinated color packs and they also have sticker sets in themes like birthdays, anniversaries, etc. They’re usually in little bins on  the scrapbook paper or sticker aisle (this one’s called Black Punch Pack) and they’re great for bits and pieces or scrapbook journaling. Sorry…forgot to take a pic of the pack!

Pulled out three different pieces and added a black mat. The silver ribbon? Recycled from Christmas wrapping.
Mixed Ephemera Birthday
The tag in the middle is by Jolee’s Boutique French General line. Picked up a pack of these last year when they were 50% off. I embellished with another piece from my Life’s Little Occasions pack, and some leftover rub-ons.

Vintage Rub On Cards

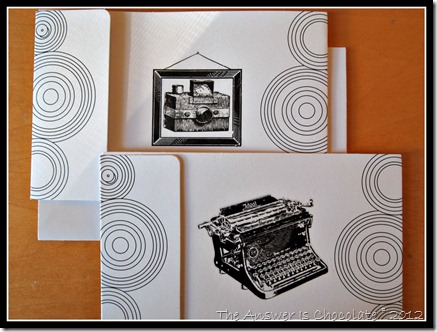
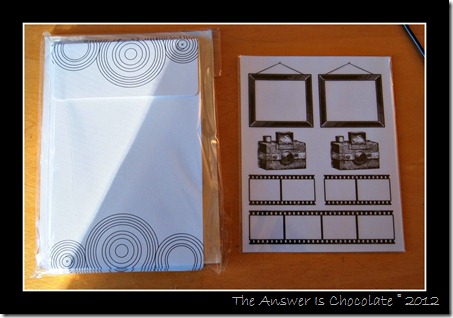
For College Boy’s thank-you notes, I pulled out these fun black and white cards I picked up for $1 at Michaels some time last year. They’re by “Ditto / Studio G” and I know they still carry a bunch of their stuff at reasonable prices because I have had to force myself to keep walking past them! See? I can be good.

On another prior Michaels trip, I’d scooped up a bunch of vintage rub-ons in their then $1 section. College Boy likes things clean and not fussy so I kept these really simple and just applied them directly to the cards.

Camera Rub Ons

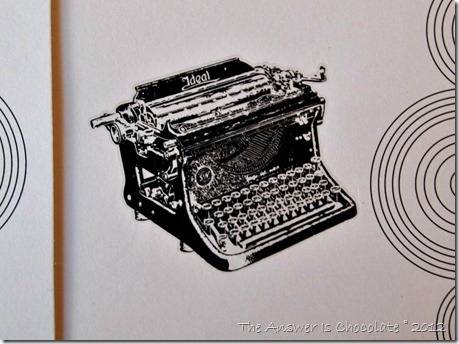
Vintage Typewriter Card

Do you have stash to bust in 2013? Please tell me I'm not alone :)

Sharing At: 


Saturday, November 24, 2012

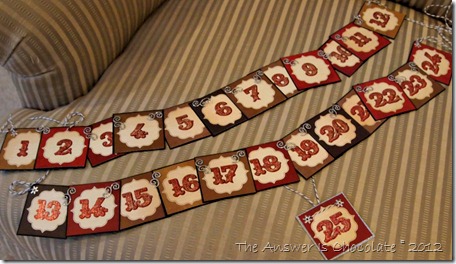
Easy Christmas Countdown Banner

Coundown Banner

I haven’t hung this up yet since I haven’t decided where it’s going but thought I’d share this quick Christmas Countdown banner.

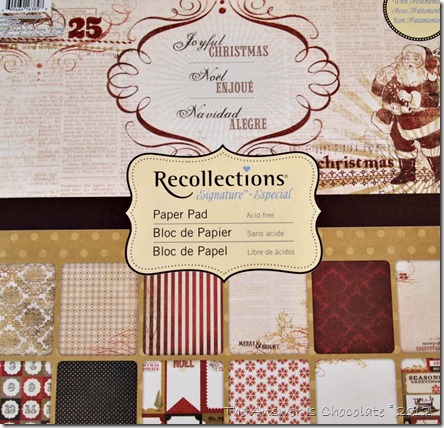
Once again, I fell in love with a paper stack. It’s an illness. I accept  I have it.

Joyful Christmas

This time it was “Joyful Christmas” by Recollections at Michaels. Lots of vintagey goodness with some sheets full of glitter accents. Yum.
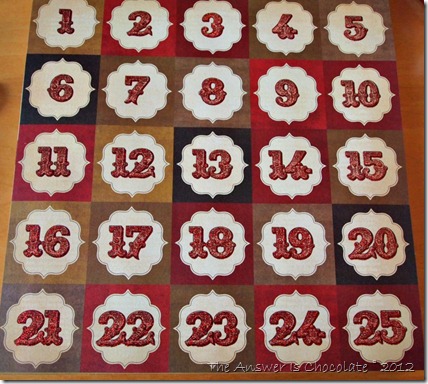
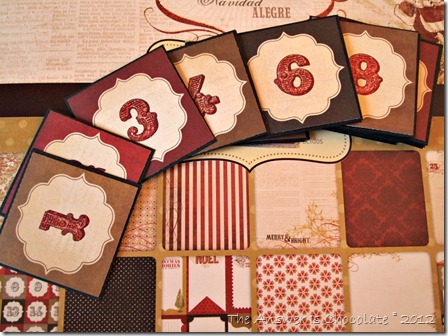
Countdown Page

You can see how easy they made it to make this banner since there are a couple of countdown sheets in the stack. I just cut each one out and mounted onto a black panel.
Countdown Numbers

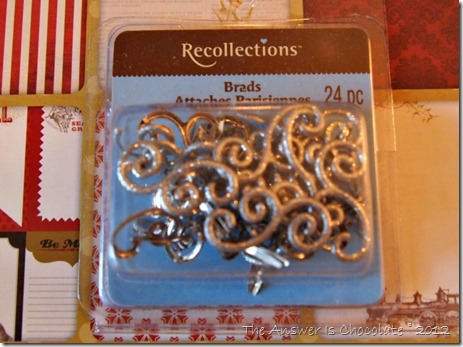
I had these brads in my stash from after Christmas shopping last year:

Recollections Brads

Connected the corners using the brads but decided that 1-25 all together would be way too long so I did 1-12, 12-24 and then 25 as a standalone.

Coundown Banner

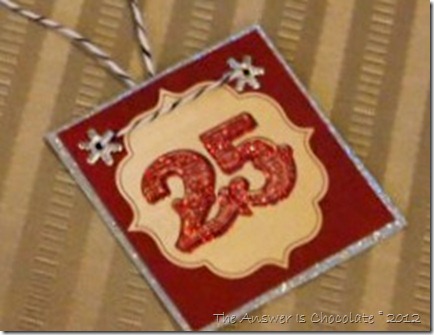
Framed "25" with a silver glitter scrap and snowflake brads. Used black and white bakers twine to finish things off.

Sharing At: 

Tuesday, August 21, 2012

Ribbon and Jump Rings Necklace Part Deux: Cream and Amber

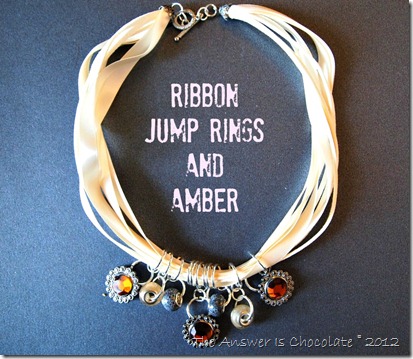
Ribbon Rings Amber

I had so much fun with the Ribbon and Jump Rings necklace I shared last week that when I found myself at Michaels again this weekend ( they really need to give me my own parking space) I went looking for another one of the ribbon necklaces I used.

No more black ( eeek! boo! it’s my signature color!) but they had the same one in cream so I decided to branch out! Hello , my name is Carol and I’m a neutral-holic.

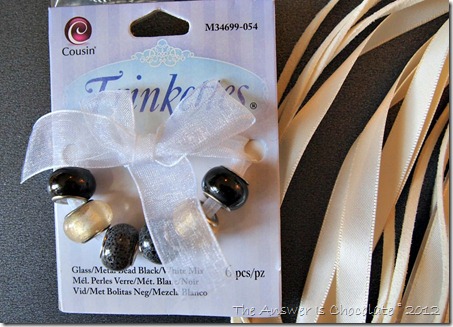
Cousin Trinkettes

I also picked up a package of these Trinkettes beads by Cousin (fear not colorful people they come in loads of colors) and while I was scrounging around in the clearance bin again, came across these gorgeous amber-crystal-cabochony thingies. $1.99. SCORE.

Ribbon Rings Closeup

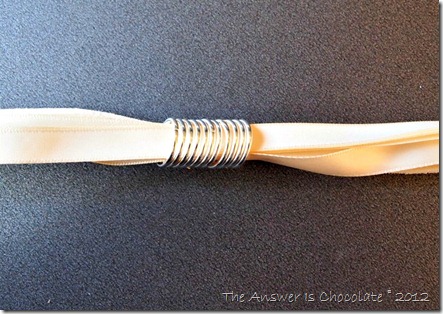
Similar to the black necklace I made, I strung large jump rings onto the ribbon necklace, over all of the layers.

Rings on Ribbon

Total number of jump rings: 11 It made sense to  me to have 5 on each side and one in the middle. No reason other than that's what felt right. You could use more. You could use less.

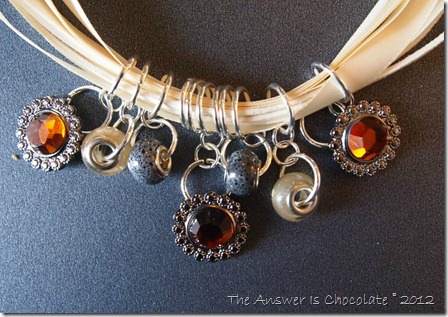
Then I put some of the Trinkettes beads on some of the large jump rings and the amber cabochony thingies on other jump rings and used smaller jump rings to attach everything together. I’m very technical! Seriously. This is super super easy and there are several different types of ribbon necklaces avail even if you don’t find this exact one by Bead Landing because I bought them all.

Ribbon Rings Closeup

Cabochony thingy, Trinkettes beads, cabochony thingy Trinkettes etc.

Look Mom, I didn’t even use the black beads ( YET!). And yes I did drive to another Michaels looking for another black ribbon necklace. No luck. There’s another Michaels I’m checking out this weekend. Sssssshhhhhh.

Sharing At: 

Wednesday, August 15, 2012

Ribbon and Jump Rings Necklace

Ribbon Rings Necklace

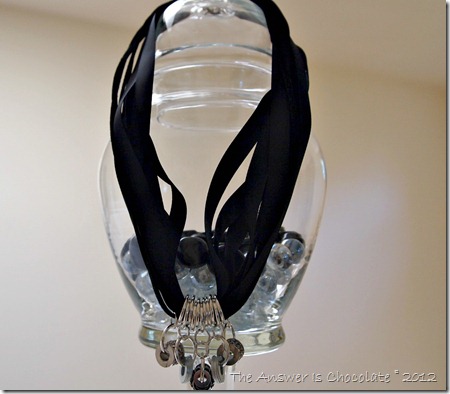
Sometimes the idea for something comes when you aren’t trying so hard to think of one. At least that’s true for me. I am one of those people who likes scrounging around in the clearance section of places like Michaels which is what prompted this project. I found this pre-made ribbon and cord necklace by Bead Landing for $1.99!

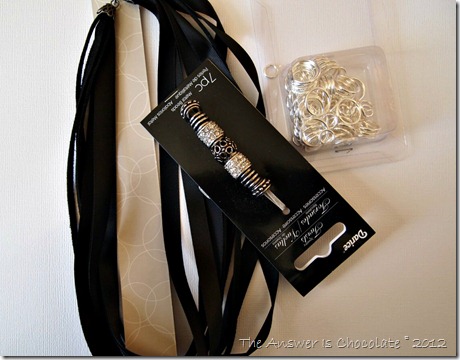
Ribbon Necklace Supplies

The Darice beads and jump rings I already had in my stash from one of those previous scroungy trips. This was super super easy to make.

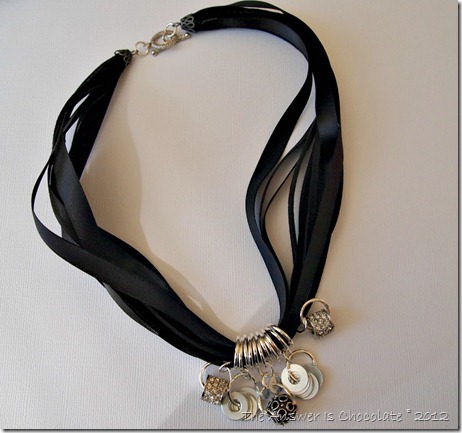
I strung some of the biggest jump rings onto the necklace ( over all of the ribbons/cord). Added as many as I felt like which ended up being eleven.

Ribbon Rings Necklace

Then I put some of the Darice beads on a large jump ring and attached to some of the rings already on the ribbon.  In my stash, I found some leftover washers from a Washer Charm Bracelet I made last year with washers from The Dollar Tree, and put those on a couple of the large jump rings, and then added one more bead/ring combo to the middle jump ring on the ribbon. Added a toggle clasp to each end.

Ring and Ribbon Necklace


Ribbon Rings Necklace

Sharing At:


Tuesday, June 26, 2012

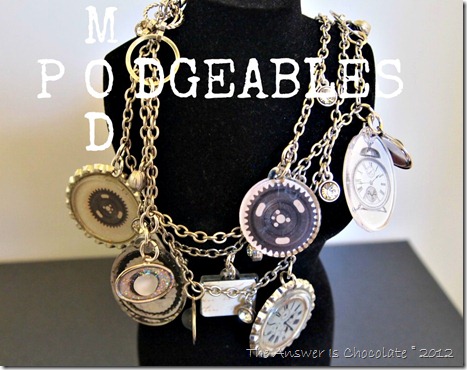
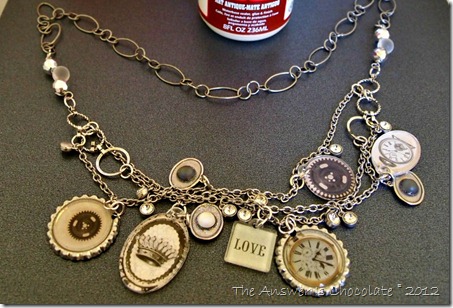
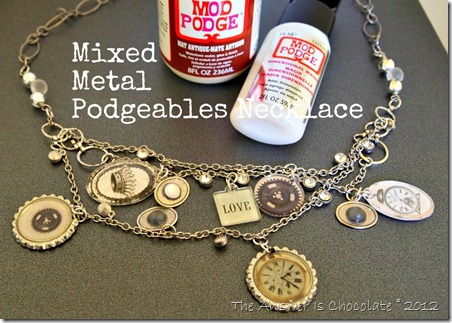
Mod Podgeables Mixed Metal Necklace

Mod Podgeables Necklace

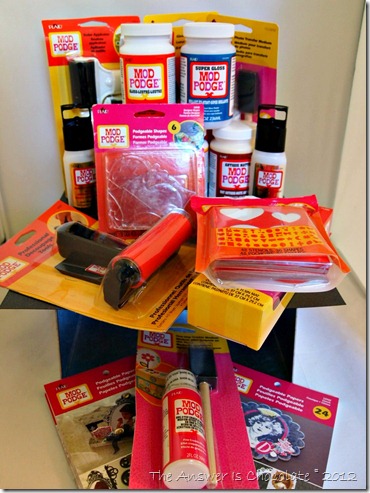
It is no secret that I’m a bit of a Mod Podge maniac. You might recall I recently shared the amazingly generous shipment of Mod Podge products from Plaid featuring some of the newest additions to the Mod Podge product line. In case you don’t here’s a refresher:

Mod Podge Haul 

I love making jewelry and I love bold, chunky jewelry but sometimes it can turn out heavier than I planned. 

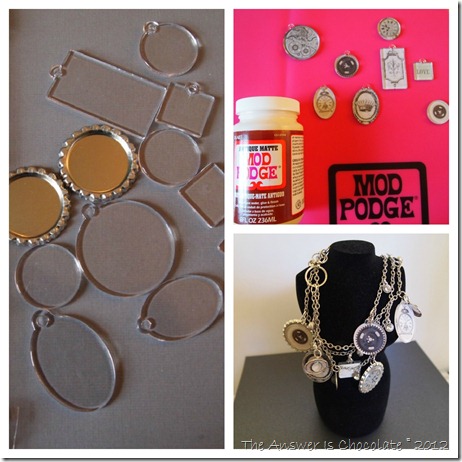
Problem solved with  the new acrylic podgeable shapes,  podgeable papers and tracing templates that coordinate with the shapes of the podgeables. 

The hardest part was choosing which papers to use!

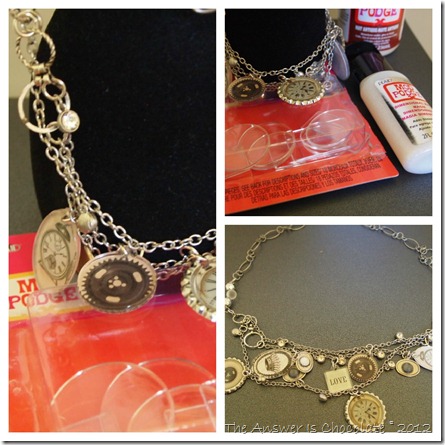
Podgeables Collage 3

I went with an “industrial chic” design, using papers from the Classic and Romance stacks. The papers are wonderful because they’re double sided so it’s like having two papers in one!

Necklace Mod Podgeables

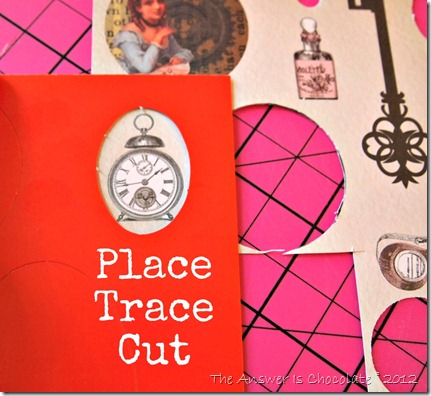
I used my new favorite Mod Podge formula, Antique Matte, to adhere the papers to the podgeables. The tracing templates make it easy to cut your shapes exactly to match, and depending on your selection of punches, you may have some that are the perfect shape and size.

Place Trace Cut

Apply your MP to your paper, adhere to your podgeable and let dry.

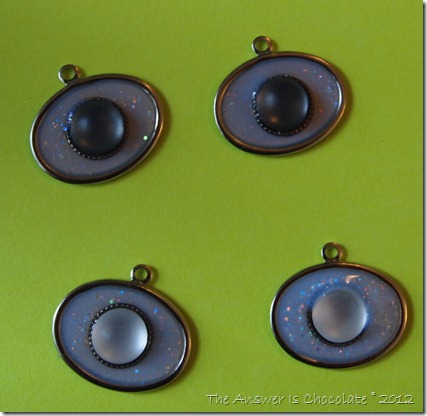
While these pieces were drying, I had fun with the new metallic Dimensional Magic. If you’re afraid of trying resins, try Dimensional Magic. The metallic DM has little flecks of glitter that float in it.

I  had some charms in my stash that I filled with silver DM and self adhesive rhinestones. The DM comes out opaque and dries clear so the glitter shows through.

P6185326

Here are my charms as they were drying. 

Podgeables Collage

I had so much fun with this. With all of the formulas, there’s something for just about any kind of project you can think of.

I want to thank the folks at Plaid and The Blueprint Social for the opportunity to have so much fun doing what I enjoy with products I absolutely love. Sponsored post? Yes. Opinions? All mine!

Mixed Metal Podgeables Necklace

Plaid is celebrating the 45 anniversary of Mod Podge, and Michaels is carrying the new additions to the MP family. You can visit also Plaid on Facebook here and Twitter here.

And you can see more wonderful projects here

Sharing At: