Taking down Halloween today. After years of working for Nordstrom in another life, which used to be adamant about no Christmas decor before Thanksgiving, and a son, who when he was with me at Michaels one year as a young child, gave a whole soliloquy about Thanksgivng getting short-changed because stores went from Halloween to Christmas without passing go, I still can't do Christmas until after Thanksgiving. That makes it hard in the Maker-Creator world because I see everyone doing their decorating now!
Speaking of which, I've been curious. I see all these "influencer" videos with curated trees...by color or character themes...does ANYONE have trees that aren't like that anymore, or am I the only one? I have decades of annual collectible ornaments that I've invested a small fortune in, but I feel like I'm alone in not re-doing a tree every year.
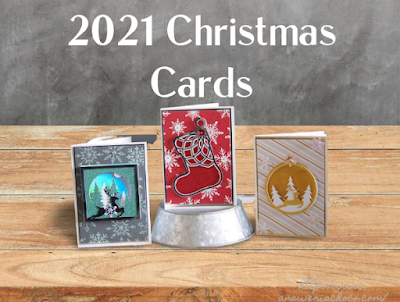
Back to this! When we downsized, we got rid of the Christmas Card holders we used to have, and we don't get as many cards as we used to. For the past couple of years, I kept meaning to make something smaller but dedicated to the ones we do receive.
I'm planning a Sweet Shop theme for our kitchen island so I made this with that in mind!
Supplies:
- Wood Cigar Box
- Multi-Surface Acrylic Paint
- Mod Podge
- Coordinating Scrapbook Papers

I removed the lid from the cigar box which will get used in something else. I thought I'd use both red and white paints but ended up only using the white. And from my holiday paper stash, I chose these fun papers.
Measure the spaces you want to cover with paper and cut to size.

I covered the edges only with paint since I knew the rest of the space would be covered by the papers.

Did this for both the outside and the inside.

Section by section, apply Mod Podge and your papers.

You can use a scrapng tool and/or brayer to smooth out any bubbles.

I've seen people do this in videos, and decided to try it myself! Grabbed my Cricut Mini Heat Press and went over the paper once adhered to both get it really smooth and also speeds up the drying process a bit. Once all of your papers are applied, use Mod Podge to seal.

My math didn't math so my interior sides were a little too tall. No biggie. Once the paper was dry, I creased the edges as shown here and then just sanded them off.

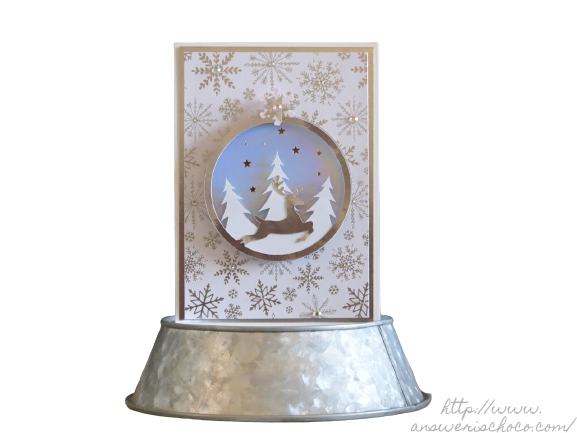
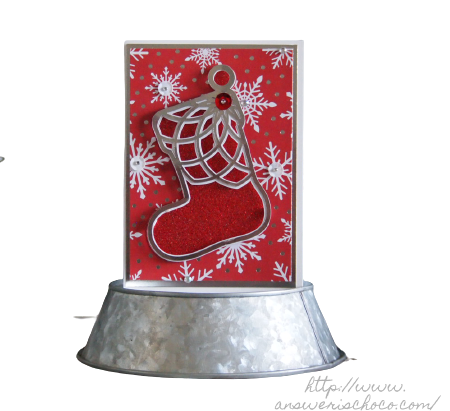
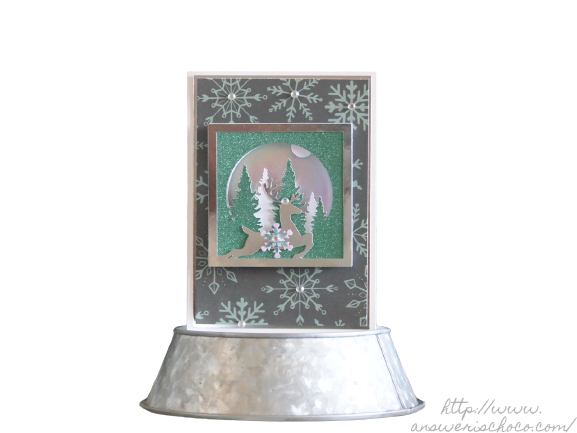
Now for the fun part! I picked up these ornaments at Walmart last year after Christmas. They were perfect for this!
I used them around the box to add a little more glitz and fun. Used a combination of hot glue and tacky glue to ensure good adhesion and clamped them in place to make sure.


Not gonna lie...I'm itching to put my Sweet Shop together but, Thanksgiving first!