Monday, December 3, 2012

DIY Vintage(d) Tree Topper: Scrapbook Paper, Glitter, and Paint

Vintage(d) Tree Topper

I decided when I took down last year’s tree that I wanted a new tree topper. I’d been using big ribbon bows but they were looking a little tired. We get a real tree, and nature does not always provide that perfect branch at the top for most of the vintage or vintage inspired glass  toppers I like. So natch, I made my own !

For this project you will need:
  • Paper mache cone
  • Craft paints ( I used a Sterling Silver and Sterling Silver Glitter)
  • One 12x12 sheet of scrapbook paper
  • Oversized bottle cap ( you could also use a jar lid)
  • Paper cut to fit inside your cap
  • Focal point ( I used a vintage looking brass sticker)
  • Glue Gun
  • Glitter
I painted my paper mache with a couple coats of silver metallic, then went over that with a couple of coats of the silver glitter paint.

Before and After Metallic Cone

In between coats of paint, make the medallion that is the centerpiece of this tree topper. Cut one 12x12 page of scrapbook paper into 4 6x6 sections. I used a sheet music page from Recollections and made one inch score marks using my Martha Stewart scoring board.

Martha Stewart Scoring Board

Once you’ve scored and folded each of your sections, hot glue them together. Since the paper I used was pretty heavy I used hot glue vs tape.

Paper Medallion

Then I took a small paintbrush , thick glue, and silver glitter and made my way around my medallion until it was edged.

Glitter Edged Medallion

I had some giant bottle caps in my stash but a small jar lid would work for this too. Cut a circle of silver glitter paper to fit inside, Mod Podged it in there, and then added an embossed brass colored sticker to the middle. The one I used is by K&Co.

Giant Bottle Cap

I hot glued a silver tinsel pipe cleaner around the inside edge. I had some silver glittered snowflake pics from my after Christmas deal scrounging last year so pulled on out, stuck it through the top of my cone and added a dab of hot glue to keep it in place. Glued  my completed medallion on to my cone and done.


Vintage(d) Tree Topper

Vintage(d) Tree Topper

Sharing At:


BFF Open House Link Party #81 Wrap Up and Features

A big thanks to everyone who linked up to Friday’s party. It’s clear that everyone’s in full holiday mode. Here are a few ideas that caught my eye.


Rachel over at Holy Craft not only shared how to make these adorable sheet music trees, but also how to make the cones she used for the base.


Rox, from fourelevenrox shared how to make a meltproof snowman complete with a frost brimmed hat.


Bethany from Pitter and Glink shared an idea that would be great for Christmas décor or as a gift. Transform Dollar Store items into this wire cloche for an elegant boutique look.

I kinda have a thing for waterless snow globes and snow jars and snow things under glass. Fonda from Southern Scraps shares how easy these are to make.


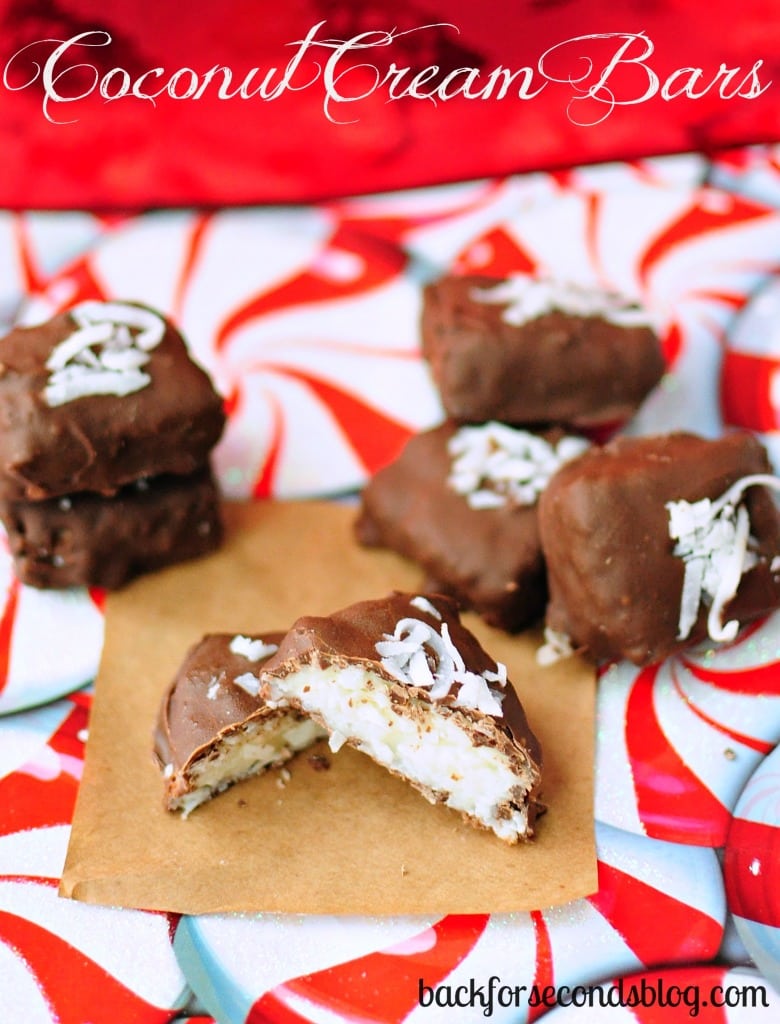
This week’s chocolate feature uses only four ingredients to make my very favorite combo…chocolate and coconut! Go visit Stephanie at Back For Seconds for the recipe!

4 Ingredient Coconut Cream Bars by Back For Seconds  #nobake #easy #candy #christmas

Thanks to all who link up each week and welcome to those joining for the first time.

Sunday, December 2, 2012

Easy Christmas Signs "Joyeux Noel"

Joyeux Noel Signs Border

I made these signs for a treat exchange as a little something to go with the chocolate butter cookies I brought.

For this project you will need:
  • Wood Scraps ( these are from a package of scraps found at Michaels)
  • Craft paint, your choice of colors. I used Martha Stewart Metallic Gold and Wedding Cake
  • White glue ( Elmers or generic)
  • Vinyl for lettering ( or you could stencil)
  • Die Cuts
  • Embellishments ( I used paper roses, washi tape and adhesive rhinestones)
Joyeux Noel Crackle

Paint your wood pieces with desired base color ( mine was gold). Let dry, apply white glue and when almost dry, go over with top color ( white). If you’re impatient, use your embossing gun ( lightly) or hair dryer to speed up drying. This also helps the crackling.

Joyeux Noel Vinyl

I used my Silhouette Cameo to cut out vinyl letters from green vinyl.  I like to use transfer tape to apply lettering to get it somewhat straight.

After my letters were on, I cut a branch and holly leaves using my Cuttlebug and Tim Holtz Holly Branch die:
*Tim Holtz Sizzix HOLLY BRANCH Die Bigz 657468
Getting a lot of use from this die. It’s the same one I used in my wreath makeover here. Mod Podged a branch and one leaf onto my signs and outlined the branch with iridescent glitter glue, and used red rhinestones for the berries.

Joyeux Noel Signs Border


Joyeux Noel Signs Border

I’ve gone crazy for washi tape so grabbed a roll of peppermint striped tape and put a piece on just because. 

Finished by hot gluing a silver tinsel pipe cleaner to each.

Sharing At: 


Saturday, December 1, 2012

Vintage Paper Snowmen Under Glass

Vintage Snow Jars

When I was at a scrapbook show a few weeks ago, I saw some really cute domed jars. I fell in love with them but they were $5 each and I couldn’t justify it knowing I’d want to use more than one.

So I kept walking. Then I was at Dollar Tree and saw these clear glass candle holders that were similar in shape. Ding Ding Ding. Idea!


For this project you will need:
  • Clear glass jar or candle holder
  • Paper snowman 
  • Small tree
  • Epsom Salts
  • Glitter
  • Pipe Cleaner
  • Chipboard
  • Scrapbook Paper
  • Tinsel Pipe Cleaners

Vintage Snow Jars

The diecuts I used are actually vintage cards I picked up somewhere. You could print a vintage graphic on cardstock and trim  to get the same effect.

Stickles Snowmen

I added some Stickles glitter glue to the buttons on these snowpeople to give some dimension. Since these are cards they open and are hinged in the middle. The bottoms aren’t connected so I made a stand by folding the front one way and the back the other.

Using your candle holder as a guide trace circles around two pieces of scrapbook paper and a piece of chipboard. Apply scrapbook paper to either side of chipboard.

standing snowmen

Hot glue your snow people to the circles. Hot glue your trees in place.

Snowman jar

Pour Epsom Salts and glitter into candle holder and then hot glue your diorama in place.

Frosty Snow Jar

I added some coordinating washi tape just cause and finished by hot gluing tinsel pipe cleaners around the bottom.

Frosty Snoman Jar

Sharing At:


Thursday, November 29, 2012

BFF Open House Link Party #81

Can you  believe that tomorrow is the last day of November? I can't believe Thanksgiving was just / already  a week ago. It's full steam ahead for December holidays.

Hanukkah starts December 8th  and then Christmas is just three short weeks or so after that. Fuel up on your favorite energizing beverage, protein bars, and of course chocolate because it's turbo holiday time! I hope you'll bear with me as I'm counting down the days until College Boy comes home for a month. 24 days from today!

So let's see what everyone's been up to this week.

Please remember to link to your specific post and not your main blog page and spread the holiday cheer by visiting a few other links.  You can also meet some other bloggers here: 


DIY Holly-day Shirt With Tulip Shimmer Sheets and Glitter Paints

Tulip Shimmer Sheet Holiday Shirt

If you read my blog on any kind of a regular basis, you know I love bling and glitter. So I was thrilled when Tulip and I Love To Create sent me some fabulous goodies to play with including iron on Shimmer Sheets,  washable glitter and glitter paints. Yep washable!

Tulip Haul

We host Christmas day and I like to be festive. Problem is, I’m always hot from running around, cooking etc. and most of the holiday attire is sweaters. I knew exactly what I wanted to do with these goodies. I started with a lightweight longsleeved cotton shirt. You want to wash your item before embellishing.

Tulip Spray Glitter

I was giddy that the Glitter spray paints included  silver and gold. I covered up part of the shirt and then just started spraying! They’re pump spray bottles and you can apply as much or as little as you want.

Tulip Washable Glitter

Once I was satisfied with the Spray Glitter, I used the Fashion Glitter Bond glue to outline the neck and went over that with silver glitter.  While that was drying I played with the Shimmer Sheets.

Tulip Haul

I cut a piece of one of the silver sheets to size , ran it through my die cutter using a Holly shaped die.

Shimmer Sheets Iron On

The great thing about these Shimmer Sheets is that they can be cut freehand, using a stencil, punched, or using a manual or electronic die cutting machine. I placed the leaves where I wanted them and ironed them on. SO easy!.
Holly Shimmer Shirt Tulip

Once that was done, sectioned off the bottom, got the silver and gold Spray Glitter back out and did the bottom of my shirt, and added some rhinestones to the cuff.

Tulip Shimmer Sheet Closeup

I had so much fun with this and love that the Spray Glitter is no odor ( good for breathing challenged peeps like me).


I’m definitely dreaming of a glittery Christmas so be on the lookout for some more shimmery projects!

You can check out the Shimmer Sheets, Glitters, and other Tulip products here and they are also avail at most major craft stores.

Web: http://www.ilovetocreate.com/
Facebook: https://www.facebook.com/lovetocreate
Twitter: https://twitter.com/ilovetocreate
Pinterest: http://pinterest.com/ilovetocreate/


Here are some ideas from other creative bloggers.


Disclosure: I was provided with the materials for this project by Tulip / I Love to Create. Ideas and opinion are my own.

Sharing At: