Wednesday, September 19, 2012

Mod Podge and Tissue Paper Pumpkin Tutorial

Mod Podged Tissue Papered Pumpkin

I’m finally getting around to some Fall projects. I’m a late bloomer. This is something that’s super easy and can stay out from Halloween through Thanksgiving. You will need:
  • Paper Mache Pumpkin (the one I used is about 6 inches across)
  • Tissue paper (I used 2 sheets, 12x12)
  • Mod Podge
I started with a paper mache pumpkin I found on sale after season last year. I’ve seen them this year at Michaels, JoAnn’s etc.

Paper Mache Pumpkin

On one of my recent Michaels trips, I discovered packs of Recollections printed tissue papers in the scrapbook paper aisle. They were $1.99 for a pack of 5 regular price.

Recollections TIssue Papers

For this project, I chose the script paper. This is a good project to do if you’re in a bad mood. Not saying that I was, just saying. Why? Because you get to scrunch and tear stuff! Tear all four edges of your papers first. Then:

Recollections Paper Pumpkin

Wad, scrunch, ball up your paper. Unwad, then tear into smaller pieces:

Recollections Paper Pumpkin 2

The reason you’ll want to have torn your edges first is that they blend better when podging.

Mod Podge Pumpkin

Apply Mod Podge ( I used Matte Finish) to the back of your paper pieces, then apply your paper to the pumpkin. Since tissue paper is thin you don’t want to oversaturate but it’s also very forgiving and gets in the creases of the pumpkin unlike stiffer paper would.

I was conscious but not OCD about making sure the script was all going the same way.

Mod Podge Tissue Paper Pumpkin

In some spots, paper got layered  making things more opaque, and in others it didn’t and I liked the effect of some of the naked pumpkin showing through.

Tissue Paper Pumpkin

Once you’ve got all of your paper on, coat with Mod Podge and just wait for it to dry.  I’m working on another variation so check back soon.

Sharing At: 


Monday, September 17, 2012

Almost Craft Fail into a Happy Accident Called A "Hatsket"

Crochet Basket 2

I was pretty sure I had a total craft fail on my hands. I decided I would try my hand at crocheting a hat. I have lots of leftover yarn and there’s an organization that collects hats but that’s another post.

Clearly what’s pictured above is not a hat! But, just when I was about to rip the whole thing out AGAIN, I decided to turn my craft fail into a happy accident and my was gonna be a hat, became a basket.


Crochet Basket Inside

Mr. Chocolate even had a use for it in mind as soon as I finished it. I keep my doodle book by my chair in our family room, along with pens, an extra asthma inhaler, earbuds for watching craft videos ( on how to make hats!) etc. but they have a tendency to just be scattered on the side table. Not any more!

Since this wasn’t planned, I didn’t take pics along the way but it is basically a half double crochet stitch all around with a major mis-fire at what was supposed to be the crown of the hat.

Crochet Basket

A tisket , a tasket, I made myself a hatsket?

Have you ever turned a craft fail into a happy accident? Do tell!

Sharing At: 

BFF Open House Link Party #70 Wrap Up and Features!

Thanks for another great party everyone.  It was my birthday over the weekend so everyone who linked up gave me a present without even knowing it :)

Of course that makes it hard to pick features but here we go.

This Harvest Chalkboard looks fresh out of a PB or Ballard design catalog thanks to the talents of the amazing Kathleen over at Charm Bracelet Diva.


If you have a big or litle Super Hero in your life, you need to check out this party by Michele at The Scrap Shoppe. Just to give get your spidey senses tingling look at this cake!


From a new blog I found through another link party last week comes these gorgeous wine cork key chains. Great gift idea from Artsy Va Va:


You will never guess what Mich in L.A. used to make these elegant lampshade accents. You will just have to go and visit to see!

If you’ve got old jeans laying around, pop over to Heatherly Loves for a wonderful tutorial on how to re-used them.


Finally, you know there had to be a chocolate feature right? These are Reeses Pieces S’Mores Brownies from Adorned From Above. YUM!


I’m on a “nutirition improvement plan” ( aka diet) right now but licking the screen = no calories!

Again, thanks to everyone who linked up and look forward to seeing what you’re up to again on Friday. Make it a creative week!

Thursday, September 13, 2012

BFF Open House Link Party #70 and BFF No.2 Pencil!

Welcome to another Blog Feature Friday and party here at The Answer Is Chocolate. I hope today’s BFF got my email that I was featuring her. If not, Surprise!

Melissa from the blog no.2 pencil is today’s BFF. ( OK and on a geeky note, I just love number 2 pencils and looked forward every school year to getting a brand new box and sharpening them).
Check out her great ideas like these emoticon mugs! If you’re on the internet or have a cell phone you’ve probably used and emoticon.

Emoticon Mugs - DIY painted coffee cups

Melissa blogs about DIY projects and recipes. Here’s another cool project…a chalkboard wreath:


How fun is that and you could change up the messages with the seasons.

She has me totally drooling ( and it’s not even chocolate) over this gourmet chicken salad sandwich. I like having leftover roast chicken to make chicken salad so definitely trying this one next time:

Gourmet Chicken Salad Sandwich with toasted pecan, cranberries and mandarin oranges

Toasted pecans, dried cranberries. Yum.

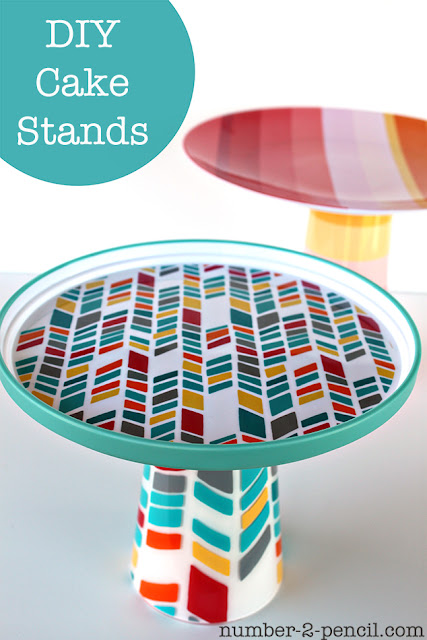
Finally, check out these fun and funky cake stands she made with clearance items from Target!

DIY Cake Stands from outdoor plates and cups
Simple, useful, cute. Trifecta of win!
I hope you’ll pay her a visit and show her some bloggy love. Now, what’s everyone been up to this week?
link party rules-001

Party On!

My First Blog Video: Sneak Peek at Upcoming Fun!

I’m being brave and trying new things so to give everyone a sneak peek at an upcoming post, I made video!  I’m super excited ( as you will hear)  to get to play with some new cardmaking products that are coming out. I don’t want to spoil the upcoming post but thought I’d share the goodies I get to play with. OK…big girl panties on….here goes!

Wednesday, September 12, 2012

Planning a Party? Great Giveaway from Etsy Shop pick.print.party!

Hi everyone. I'm very excited to introduce you to a fun new Etsy shop called pick.print.party


It’s run by a super sweet couple named Lee and Rebecca and they have an awesome assortment of party related goodies which as their shop name suggests is as easy as picking, printing, and partying.  Here’s how it works:

1. Pick and purchase your preferred design
2. When ordering, include the details to be customized (you'll see the details on the details in their shop)
3. When ordering, choose your format:
PDF (two invites to a page) – suggested for home printing
JPEG – suggested for professional printing (Target, Costco, etc…)
That’s it!

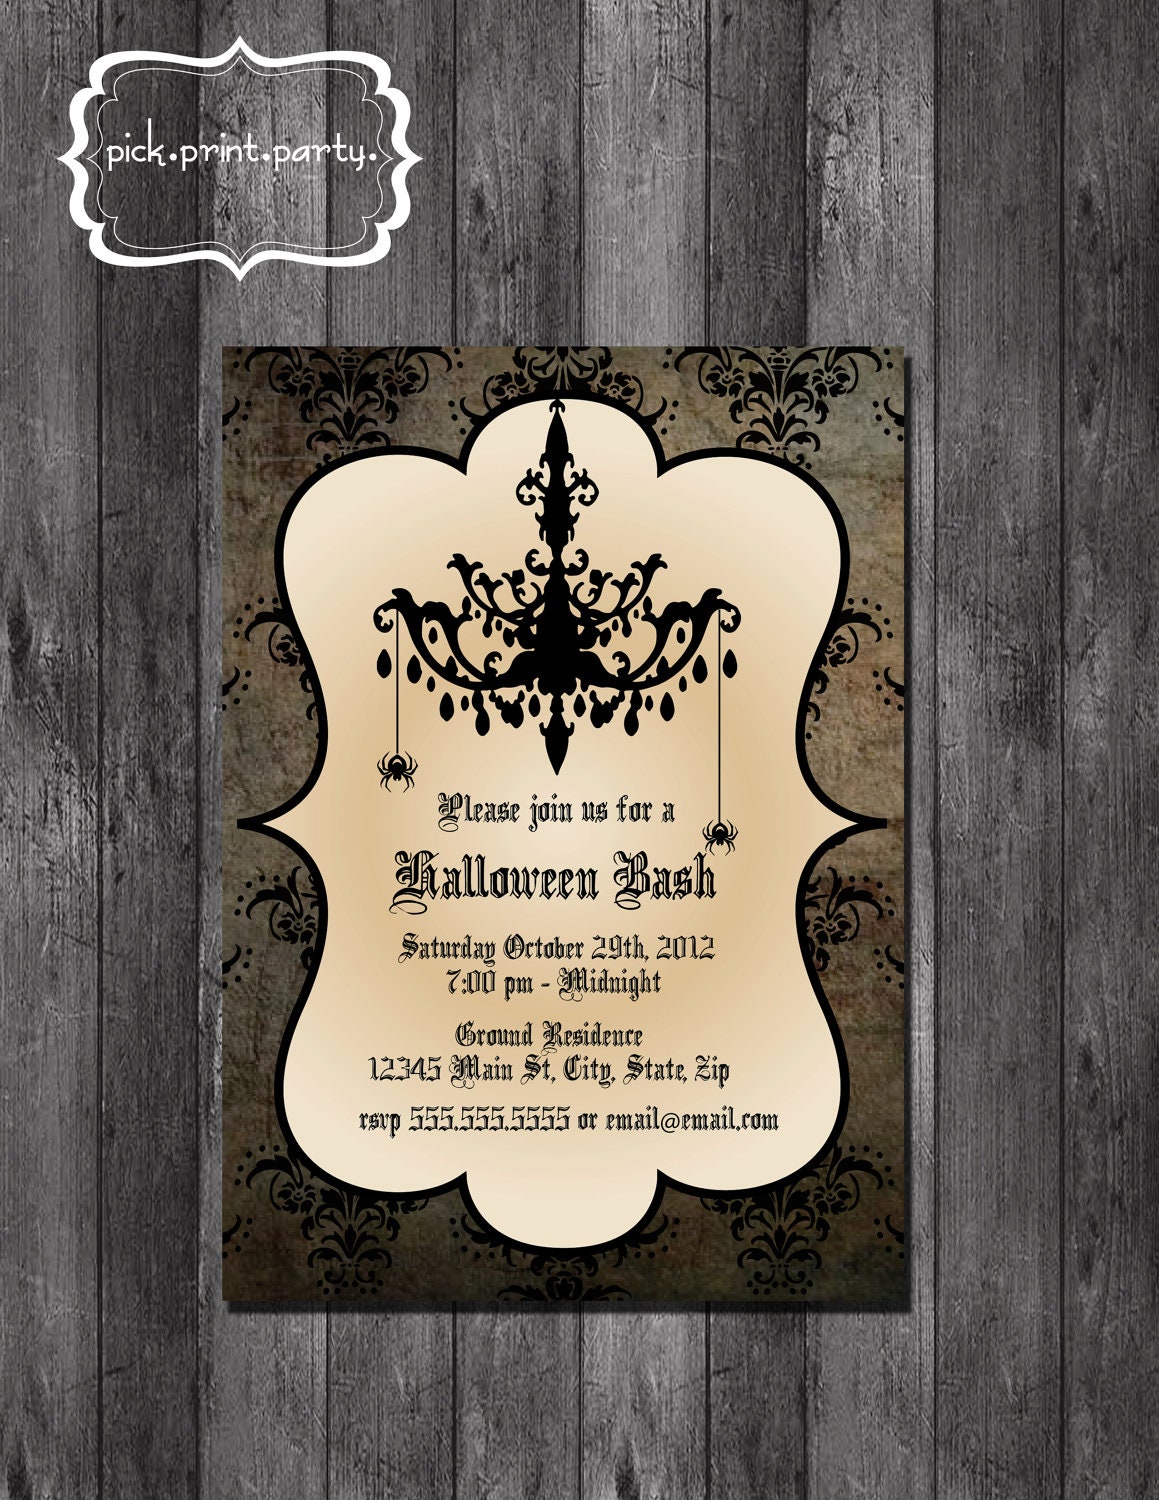
With Halloween upon us. the have some perfect invites for your ghoulish gatherings like:

Halloween Bash Invitation - DIY - Printable

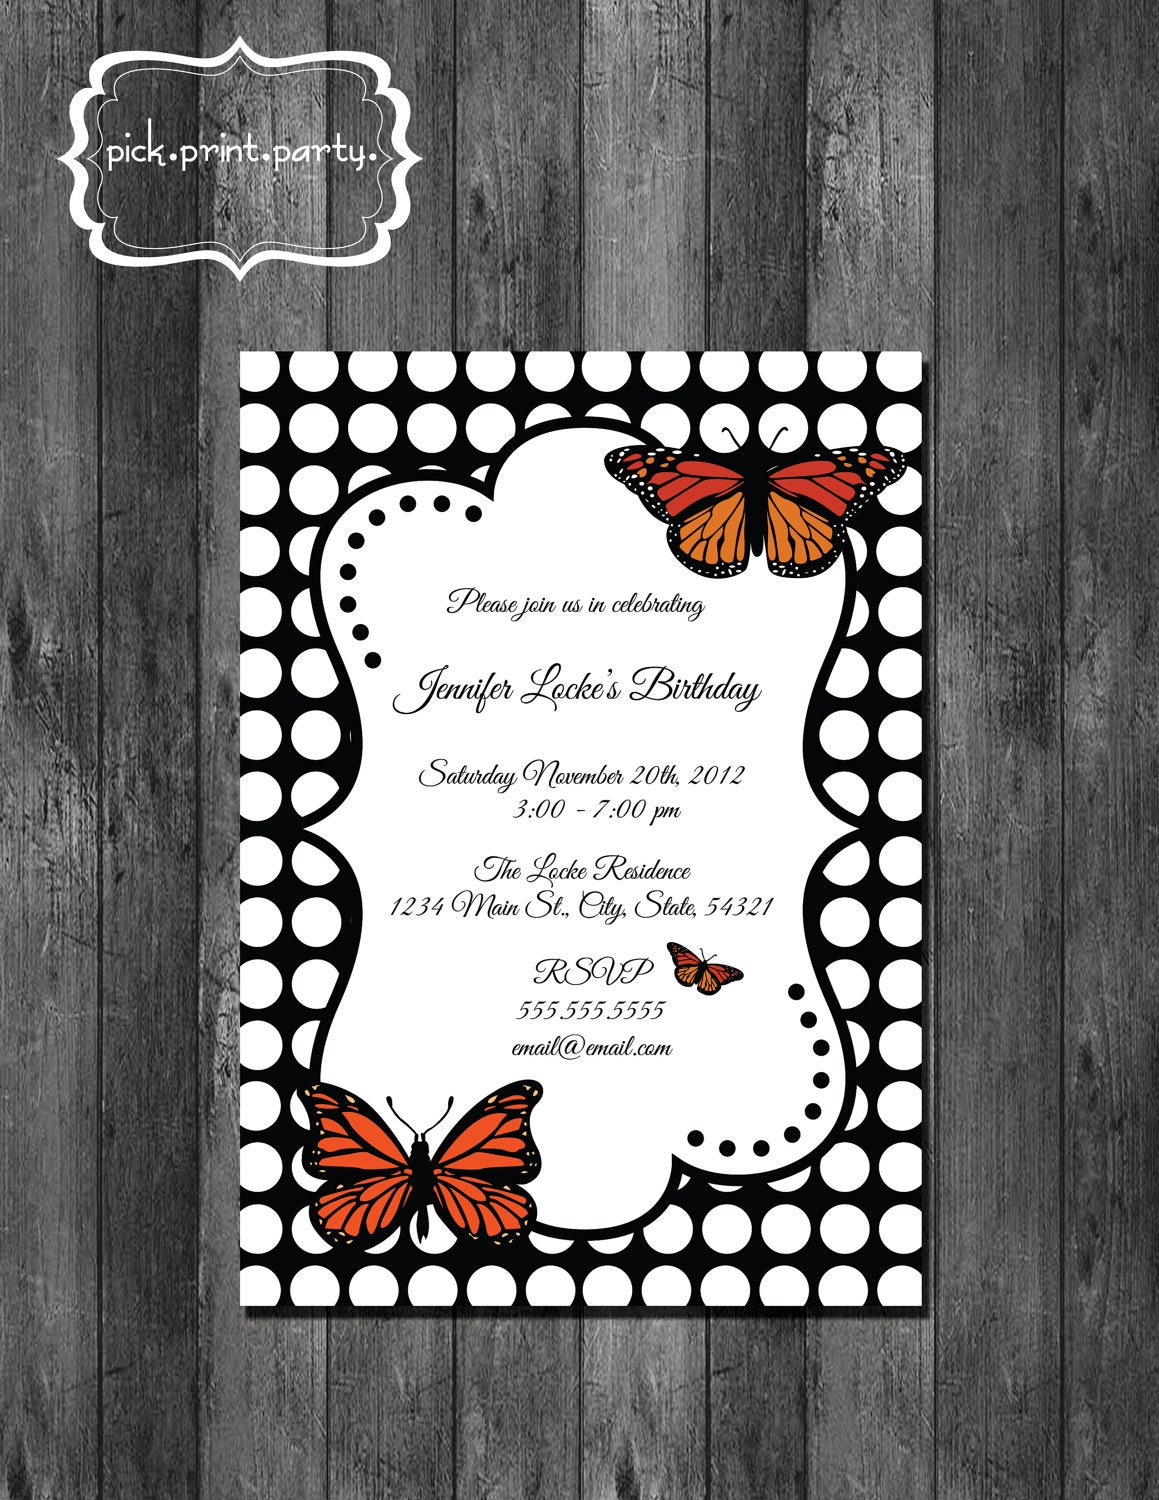
and they have  many other cool items to choose from. If you’ve got a birthday party coming up, they’ve got you covered. I love this black and white polka dot background birthday invite which would be great for a teen or adult party,
Birthday Party Invitation Butterfly - Polka Dot - DIY - Printable

but if you’re looking for fun for the little ones, they’ve got those too:

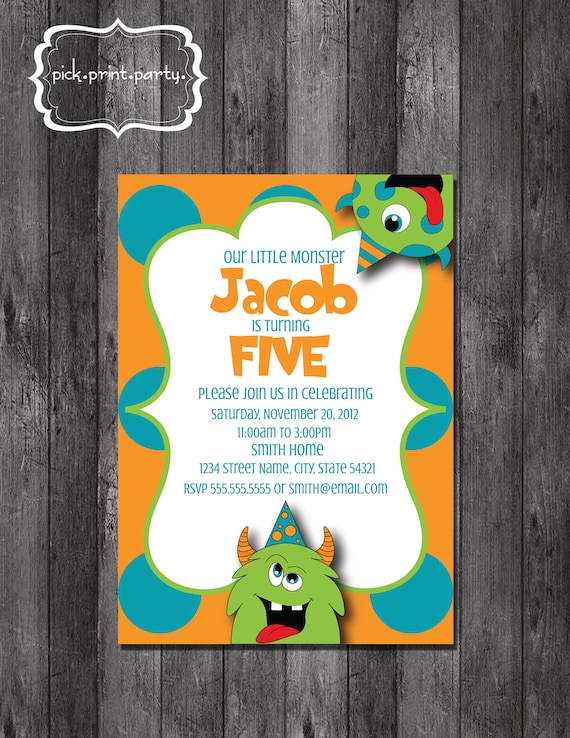
Little Monster Birthday Invitation - DIY - Printable

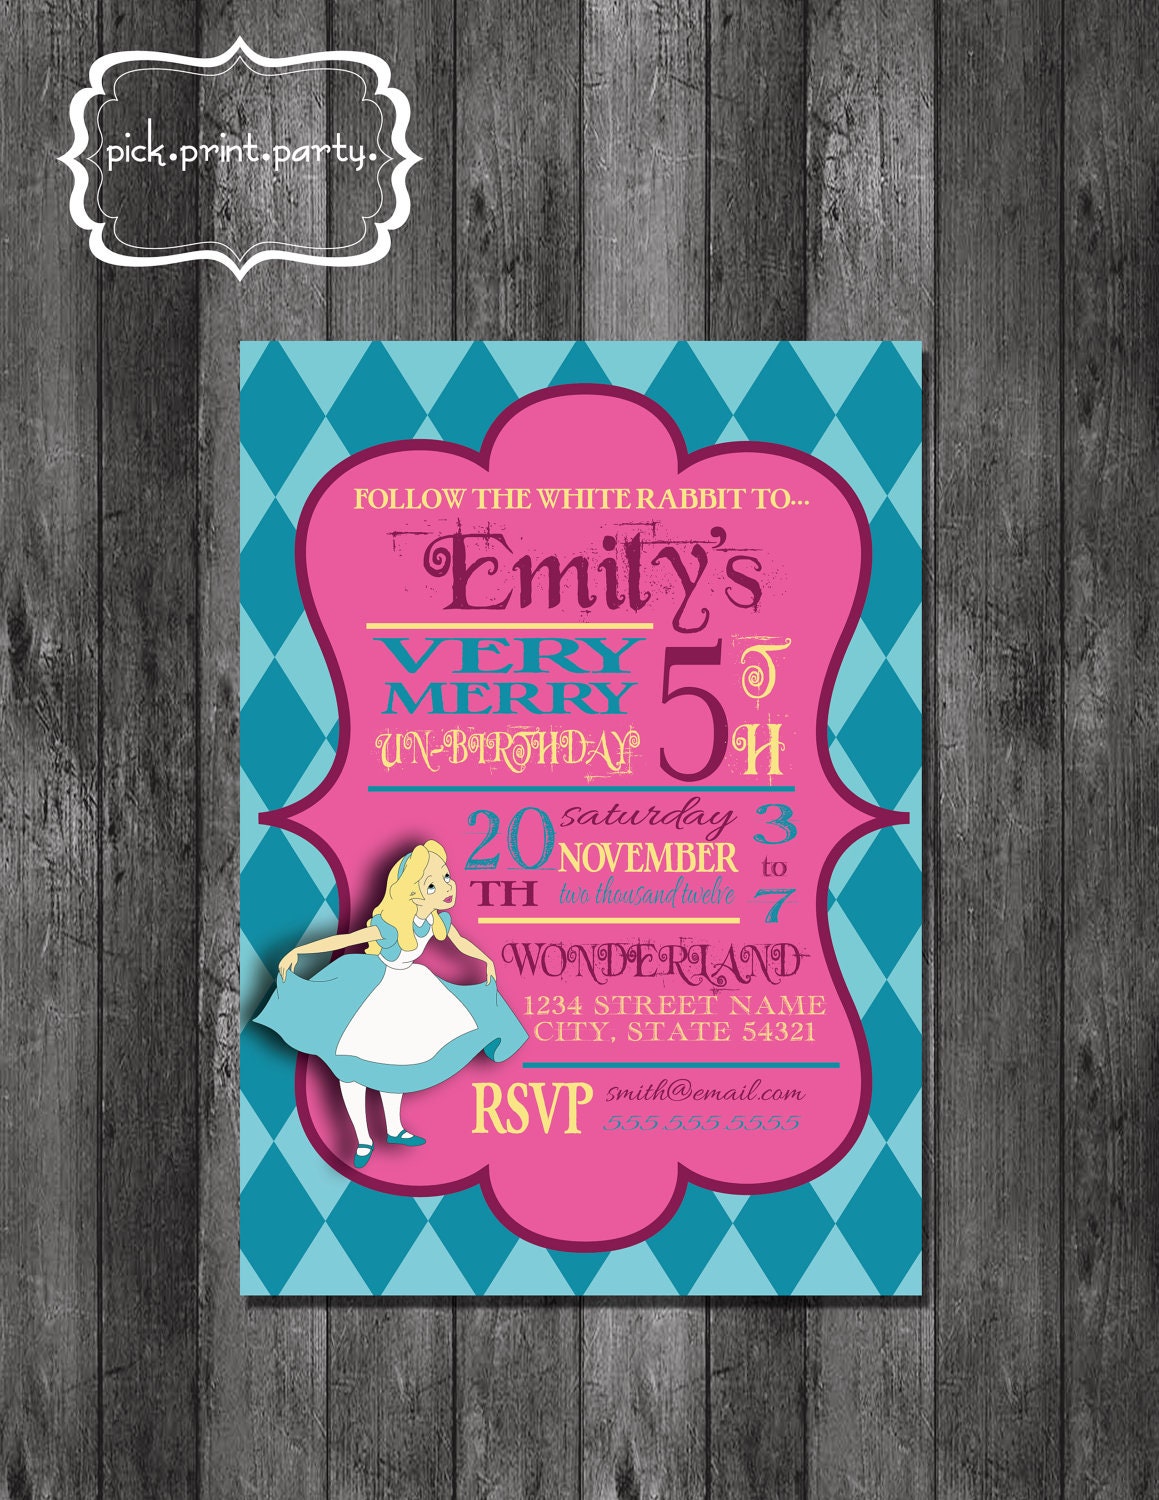
or how about this one for a little girl that makes me want to ride the teacups at Disneyland!

Alice in Wonderland Very Merry Un-Birthday Theme Party Invitation - DIY - Printable

So much more, and as still newlyweds themselves , they’ve got wedding planning couples covered too. Many of their designs also come in coordinated sets, and they are adding new designs all the time.

Now for the best part. pick.print.party is offering one of my readers the chance to win a $25 gift certificate to their shop!

Here's how to enter
a Rafflecopter giveaway


You have five chances to win. The giveaway will remain open through Sept. 19 with the winner announced on Sept. 20.

Good luck!


Monday, September 10, 2012

Fashion Trend: DIY Shamballa Bracelets

DIY Shamballa

I’ve been on a jewelry making bender lately. Don’t worry paper, I still love you so much, and Fall and Winter is when I tend to get my glitter on, but right now it’s a bead thing.

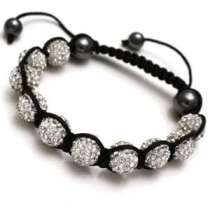
Have you Shamballa’d? Shamballa bracelets have their origin in Tibetan Buddhism but they have become a very popular fashion accessory. Here's what one looks like:

shamballa bracelet
Like every other fashion trend, they range from the high end in the thousands of dollars, to where people like you and I come in…knocking them off at a fraction of the price.

The core of the Shamballa bracelet is a macrame square knot. I just love the look of them. And so did Mr. Chocolate who had the nerve to tell me he thought it looked too hard for me to make.

Of course that meant it was ON. I was planning to try to make one already,  but there’s nothing like a little competitive incentive am I right?

Shamballa Bracelets

The one on the left I used moonstone and a charcoal crystal bead in the middle and waxed cotton cord by Bead Landing from Michaels; the one on the right I used these kind of foiled / dusted silver beads and a thicker twisted Bead Landing cord.

The square knots you see in the middle are actually a type of sliding clasp and the ends with beads slide within the knots to tighten / loosen the bracelet so you can get it on and off.

There are tons of videos out there so I will not try to teach the knotting technique. I used a three part series from Beadaholique. You can find them all on You Tube and the first one is here: Shamballa Bracelet Pt 1. There are several other videos on You Tube so you can easily find one that works with your learning style.

The most important thing is to make sure the beads you choose have holes big enough for the cording you choose.  You can use hemp, leather, waxed cotton cord, whatever you want.

The other tip I’ll share is to glue your knots before you cut the ends of your cord. For this I like the original drippy kind of super glue. For other projects I prefer the gel kind for more control ( and less likelihood of gluing my fingers together) but you want this to seep into the knots. 

The supplies you’ll need are:
  • Beads of choice
  • Cord of choice
  • Super glue
  • A little patience to get the knot technique
So here is the inspiration for what Mr. Chocolate wanted:


$550 David Yurman . Uh No. He also didn’t want the double strand.

Here’s what he got:

Shamballa Knock Off

He even went with me to Michaels and picked out the beads ( that’s a whole nother blog post!). Lava rock and silver.
Shamballa Lava Rock

He also didn’t want the long dangly ends ( picky customer!). It might not be David Yurman but it also wasn’t $550! The most expensive item was the 250 feet of cording for which of course I used a 40% off coupon. Total cost was less than $20 with cord and beads left over for other projects.

Sharing At: