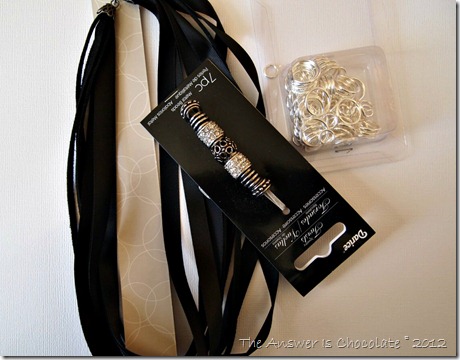
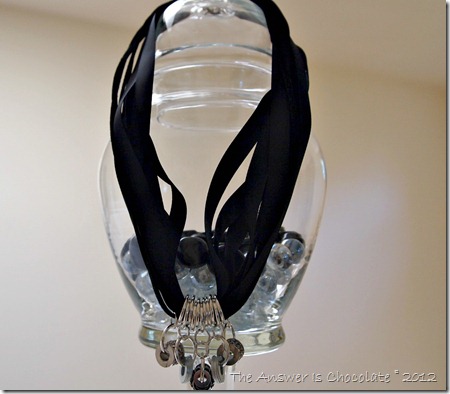
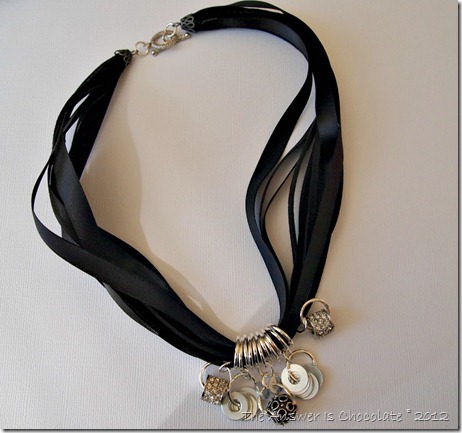
I strung some of the biggest jump rings onto the necklace ( over all of the ribbons/cord). Added as many as I felt like which ended up being eleven.
Showing posts with label Michaels. Show all posts
Showing posts with label Michaels. Show all posts
Wednesday, August 15, 2012
Ribbon and Jump Rings Necklace
I strung some of the biggest jump rings onto the necklace ( over all of the ribbons/cord). Added as many as I felt like which ended up being eleven.
Tuesday, June 26, 2012
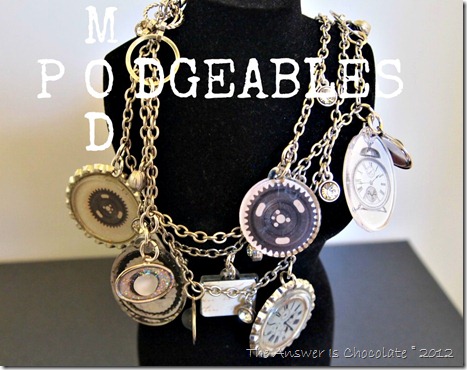
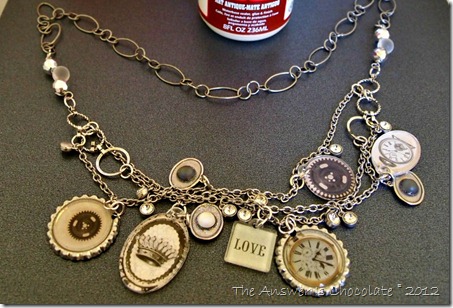
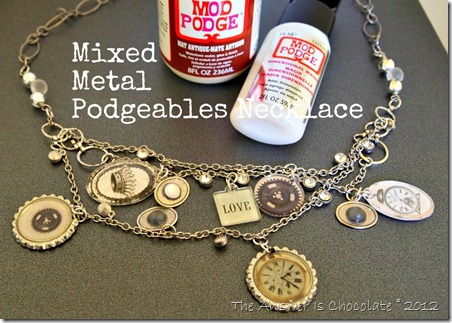
Mod Podgeables Mixed Metal Necklace
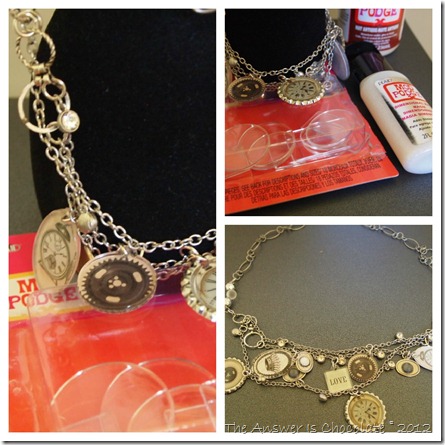
I love making jewelry and I love bold, chunky jewelry but sometimes it can turn out heavier than I planned.
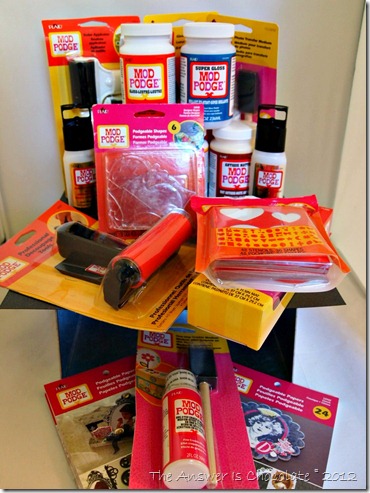
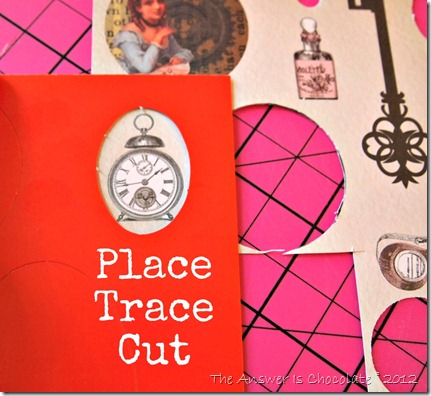
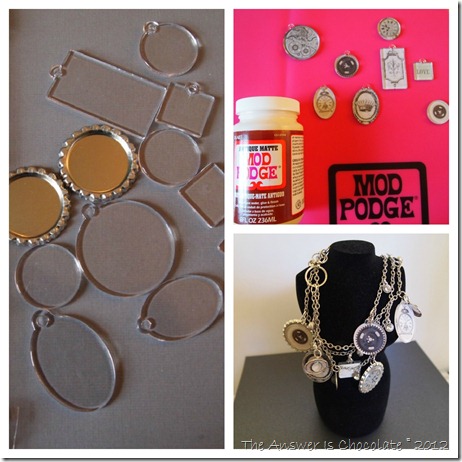
Problem solved with the new acrylic podgeable shapes, podgeable papers and tracing templates that coordinate with the shapes of the podgeables.
The hardest part was choosing which papers to use!
While these pieces were drying, I had fun with the new metallic Dimensional Magic. If you’re afraid of trying resins, try Dimensional Magic. The metallic DM has little flecks of glitter that float in it.
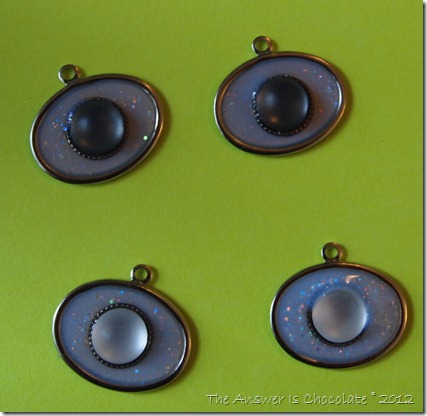
I had some charms in my stash that I filled with silver DM and self adhesive rhinestones. The DM comes out opaque and dries clear so the glitter shows through.
Here are my charms as they were drying.
I had so much fun with this. With all of the formulas, there’s something for just about any kind of project you can think of.
I want to thank the folks at Plaid and The Blueprint Social for the opportunity to have so much fun doing what I enjoy with products I absolutely love. Sponsored post? Yes. Opinions? All mine!
Wednesday, June 20, 2012
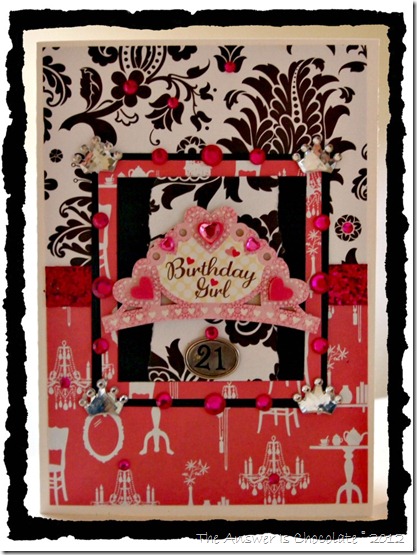
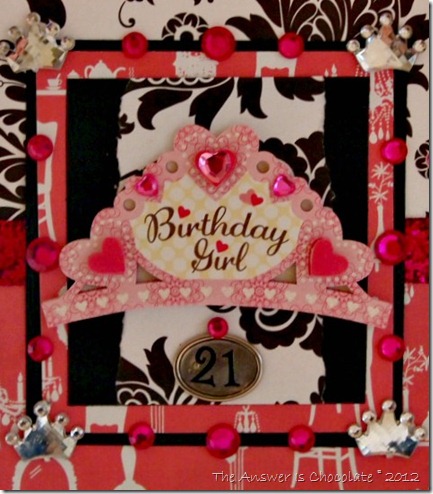
It Don't Mean A Thing If It Ain't Got That Bling. 21st Birthday Card.
I don’t feel old enough to have a friend who has a 21 year old daughter! Darn you reality!
Special occasion called for a special card so I outblinged myself.
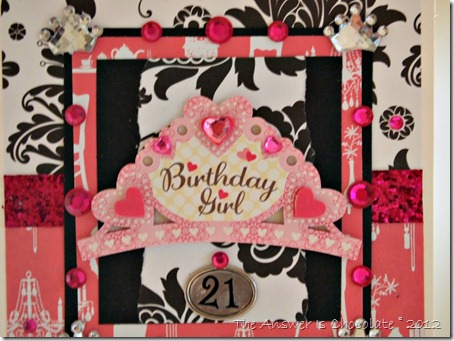
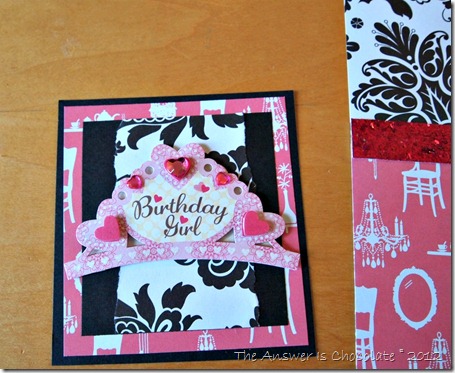
The focal point of the card is a dimensional sticker from KandCo. It already had rhinestones so of course I added more.
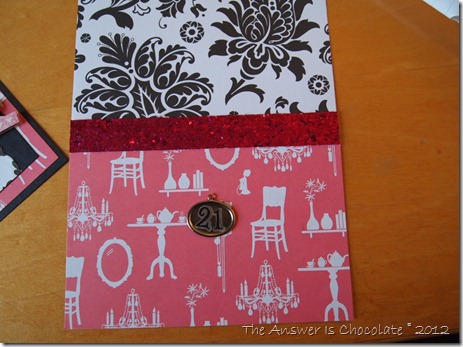
Layered the two papers and went over the border with pink glitter ribbon. For the “21” I used clear stickers on a plain bezel charm and filled in with Dimensional Magic.
I’m still not old enough to have a BFF with a 21 year old. Nope!
Sharing At:
Wednesday, June 6, 2012
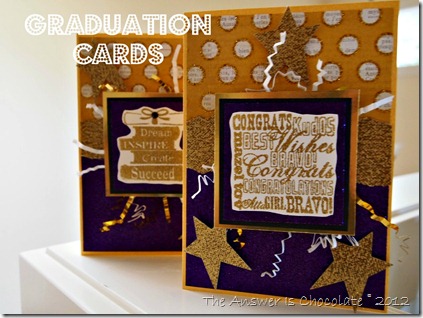
Recollections Glittery Graduation Cards
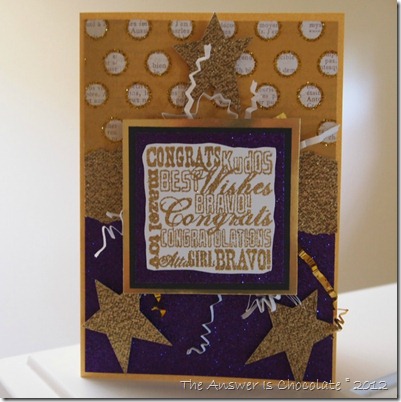
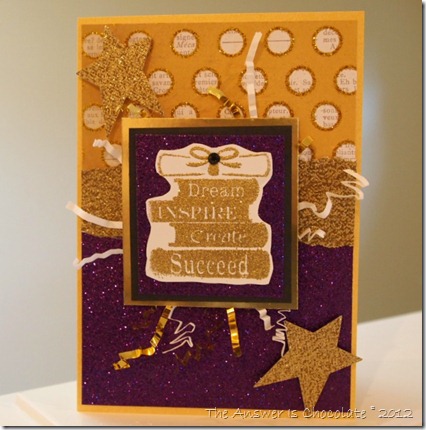
Children of two friends are graduating from the same school Mr. C and I went to, so I had to go all out with school colors for the University of Washington …purple and gold. I found the perfect glitter Recollections papers at Michaels.
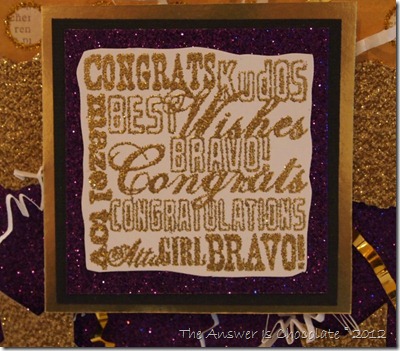
I haven’t figured out how to really capture the sparkle of the glitter in photos.
The cards are 5x7 and I cut the papers for the front to 4.75 width and then layered them as shown. Stamped the sentiments with clear embossing ink and used Recollections gold sparkle embossing powder.
I had some paper bag filler stuff in my party stash so I pulled some out and stick it to the card before I put the stamped focal pieces (layered with purple, black, and gold mirror cardstock).
Finished with stars punched from the gold glitter paper.
Monday, May 7, 2012
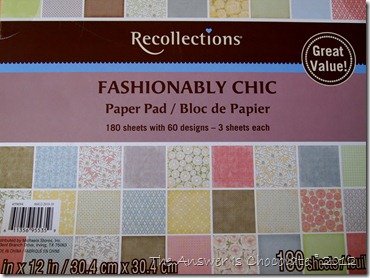
Recollections "Fashionably Chic Mother's Day Cards
I made several different cards because I always like to recognize the special women in my life on Mother’s Day.
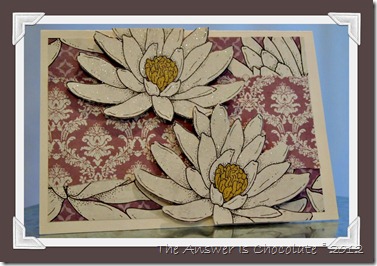
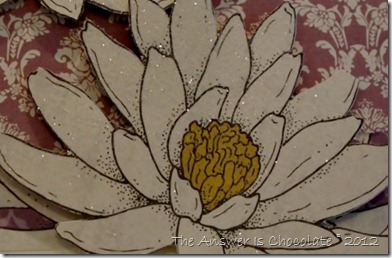
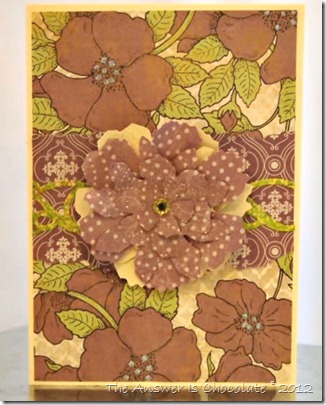
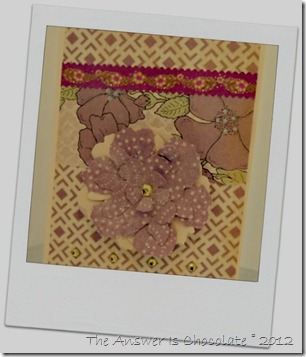
For the first card, I glued the scrapbook paper to a piece of cardstock to give some body, and then cut out the flower, hit it with a spray of adhesive and glittered it.
I used another piece of the same floral paper and a piece with a coordinating damask print for base panel of the card . Used foam dots to adhere the glittered flowers to the card.
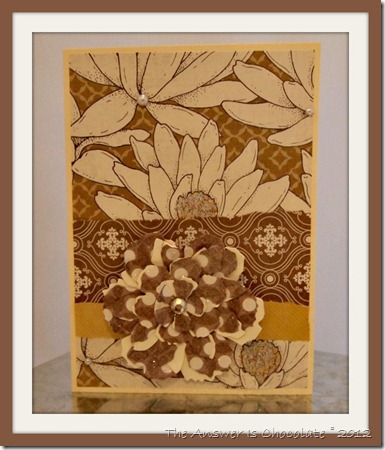
I also played with another color combination from the stack:
Wednesday, April 18, 2012
Altered Canvas: Stashbusting Tale of Crazy Michaels Lady
One of the most dangerous sections of Michaels for me is their used to be $1 section that’s now 2 for $3 (sorry Michaels, I’m still not over that although it hasn’t deterred me).
Despite my grumbling about the whole 2 for $3 thing, that section is a treat for me. It gets even better when that section goes on sale. Yes, that is me... the crazy lady doing the happy dance and talking to herself in that section and digging through the bins trying not to drop stuff because she didn't think she needed a basket because she came for just one thing. You’ve been warned.
Last year, I went a little wackadoodle over rub-ons. Completely justified since they don’t take up a lot of room and can be used on everything and I really truly will use all of the ones I bought ( someday).
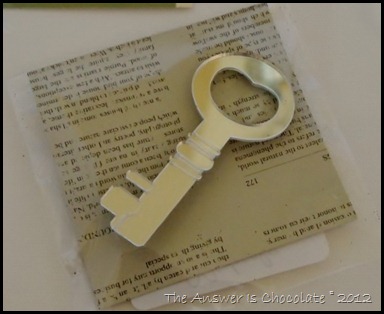
Then when I was there on a trip not too long ago, I did an extra happy dance because that section had these cool mirrored pins in all kinds of shapes , ON SALE, and one of the shapes was a key that happened to go with key rub-ons I bought last year! Breathe.
Now this would have been cute as a pin, but I’m not much of a pin wearer. So naturally I snapped the pin back off.
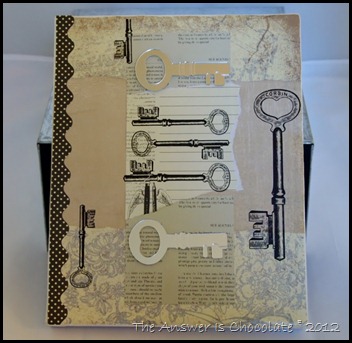
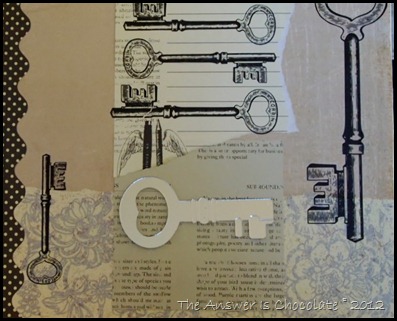
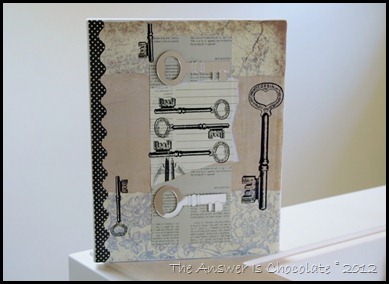
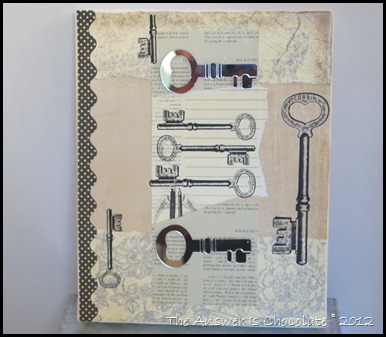
I had an 8x10 canvas in my stash that I covered with some shabby paper by Little Black Dress and then went to my scraps and pulled out some coordinating pieces. Layered them on the canvas w/ Mod Podge.
Reduce. Re-use. Recycle. I used the paper the pins came on and glued those to the canvas. Didn't even tear them or cut them just used as they came.
Tore a sheet from a notepad ( from the same section) and stuck that in the middle. Enter my last year’s rub-ons, an adhesive scrabook border and done and done.
Easy, inexpensive, and “green” since I used packaging from the pins.
Sharing At:
Subscribe to:
Posts (Atom)


