Showing posts with label Halloween. Show all posts

Tuesday, October 14, 2014

Halloween: Beaded Spider Web

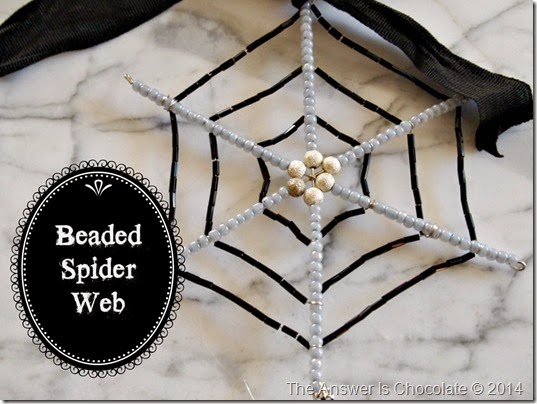
Beaded Spider Web

Oh what a tangled web we weave as the saying goes. Only with this project, the deceiving part is how easy this project is to make. Now I know not everyone loves spiderwebs or spiders (including College Boy who is very happy he’s safely away at school nowhere near my “pretty but evil” creation…his words).

For this project you will need:
  • Wire Snowflake Form
  • Seed Beads and Bugle Beads
  • Misc beads for center
  • 26 Gauge Wire
  • Needlenose pliers
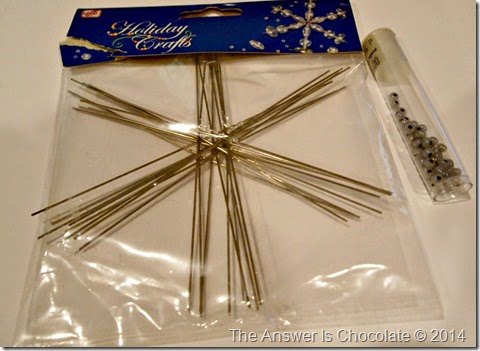
I had the snowflake forms in my stash but you will find them with the Christmas supplies at your local craft store:

Beaded Spider Supplies

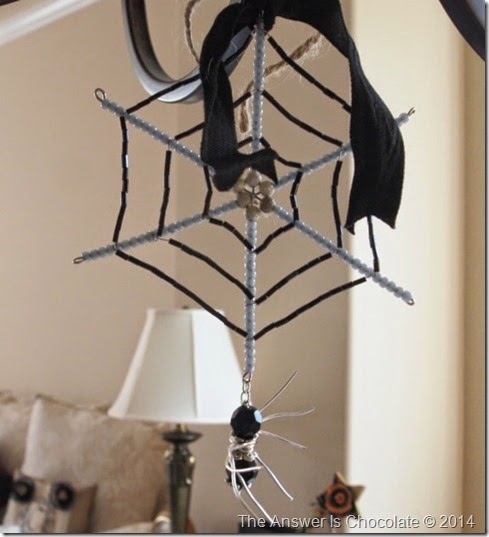
Starting with one of your “misc beads” ( I scrounged around in my leftover beads and found enough that matched)  string onto one spoke of the wire form. String seed beads until almost full, leaving enough exposed wire to make a loop for the end. Use the pliers to bend a loop. Repeat until your wire form is covered.

I started with about a two feet of the 26 gauge wire and wrapped the starting end around one of the beaded wire spokes enough to secure it. Work from the middle out and string enough bugle beads to get to the next spoke. Wrap that spoke with wire, string more bugle beads. Rinse. Later. Repeat until you’ve gone around the whole thing.  Eyeball where you want the next row of your web to be and repeat the process two more times as shown.

Beaded Spider Web 1

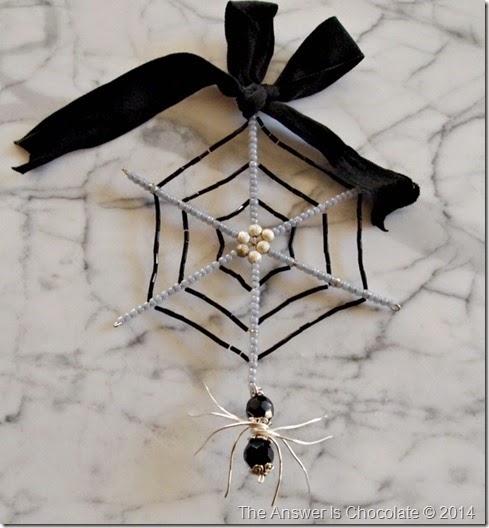
I finished my web with a bow of scrap grosgrain ribbon I saved from a package of curtains. Left it all wrinkly because of the creepy factor.

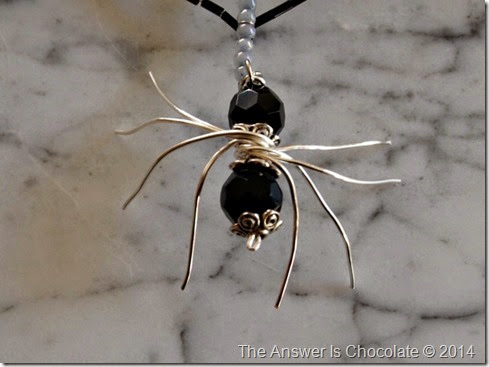
But what’s a web without a spider? The basic construction is two beads and some wire. There are tutorials on Pinterest and You Tube you can follow to get the basic construction. I decided not to bead my legs because I liked the wire legs plain.

Bead Spider 
I also used the same size beads (10mm) vs two different sizes that a lot of the tutorials show. And I added some beadcaps. Attach your spider to its web using a jump ring.

I hung mine from our dining room light fixture ( "Hi welcome to dinner don’t mind the spider hanging above you”) using some jute twine.

Beaded Spider Web 2

They’re creepy and they’re kooky
Mysterious and spooky
They're altogether ooky
My beaded spider webs

You're welcome for the Addams Family theme song ear worm.

Sharing At: 
Monday, October 6, 2014

Halloween: Flying Monkeys Printable


I saw a similar quote on Facebook about Flying Monkeys that inspired this printable. I have love The Wizard of Oz since I was little including watching it every year it was on TV, then owning the VHS, DVD and Blu Ray editions.  Then I fell in love with the book "Wicked" , have seen the musical live , and know most of the songs by heart.

Being the weird kid ( ask The Mumster and Mr. Chocolate) that I was, I loved the flying monkeys. Some things never change! 

Made this using PicMonkey and some elements from EyeInspire . Click on the image to bring to full resolution. Right click to "Save As". Size accordingly. 


Monday, September 22, 2014

Halloween: French Gothic Coffin Boxes

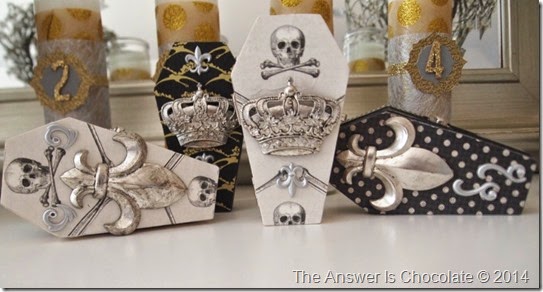
Gothic Coffin Boxes

A couple of years ago I had so much fun altering these little coffin shaped boxes I found at Michaels. Darn if they don’t keep stocking them and darn if I don’t keep finding ways to play with them.

It helps ( or doesn’t help depending on whether you’re Mr. Chocolate) that I love digging through clearance aisles and 50-60% off bins which is where I found the embellishments that inspired this project.

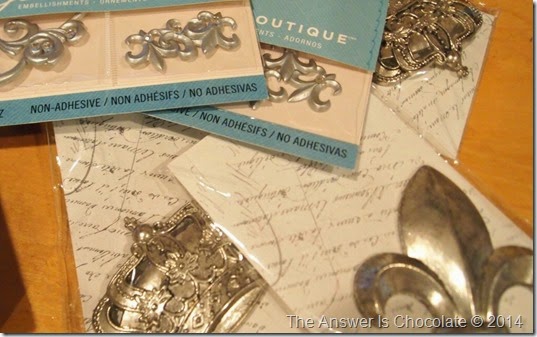
Gothic Coffins Embellishments

The metal Fleur de Lis and Crown pieces were in the $1.50-$3 bins and were 60% off when I found them. On a previous hunting expedition, I’d found the Jolee’s Boutique embellishments on sale. 

We went to France several years ago and while there we toured the Catacombs which are not for the faint of heart but an amazing piece of history. The ornate metal embellishments brought back memories of that trip and the coffin boxes brought back memories of the Catacombs so voila. Gothic Coffin Boxes. Welcome to my brain.

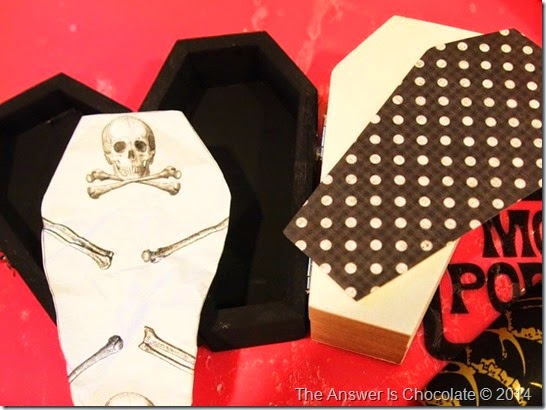
Gothic Coffins Prep

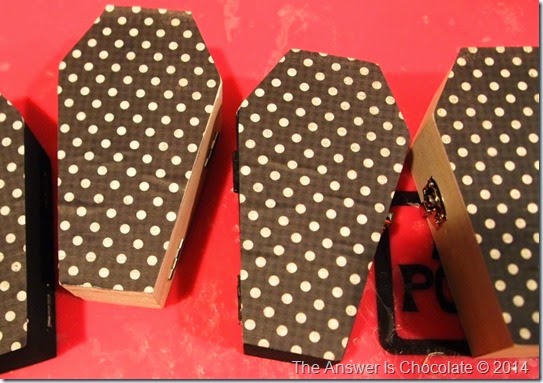
I left a couple of the boxes unpainted and painted the others black. Using the boxes as a template, traced around them and cut out coordinating papers and Mod Podge’d them onto the boxes.

Gothic Coffin Boxes Back

I love it when  a plan goes awry. I intended to use the polka dot paper on the BACKS of each coffin and oops…one made it on the front. Oh well. Lemons / lemonade.

Gothic Coffin Boxes 3

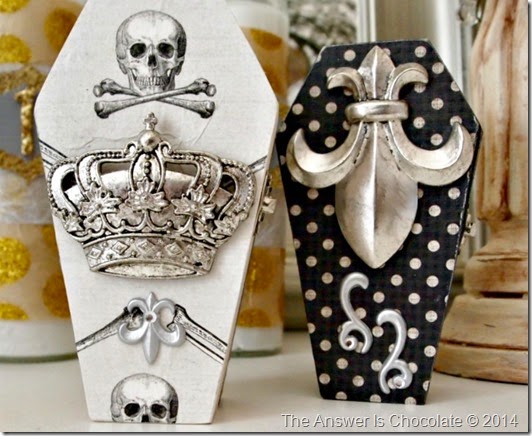
You can’t really see it but I crumpled the skull and bones paper before applying so it would be a little wrinkly. And for once, I was patient and let the boxes dry overnight so the paper would be good and stiff when I sanded the edges.
TIP: Package of emery boards from the Dollar store work great for this

Gothic Coffin Boxes 2

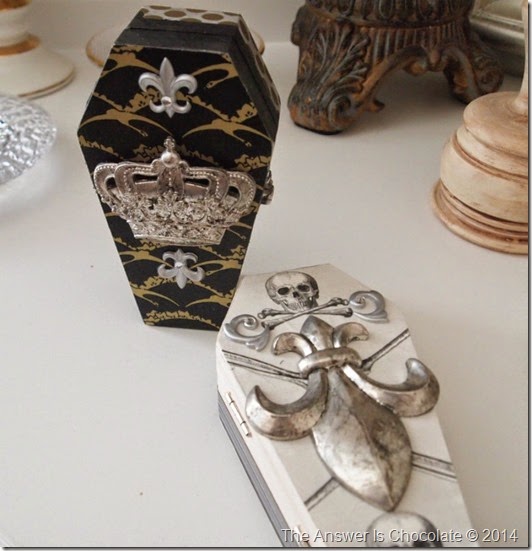
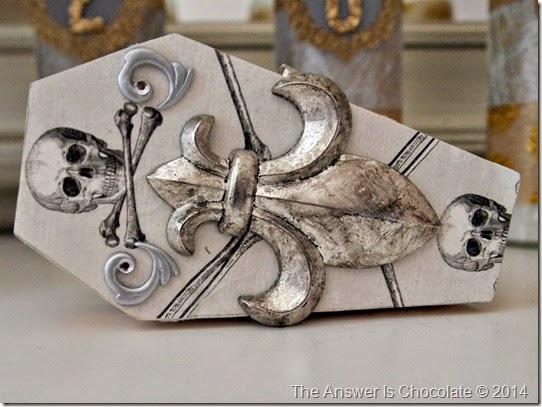
I glued the metal embellishments to the front and added the Jolee’s embellishments as shown. Edged the boxes with torn pieces of  coordinating washi tape.

Gothic Coffin Box Skeleton

Sharing At These Fun Places


Monday, September 8, 2014

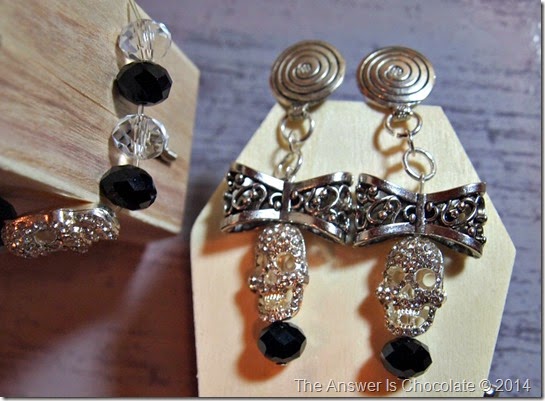
Halloween Gothic and Glam: Skulls and Bows Earrings, Necklace, Bracelet

Skull and Bows

With Halloween approaching  and the return of one of my guilty pleasure TV series  “Sons of Anarchy” , I was inspired to make some fun gothic jewelry. My real life couldn't be further from what happens on the show but I do have some things in common with the female characters style: B L I N G.  I love it when worlds collide.

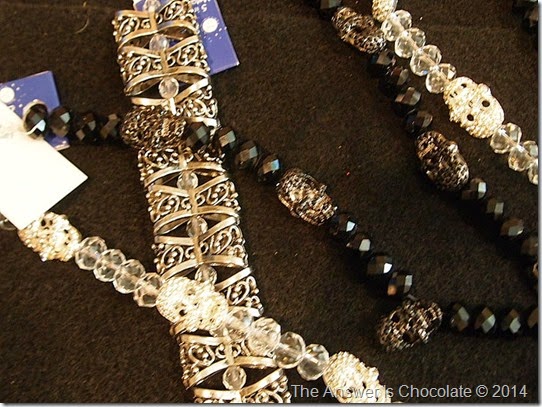
Included in  my Blue Moon Bead design team supplies (all supplies are Blue Moon Beads ; design is my own)  were strands of black and clear crystal beads with rhinestone skulls.  Also included were silver filigree bow beads.

BMB Skulls and Beads

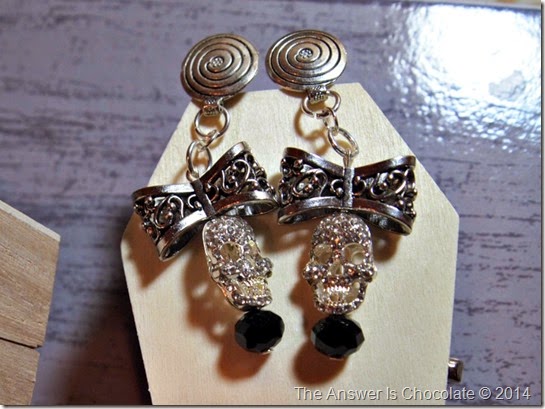
My photography skills don’t do the details justice but these are the perfect combination of gothic and girly , bold and bling.

Bow and Skull Earrings

For the earrings I strung a glass bead, skull bead and bow bead on a head pin and attached to pendant pieces. These are non-pierced earrings so I glued clip findings to the back of the pendants.

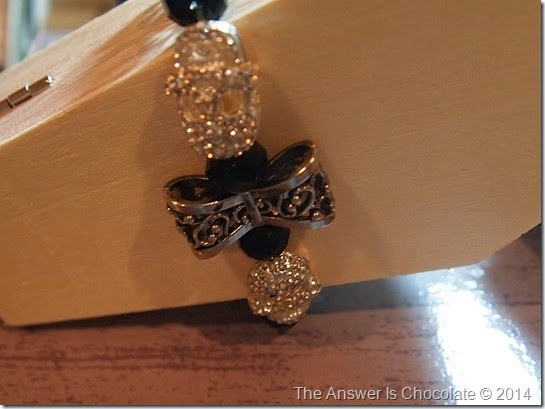
Bow and Skull Bracelet

For the bracelet, I used stretchy cord,  two of the clear rhinestone skull beads , one of the bow beads and alternating black and clear crystal beads.

Skull and Bows Necklace

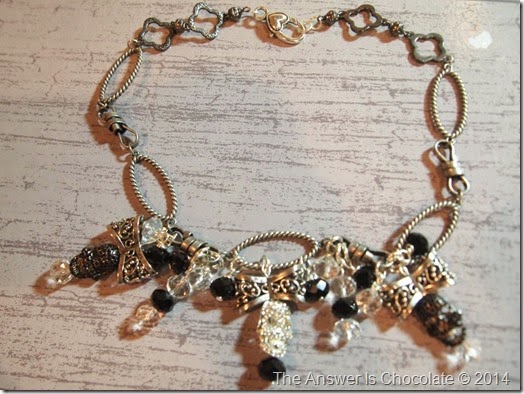
For the necklace ( choker length) I used two different chains, more of the pendants made the same way as the earrings and then clear and black beads on head pins attached directly to the links with jump rings.

Blue Moon Beads can be found at your local JoAnns.


Tuesday, September 2, 2014

Halloween Archive : Vintage Witch Hats and Spooktacular Giveaway

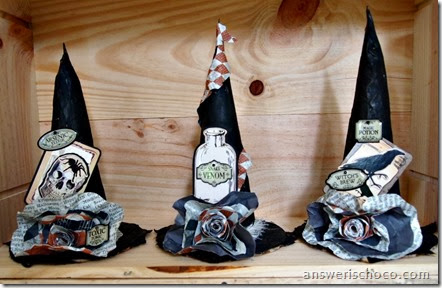
Vintagey Witch Hats

This is a re-post of a popular project I shared last year, inspired by the  Three Witches from Macbeth. Supplies I used last year were from Oriental Trading Company.Project idea 100% mine.


One reason I thought to re-post this is because to get ready for Halloween this year, they're having a spooktacular giveaway that you definitely want to enter: 


The Grand Prize is $500 worth of stuff ( $500!!) but they're also giving away a $25 gift card to their site EVERY DAY until 10/18! Who wouldn't want to enter to win?

Oriental Trading Company

If you're not familiar with Oriental Trading Company or haven't been there in a while, in addition to a great selection of party supplies and project kids that are great for kids, they have really really expanded their crafting supply section. I was able to go through the ordering process which was straightforward and easy, and my shipment arrived quickly.

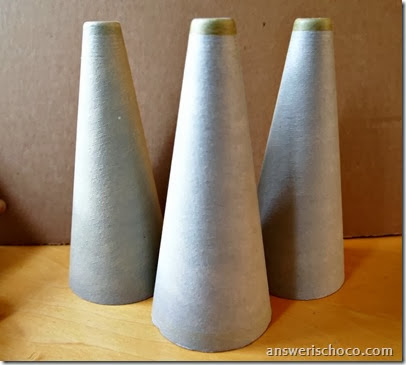
The hats themselves are not actually hats. They started out as these:

Paper Mache Cones

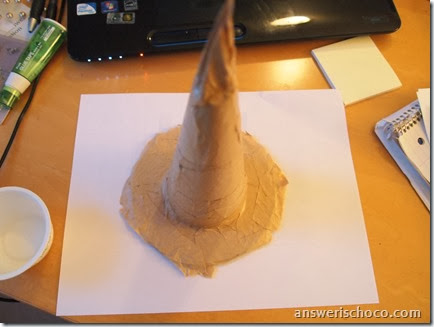
Plain paper mache cones. I covered them using torn and twisted kraft colored butcher paper and Mod Podge  and glued them to a cardboard circle base.

PA010958

Since I knew I wanted them to be old looking, I wasn’t precise and just kind of went over the form until it looked like a witch’s hat. When dry, painted with black paint. Now for the fun stuff!

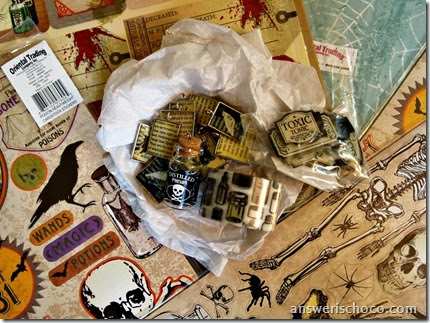
Oriental Trading Co Papers

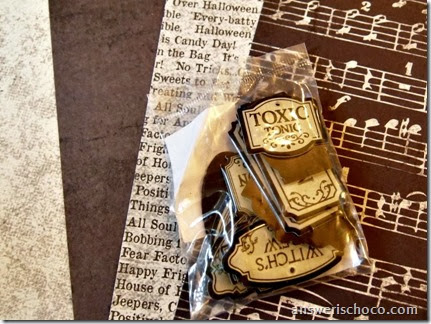
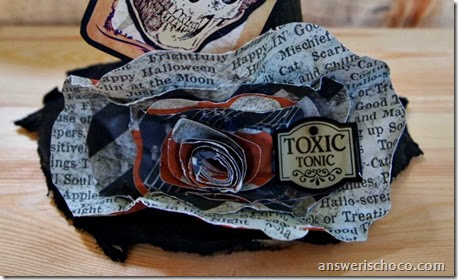
I chose some of the Halloween papers from Oriental Trading Company along with epoxy poison labels. I used the papers to make layered flowers that I scrunched and crumbled. After all, the witches from Macbeth would not be seen in pristine new hats.

Halloween Paper Flower

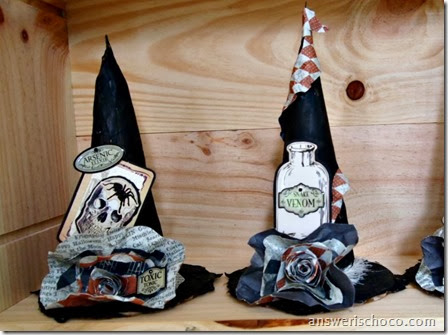
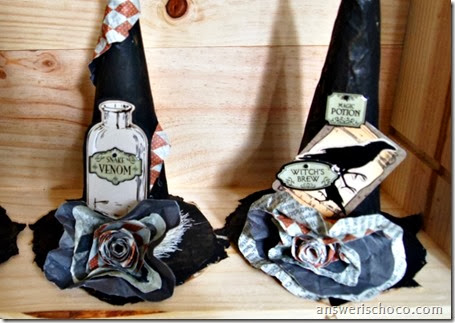
Using some of the die cuts and stickers I also received, I made accessories for my hats, keeping with a poison potion theme.

Witch's Brew Hat

Arsenic and Venom Hats

Waste not want not, so I used from of the scraps of paper to embellish the hats going around one of the cones, and one of the brims.

PA010962


Bewitching Hats

Thursday, October 24, 2013

BFF Open House Link Part #128

The Answer Is Chocolate

Can you believe Halloween is a week from today? Guess what? I've got something even scarier. Two months from today is CHRISTMAS EVE eeek!!! Hanukkah comes early this year converging with Thanksgiving...barely one month from now. Scared? Mwaaaaaahhhhhhh. 

Now that I have you terrified, let's see some highlights from last week's party :) 


Amaranth and Kale shared these wonderful brown paper bag leaves. Would you have guessed that these started out as brown paper bags? 


Wouldn't this coffee filter and burlap wreath look great next to a garland of those paper bag leaves? Go visit Crafts a la mode for the how to. 


Still looking to add to your Halloween decor ( or pin for next year)? Check out these no sew pillow covers from 24 Cottonwood Lane. NO SEW!

And this week's chocolate feature is courtesy once again of Karyn from the aptly named Dieter's Downfall


OK now for this week's treats!


Monday, October 21, 2013

Zombie Cookies and Monster Fingers: This Year's College Boy Halloween Treats

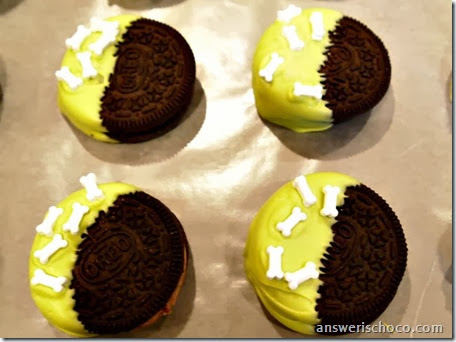
Monster Mash Oreos

If you’ve followed my blog for the past few years, you’ll know that I usually do a Halloween care package for College Boy. Halloween always falls around mid-terms and if you’re the parent of a college student, you might be familiar with the “send your kid a care package” letters that usually come out this time of year. Some company will deliver a care package to your student but needless to say, I’d rather make my own.


I try to make these fun but keep the cost down especially since we have to mail these. Dollar Tree, Michaels, and stuff I had on hand came together. 

This year I went with a Zombie / Monster theme . We’re huge “Walking Dead” fans. While Zombies aren’t known for eating bones, I couldn’t find any candy brain sprinkles so bones it is.

Monster Mash Cookies

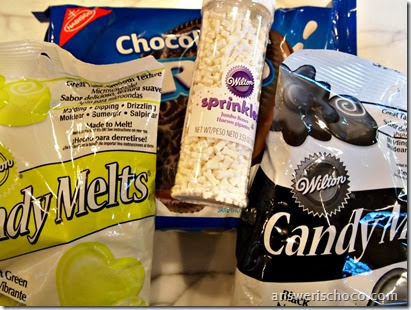
For this project you will need:
  • Oreos
  • Candy Melts ( I hadn’t yet decided between the green and the black but ultimately just used green)
  • Bone sprinkles ( if anyone finds brains, let me know!)

Dipped Oreos are about the easiest thing you could ever do. To start:

Wilton Green Candy Melts

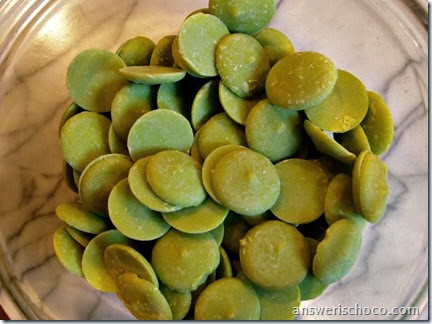
Melt candy melts. I usually do mine in the microwave.

Melted Green Candy Melts

Once melted, dip. Place on wax paper. Sprinkle with stuff. Done. Seriously.
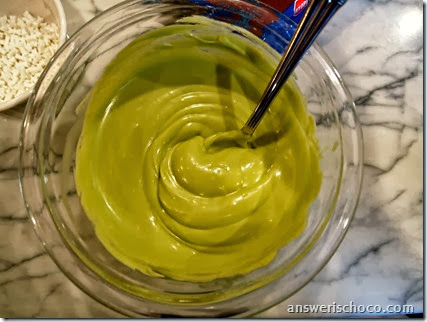
I had some green goo left over and I’d picked up a Halloween themed silicone mold at the Dollar Tree because I have wanted to try using them . I have had mixed results with the clear plastic molds. I’m hooked on the silicone molds!

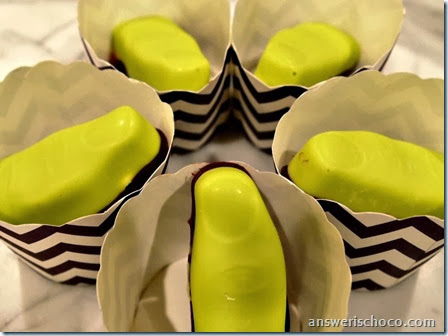
Double Layer Crunchy Fingers

I made crunchy candy Monster Fingers! I spooned the leftover green melted candy into the mold until about half full.  I spotted some M and Ms and decided to sprinkle them on top of the green candy. Then went over that with melted dark chocolate. When you bite into the finger, CRUNCH, just like a bone. I know, I’m twisted.

Crunchy Fingers

For the bone shapes in the mold, I filled with dark chocolate.  Not a great photo but didn’t have time to worry about lighting when I was trying to “set my bones”.

Monster Mash Cookie Cups

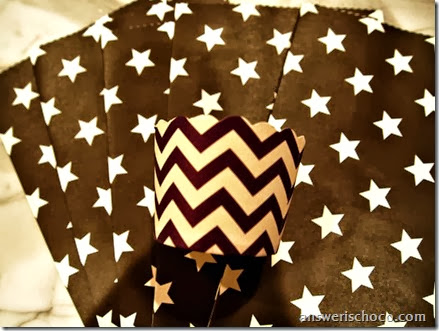
To package everything, I used these purple chevron striped cups I got last year from Pick Your Plum. I stacked the cookies and wrapped them using clear cello bags. Same for the fingers.

Star Bags

Paired the cups with these black and white star bags I picked up on one of my dig through the clearance stuff trips to Michaels. 75% off!

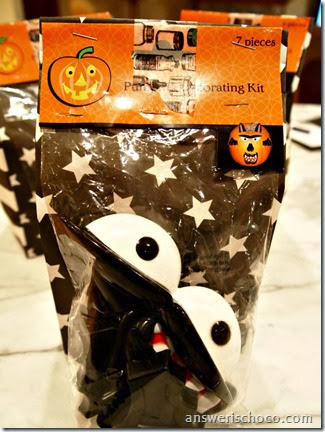
While I was at the Dollar Tree, I also picked up some pumpkin decorating kits. No carving required, the pieces just stick to the pumpkin. Last year I recall he and his friends went in search of no carve options so hopefully they still want to do this!

Vampire Pumpkin Decorating Kit

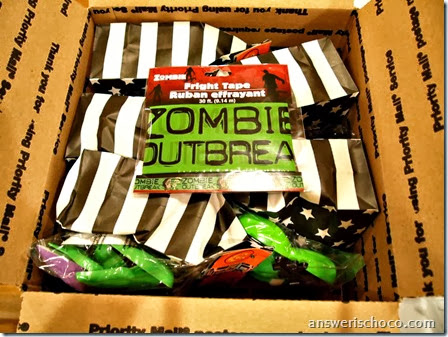
Filled the paper star bags with the cookies, finger, and additional candy and stapled the kits to the outside.
Zombie Outbreak

Dollar Tree also had some Zombie Outbreak tape that went well with the theme so added that. All packed up and ready to go!

2012 Halloween Treats  "Fangtastic Treat Bags"

2011 Halloween Treats  "Reverse Trick or Treat"

Sharing At: