Showing posts with label Green Craft. Show all posts

Thursday, October 17, 2024

BFF Open House


EEK! We're halfway to Halloween! Hopefully by the time this party opens I will have this infernal immobilizer off of my knee and can sit back at my desk and work on more than Procreate. Like so many of us, I am better at taking care of others than being sidelined myself and this not being able to get up and go is a real challenge for me. BUT, I'm ever thankful to have an attentive husband, caring Mom and friends! 

I shared another Fall Themed Printable here the theme of which is "change is beautiful" something that is often hard for me! 

OK let's take a look at some of the ideas from last week's party to consider yet for Spooky Season and Fall! 


Hunny I'm Home DIY shared this AWESOME Skull Vase made from a simple Dollar Tree skull!


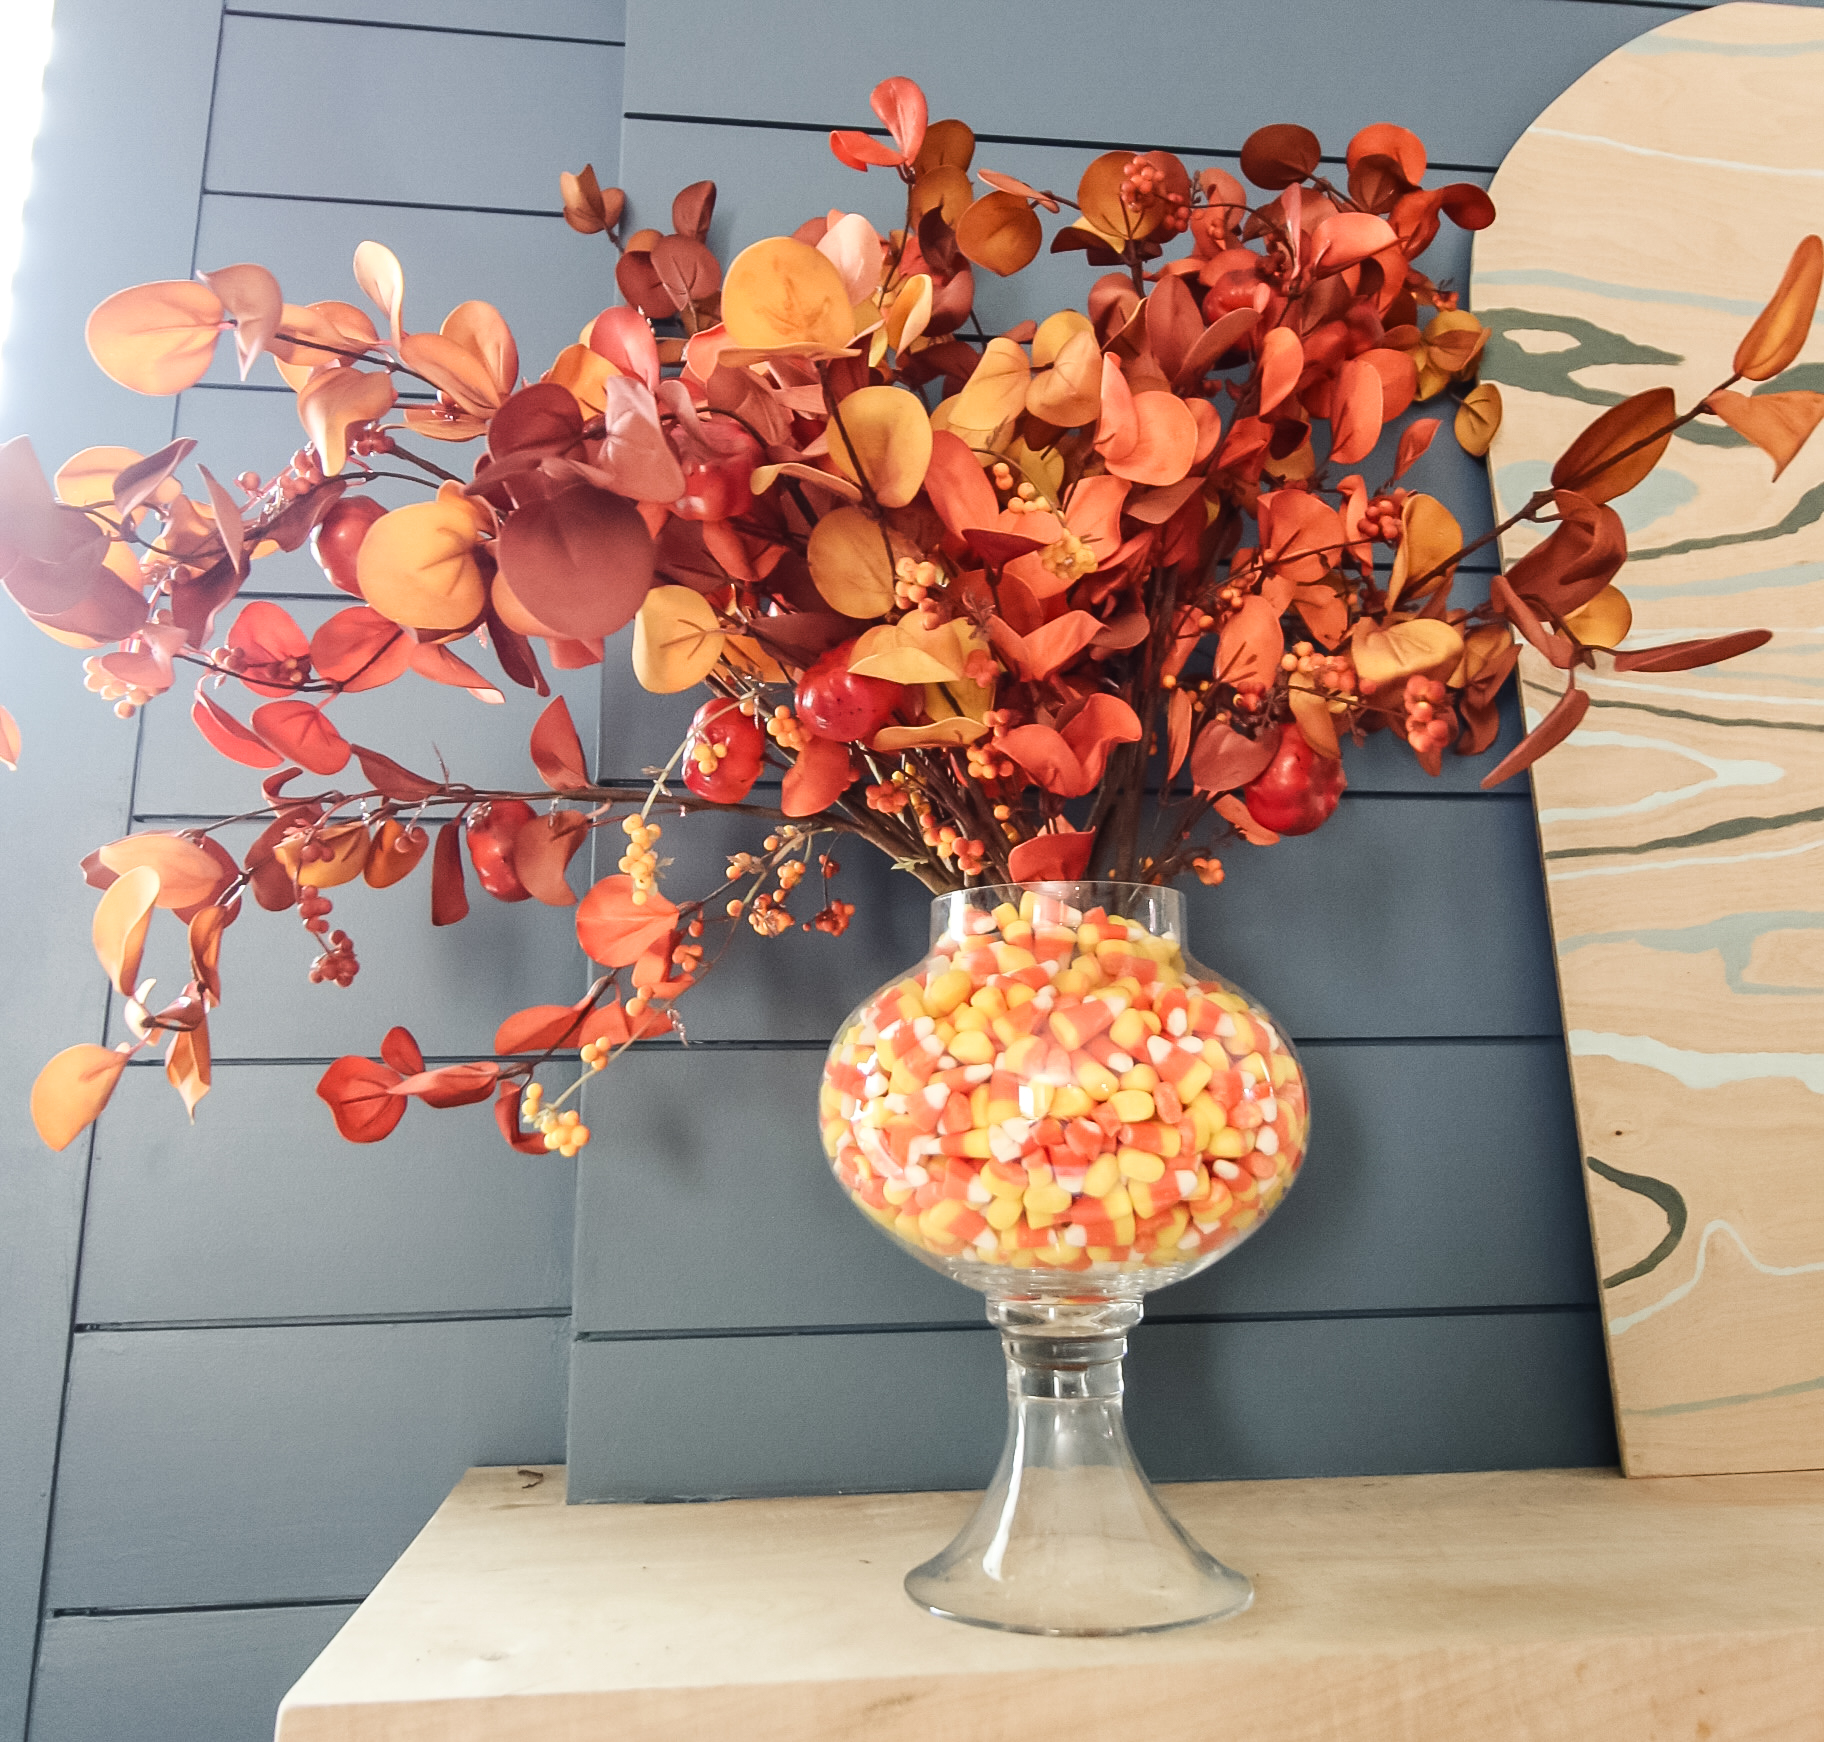
Charleston Crafted shared a creative way to use Candy Corn in decor with this stunning Fall Vase.


Crazy Little Love Birds shared a wonderfully fun and GREEN craft with these Recycled Cardboard Halloween Bookmarks. Fun and functional! 


"Black Velvet" seems to be a trend this year so these Witches Brew Cupcakes from 3 Boys and a Dog are perfect! 


Thanks to everyone who linked up and can't wait to see what's in store this week! 


You are invited to the Inlinkz link party!

Click here to enter

Saturday, March 23, 2013

Green Craft: From Chocolate Box to Guest Book

Handmade Guest Book and Pen
So we have an upcoming family birthday celebration and I was asked to bring a guest book. Doesn’t everyone automatically think of an empty chocolate box as a guest book?

For this project you will need:
  • Recycled cardboard box
  • Scrapbook papers
  • Strong adhesives ( I used double sided carpet tape)
  • Embellishments ( I used vinyl scraps, some corkboard cutouts I picked up for $.97, washi tape, and a key sticker)
  • Paper for your pages 

Recycled Chocolate Box

I opened up my box and immediately saw a book in the two main panels and cut them as follows:
Chocolate Box Journal
The spine was from a scrap piece the same length as the two sides. I covered each of the cover pieces with scrapbook paper from my stash. Sealed the paper with Mod Podge.
Since I’m a borderline hoarder, I save scraps of everything and had some gold glitter vinyl leftover from a previous project. I decided to use this as “book cloth” to cover the spine.  Applied the carpet tape to the underside of the vinyl , then lay the spine piece in the middle, the two cover pieces on each side and then folded the top and bottom of the vinyl. Since I was using up scraps I couldn’t cut my vinyl piece long enough so that when folded over, it met in the middle but I had enough to cut another piece to fill the gap.

Handmade Guest Book

Vinyl Spine Journal
Fold over and this is the front of my guest book before embellishing. I added the washi tape and cork accents ( they were on clearance @ JoAnn) , a metal key sticker, and then College Boy reminded me: “What’s a guest book without a pen” so I made one. 

Well I didn’t make a pen but I embellished one. Just a plain stick ink pen covered with a scrap of paper from my book. Mod Podged it on, added a strip of washi tape and then hot glued some paper flowers (you can find bunches of these in bridal aisle) on the top. Left the wire stems on and just wrapped them around the pen.

Washi Pen

For the interior, I cut regular copy paper to size , clamped it together with binder clips and coated one of the short sides with PVA glue. Glue to a chipboard panel cut the same size to make a pad and then glue the "pad to the back cover. 

Upcycled Guest Book

Monday, August 27, 2012

Green Craft: Turn A Cheese Box Into A Gift Box


I recently shared this project over at the Expressions Vinyl blog but wanted to share it here with all of my readers.

I know I'm not the only one who looks at something for its crafty possibilities before recycling or putting it in the trash. I've seen some other crafty peeps use these cheese boxes and had been saving one to play with. 


Laughing Cow Box

I used my box to trace two circles onto the scrapbook paper you see in the background, cut them out and then applied them to the box using Mod Podge. 

While that was drying, I went to work on what would be the focal point of my box. I alternate between my Silhouette Cameo and my Cricut Expression, both of which I love to use to cut vinyl. I used the Cricut for this.

Damask Decor

I used the Damask Décor cartridge and a taupe vinyl scrap and cut out my image ( #30).

Damask 30 Cricut

Here’s the vinyl all cut out and placed on the top of the box. I liked it well enough at that point but never being one to leave anything alone, I went to my embellishment stash and decided on a paper flower and some chocolate colored self adhesive pearls.

Vinyl Embellished Gift Box

The whole thing took maybe an hour and most of that was drying time for the Mod Podge.  Simple, inexpensive, uses what you might already have on hand. Now I just have to finish the gift that is going inside the gift box!

Damask Vinyl Box

Sharing At: