Showing posts with label Birthday card. Show all posts

Wednesday, June 7, 2023

Papercrafting: Cardmaking Without a Machine


As much as I love my cutting machines and all of the files that can be used for cardmaking, I also love that in all of the paper stacks I have, some include sheets of panels that can be cut down to use as focals for cards. This is a perfect way for anyone without a machine to be able to make their own cards. 

Supplies: 
  • Birthday and Coordinated Papers (I used a "Happy Cake Day" stack and Ombre stack I had from Michaels. 
  • White 110lb cardstock
  • Adhesive (I use my 3G ATG Tape Runner)
  • Self Adhesive Rhinestones


These were the paper stacks I had in my stash. I chose one sheet of panels from the Cake Day stack, a sheet of cupcake papers, and one sheet from the Ombre stack. 


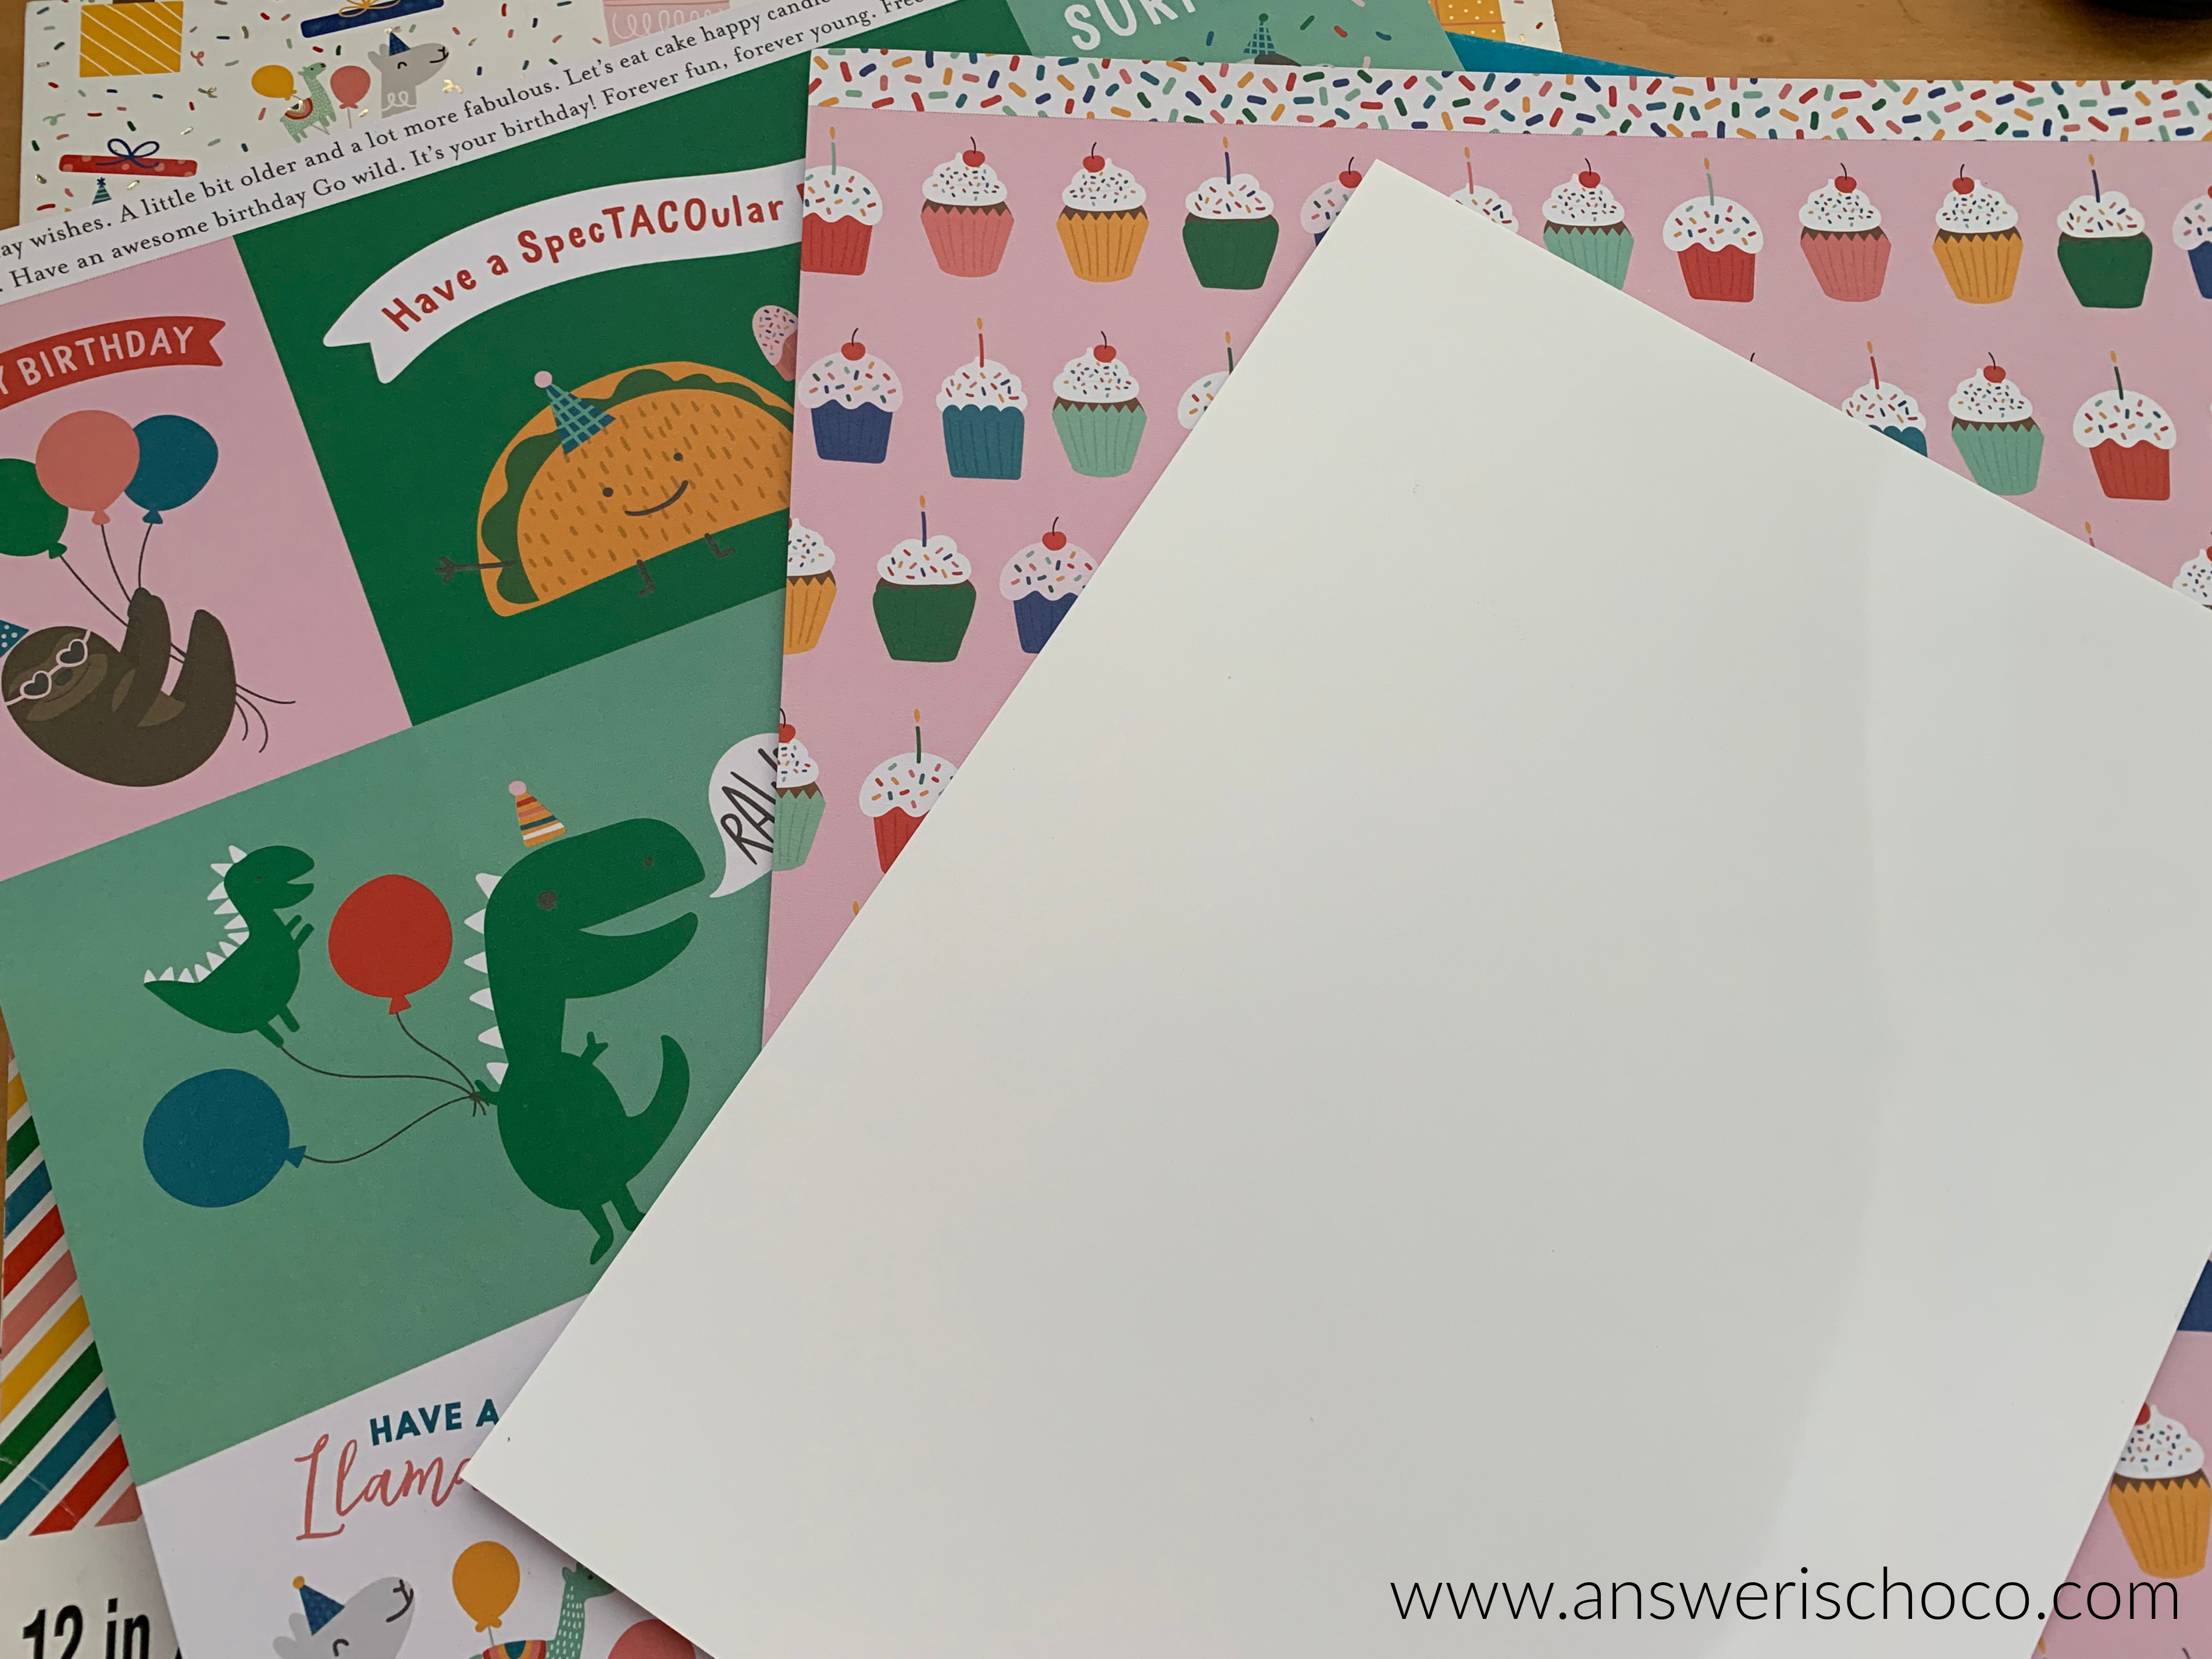
I picked the "Make a Wish" panel from the panel sheet, cut out, and saved the rest to make more cards. I make almost all of my cards 5x7 so cut the white cardstock to 10x7, then scored down the middle. 


I've donated to charities before and stacks with these kinds of panel sheets make it easy to do multiples and maximize cost-effectiveness. 

I cut an orange ombre sheet to 4.75x6.75 and another piece to frame the Make a Wish panel and layered as shown. 


To finish I added light green self adhesive rhinestones in different sizes on the cake base, cake, and candles. 


Next up,working on some Father's Day cards! 


Monday, August 10, 2020

Quilled Cupcake Birthday Card Tutorial


One thing I was excited about when I started my Quilling journey was the ability to incorporate it into my cardmaking. I'm so happy with how this card came out, inspired by some fabulous papers I found at JoAnn. 

Supplies: 
  • Pebbles Double Sided Scrapbooking Paper (JoAnn)
  • Cardstock ( 110 lb)
  • Coredinations Glitter Scrapbook Paper (JoAnn)
  • Juya Quilling Paper Strips
  • Quilling Tool
  • Glue (Aleene's Turbo Tacky, Elmer's)
  • Paper Trimmer
  • Tape Gun

JoAnn recently had a mega sale on scrapbook paper. I couldn't resist these at $.19 each!! Hello my name is Carol and I have a paper problem. 


They're double sided so it's like two, two, two papers in one. My older followers will get that joke. 


TIP: 
In learning Quilling, I've watched different videos on how to outline an image but the thing that works the easiest and best for me is to cut the image I want to outline using my Cricut Explore Air 2. My trick that I think I invented but who knows, is to cut two of the image, layer on top of each other with a thin foam tape, which gives some depth to make it easier to go around it with the Quilling paper. 


I went around the image with the light acqua strip, then made a cupcake liner design with pink. Another TIP: I do these atop wax paper since the glue doesn't stick. Wax paper is inexpensive ( OK cheap!) and a little will go a long way. 


Once my image was outlined, I did a bunch ( technical term) of brown open coils and some darker pink tight coils for the "frosting", and then yellow, acqua, and cream to fill in the wrapper. 


As the focal image was drying, I made the actual card. Simple 5x7 card, and alternating layered panels of the acqua glitter paper and the cupcake paper. 


I use the Aleene's Turbo Tacky Glue for the outline and to fill large spaces and the Elmer's in the fine tipped bottle for detail, small spaces. 

To finish, I made a small coil of red for the cherry on top !


Since the friend this is for lives in another state and we can't enjoy a real cupcake, this will have to do! 


Tuesday, September 16, 2014

Thrifty Finds at Michaels: Easy to Make Birthday Card


I've always loved the "used to be a dollar" section at Michaels ( yep...still bitter that it's now the $1.50 - $3 section). So when I find things there that are 50-60% off, I'm ecstatic. 

If you've been a reader of this blog you also know that I just shake my head at the price of cards when it's so easy to make your own. 

On a recent trip, I stumbled upon some finds from Spring. Papers and pre-made tags 60% off which turned out to be $.60 per package. So for a whole $1.20, you can make at least 16 cards from these two things. 


The paper pack had 12 8x8 sheets of 6 different patterns. The gift tags came in a pack of 16 and coordinate with the papers. 

For the birthday card I made I used :
  • Light metallic gold cardstock
  • White cardstock
  • Embossing folder and embossing machine ( I used my Cricut Cuttlebug)
  • 2 papers from package
  • 1 gift tag
  • Self adhesive  pearls
  • 3-D Cupcake , candles, metal sentiment stickers from stash
Cut gold cardstock to 7x10 for 5x7 card. Score down the middle
Cut patterned paper 4.75 x 6.75 , attach to card
Cut white cardstock 4x5 and run through embossing folder
Mat on solid paper as shown
Tear solid paper scrap, adhere to middle of white panel
Attach tag, 3-D stickers as shown
Embellish with self adhesive pearls 


Even if you don't have extra stickers in your stash ( a concept with which I am completely unfamiliar!) picking up a package of birthday themed stickers will still put you way ahead of what you'd spend on a single card. 


Monday, March 3, 2014

Fashionista Birthday Card : Pink Paislee Secret Crush

Pink Paislee Birthday Card

I made this birthday card for a very stylish friend. Who can’t use a pair of fabulous high heels even if they’re made of paper?

For this card I used:
  • Bordered A-7 card ( Pop Tone)
  • Pink Paislee “Secret Crush” papers
  • Black and White Cardstock
  • Cricut Wall Décor and More cartridge
  • Cricut Expression
  • Ribbon
  • Rhinestones and Liquid Pearls

Start with a pre-scored A-7 card.  I used a white bordered invitation by Pop Tone. Layer with a panel of paper from the Pink Paislee “Secret Crush” collection.

The shoes were cut from black cardstock using the Wall Décor and More cartridge by Cricut and my Cricut Expression.

Wall Decor and More Shoes

I glammed these up with self adhesive rhinestones on the toes and the heels, dots of pink Liquid Pearls and organza ribbon bows.

Pink Paislee and Cricut Card

Finished the card  with a scrap of pink washi tape, wrapping white organza ribbon around the top of the card  and adding a sentiment sticker.

Sharing At: 

Tuesday, February 26, 2013

More Birthday Fun With Tim Holtz Stamps and Embossing Folder

Geared Up Card and Altered Box

I’m sharing a couple more things I made to celebrate Mr. Chocolate’s birthday. As we get older, we’re less about giving each other “things” and more about experiences. So for his birthday this year, I planned a day filled with stops at some favorite spots as well as a couple of places he’s mentioned wanting to check out.

Since he’s a good sport and comes with me on some of my crafting stops, I’ve discovered that he likes Tim Holtz designs. So Tim helped me out with my birthday plans.

Geared Up Birthday Card

You might recognize the stamped car on the front of the card from the altered cigar box I recently shared. That box held the card, along with the little altered box shown above.

For the card, I covered a blank 5x7 card with a piece of “wood paper”. It’s actual wood veneer over cardboard. I picked it up at one of my favorite stores before they went out of business. I added strips of paper from the Tradewinds collection by DCWV to the top and the bottom.

I ran a piece of chipboard through my Cuttlebug using a Tim Holtz gear embossing folder. Went over that with Ranger Distressed Ink in black and Fresh Ink pigment ink in grey, leaving some of the chipboard exposed.  Layered this onto more of the DCWV paper, alternating with black cardstock,  and added some gear charms by Bead Landing. I stamped the car and sentiment ( both Tim ) onto scraps of the wood paper and tore the edges. Finished with some coordinating washi tapes.

Tim Holtz Vintage Car

The other part of this present was a little altered “clue” box I made. I created vintage themed clue cards for  the places we’d go during the day (breakfast at a favorite spot, a tour of a local small batch distillery, a fun little 20’s / 30’s style tavern with a secret room, and a favorite restaurant for dinner)  numbered them and tucked them inside the box. I told  Mr. C. throughout the day when it was time to look at the next clue. In between our "scheduled" stops we had fun roaming around new neighborhoods and places we just stumbled upon. Including a CHOCOLATE FACTORY! More on that next month.

Altered Clue Box

The box ( see how it matches my wood paper!) I found in the  $1 bin at Michaels. You know I had to buy a few of these right? I decided not to cover the whole thing but went over parts of it with printed tissue paper and washi tape, sealed with Mod Podge. I forgot to take pictures of the sides but I traced around them and used up the last of the DCWV paper from the card and Mod Podged them to the box.

Bead Landing Gear Charm

Accented the button closure of the box with another of  the gear charms.

Geared Up Card and Altered Box

We had a wonderful day and even had cooperation from Mother Nature with the Seattle weather! 


Sharing At::


Wednesday, January 9, 2013

Hybrid Chalkboard Background Birthday Card

Hybrid Birthday card
My cards need to lose some weight. I love embellishments and layers but unfortunately that can create heavy cards requiring extra postage. And since some of my cards need to be sent internationally, that can add up.
So I decided to hybridize this one by making most of the card digitally with just a couple light embellishments.
Hybrid Birthday card
Since chalkboard printables are very popular right now, I decided to go with a chalkboard background. added a chalky font for the sentiment, added a shabby frame, paper flowers, a balloon and even a strip of digital washi tape. I used My Memories Suite digital scrapbooking software to make this.
Then all I needed to do was print, trim and mount. I used a coordinating polka dot background paper to cover the front of my 5x7 card. Added two rhinestones and some baker’s twine and done.
Here’s the image I used if you have a birthday card you need to whip up quickly.
Blue Balloon Birthday-001 
It’s sized 4x6 but you can make smaller in any photo editing program.

Sharing At: 

Wednesday, June 20, 2012

It Don't Mean A Thing If It Ain't Got That Bling. 21st Birthday Card.

21st Birthday Card

I don’t feel old enough to have a friend who has a 21 year old daughter! Darn you reality!

Special occasion called for a special card so I outblinged myself.

Pink Black White Card

I used a black and white damask paper from a  Recollections pack I picked up at Michaels, and a pink and white paper from the same pack.

The focal point of the card is a dimensional sticker from KandCo. It already had rhinestones so of course I added more.

Black White and Pink Birthday

Layered the two papers and went over the border with pink glitter ribbon. For the “21” I used clear stickers on a plain bezel charm and filled in with Dimensional Magic.

P6145170

Finished by adding crown shape self adhesive rhinestones on the corners.

21st Birthday Card

I’m still not old enough to have a BFF with a 21 year old. Nope!

Sharing At:

Saturday, May 26, 2012

Memorial Day Birthday Card


Memorial Day Birthday Card

One of our nephews celebrates his birthday this Memorial Day weekend, so I decided I’d make him a Memorial Day themed card. It was also the perfect reason to use some washi tape I recently ordered from Pick Your Plum!

I grabbed some striped red white and blue paper from my stash along with some matching blue cardstock, and stamped  cupcake on white cardstock w/ yellow ink. I stamped the cupcake again on a scrap piece of paper and cut out the bottom to make a mask. I sprayed the top of the cupcake w/ Elmer’s spray adhesive and “frosted” it with Recollections tinsel glitter.

Stamped Frosted Cupcake
What’s a cupcake without frosting? I trimmed the cupcake image and mounted it on blue cardstock wrapped with red and white baker’s twine and added some rhinestone swirls.

Washi Tape

I used the red and white polka dot washi tape from my recent purchase to add to the card and then stamped “Happy Birthday” in the yellow ink on a white scrap, trimmed with deckle edge scissors and framed with a blue scrap.
Stamped Happy Birthday

Finished off with the rest of the rhinestones and baker’s twine.