Thursday, April 6, 2017

BFF Open House Link Party


Happy Friday eve all! Hope it's been a wonderful week for everyone. Busy busy busy here. 

Let's see a few of the incredible ideas from last week! 


Sara, from Find It Fix It or Build It shared what this amazing side table makeover. I love everything about it from the colors to the stencil and the chicken wire! Chic and rustic. 


Speaking of chic and rustic, how about these made over pots from The Navage Patch? Gorgeous.


Farmhouse looks are so popular right now and this wine nook from Simply September is fantastic. 

And this week's chocolate feature? WOW check this out from Lou Lou Girls


Now let's see what you've all been up to this week! 


Wednesday, April 5, 2017

Lettering Practice: Work Humor


What happens when stress relief meets skill building combined with a naturally snarky personality? You letter snarky things to relax yourself at night after you've had crazy work days. 

I found this quote online and it perfectly sums up how I felt the other night after a few weeks of "fun" at work. 


For this one I did a combination of Faux-lligraphy and printing, and then scanned into my computer, edited, and added a digital background.

So now I think I need to print this, frame it and hang it above my desk! ( I work from home so it's me and the dog who'll see it).


Saturday, April 1, 2017

From Cigar Box to Calligraphy Supply Box


This week's BFF Open House Link Party continues here

I've always aspired to learn calligraphy so it's no surprise that with my current obsession with lettering, that desire is renewed. Real calligraphy with real nibbed pens!

As I've started collecting supplies, I needed someplace to store them and keep them together.  My camera battery was charging while I worked on this so I don't have step by step pictures but steps are pretty basic.

Mr. Chocolate is responsible for my stash of cigar boxes. I actually had to tell him to stop bringing them home because I have so many.

Supplies and Steps:

  • Wooden cigar box
  • Acrylic paints
  • White glue
  • Scrapbook paper 
  • Embellishments


  1. Paint cigar box with base color ( I used black and needed two coats to get decent coverage). 
  2. Once dry, cover with a coat of white glue ( cheap white glue...my go to for a crackle finish). Pinterst Tutorials here
  3. When glue is tacky but not dry, cover with contrast coat ( I used turquoise)
  4. Let dry or if you're impatient like  me you can speed things up with a hair dryer. Note don't use hot setting or use a heat gun. Things will bubble! 
  5. Embellish away! I used scrapbook paper and misc. things from my stash. 


Leftover metal corners, a circle frame and metal button


A floral button glued to the center of a line drawn flower.


Scrapbook paper trimmed with glitter tape on the inside lid and lined the inside of the box with black faux suede paper.


Now I just need to go practice my calligraphy!


Thursday, March 30, 2017

BFF Open House Link Party


Happy whatever day of the week this is! It's been a whirlwind with some family stuff and work stuff and just stuff stuff! Hope everyone's had a less hectic week. 

Let's jump right into some awesome ideas shared at last week's party!


Spring is the time for eggs. Whether you are celebrating Easter or Passover or just the renewal of Spring,  egg symbolism abounds. I am in LOVE with these CEMENT ( yes I said cement) eggs from Kileen at Raven Would. Cement!And I love the nests she made for them as well. 


Speaking of nests, you how creative is this idea from Artsy VaVa? Look at that cool gumball machine! Swoon. 

How sweet is this Button Bunny from 3 Winks Design? Love the combination of buttons and colors. 

"How do you like your eggs?" .... "Covered in chocolate!" So these Vegan Peanut Butter Eggs definitely belong in my basket. From Sew Historically: 


Now, let's see what you've been up to THIS week !


Thursday, March 23, 2017

BFF Open House Link Party


Happy Friday Eve everyone! Hope you've been having a wonderful week. Let's take a look at some fun ideas shared at last week's party. 


With Easter coming in a few weeks, bunnies are popping up everywhere. Love this 3D Bunny Head shared by Lolly Jane


I think the Bunny Head and these Fabric Eggs from Penny's Vintage  go perfectly together don't you ?


How about a Bunny Banner ( say that three times fast!) . Jenny Louise Marie has a cute one ( and a cute chalkboard too!). 


This  week's chocolate feature is a Bailey's Chocolate Coffee Cream Pie from Marilyn's Treats. YUM!

Now on to this week's party! 


Wednesday, March 22, 2017

Lettering Journey and PicMonkey Trick


Oh hi! Is it Wednesday? It's been one of those kind of weeks where I've lost track of the days. 

One of the reasons I took up Lettering as a hobby is because I have "those kinds of weeks" a lot ( my day job). While for many people Adult Coloring is therapeutic. It's not for me, but Lettering is. 

Image result for adult coloring not therapeutic
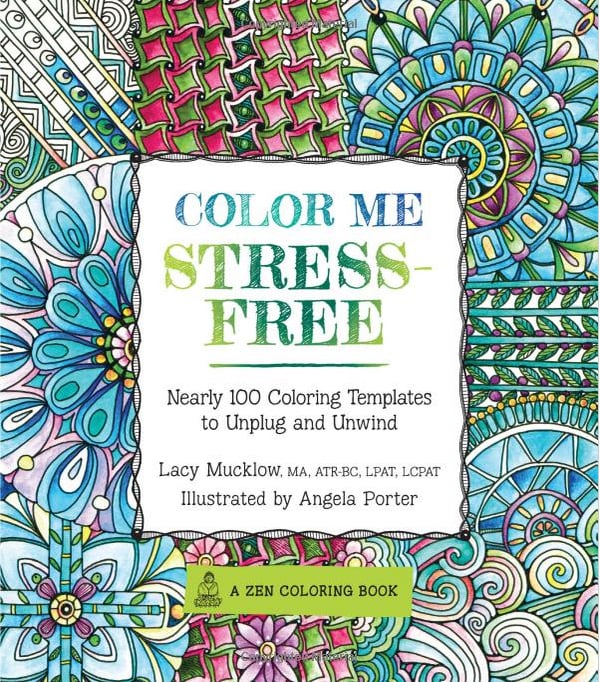
NOT TRUE FOR ME! Anyone Else? 

As I practice more, and (hopefully) get better, I want to do things with my lettering. I now know I prefer scanning my pieces in vs photographing them and importing them that way. I find I get better clarity, fewer shadows, better color etc. 

I scanned in the piece I used in this post ( a quote from Shakespeare's "A Midsummer Night's Dream")  and cropped it in PicMonkey. You remember I showed you last week how you can use overlays to use PNG files. No worries I linked that for you so you don't have to look for it! 

Today I'm going to show you something I figured out quite by accident. After I scanned in my image I was looking around in PM  and decided to play with textures. I figured out that I can use PNG or JPG images to change the background behind my image. This may be a big "Duh" to some of you but it was a total "Ahhh-ha" to me.  

Why? 
At least for now, I don't need to shell out for PhotoShop.  But Carol, why would you have to shell out for PhotoShop? Because it lets you do really cool stuff like make layers so you can make white backgrounds transparent so you can do more cool stuff like put your lettered stuff onto other backgrounds! In other words, I could hopefully maybe fingers crossed use my Lettering pieces as their own overlays on pretty background images that I download constantly and then use them to make pretty things! 

This little trick I figured out works similarly and it doesn't take much to make me sooooo happy! 

Here's the image I started with : 
I'm also discovering I like mixed type lettering the best


Steps: 
  • Scan or download image ( I don't know how this works w/ color images so let me know if you try) into PicMonkey. 
  • Crop / Size 
  • Click on the Textures Menu (7th option down on the left, looks like a screen)


  • Click on "Your Own" and then "Your Own" again ( don't ask me why they do this twice) 


  • Choose the image you want as your background and then click on Apply. 
  • This is the image I used for the background: 

From Creative Market Watercolor Pastel Flowers
And done!


Saturday, March 18, 2017

Sketchy Floral Cards

I feel like I always make cards in pairs. It's not intentional, just works out that way. This time for a couple of family birthdays this month. Funnily enough I got the color inspiration from a piece of paper I ended up not using. 


The floral paper in the upper left is what I thought I was going to use and then ended up not. As I was staring more at the light blue paper with the black and white florals, I remembered some clear stickers in my stash and decided to make them the focal of  my cards. 


Supplies and Steps: 
  • White Stardream Cardstock 
  • Assorted Scrapbook papers
  • Clear Stickers
  • Spellbinders Nestabilities  Label Dies
  • Cuttlebug
  • Embellishments

Basic Steps: 
  • Cut white cardstock for 5x7 card, score
  • Cut scrapbook paper panel 4.75 x 6.75 and a coordinating piece 4x6, layer as shown
  • Cut 2 sets labels using Label Dies ; cut in half ; layer on top and bottom of 4x6 panel as shown
  • Layer clear stickers on white cardstock and trim. Mount to front of card using foam dots.
  • Embellish with self adhesive rhinestones, sequins, and Stickles 

I liked how the simplicity of the clear stickers went with the sketched look of the floral paper. 

For this one the stickers were one big cluster but I cut them apart and then re-grouped three of them together as the focal. One went directly on the paper and the other two I elevated with foam dots to give some dimension. Now I need to do something with the "inspiration" paper!