Sunday, October 26, 2025

Christmas Decor: Winter Wonderland Cigar Box Diorama


Welcome to my first Christmas creation of 2025! I had so much fun with this and I already have ideas for another. Or two. 

Supplies:

  • Cigar Box (I get mine at Total Wine)
  • Coordinating Acrylic Paints and Scrapbook Papers
  • Misc. Embellishments
  • Hot Glue and Tacky Glue

I've gotten cigar boxes at Total Wine since forever. At mine, the cardboard ones are $.99 and the wood ones $1.99. MUCH better than the prices I've seen at flea markets or thrift stores. 


I'd already decided on the papers I was going to use for this project so I selected a paint that coordinated. It wasn't as dark green as I wanted, so I mixed in a few drops of black to deepen it. 


I covered the insides and back with the green. 


I used Waverly white paint for the outside of the box, covering the front and the sides. I was fine with a bit of the green showing through around the edges. 


I measured and cut the papers I chose. I have so many papers from different packs over the years and these coordinated. 

To apply the papers, I grabbed some Mod Podge. I love these little bottles from Dollar Tree because here in the dry desert, I've found that once I open a bigger bottle, if not used quickly, they dry out QUICKLY. 


The white left a frost-like appearance around the inside of the box. Now for the fun! I went through my stash and pulled out some goodies, including something I'd made for a previous project but didn't use, and some ornaments and trees I picked up on an after-holiday shopping trip last year, and some Dollar Tree lights I picked up with Halloween supplies but hadn't used.


Half ornament snow-globe and snowmen ornaments. 


I had this metal frame in my stash, so I painted it with the Waverly white and dry brushed it with a bright gold. I picked up the tree ornament at Dollar Tree this year. 

I love this quirky little tree! They come in sets of two, so the other one will be used in another project.


I hot-glued the frame to the inside left of the box and the ornament to the frame. Oops. I'm going to add a button or rhinestone atop the tree to cover the hole. 


After putting batteries in the lights, I glued the casing to the back of the box, then threaded the lights through the side. 


I glued the lights around the inside of the right side of the box with a combination of Aleene's clear tacky glue and hot glue. Once that was done, I glued the snowmen and trees as shown, along with the "Merry Christmas" ornament. 


To finish, I grabbed a bottle brush wreath from my stash, ironed one of the ribbons I saved from last year's wrapping with my Cricut mini heat press, made a bow, and done!


"It's beginning to look a lot like Christmas..."


Thursday, October 23, 2025

BFF Open House


EEK! We're one week out from Halloween! It feels like it was just August when I started working on Halloween projects. And once we hit Nov 1, it will be a race to the finish with US Thanksgiving, Christmas, Hanukkah and and more. Take your vitamins and get your rest. We're MAKERS. We were made for this!

This week I shared a couple of fall-themed projects. I also started and finished my first Christimas project which I'll share next week. 


Let's take a look at some of the wonderful ideas shared at last week's party! 


The Apple Street Cottage shared this Little Bit Spooky Vase makeover. 

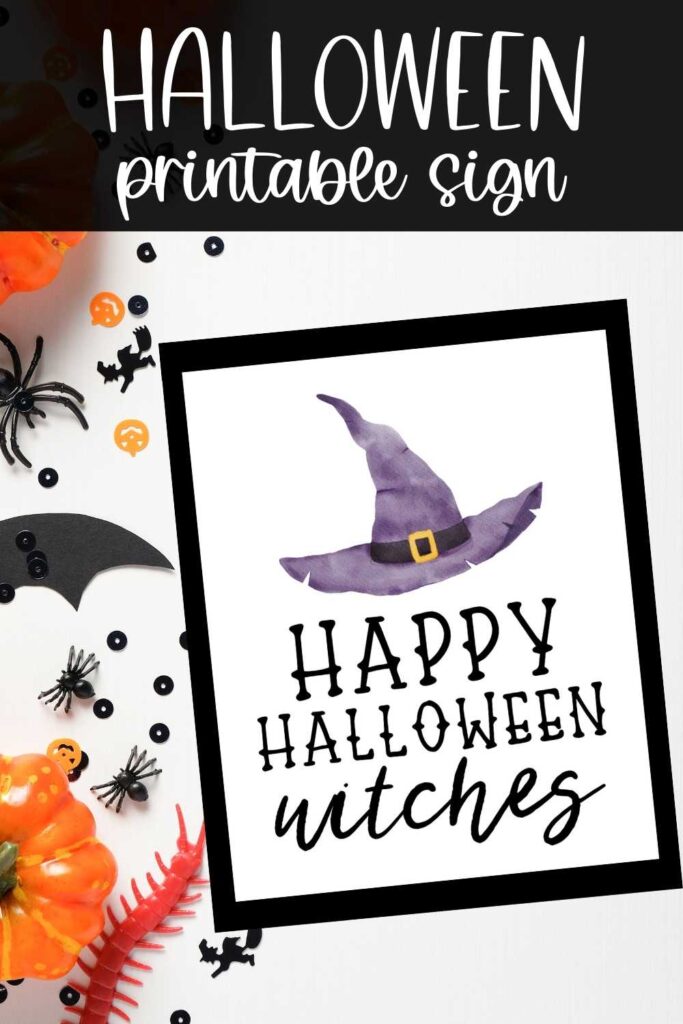
There's always time to add one more thing to decor when it's a printable, and Hunny I'm Home DIY has Halloween covered with this Halloween Printable Sign

Whether you make your own or want to dress up store-bought cupcakes, these Halloween Skeleton Cupcake Toppers from Ann's Entitled Life will definitely give them a spooky glow-up! 

Finally, as we start to think about Thanksgiving in the US or fall celebrations elsewhere, these DIY Wood Pumpkin Placecards from Steph Creates would be a lovely addition to any table!


Thank you to everyone who linked up and can't wait to see what you've been up to this week! 


You are invited to the Inlinkz link party!

Click here to enter

Wednesday, October 22, 2025

Fall Decor: Painted and Gold Leafed Fall Pumpkins


I'm not doing a lot of new Fall Decor projects this year, but a few. Made these metallic and gold leafed pumpkins to coordinate with my Fall Sign


Supplies: 

  • Ceramic or Resin Plain Pumpkins (Michaels)
  • Acrylic Paints in Choice of Colors
  • Mona Lisa Leaf Size and Gold Leaf (Michaels)

I picked these up last year and didn't get around to using them. I saw some this year too. I like these because they look like ceramic but are resin, and a lot lighter in weight. They also take paint really well. 


Grabbed paints in my palette from my paint stash. 


I painted each pumpkin with "Grape" (the one without the label). Once dry, I went over them with a metallic paint to give them a sheen. 


To finish, I dry brushed some of the copper onto the pumpkns.


I painted the stems mostly as a guide for the gold leafing. It made it easier to see the glue once applied. 

NOTE: There's a difference between GOLD LEAF and FOIL. I used LEAF. The easiest way to tell them apart is on the foil, the underside will be dull. On the leaf, it's the same on both sides. It also comes packaged with layers of tissue in between. 


Using a small paintbrush, I applied the leaf size over the stems. Allow to dry until tacky. You will also need a stiff brush to apply the actual leaf. I just use a stencil brush.


Leafing is messy. No way around that! So I used a repurposed plastic container, lined with wax paper. That makes for easy cleanup since the paper catches the excess and is easily wadded up and thrown away. 


Hold the leaf by the tissue between the layers, and apply over top of the adhesive. 


Next, take your brush and start pouncing on the leaf. Where there was no adhesive, the leaf will fall away and you can use the bigger pieces on the next item. 


Some of the leaf may stick to areas of paint, which in this case, I didn't care because it added to them. If you're being very picky, make sure any areas you don't want leaf on are completely dry. This is also why I painted the stems in case the leaf missed any spots. 


I almost want to take down my Halloween table centerpiece to put up my Thanksgiving centerpiece because that's what happens with us Makers, isn't it? Not quite yet! 


Sunday, October 19, 2025

Fall Decor: Dollar Tree Fall Pumpkin Sign


This week's BFF Open House Link Party continues here.

Getting a few Fall projects done before I start on Christmas. I found this blank sign at Dollar Tree and thought it would be a perfect Fall project. 


Supplies: 

  • Embossed Pumpkin Sign (Dollar Tree)
  • Acrylic Paints (Michaels)
  • Sponge Spouncer Brushes (Dollar Tree)
  • Glitter Acorns (Dollar Tree)
  • Self-Adhesive Wallpaper (Dollar Tree)
  • Misc Embellishments (Stash)


This is the unfinished sign. I used paints in Copper, Gold (Craft Smart), and Metallic Berry (DecoArt), along with a Ceramcoat Grape (not shown). 


Using a sponge or sponge spouncer, apply the paints all over. I just kept spouncing and blending and picking up colors until I was happy. 


Once I was happy with the base, time to embellish! 


Dollar Tree has these fabulous sheets of self-adhesive wallpaper. I've picked up a bunch without a specific project in mind, but knowing they'd get used SOMETIME! I grabbed this gold and white patterned paper to use at the top of the sign. 


Using the sign, I traced the arc on the back of the wallpaper, cut it out and applied to the top of the sign. 


The maple leaf charms are ones I'd stocked up on YEARS ago when Michaels first had their dollar spot. I glued these across the bottom of the wallpaper as shown. This season, Dollar Tree has these glitter acorns in the color shown, as well as a brilliant Fall orange, so I grabbed some for this project. Likewise, Dollar Tree has packages of sequins, and I got a Fall colored set. Each color is packaged individually in a set of six, but I just dumped them all together. 


I used these to decorate the stem of the pumpkin, and added coordinating glitter to the vines. 


I added a few to other spots on the pumpkin as shown. To finish, I made a bow from some coordinating glitter ribbon and then added the acorns. 


This is a preview of my color palette for Fall and Thanksgiving decor. After Halloween comes down of course!