I'm so excited to be here guest posting!
My name is Bev and I blog over at
Flamingo Toes.

One of my favorite things to do is to make knockoffs - especially from Anthropologie.
So that is what I'm doing today!
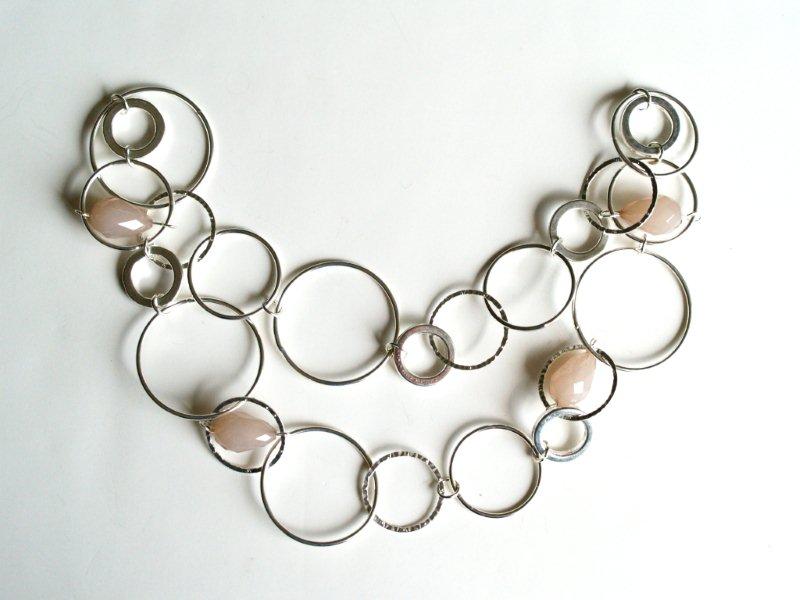
I fell in love with the Shepherd Moon Necklace at Anthro a few months ago - and I really love
how it came out!
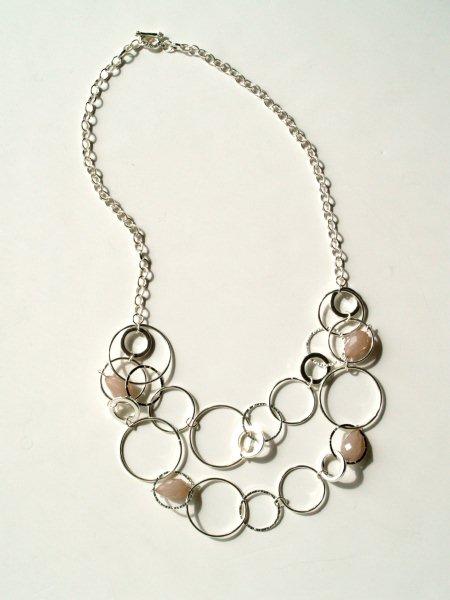
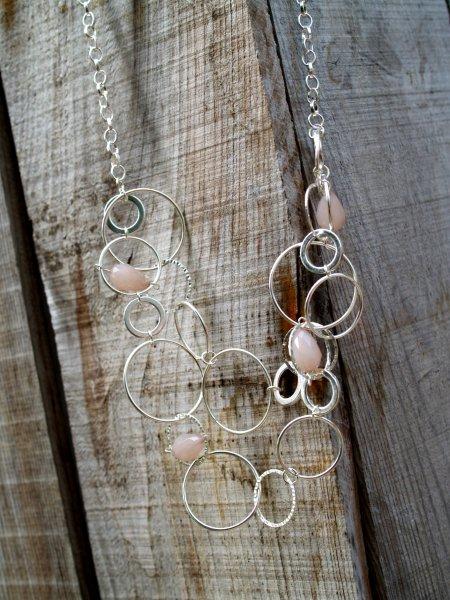
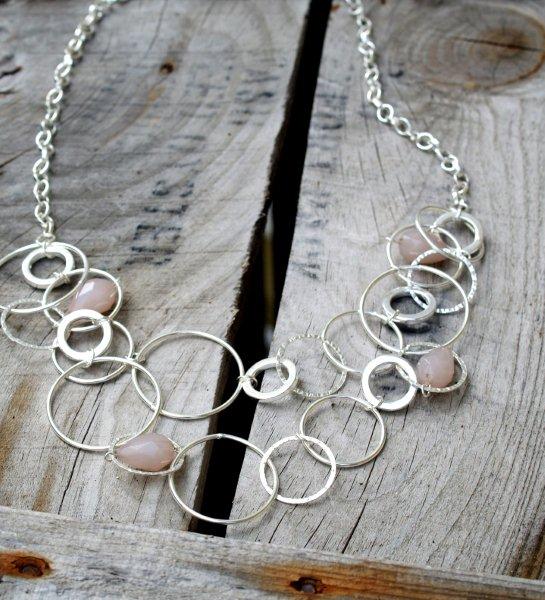
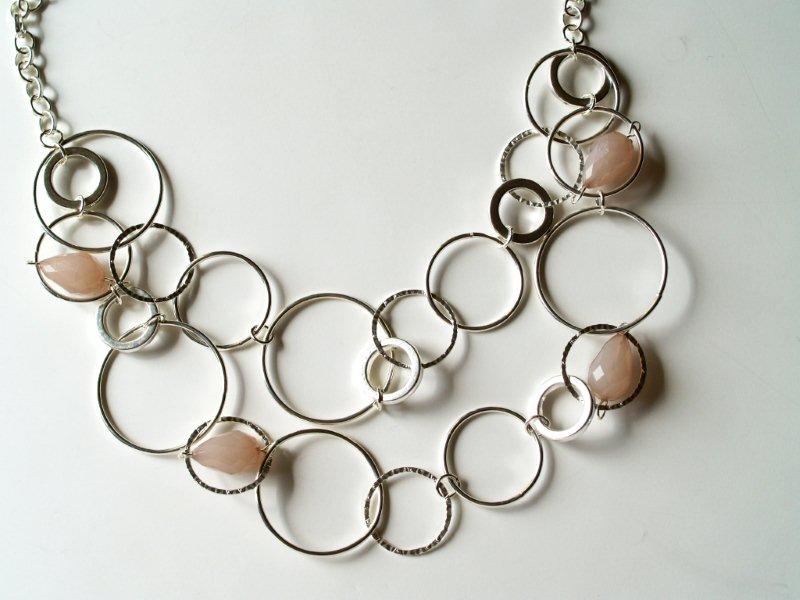
Here's my version:
And here's Anthro's version:
Mine is all silver - I tend to not use gold as much. But I love all the different rings and just a few beads.
It's nice and lightweight too. :)
This one is quick and easy. It took me an episode of Project Runway. So a slightly distracted hour and a half. :)
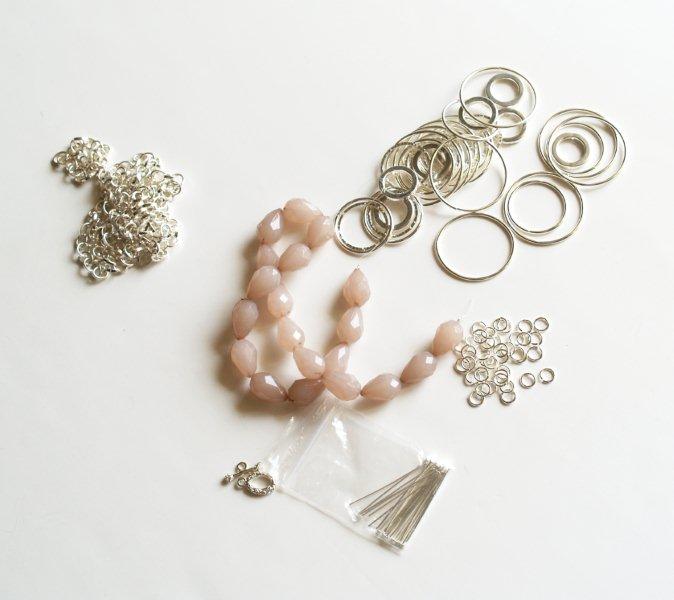
You'll need:
Length of chain - 16"
Assortment of silver rings (I bought an assorted package + a strand of smaller rings from Michaels)
Beads (just smaller than the medium ring size
Eye pins (same number as beads)
Jump rings
Necklace Closure
Jewelry pliers: wire cutters, round nosed pliers
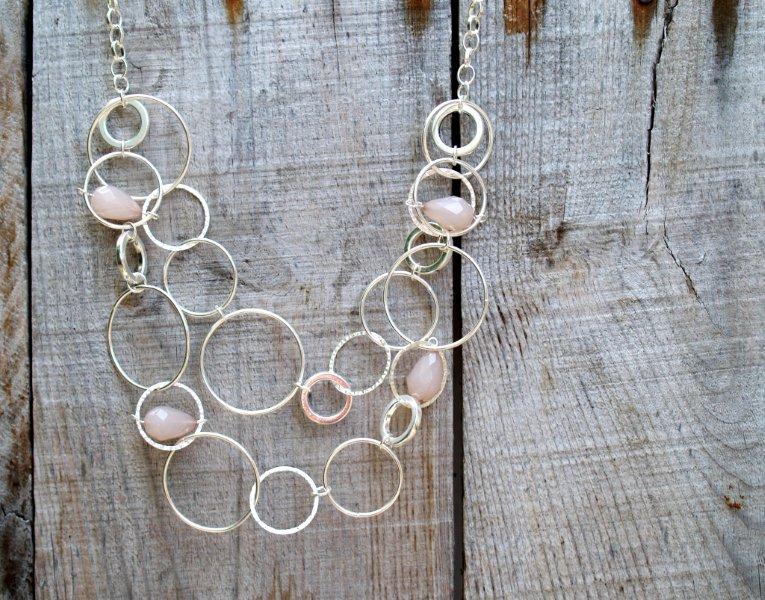
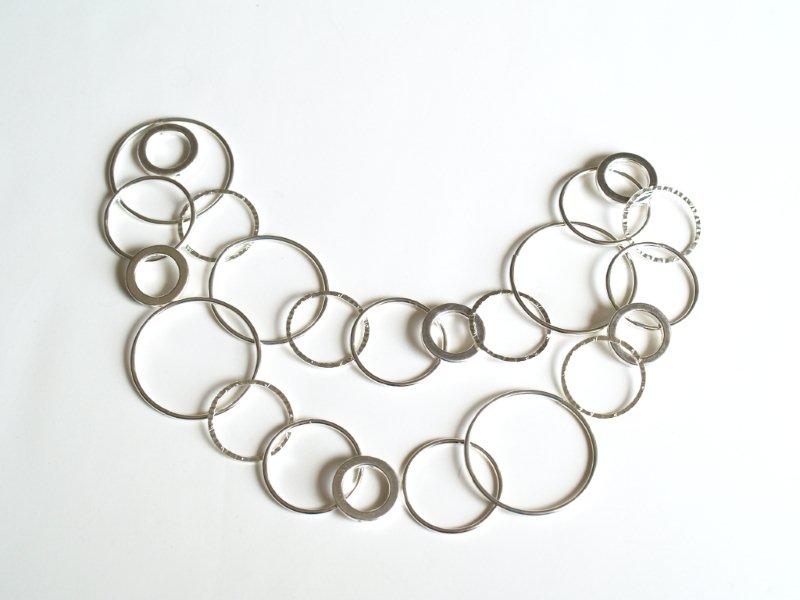
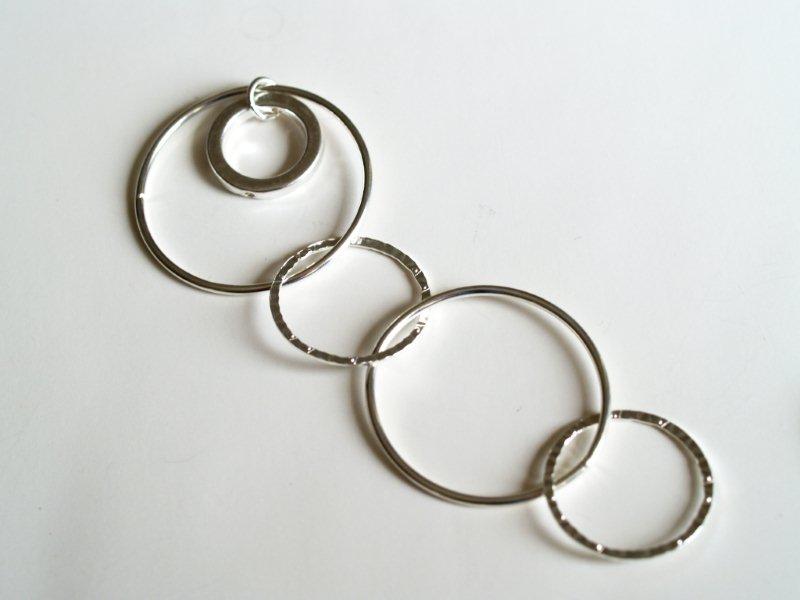
Start by laying out the lower half of the necklace, just to get an idea of placement.
You should have two rows - one shorter than the other.
Start on one side and begin connecting your rings with jump rings.
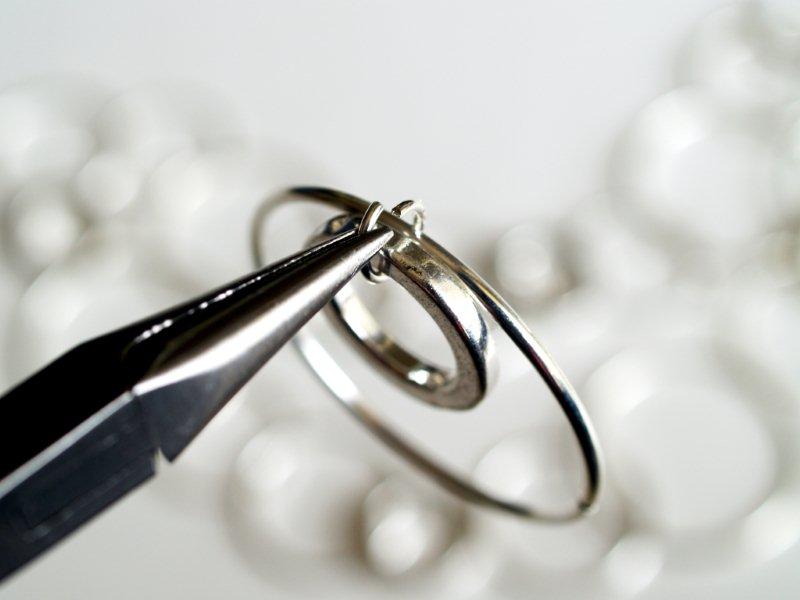
Work your way across the top row of rings.
Some of the rings were like jump rings and had an opening. For those, I opened up the ring and connected them that way.
If your rings don't have openings - you could cut them with wire cutters.
The top row of rings should measure around 10" across when pulled straight.
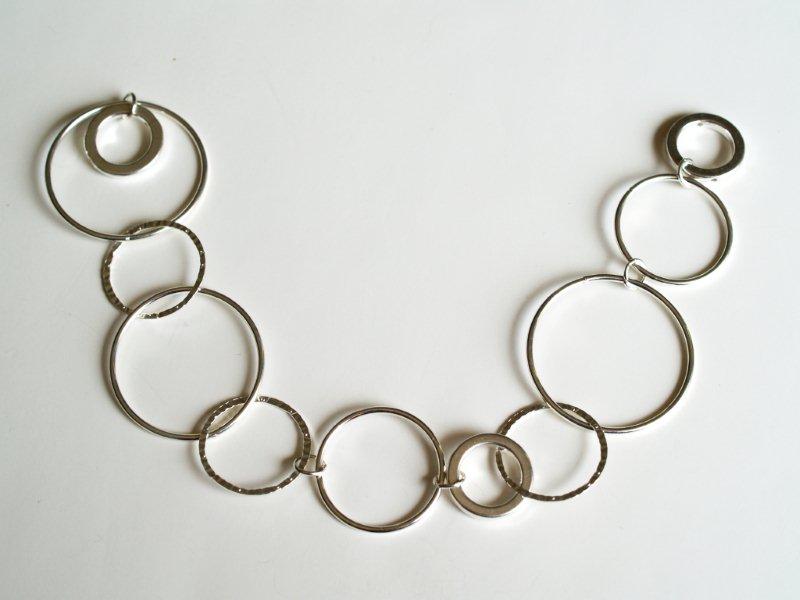
Start adding in your longer row of rings the same way.

The longer row should measure about 13" long.

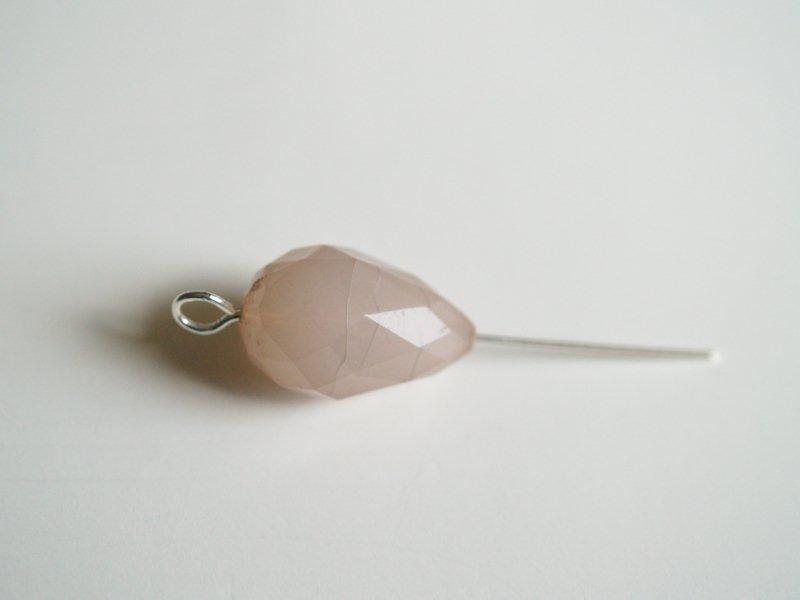
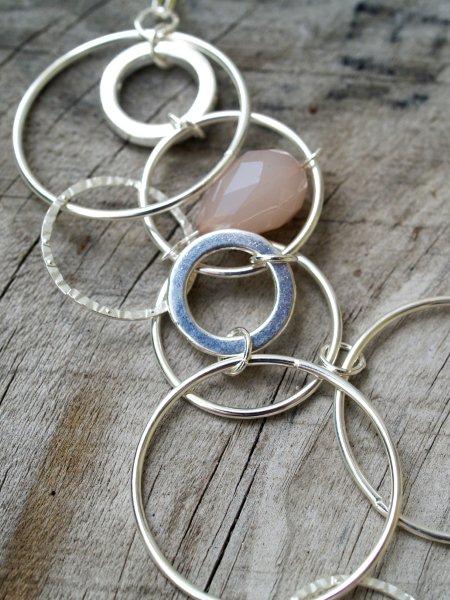
Now we're going to add in the beads. You can use eye pins for this (pins that have a loop on one end) or you can create your own from wire.
Decide which rings you'd like your beads on and measure how long the pin needs to be.
Add the bottom
loop to one side of the ring.
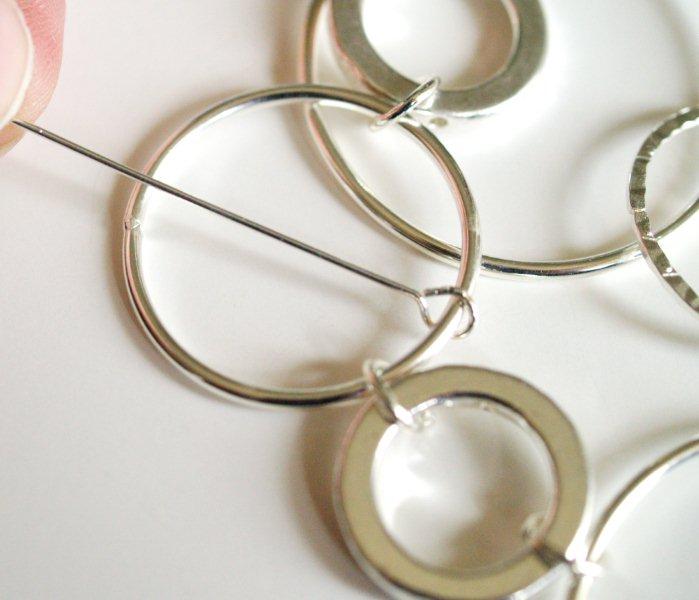
Add the bead to the wire and decide where the other loop needs to be.
Create the loop at the other side and attach it to the ring.
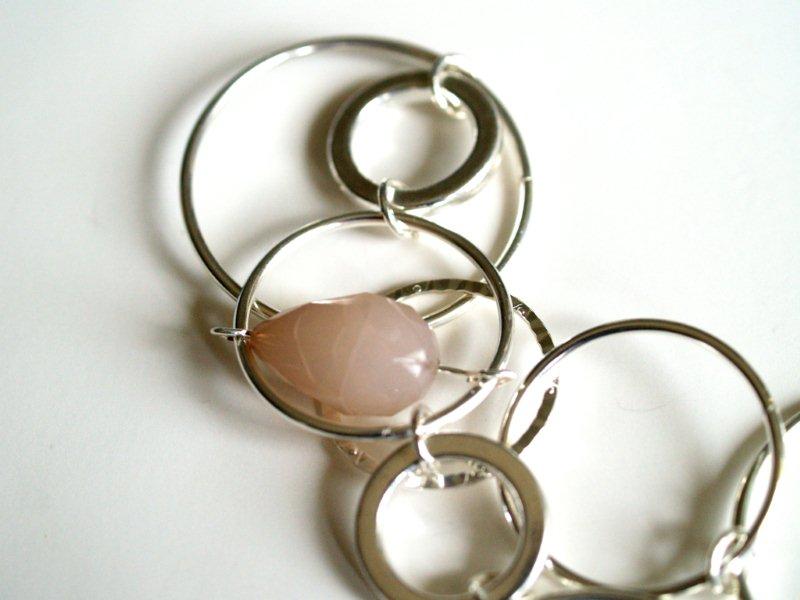
Continue adding beads to the necklace where you'd like them.
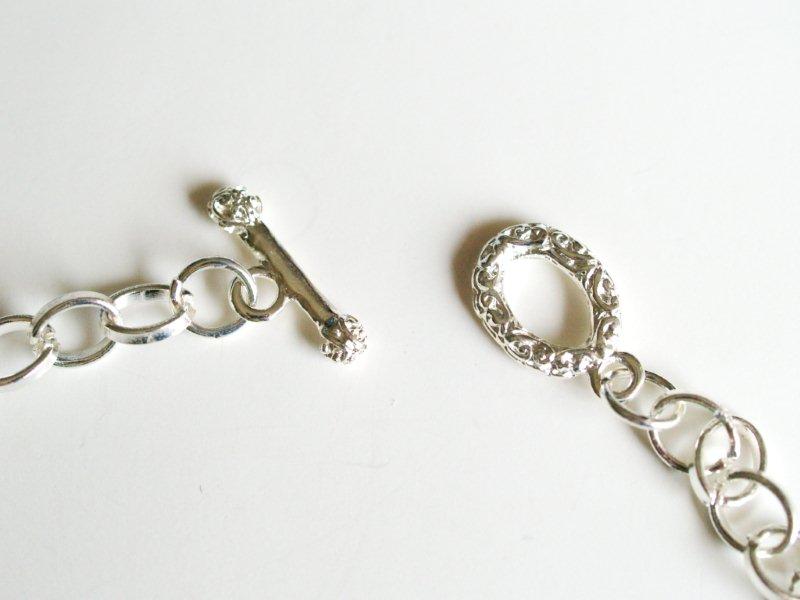
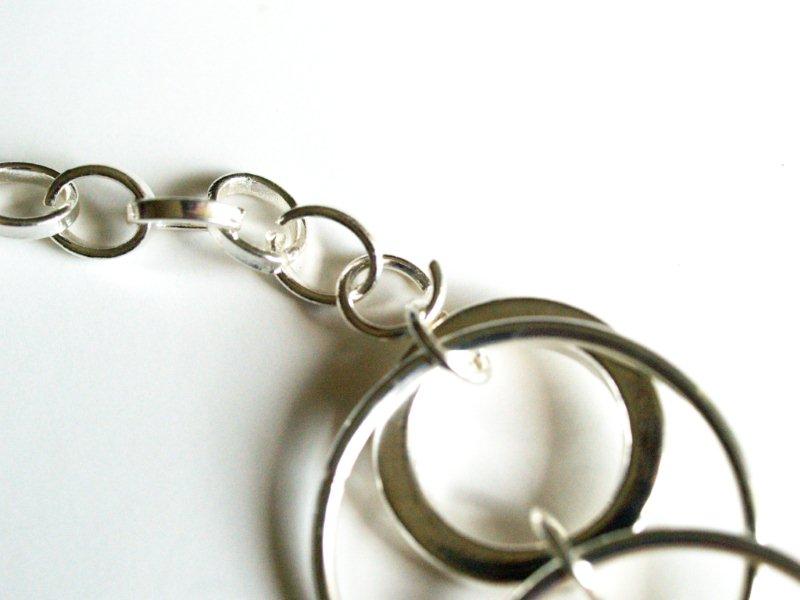
Add a jump ring to the top ring on each side. Cut the 16" chain in half. Add one 8" piece of chain to each side.
Add a necklace closure to the other end of the chains. I used a toggle clasp but you can use any tip of closure. Connect it to the two loose ends of chain with jump rings.
That finishes off your Shepherd Moon Necklace!!
Isn't it fun?
I love all the different sizes of rings!
I hope you like it!
I'd love for you to stop by Flamingo Toes and check things out!
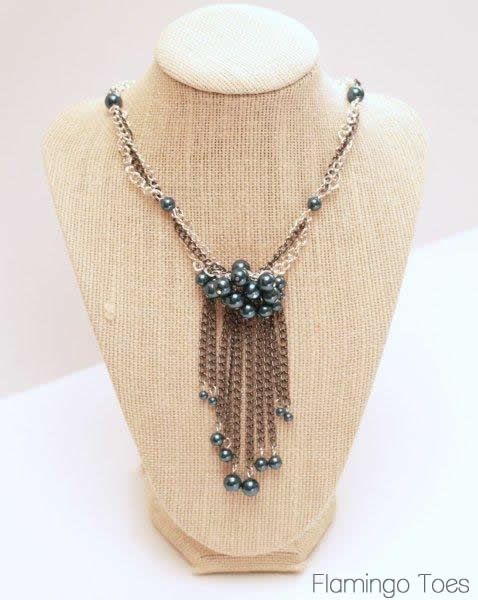
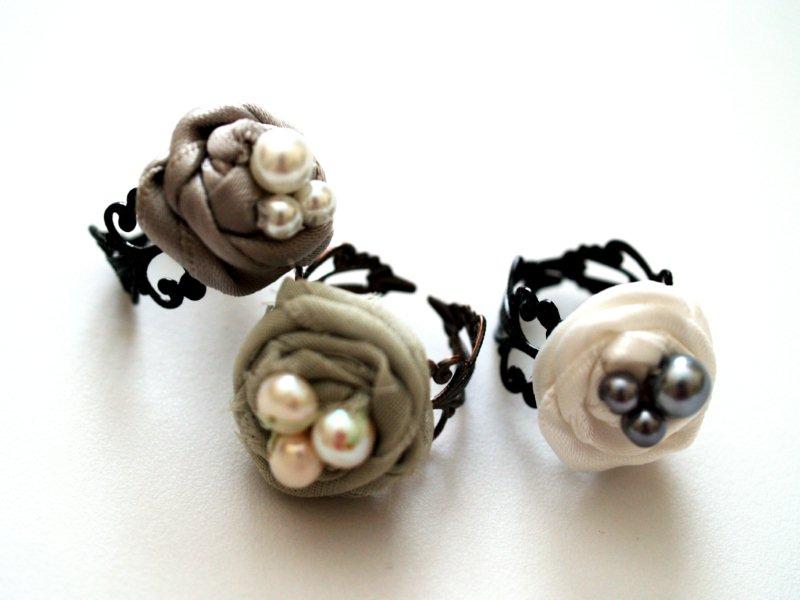
Here's a little sampling of projects - you can find these and more on my
Tutorial pages!

Thanks so much Carol for letting me come over and hang out! :)


.jpg)


%5B6%5D.jpg "Bias Tape Rosette Ring (2)")


