Thursday, March 21, 2013

BFF Open House Link Party #97

The Answer Is Chocolate

It's party time again! Such fantastic ideas shared at last week's party so we'll start with a few of the highlights from that.


Looking for ways to repurpose plastic Easter eggs? Check out these chalkboard eggs from R&R Workshop. Is there anything you can't paint with chalkboard paint? 

Rhonda from The Messy Roost has another idea for those plastic eggs: 


Don't they look like real eggs? 

I am so in love with washi tape. Almost as much as I love chocolate. Bethany from Pitter and Glink has a great way to use it  in personalized stationery. What a great girlfriend or just because gift. 


I don't know what it is about things in jars but I love those too. Maybe it's how the glass gives dimension to whatever's under it? Like this adorable Spring and Easter perfect idea from Michele at The Scrap Shoppe: 


Or maybe it's that looks good enough to eat "chocolate" glitter lamb?  Speaking of chocolate , how about some healthy chocolate bites? Yes, I used chocolate and healthy in the same sentence. Lots of antioxidants!

Whip up a batch of these to keep your crafting energy level up. From Taste of August


Now time for this week's fun! 


Wednesday, March 20, 2013

Dear Lizzy Fifth and Frolic Cards...And They Can Be Yours

Dear Lizzy House and Home

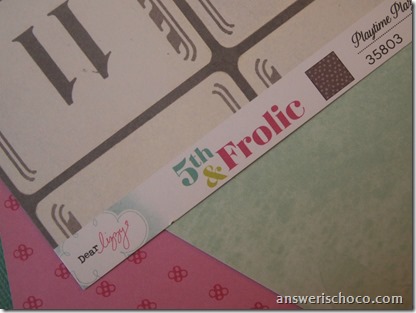
I recently had the chance to play with a new line of papers  available as of March 17th at JoAnns: Dear Lizzy Fifth and Frolic by American Crafts. This is a new line from designer Elizabeth Kartchner. Playing with these papers just put me in a happy mood and how could they not?

Dear Lizzy

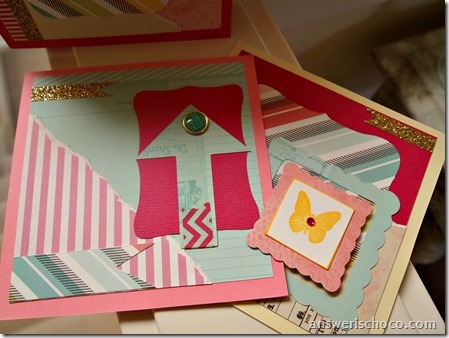
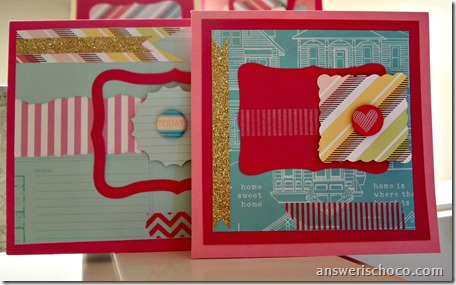
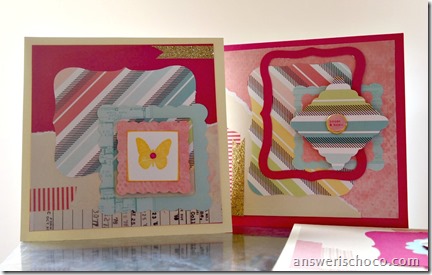
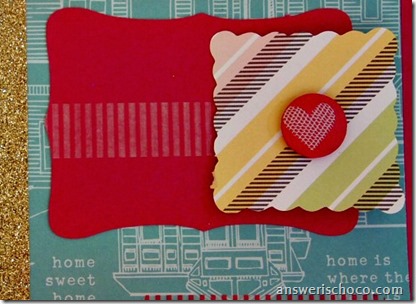
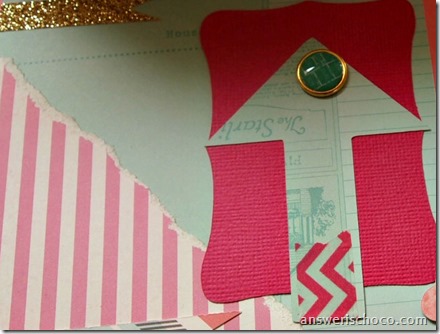
The papers are all double sided in shades of light blue, pinks, yellows, naturals, greens and they all work with each other. I decided to make some cards and went with a really random process in doing so. I chose a couple of the papers and cut several different shapes using my Expression. The papers are great for manual and electric die cutting machines.

Dear Lizzy Shapes

I had some coordinating blank cards in my stash and just kind of started putting pieces together.

Dear Lizzy Cards


Dear Lizzy Cards


Dear Lizzy 5th and Frolic

The collection also includes great embellishments like these coordinating brads that I used in the cards:


You can see the entire line here as well as follow the frolicking fun with American Crafts on Facebook, Twitter, Pinterest, Instagram, or
JoAnn Stores on Facebook, Twitter, Pinterest

Fifth and Frolic Dear Lizzy Cards


Dear Lizzy 5th and Frolic

And since I had so much fun making them just because, I’m giving them away “just because”. Super simple. Leave a comment and a winner ( US or Canada only) will be randomly selected.

Disclosure: I received the products used in this post from American Crafts. Opinions and giveaway of cards are my own.

Sunday, March 17, 2013

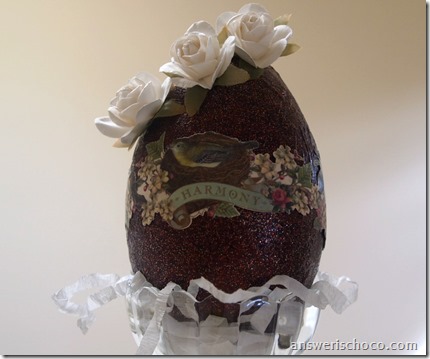
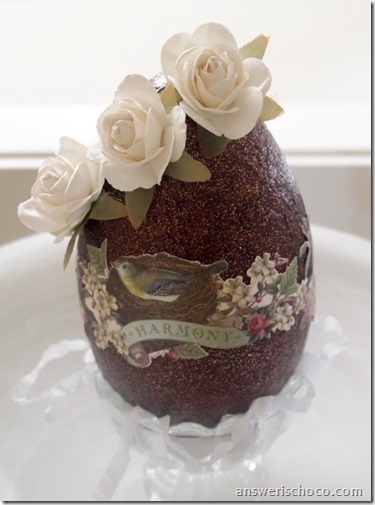
Vintagey "Chocolate" and Rose Egg

Faux Vintage Chocolate Egg

Of course it’s no secret that I love chocolate, and this time of year, chocolate eggs abound. This one is not edible but still delicious I think!

For this project you will need:
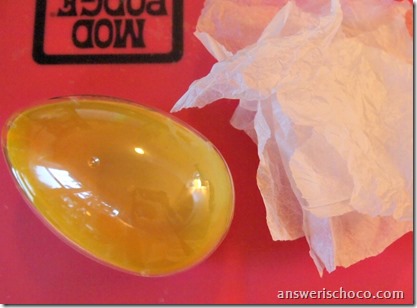
  • 6” plastic egg
  • Tissue paper ( not fancy, whatever comes in a bag when you buy something at the store)
  • Mod Podge
  • Acrylic craft paints ( I used a dark umber and Martha Stewart Glitter paint in “Brownstone”
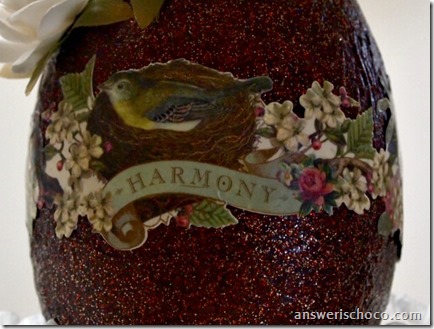
  • Embellishments ( I used a scrapbook border by K&Co )
Plastic Egg

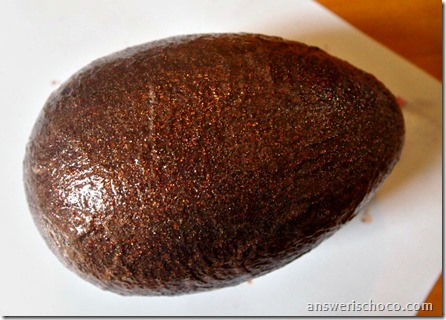
I first shared this technique in this post: Twine and Tissue Paper Egg. Tear your tissue paper into small pieces, apply to your egg using Mod Podge. Cover all over and let dry. Then paint with you choice of colors.
Martha Stewart Brownstone Glitter Paint

I like the unevenness and texture of the tissue paper. I applied one coat of the plain acrylic paint and three of the glitter paint.

Once my paint was dry, I applied a decorative scrapbook border and sealed it with some more Mod Podge.

Chocolate Rose Egg

I had some paper roses in my embellishment stash and decided to hot glue those to the top of my egg at an angle.
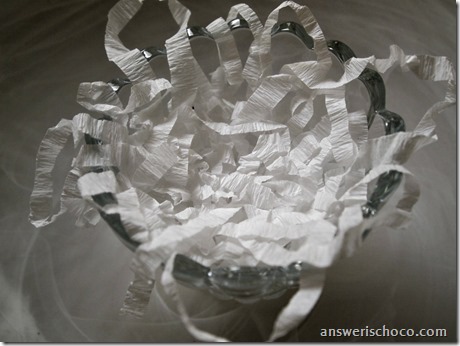
Crepe Paper Grass
While I was waiting for my Mod Podged border to dry, I  cut a length of  crepe paper streamer ( a roll from the $1 goes a long way!), folded it in half then in half again and cut strips of it and plopped them in an ice cream dish I found at Crate and Barrel for $1.95.

Vintage Chocolate Egg

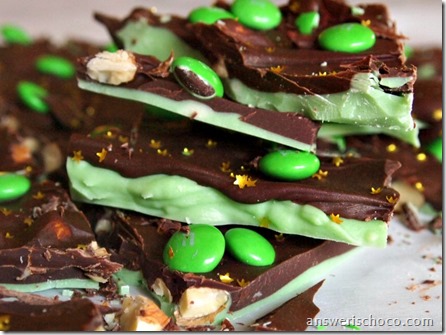
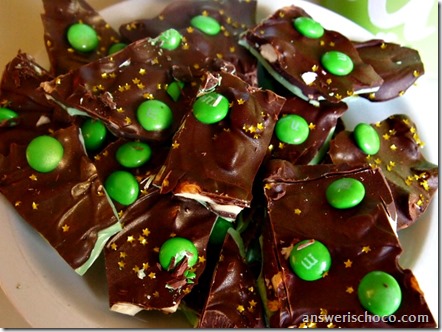
Double Layer Chocolate St. Patrick's Day Bark

Double Layer St. Patrick's Day Bark

Top o the mornin’ to you. Happy St. Patrick’s Day! We’re just celebrating quietly at home. Since College Boy’s home for Spring Break, I’m making a big dinner including “drunken” pot roast, slow cooked all day in Guinness.

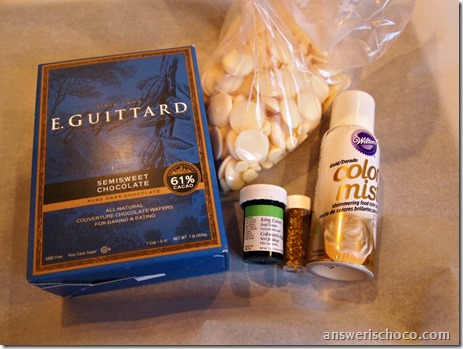
For dessert, I decided to make some “Leprechaun Bark”. I loved the one that Leigh Anne from Your Home Based Mom shared at a previous link party and have seen variations around the web. Here’s my version. For this you will need:
  • White chocolate candy melts and/or white chocolate chips
  • Dark chocolate candy melts and/or white chocolate chips
  • Almonds ( I roughly chopped whole unsalted almonds)
  • Green M&Ms
  • Wilton Edible Gold Stars ( cake decorating section of craft store)
  • Wilton Color Mist, gold ( cake decorating section of craft store)
  • Green Gel / paste food coloring. I used Wilton

St Patricks Bark Ingredients

Melt your white chocolate. You can do this using a double boiler method or in the microwave. You’ll notice I didn’t include amounts…I just kind of eyeballed my measurements.

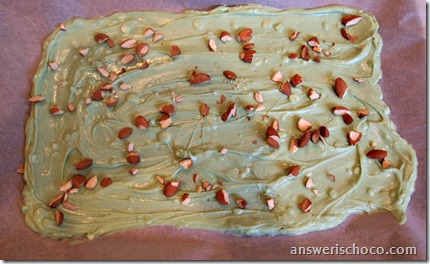
Tinted White Chocolate

Once your white chocolate is melted, tint with food coloring. You could also add some mint flavoring here if you want. Spread on parchment lined cookie sheet; sprinkle with some of the chopped almonds. Stick sheet in freezer. Press almonds down with the back of a spoon.

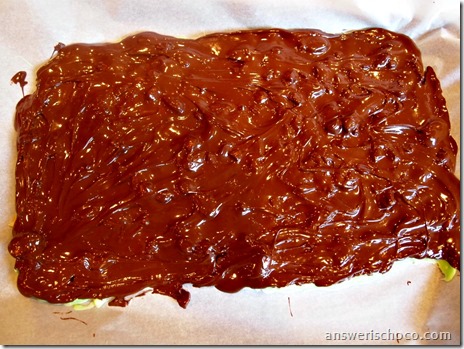
While this is setting up, melt your dark chocolate, add in remaining almonds, remove sheet from freezer, spread dark chocolate layer.

Dark Chocolate Layer

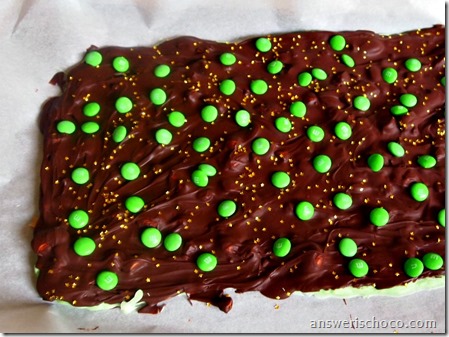
Just try to get it to cover your green layer. Then sprinkle with green M&Ms ( I bought mine at The Sweet Factory store at the mall so I would get only the amount I’d need).  Sprinkle on gold stars, put back in freezer for about 30 min until set.

St Patrick's Bark Gold Stars

Lightly spray the color mist…just enough to get a light coat and shimmer. Let dry then cut or break to size.

Gold Star St Patricks Day Bark

Thursday, March 14, 2013

BFF Open House Link Party #96 and Last Week's Features

The Answer Is Chocolate

It's time again already for another party! As I mentioned last week, starting with this week's soiree, I'm going to combine features from the prior week's party into one post. You all are making it harder and harder to highlight just a few things because there is so much talent shared each week. Here are just a few ideas: 


From a cute new blog called I Dig Pinterest and I Did It Too, blogger Christine shared these super cute Easter egg candlesticks. 


As someone who loves neutrals, I couldn't resist these cotton tailed bunny napkins from Natalie at Sophisticated Yellow


A yarn wreath is still on my craft bucket list. Check out this beautiful Spring wreath with burlap flowers from Life On Lakeshore Drive


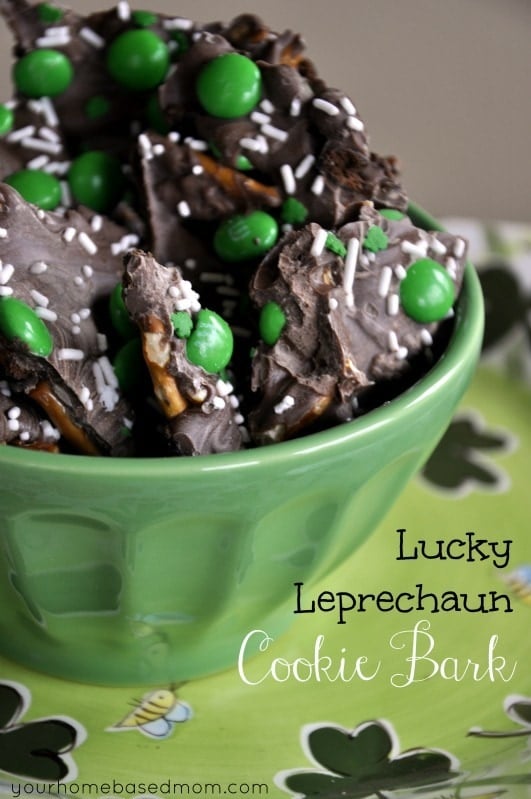
Since St. Patrick's Day is this weekend my chocolate feature was obvious. I'm not sure there would be any of this Lucky Leprechaun Cookie Bark leftover for any Leprechauns at my house. Visit Leigh Anne at Your Home Based Mom for the how tos. 

Now let's get to this week's party. If you're new, following isn't required but I love to follow back and meet new bloggers. Thanks to everyone who links up each week. Don't forget to share the bloggy love. Who doesn't love comments? Happy Weekend everyone. It will indeed be one here. College Boy comes home tomorrow for Spring Break. So excited! 


Tuesday, March 12, 2013

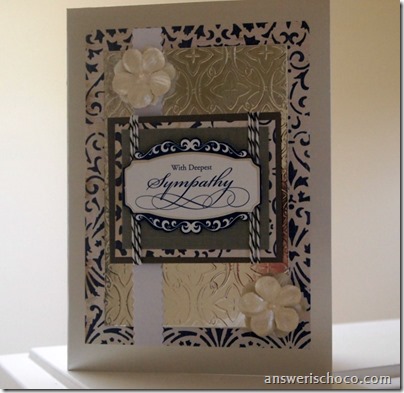
Silver and Navy Sympathy Card

Navy and Silver Sympathy Card

I feel like I’ve had to make too many Sympathy cards lately. Not loving that. But I did need to make one more so here ‘tis and sharing how I did it. 

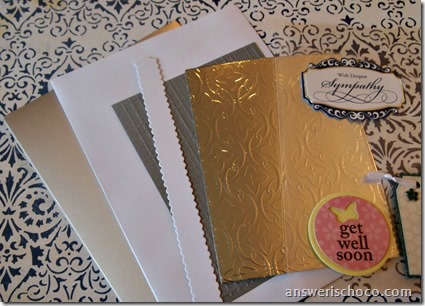
I decided on my card color combo in a backwards kind of way.  I received a bunch of supplies for a sponsored campaign last year (David Tutera Celebrate) which included some decorative phrase stickers like the one I chose as the focal for my card . Then I went to my scrapbook paper and picked a coordinating blue and white paper  (DCWV Tradewinds Stack) to use. Picked a couple more pre-cut pieces from my Celebrate stash. Supplies used:
  • 5x7 silver card
  • Pre-embossed grey panel
  • Pre-embossed silver panel
  • Smpathy focal sticker
  • White Border
  • Decorative paper
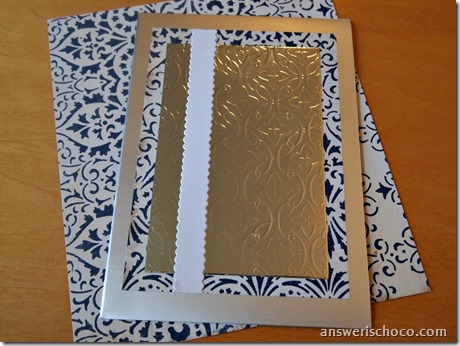
Navy and Silver Card Materials

I cut the printed paper to 4.5x5.5, the embossed silver panel to 3x5 and the white border to 5 inches and layered them as shown:

Card Base Layers .

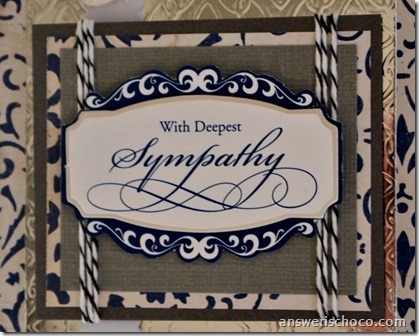
Then I mounted the Sympathy focal to a piece of the grey embossed paper, layered onto a scrap of the patterned paper and layered once more on grey paper. Wrapped black and white baker’s twine around this before adding to the card using foam dots.

Sympathy Focal

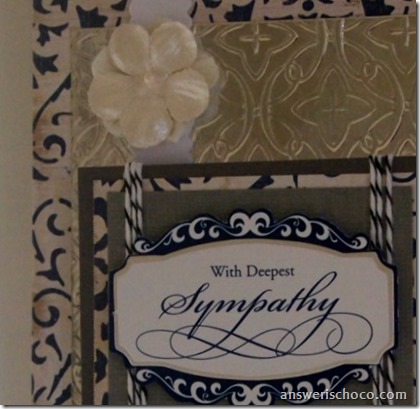
Finished off by adding a couple of fabric flowers ( Prima) .

Navy and Silver Sympathy Card

I know a card won’t make up for the loss but hope that the receiver feels the love put into it.

Sharing At: