Sunday, March 10, 2013

Easter / Spring Decor: Real Eggshells Under Glass

Eggshells Under Glass

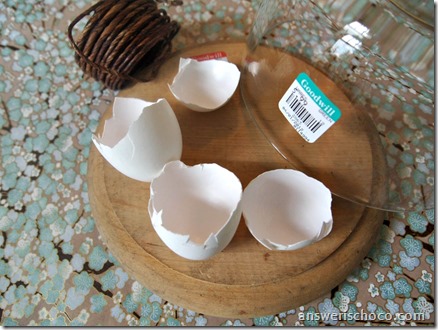
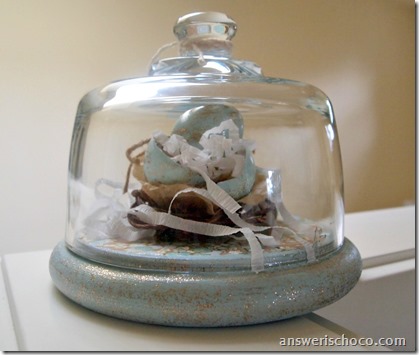
Today was one of those days when a project just clicked for me. It started at breakfast when I remembered to save some eggshells. I keep meaning to try blowing some eggs out, but don't remember until usually right after I crack them into a bowl. Even though I forgot AGAIN, this time I decided to keep them broken just as they were and use them in this little Easter / Springtime vignette.

For this project you will need:
  • Egg shells ( I used the shells from 2 eggs)
  • Cheese cloche ( I found mine on a “Goodwill Thrift Hunting” trip)
  • Craft paints ( I used Martha Stewart Feldspar and Smoky Quartz Glitter)
  • “Nest materials” I used bark covered wire, coffee filters, and shredded crepe streamers)
  • Decorative paper to coordinate w/ your paints
Easter Cloche Vignette

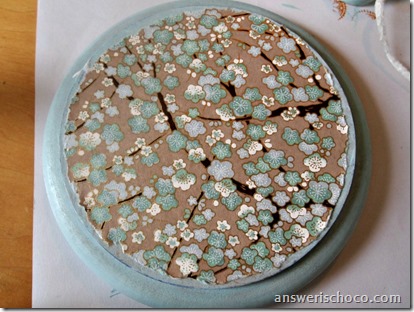
Here are the basics of my project before I started. I painted the wood cheese board and the outside of the egg shells  with the Feldspar. While that was drying, I cut out a circle of decorative paper the same size as my board (I had this Japanese washi paper in my stash) and then tore around the edges. Once the paint was dry, I used Mod Podge to apply the paper to the wood.

Washi Decoupage

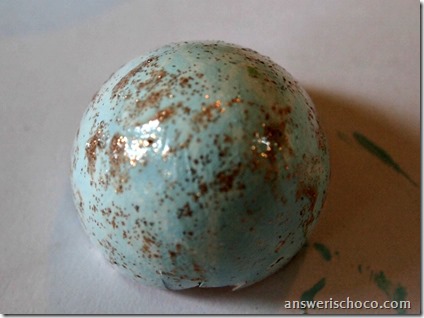
While the MP was drying, I “speckled” my egg shells using the Smoky Quartz glitter paint. Just kind of glop it on until your satisfied.

Martha Stewart Smoky Quartz Glitter Paint

I also went around the edge of the wood board with the Smoky Quartz.

While everything was drying I made my nest. I used bark covered wire I found in the floral section at Michaels and just kind of made a free form nest by loosely wrapping in in circles until I was satisfied then twisting the ends together.

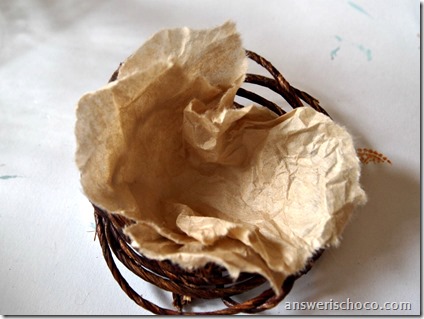
Coffee Paper Filter Nest

I tore the centers from two natural coffee filters, scrunched them then tucked them into the “nest”. I also wanted some type of grass but didn’t have any and was too lazy to go outside and dig up moss. I grabbed a roll of crepe paper streamer from my stash, pulled out a length I didn’t measure, folded it and cut in strips. Crumpled then uncrumpled it. Now it’s time to assemble everything!

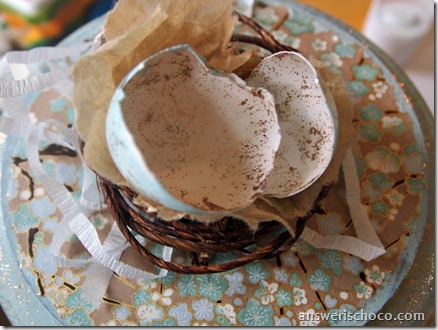
Speckled Eggs In Nest

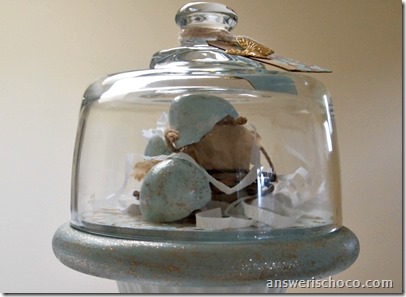
I placed some of my streamer grass on the board then placed the nest in the center and added a couple of my painted egg shells. Positioned the others, and added some more crepe grass and then put the lid on. I didn’t glue it down so I’ll disassemble the whole thing when I put it away and if the eggs survive storage they do. If they don’t, they’ll be quick to re-create next year.

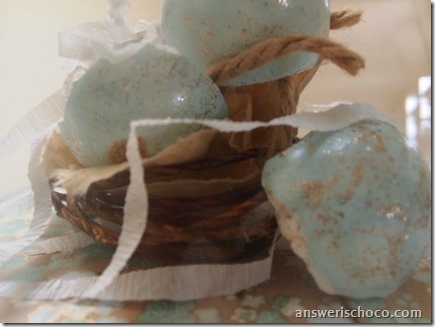
Speckled Eggs Nest

I added some bits of jute twine in the middle because birds use whatever they find to build nests right?

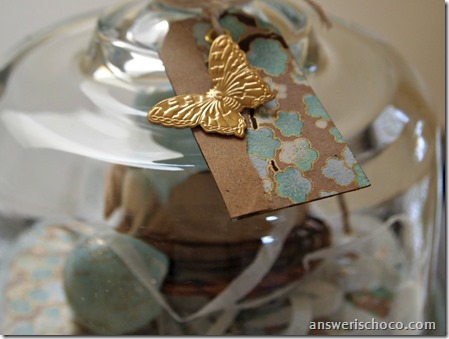
Butterfly Tag

I didn’t want to paint the top of the cloche but I felt it needed a little something so I covered a small manila tag with a scrao of leftover washi and kraft papers, added an eyelet and a butterfly charm. Tied the tag to the top of the cloche with plain cotton baker’s twine.

Easter Cloche

The funniest thing about this is Mr. C didn’t even bat an eye when he saw the eggshells drying by the sink after breakfast. You know how there's a meme "You know you're a crafter when..." We may need to start a new meme called “You know you’re married to a crafter when…”

Sharing At: 


Thursday, March 7, 2013

BFF Open House Link Party 95!

The Answer Is Chocolate

Happy Friday Eve friends and fellow chocoholics! Welcome to another party . Number 95! One quick announcement. Starting next week, I'm going to combine the features with the party. So instead of posting features each Monday as I have been, they'll be at the top of the party on "Friday Eve". Easy Peasy. 

While following isn't a requirement, it's appreciated. That way I can keep up with your great blogs outside the party since I'll follow you back.  Now, party on!


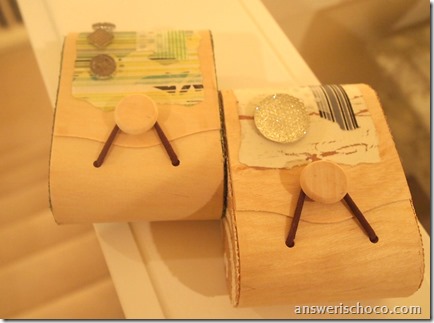
Altered Balsa Wood Gift Boxes

Altered Balsa Boxes

You might recognize this box style from Mr. Chocolate’s birthday. I scooped up a few of them when I got the one for him because they were just too much fun to pass up. And they were $1.

For this project you will need:
  • Balsa Boxes ( Michaels $1.50 towers...when I got mine they were on sale for $1)
  • Burlap and/or scrapbook paper
  • Mod Podge
  • Washi Tape
  • Embellishments

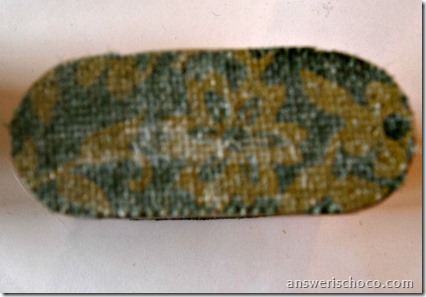
Printed Burlap

These will hold the girlfriend gifts I shared in my previous two posts, the Garden Lover’s necklace and White Agate Stretch bracelet.  For these, I chose some patterned burlap sold in the paper section and cut to 8.5x11 sheets. I had colors that matched each gift.

P3068179

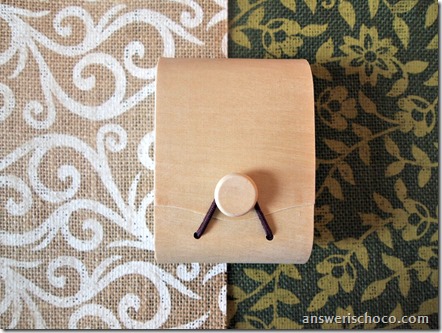
I traced around the sides of the box and cut out pieces of the burlap . Then I Mod Podged them onto the sides.

Mod Podged Burlap

Looks like a hot mess. Dries clear. When dry, I sanded around the edges to smooth any rough edges.
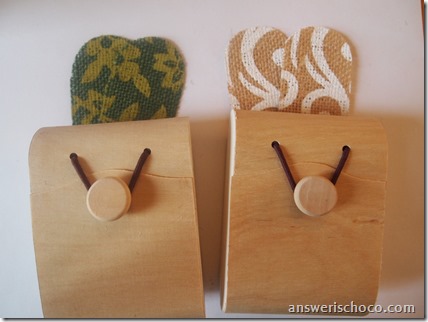
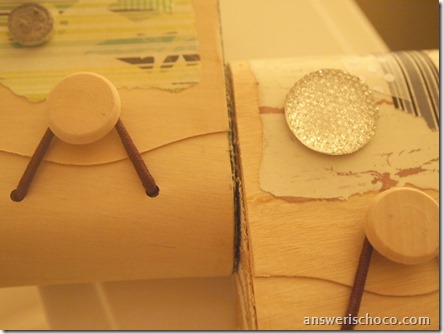
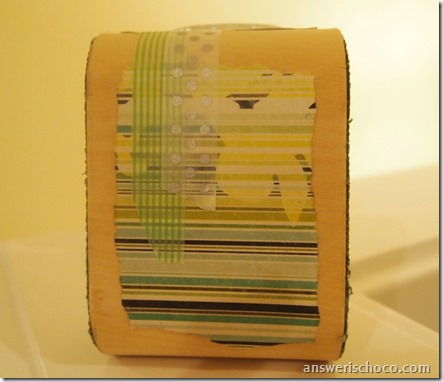
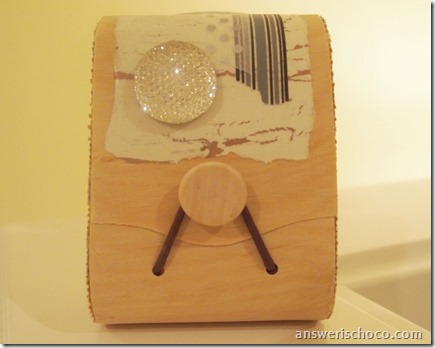
Grabbed some coordinating paper scraps from my scrap stash and added those to the boxes along with coordinating washi tape and finished with some Jolee’s Boutique self adhesive buttons.

Closeup Altered Balsa Boxes

Green Burlap Box

Natural Burlap Box

Wednesday, March 6, 2013

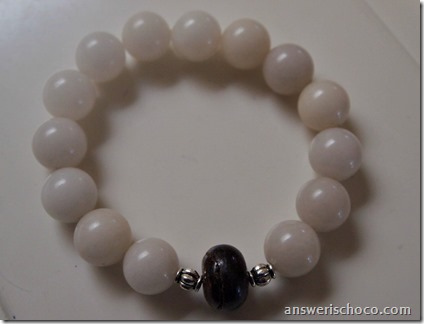
Designer Inspired Super Easy White Agate Stretch Bracelet

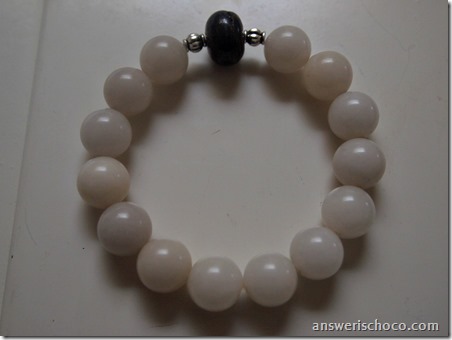
White Agate Stretch Bracelet

I mentioned in my previous post that I was seeing a couple of friends this week and like to bring them something on our all too rare get togethers. One friend is an uber fashionista .Simple but high end style.

I love the Simon Sebbag stretch bracelets I’ve seen at Nordstrom. If you’re not familiar with them :
which remind me of her so I decided to do my own version. The original uses all of the same stone bead with one or two accent beads.

White Agate Bracelet

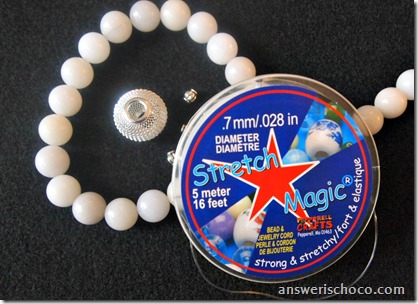
Got my supplies out. For this you will need:
  • Stretchy Cord
  • Stone Beads ( I used white agate)
  • Focal Bead ( I originally planned to use this stainless mesh bead but it didn’t look right so you’ll see what I switched to after I took the picture)
  • Small silver beads

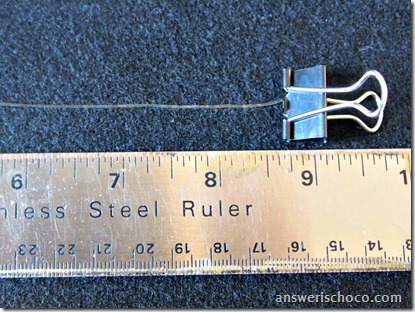
Measure a length of your stretchy cord. I generally do about 9-10 inches.

Stretchy Cord Measurement

String your beads on. This is THE perfect project for anyone who wants to make jewelry but doesn’t want to invest in tools. You can use what you have on hand. Ruler, binder clips, scissors.

Agate and Bronzite

You can see here what I swapped out for the stainless bead. A bronzite bead with two small silver beads.
Once you’re satisfied that you have the right length to go around your wrist ( you want it to fit comfortably, not too tight) then you can tie off your ends and I always add a dab of super glue to the knot then tie once more.

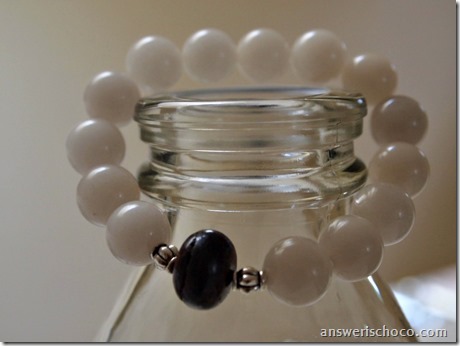
Agate Stretch Bracelet


Stretchy Agate Bracelet


Even using real stone and silver beads my materials were a fraction of the cost of my inspiration bracelets.


Monday, March 4, 2013

Gardening Lover's Necklace

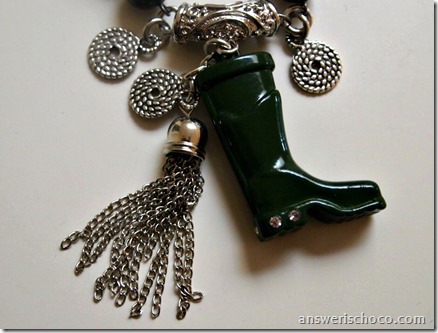
Bead Landing Boot Charm


I’m catching up with a couple of girlfriends later this week and always like to bring them a little something. One is an avid gardener so I knew when I saw this little green garden boot charm on sale at Michaels I had to get it for her. There was also a beaded chain in the same section so I picked that up too.  Both are by Bead Landing from their “Derby Chic” collection.

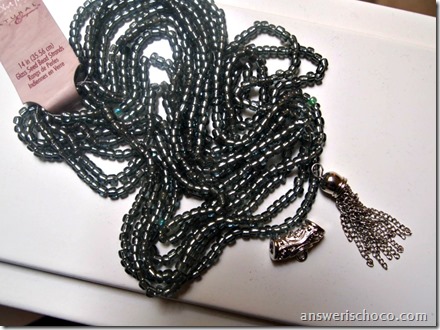
Blue Moon Seed Beads, Bell Pendant Silver Bail
I had some complementary colored seed beeds in my Blue Moon Beads design team supplies, along with a very cool silver bail and bell charm.
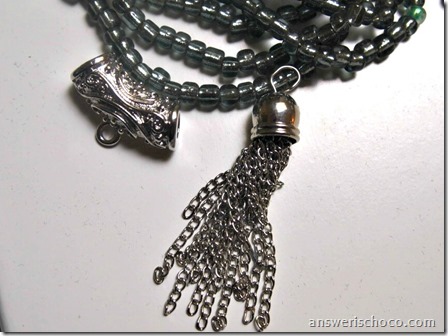
Gray Seed Beads, Bell Pendant, Bail
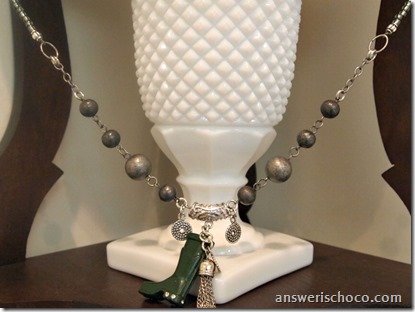
I attached the boot and the charm to the bail along with some silver charms I had in my stash.
Garden Boot Charm Necklace
I took the beaded chain apart at the middle , ran a small length of plain chain through the bail and then attached the beaded chain to either side.
Garden Boot Necklace
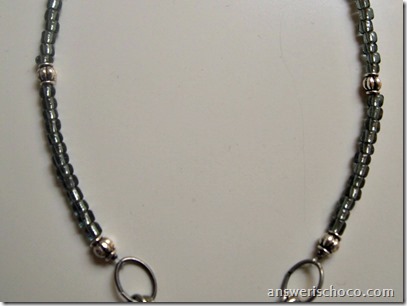
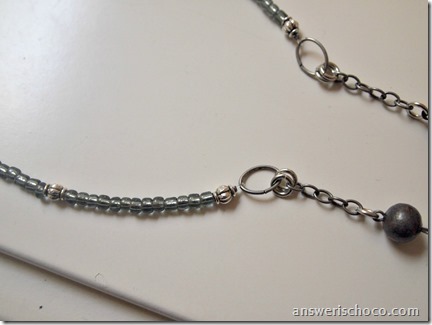
Using the seed beads, I strung two sections and attached oval jump rings to each end. Attached these to more plain chain .
Derby Chic Boot Necklace

Wellington Boot Necklace

I don't think she'll be wearing it while she gardens but I hope it captures her passion. 


Sharing At:


BFF Open House Link Party#94 Wrap Up and Features

What a fantastic turnout for Friday's party! It's always fun to see some new blogs linked up along with those who link up regularly. Hope you had fun checking out other links. Here are just a few of the wonderful ideas that were shared.


 Michele at The Scrap Shoppe shared this gorgeous Spring wreath using moss and sunny yellow burlap. Don't you just love that big bow?


Jenna from 24 Cottonwood Lane transformed a thrifty find into this elegant Paris themed plant stand. Beautiful! 


Jenna's plant stand would look great with this ottoman that started out as a pallet from Allyson over at Domestic Superhero


Keri over at Shaken Together has a really cute way to give someone a little St. Patrick's Day luck along with a Lotto ticket. 


And this week's chocolate feature comes from Cindy over at Everyday Insanity where she is tackling life one brownie at a time. These look pretty darned perfect to me! 

Again, thanks to everyone who linked up and hope to see you all again on Friday. Make it a creative week!