Saturday, November 26, 2011
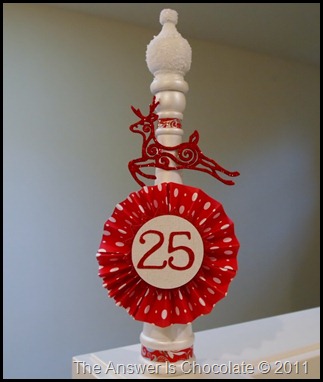
A Furniture Leg And A Finial Walk Into A Craft Room And Turn Into The North Pole
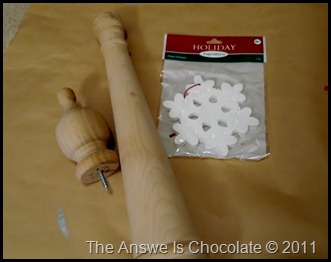
There’s an architectural salvage place in Seattle called Earthwise. I love wandering around there and finding who knows what to play with. They have a whole section of just furniture legs!
I also had a finial in my stash from a trip to Lowes. Ignore the snowflake thingy…didn’t end up using it.
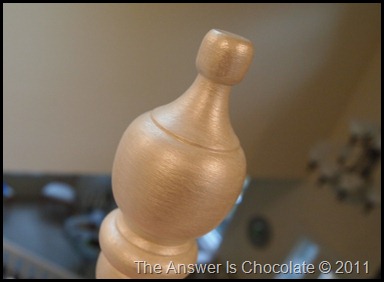
I glued the finial to the leg and then painted with Martha Stewart “Wedding Cake” craft paint, followed by a coat of ivory pearl.
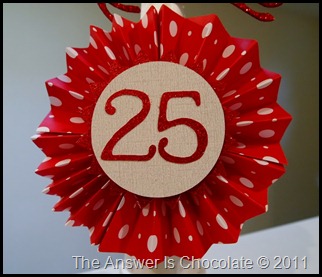
While that was drying, I made a polka dot paper medallion and cut out the numbers 25 from red glitter card stock.
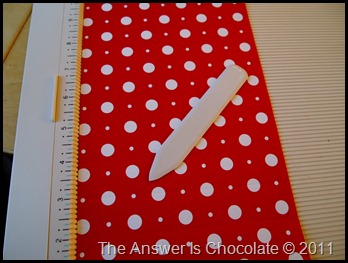
I love my Martha Score Board which I use for my cards all the time but it’s great for making accordion folds for things like medallions.
One 12x12 paper cut in half then score each 6x12 piece at one inch intervals. Fold in half to make a fan shape, and hot glue together. Repeat then glue the two halves together. Cut a circle from plain cardstock and adhere numbers.
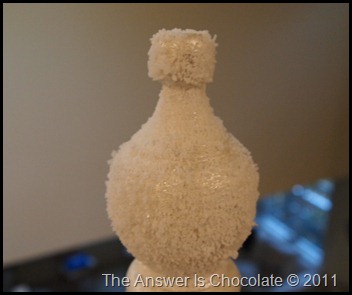
I added a little Epsom Salt frost to the top of my final.
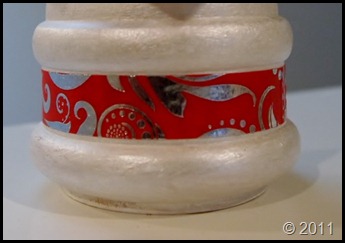
Went around the top and bottom with some patterned tissue paper.
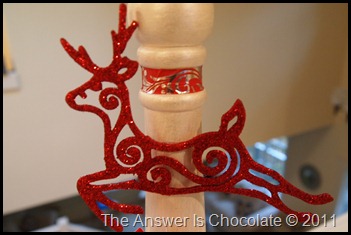
Added a glittered reindeer ornament from a pack of them I got at Dollar Tree.
Wednesday, November 23, 2011
Giving Thanks
I love this time of year which reminds us to stop and think about all the things for which we really have to be grateful. Included in the many many things for which I will give thanks tomorrow, I include you all. Truly, the talented, supportive, creative, funny, and smart people I've met through blogging are among my blessings. I read every comment left, recognizing that someone took time out of their day to share a thought with me. I appreciate that you all put up with ( and get!) my cheesy puns and sense of humor. I am so very thankful to have a creative community that constantly inspires me. My husband's grateful that I have people who get as excited as I do about how many things you can Mod Podge and glitter, and who understand why it's not redundant to need more than one die cutting machine.
I wish everyone a very Happy Thanksgiving, filled with great food shared with those you love. Thanks for enriching my life!
Tuesday, November 22, 2011
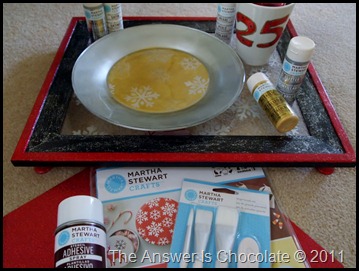
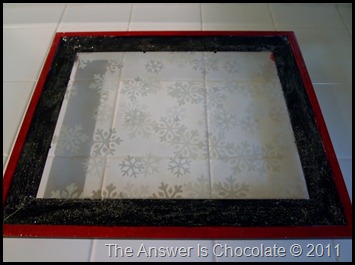
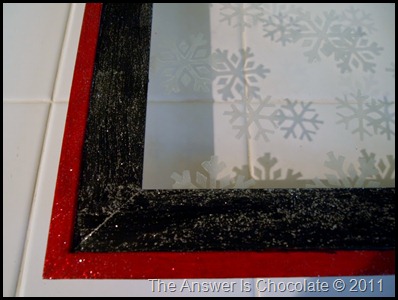
Plain Frame to Snowflake Tray Transformation with Martha Stewart and Plaid !
I have a surplus of frames and love using them for things other than well, framing things! I decided I needed a holiday tray.
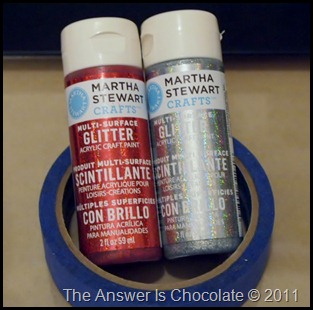
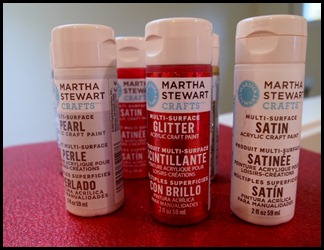
I think the silver glitter looks like frost which goes perfect with the snowflakes! For the legs of my tray, I used old thread spools painted with the Habanero / Garnet Glitter paints.
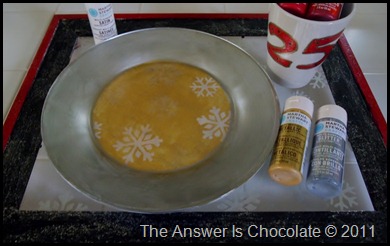
I had so much fun with this that I had to do some other things . So I made a snowflake plate to go with my snowflake tray. Just a plain glass plate from Dollar Tree. I painted on the underside of the plate, again using the snowflake stencils.
I used the Pearl again, and a Satin paint called Wedding Cake for the snowflakes. The Wedding Cake shows up better in the pics but the Pearl has that etched look and we know no two snowflakes are alike right?
Stenciled these on the underside of the plate then when dry, went over them with the Sterling Glitter and around the rim of the plate with a couple coats of the Sterling Metallic. Went over the Sterling Glitter with Metallic Yellow Gold.
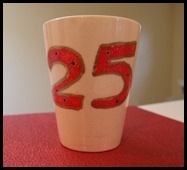
And I still couldn’t stop so I had to play with a mug I picked up at Dollar Tree because now I have a treat plate on a tray and of course I’m going to need something to drink!
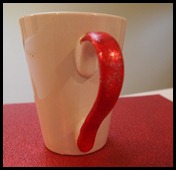
The “25” is for December 25 ( hubs didn’t get it so just in case) . I made my own stencil from contact paper because I wanted it big and then used the Habanero Satin and Garnet Glitter paints for the numbers and on the handle.
I kinda boo boo’d so I outlined the numbers with gold paint pen and then freehand added some dots. And did I mention that you can bake these in your oven if you don’t want to wait 21 days for the paint to cure and then the paint is dishwasher safe?
While the wonderful folks at Plaid provided the amazing Martha Stewart supplies used, the opinions are 100% my own and these are products I will definitely be buying more of!
Monday, November 21, 2011
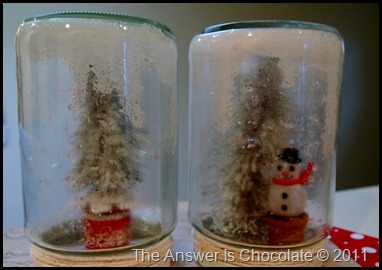
Cleaning Out Your Refrigerator for Craft Ideas...More Snow Jars
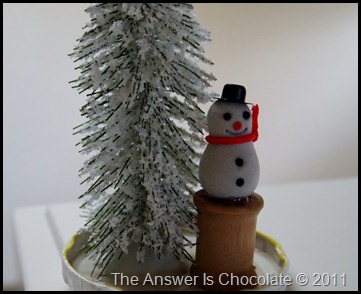
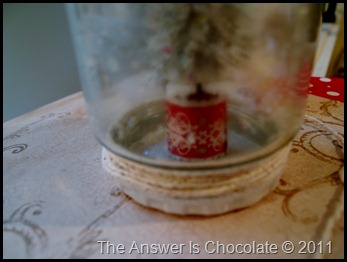
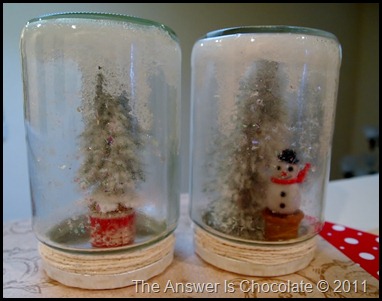
I had so much fun with my Snowman in a jam jar ( I’ve named him Marcel ) that once I had more jars to play with, I knew what I wanted to do. I didn’t take step by step pics but the process is basically the same. This time I added trees ( I picked up a couple of packs of bottle brush trees at Dollar Tree…$1 for a pack of 2) and used some wood thread spools I had in my stash.
I’m sticking with plain white glue with my Epsom salt. I tried Diamond Glaze just to see what would happen. Not so good! So the process is:
- Coat the bottom of your jar with glue ( remember bottom will become the top) and invert to let a few drips run down wherever).
- Pour in some salt
- Swirl / shake ( cover your opening!) until coated
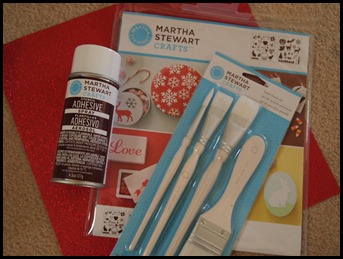
- Spray some spray adhesive ( I used Elmers )
- Sprinkle coarse glitter, spritz a little more sprinkle fine glitter
- While that’s drying, paint your lids
Now I’m craving a pickle.
BFF Open House #29 Wrap Up and Features and Carmex Giveaway Winner!
Happy Thanksgiving Week everyone. Thanks to everyone who linked up at last week’s BFF Open House. One of the best turnouts ever with more fantastic ideas. Here are just a few:
I am always amazed at the results achieved by those of you brave enough to tackle big DIY projects. Caroline from Artfully Caroline built a mantel. BUILT. A. MANTEL!
Isn’t it gorgeous?
Speaking of mantels, I don’t think I ever would have thought you could find one at Goodwill. But that’s exactly what Karin at Art Is Beauty did and look at the stunning result:
Amazing!
I have a slight wreath obsession among other things. So I couldn’t resist this “Glam” wreath from Michele at The Scrap Shoppe. ANd you should also read the reason she made it.
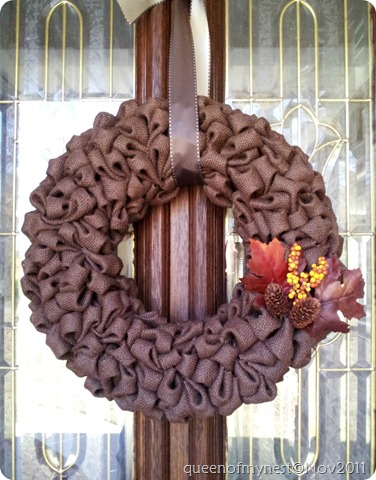
And since I remain burlap challenged, I’m in awe of anyone who can coax beauty from my fabric nemesis. Look at what AJ from Queen of My Nest created:
Finally, if you’re looking for a last minute addition to your Thanksgiving table, check out these elegant coiled thankful cards from Carolyn at homework:
The winner of the Carmex giveaway is Malia from Yesterday on Tuesday! Congrats! I will provide your email to Carmex and they will contact you to get your mailing info.
Thanks again everyone and as always, have a creative week!

