Friday, November 18, 2011

Doesn’t Everyone Put A Snowman In a Jar? Snowglobe Project.


I have only just started playing with Christmas projects. What kind of crafter am I?! So behind. But Vivian from The V Spot keeps sharing all these wonderful things she’s done with Epsom Salt and I just couldn’t delay any further.
Snow Man Globe
“Help! Some crazy chick stuck me in a jar”

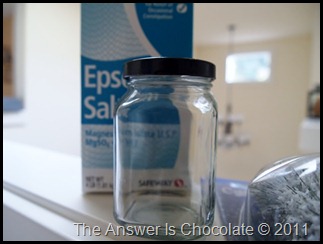
Here’s what I started with:
Snowman Jar
Empty jam jar and Epsom Salt (available near first aid stuff).
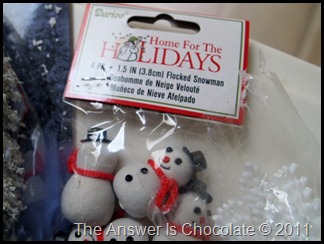
Darice Snowmen
Package of flocked snowman doohickeys by Darice. I got mine at Michaels.

I swirled some glue in the bottom of my jar and then poured in about a handful of epsom salt. Covered the opening with my hand and shook it like a maraca. While that was drying, I painted the lid silver. While that was drying, I went back to my jar and sprayed some adhesive and sprinkled some iridescent glitter in the jar.
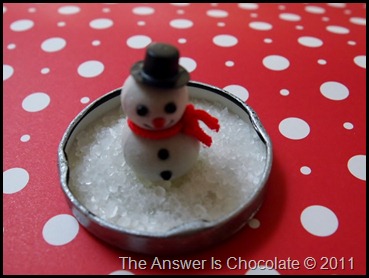
When my lid was dry, I glued one of the snow men in the middle:
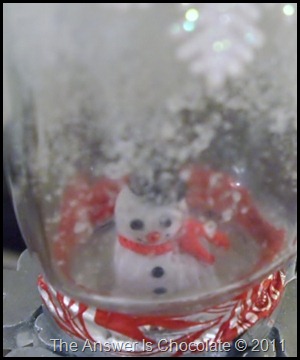
Snowman Snow Globe
then spread a little more of the salt around him. Ran a bead of glue around the lip of the jar and put the lid back on. Actually I put the jar on the lid vs the lid on the jar if you follow.
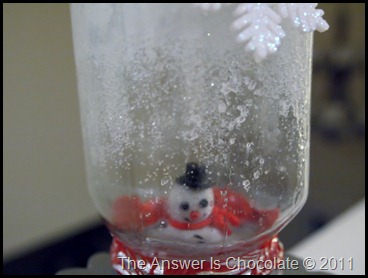
Snowman Jar Closeup
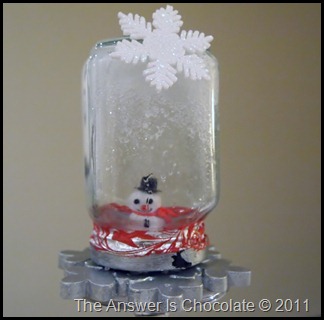
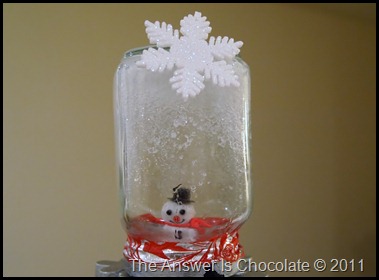
I went around where the lid and jar adjoin with a scrap of tissue paper and finished with a little snowflake ornament on top.
Snowman In A Jar
I also managed to muck up some of the paint on the lid but I am calling it an unintentional creative decision to make this look like it’s something old I’ve had forever instead of an empty $2 jam jar and a $.30 snowman!
Snowman Snowflake

Sharing At:


Thursday, November 17, 2011

BFF Open House Link Party #29 and Carmex Healing Lotion Giveaway

Happy Friday (if work is over for Thursday, it’s Friday!) all. Speaking of work, it kinda ate my lunch and a couple of dinners this week so this is one of those weeks where “Blog Feature Friday” isn’t featuring a blog.

With next week being Thanksgiving and next Friday being shopapalooza-kick it into high gear for Christmas-Tryptophan recovery day, I’ll skip it and have a new BFF to introduce to you on December 2.

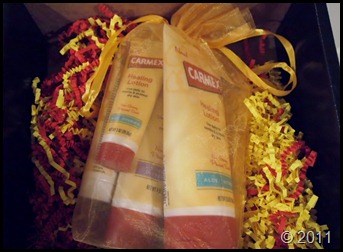
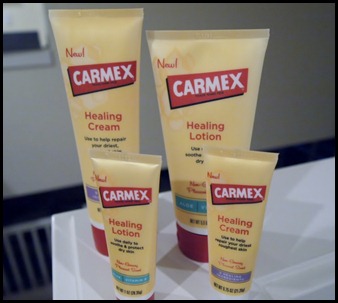
But I do have a treat for you this week! I’m a member of the Carmex Blog Squad and they sent me a wonderful box of goodies to try:
Carmex Healing Lotion
If you’re unfamilliar with Carmex, they've been around since 1937 are are still family owned and operated. They’re most well known for healing lip balms but they also have a new line of healing lotions.

Between the weather getting colder ( which means the heat’s on which can be very drying), all the hand washing I do (contrary to popular belief, I don’t just lick the chocolate off my hands!) from playing with paints, inks, glues etc. and from working with paper which can also be very drying, my hands and skin are always dry. I have tried a BUNCH of different lotions so I was really excited when they started this line.
Carmex Healing Cream
The Healing Lotion is great for everyday use and absorbs quickly and does not leave a greasy feeling. I hate feeling covered in something. Basting is for turkeys, not people. The Healing Cream is more intense ( still not greasy) for tougher areas that tend to need a little more help. The Healing Lotion lasted through hand washing for me so I didn't have to re-apply.

The nice folks at Carmex are offering one of you the chance to get the same cute gift box they sent me, so I decided I’d combine that with this week’s party! 

To be eligible, all you need to do is:
  • Be or become a follower of The Answer Is Chocolate or
  • Link up something at this week’s party
You just need to make sure and leave a comment for each thing you do.

Now, what have you been up to this week? Can you believe Thanksgiving is next week? I’m seeing such cute Christmas ideas I know I won’t be able to make everything I’d like to! OK Party On!


Products were provided to me to review but all opinions expressed are my own. 

Wednesday, November 16, 2011

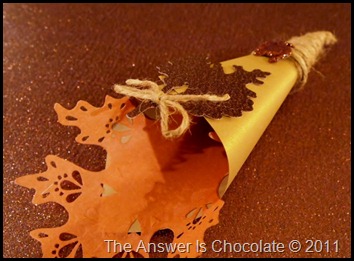
Thanksgiving Table Favors “Cone-u-copias”

I always like to have a little something on the table for guests. Like most of my projects, this idea just kind of came to me and I ran with it hoping it would pan out.

Since cornucopias are such an iconic symbol of Thanksgiving, I thought paper cones were in order.
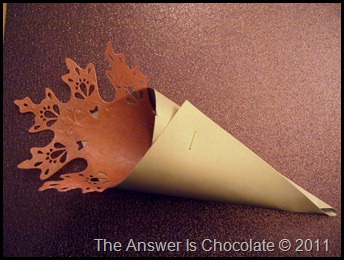
Thanksgiving Paper Cone Jute
You’ll need:
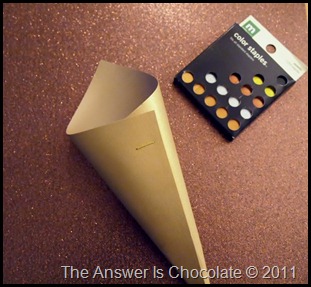
  • Lightweight cardstock cut 6x6. I used a metallic gold by Recollections from Michaels
  • Jute twine
  • Embellishments
  • Die Cuts
I formed my cone shape and taped and stapled together.
Thanksgiving Paper Cones
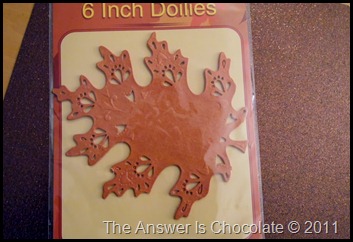
Pretty boring right? I had this package of leaf shaped doilies I found on one of my Dollar Tree trips and thought hmmm….maybe they would work here.
Dollar Tree Doilies

Thanksgiving Paper Cone
I just ran a line of tape down the center of my cone and stuck a doily about halfway in. Better. Still kinda boring. In lieu of a doily, you could use a big die cut.

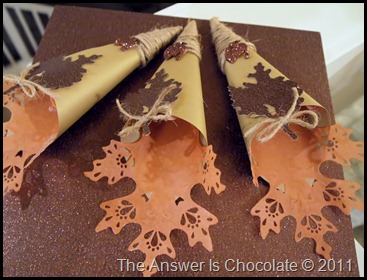
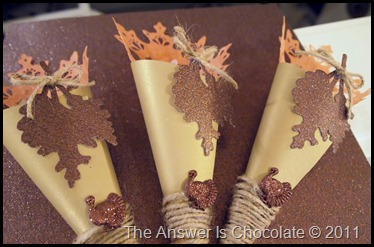
What isn’t made better with jute? Ran a line of hot glue down the back of the cone starting about 1/3 of the way from the bottom and then wrapped my jute around ending at the bottom.  Had some more glittered turkeys from other projects ( Recollections) and glued one on top of the twine.
Thanksgiving Paper Cones (3)
Then die cut oak leaves using the Memory Box Leaf Trio die I used on my place cards and candles and scraps of Core’dinations glittered paper, made and glued on a jute bow at the stem, and glued to the cone. Done and done!
Thanksgiving Paper Cones (2)

Thanksgiving Paper Cones (3)
Haven’t decided yet what I’m going to fill them with…thinking a mix of seasonal chocolates and spiced nuts or garlic pretzels….

Sharing At: 
A Crafty Soiree


Photobucket
Tickled Pink at 504 Main


Tuesday, November 15, 2011

Embossed and Glittered Oak Leaf Banner

Today I'm sharing a project I did for a guest post over at A Glimpse Inside last week. It was actually this project that started me off on my glittery Thanksgiving frenzy!

In case I haven't mentioned that it's exactly ONE WEEK til my son comes home from college, I want to make this year extra special since it will be a first Thanksgiving of sorts. It finally hit me that it's been almost four months since we've seen him. I know. I'm a WIMP.  He won’t care about the decorations but I think he will care that I wanted to make it extra special. Today I’m sharing a banner I made for our dining room.
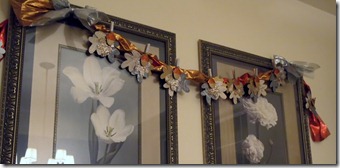
Oak Leaf Banner

Oak Leaf Banner (2)
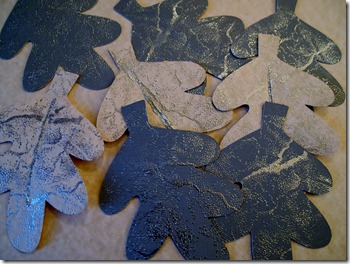
I love all things paper ( OK really, what craft supply don't I love?!) and got the idea to do an oak leaf banner.  I cut the leaves on my Cricut Expression but decided they needed some texture. I grabbed a textured stamp from my stamp supply, inked it up with clear embossing ink and  covered them with detailed silver embossing powder:
Embossed Oak Leaves
I also knew I wanted this to have some sparkle and needed an excuse, er um a compelling reason to play with tinsel glitter. The beginning of the end! I'm hooked.
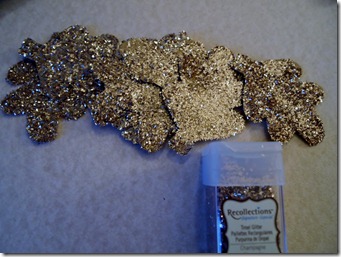
Tinsel Glitter Oak Leaves
I cut out more leaf shapes, and covered them with champagne tinsel glitter. I used Recollections brand from Michaels.

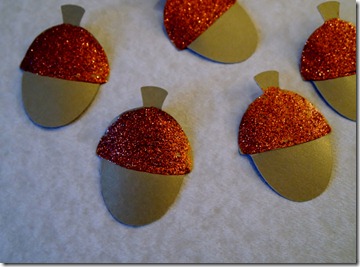
But what are oak leaves without acorns? Using the same Cricut cartridge ( Doodlecharms) , I cut acorns from metallic gold paper and then went over the caps with copper glitter glue:
Glittered Acorns
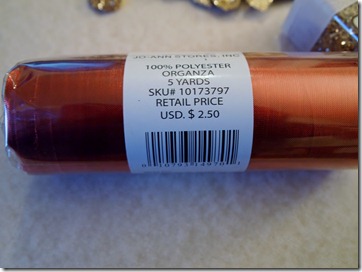
The final piece of my banner was this organza tulle I found at JoAnn’s in their 2 for $5 section. Oh my they have got several gorgeous colors, many of  which I may or may not have bought. Just sayin'
Copper Organza Tulle
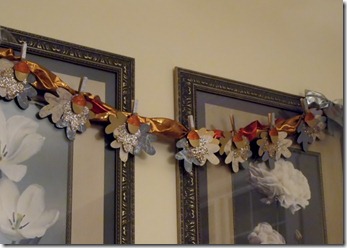
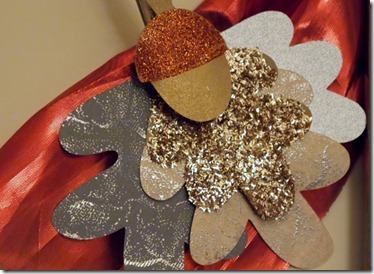
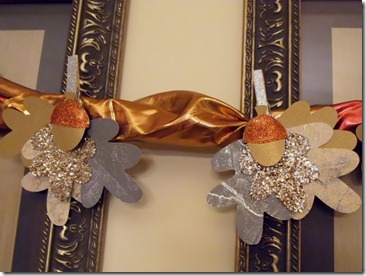
To put it all together, I took a couple of the embossed leaves, a plain leaf, and a tinsel glittered leaf and formed a “clump” of leaves. I covered clothes pins ( my favorite way to hang banners) with some glittered paper scraps and then put my acorns on top using a foam dot.
Oak Leaf Banner Closeup
I twisted two colors of the organza tulle together and draped over two framed prints in our dining room and then clipped my oak clusters on. Photos aren't great. One of my 2012 goals is to get better at photographing things where glare is involved. 
Oak Leaf Clusters
I think this will really twinkle in the candlelight of our Thanksgiving meal, along with some of the other glittery Thanksgiving decor.

One week. From TODAY! Not that I'm counting.
Sharing At: 
Photobucket


Paper Issues Blog Design

Monday, November 14, 2011

BFF Open House Link Party #28 Wrap Up and Features

Thanks to everyone who linked up to Friday’s BFF Open House. I hope you all enjoyed meeting Caroline from c.w. frosting. As always there were some wonderful ideas and here are just a few that caught my eye:

Check out this fantastic black and white bathroom from stylebaggage, complete with a chalkboard painted wall!
the after photo of the bathroom redo
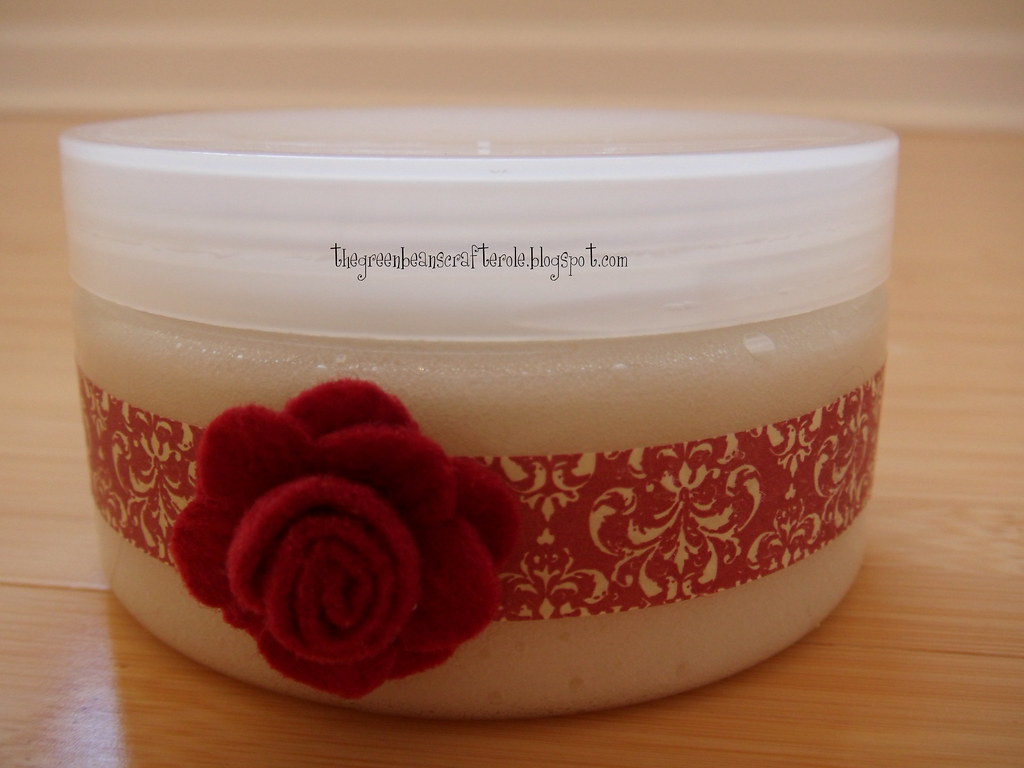
With the holidays approaching, I’m always looking for easy but special handmade gift ideas. This is a great one from greenbean’s crafterole: Sugar Body Scrub
sugar scrub
SUPER easy to make and love the presentation too!

Speaking of sugar, these bring back childhood memories of a classic sweet treat:
Hostess Cupcake cakeballs! Right down to the signature Hostess frosting squiggle! Go visit Chef In Training ( I think she’s waaaaaaaay past the training stage) to find out how to make.

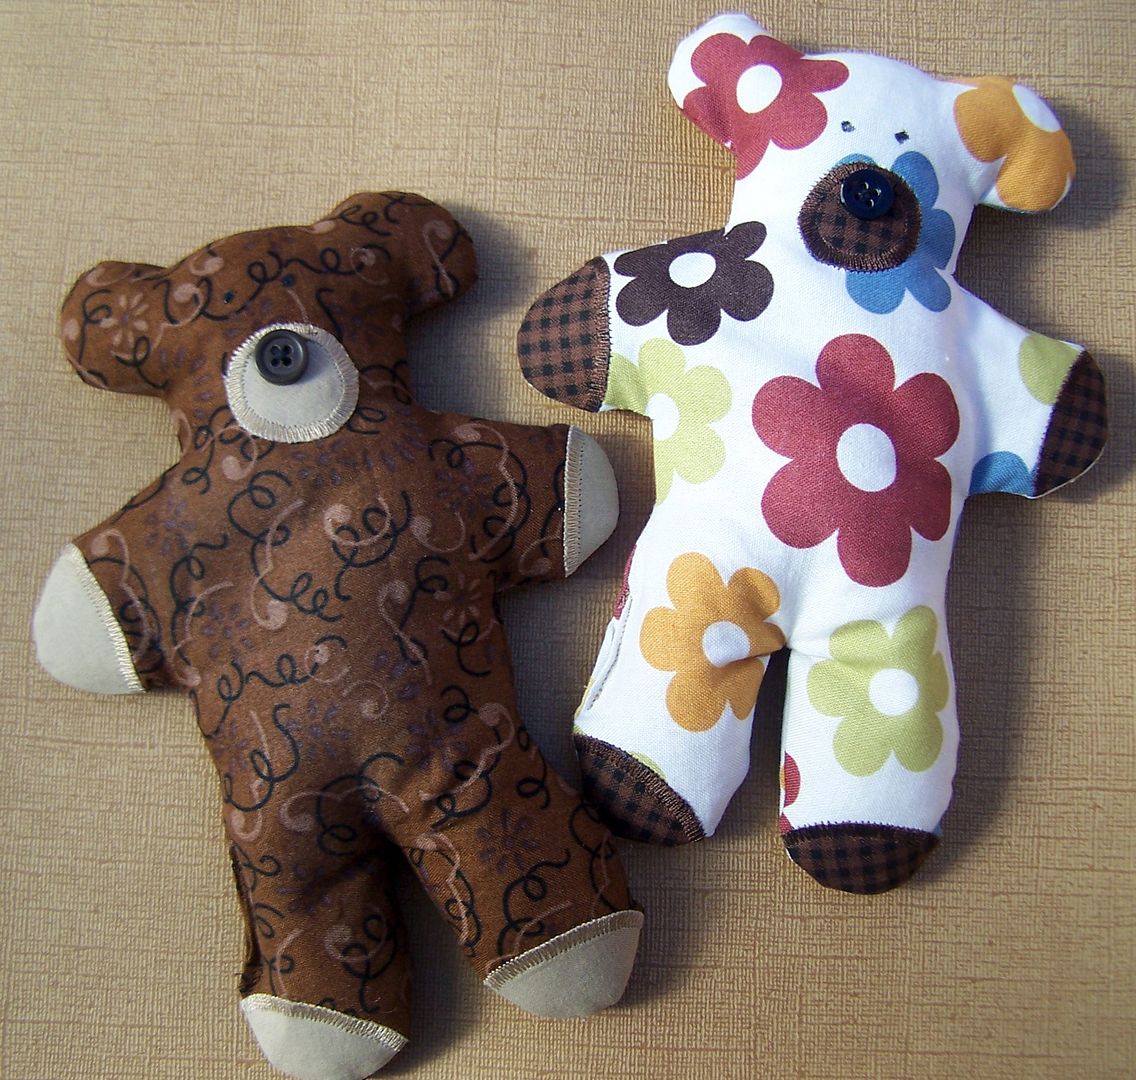
And finally, I couldn’t resist this idea. Boo Boo Bear! Who says first aid can’t be absolutely adorable?
Go and visit A Creative Princess to find out how to make these reusable cold packs. What boo boo wouldn’t feel instantly better with one of these?

Thanks everyone! Hope to see you all again Friday and have a creative week!

Sunday, November 13, 2011

Quick Book Page Leaves and Thanksgiving Decor

I first started decorating for Thanksgiving when my son was in pre-school. We were in a store right after Halloween and the Christmas stuff was up and he said “What about Thanksgiving?” and then went on to opine about how Thanksgiving was getting short changed and having a very strong opinion about that. I understood I wasn’t going to hear the end of it if I didn’t decorate especially since "Mr. Too Smart For His Own Good and My Sanity" also pointed out that I had no excuse since I made all that crafty stuff. At. Four. Years. Old.

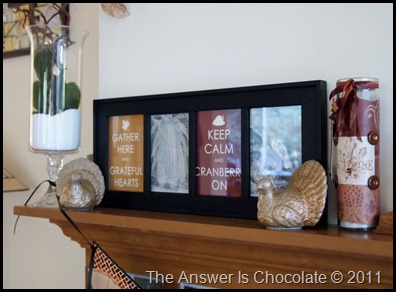
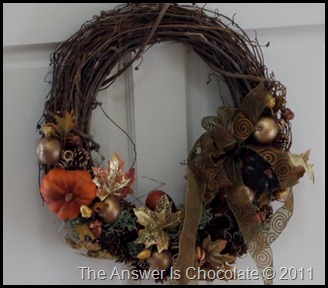
What’s that got to do with this post? Who knows. I just thought I’d share some of my Thanksgiving décor to which I added some last minute ( like 30 minutes before leaving to go see a movie last minute) easy leaves I made to hang on some curly willow I keep on my mantle.
PB053409
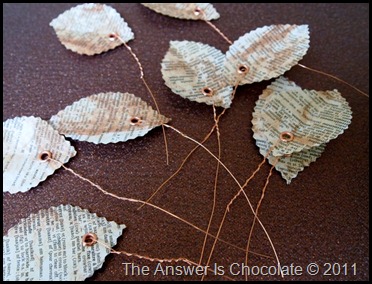
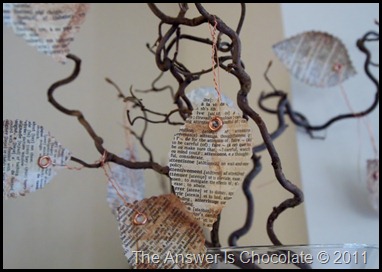
I just cut some leaf shapes freehand from some dictionary pages; smudged some distress inks ( Ranger) over them ( actually distressed the paper first, then cut the shapes with a decorative edge scissors) added copper eyelets and twisted some copper wire on.
PB053420
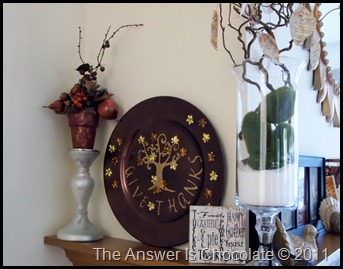
This sits in a vase on my mantle that I switch out seasonally. ( Dollar store vase and candlestick) .
PB053422

PB053427

PB053429
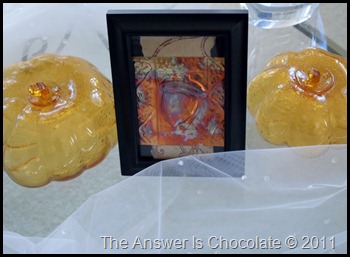
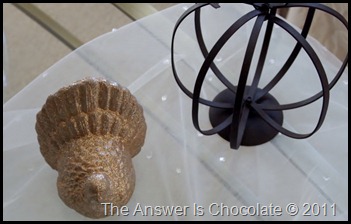
I left the tulle I draped over a table in my living room for Halloween along with a couple of glass pumpkins and added some Thanksgiving accents:
PB053432

PB053430

PB053431
One of the turkey’s I made over this year
PB053418

PB053434

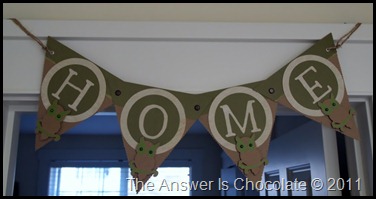
"Mr. Smarty Pants Four Year Old" is now a Freshman in College and coming home for Thanksgiving in 9 days ( not that I’m counting) so I made a little extra something for his room:
PB053413

PB053410
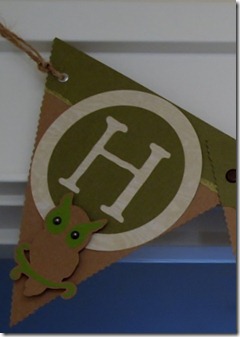
Cut the pennant shapes old school ( a ruler!) but the rest using my Cricut Expression ( Doodletype and Sentimentals carts) and chose an owl accent since they’re so wise and smart…like a certain former four year old I know.
Sharing At: