Wednesday, October 22, 2025

Fall Decor: Painted and Gold Leafed Fall Pumpkins


I'm not doing a lot of new Fall Decor projects this year, but a few. Made these metallic and gold leafed pumpkins to coordinate with my Fall Sign


Supplies: 

  • Ceramic or Resin Plain Pumpkins (Michaels)
  • Acrylic Paints in Choice of Colors
  • Mona Lisa Leaf Size and Gold Leaf (Michaels)

I picked these up last year and didn't get around to using them. I saw some this year too. I like these because they look like ceramic but are resin, and a lot lighter in weight. They also take paint really well. 


Grabbed paints in my palette from my paint stash. 


I painted each pumpkin with "Grape" (the one without the label). Once dry, I went over them with a metallic paint to give them a sheen. 


To finish, I dry brushed some of the copper onto the pumpkns.


I painted the stems mostly as a guide for the gold leafing. It made it easier to see the glue once applied. 

NOTE: There's a difference between GOLD LEAF and FOIL. I used LEAF. The easiest way to tell them apart is on the foil, the underside will be dull. On the leaf, it's the same on both sides. It also comes packaged with layers of tissue in between. 


Using a small paintbrush, I applied the leaf size over the stems. Allow to dry until tacky. You will also need a stiff brush to apply the actual leaf. I just use a stencil brush.


Leafing is messy. No way around that! So I used a repurposed plastic container, lined with wax paper. That makes for easy cleanup since the paper catches the excess and is easily wadded up and thrown away. 


Hold the leaf by the tissue between the layers, and apply over top of the adhesive. 


Next, take your brush and start pouncing on the leaf. Where there was no adhesive, the leaf will fall away and you can use the bigger pieces on the next item. 


Some of the leaf may stick to areas of paint, which in this case, I didn't care because it added to them. If you're being very picky, make sure any areas you don't want leaf on are completely dry. This is also why I painted the stems in case the leaf missed any spots. 


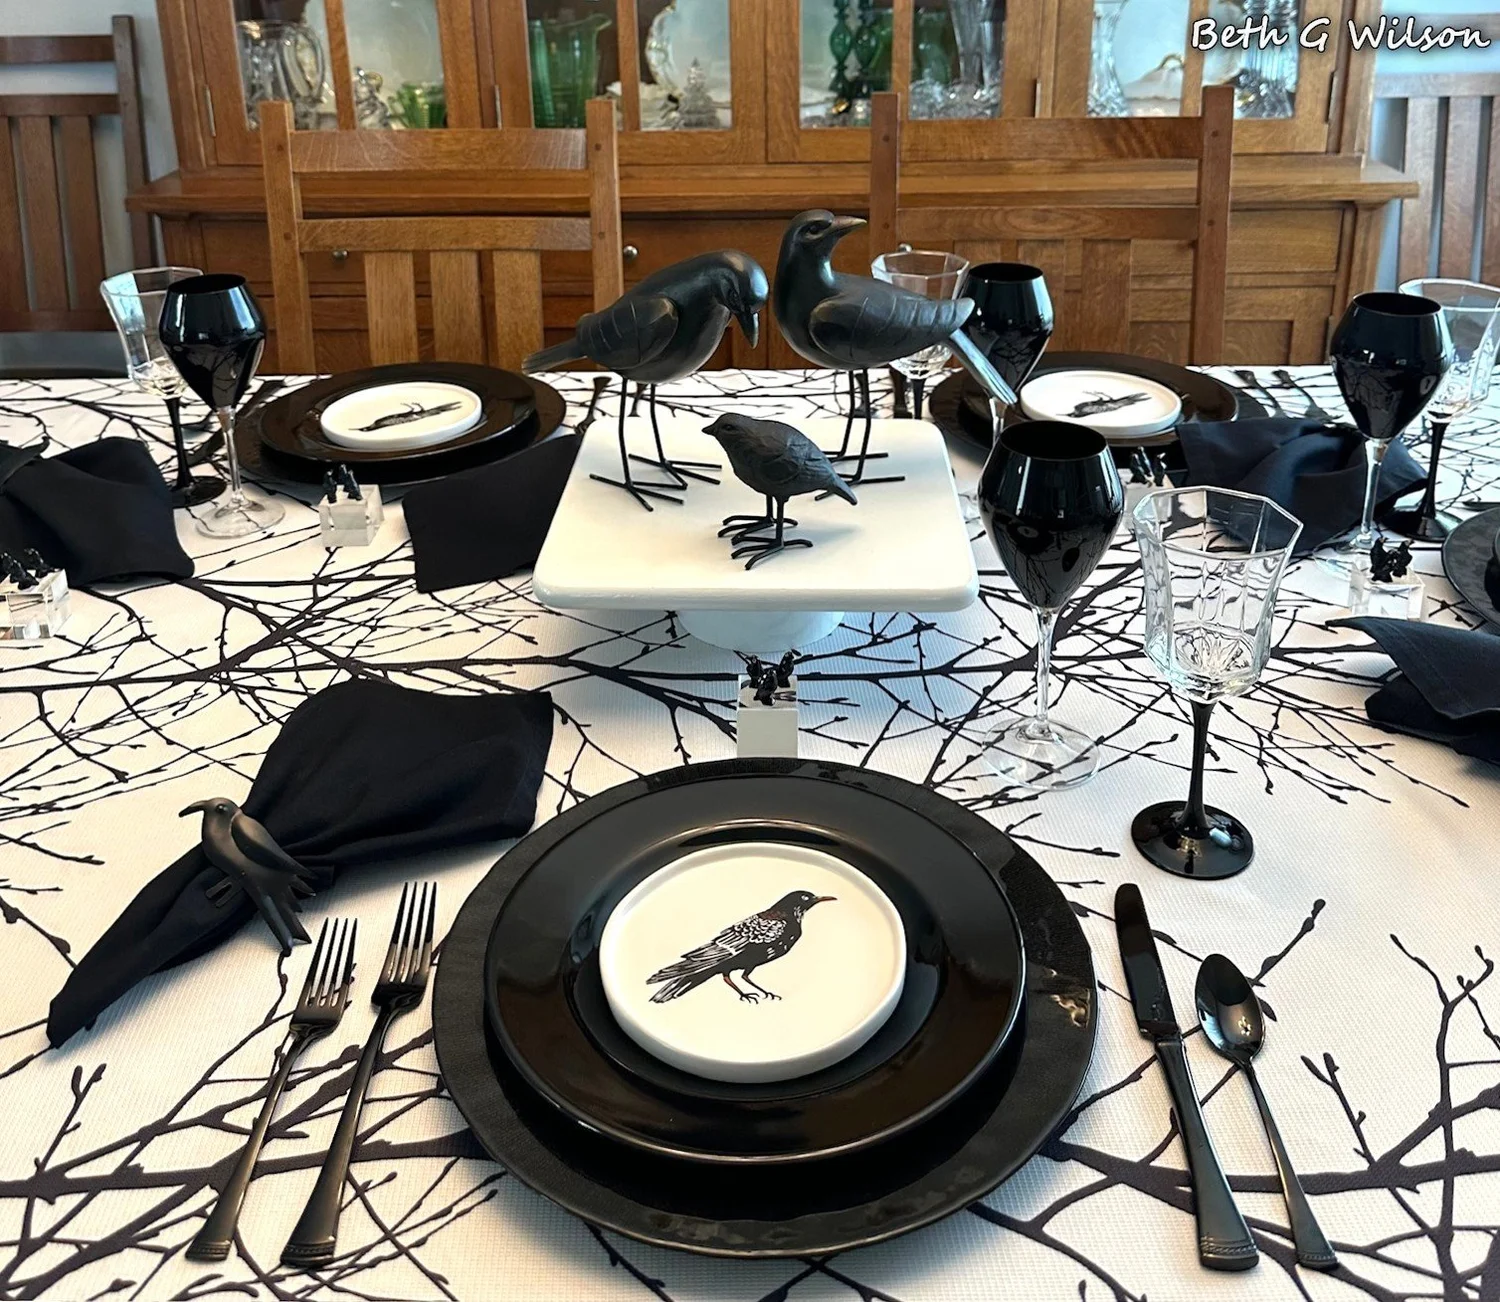
I almost want to take down my Halloween table centerpiece to put up my Thanksgiving centerpiece because that's what happens with us Makers, isn't it? Not quite yet! 


Sunday, October 19, 2025

Fall Decor: Dollar Tree Fall Pumpkin Sign


This week's BFF Open House Link Party continues here.

Getting a few Fall projects done before I start on Christmas. I found this blank sign at Dollar Tree and thought it would be a perfect Fall project. 


Supplies: 

  • Embossed Pumpkin Sign (Dollar Tree)
  • Acrylic Paints (Michaels)
  • Sponge Spouncer Brushes (Dollar Tree)
  • Glitter Acorns (Dollar Tree)
  • Self-Adhesive Wallpaper (Dollar Tree)
  • Misc Embellishments (Stash)


This is the unfinished sign. I used paints in Copper, Gold (Craft Smart), and Metallic Berry (DecoArt), along with a Ceramcoat Grape (not shown). 


Using a sponge or sponge spouncer, apply the paints all over. I just kept spouncing and blending and picking up colors until I was happy. 


Once I was happy with the base, time to embellish! 


Dollar Tree has these fabulous sheets of self-adhesive wallpaper. I've picked up a bunch without a specific project in mind, but knowing they'd get used SOMETIME! I grabbed this gold and white patterned paper to use at the top of the sign. 


Using the sign, I traced the arc on the back of the wallpaper, cut it out and applied to the top of the sign. 


The maple leaf charms are ones I'd stocked up on YEARS ago when Michaels first had their dollar spot. I glued these across the bottom of the wallpaper as shown. This season, Dollar Tree has these glitter acorns in the color shown, as well as a brilliant Fall orange, so I grabbed some for this project. Likewise, Dollar Tree has packages of sequins, and I got a Fall colored set. Each color is packaged individually in a set of six, but I just dumped them all together. 


I used these to decorate the stem of the pumpkin, and added coordinating glitter to the vines. 


I added a few to other spots on the pumpkin as shown. To finish, I made a bow from some coordinating glitter ribbon and then added the acorns. 


This is a preview of my color palette for Fall and Thanksgiving decor. After Halloween comes down of course! 


Thursday, October 16, 2025

BFF Open House


Happy Halfway Through October and Friday Eve, Creative Peeps! It's going by FAST and if you waited to get any Halloween decorations, they're quickly being displaced by Christmas. It looks like pink will remain a core part of things for the Winter season. Was looking at some things at Michaels as I was stalking them for Christmas Scrapbooking paper for cards. I don't know about you, but there are things I find hard to buy online. Scrapbooking paper is one because no matter how good the photo, it doesn't capture metallics or glittered papers the same way. However, I may be too early! 

In good news, we had Mr. Chocolate's three-month surgical follow-up, and his care team is ecstatic with where he is. They normally would have done a follow-up in another 90 days and said, "See you in a year!". We are so very thankful. 

Busy week, but this week I shared: 

Mi Catrina...My take on a Dia de los Muertos project!

Now let's take a look at some of the fun ideas shared at last week's party! 


Whispers of the Heart definitely spoke to my corvid-loving heart with this incredible Cawsome Halloween Table Scape! Worthy of Edgar Allan Poe!


Hunny I'm Home DIY shared a fun and EASY Ghost In a Jar! Great way to repurpose jars on hand. 

The Crazy Little Lovebirds shared this SWEET (pun intended) upcycle of something we've all probably tossed in the recycling...Upcycled Honeybear Floral Display

Finally, nothing says Fall to me like acorns. Christine's Crafts shared these beautiful Needle Felted Acorns along with a tutorial on how to make. 

Thank you to everyone who linked up and I'm so happy that you all find inspiration from these parties! 


You are invited to the Inlinkz link party!

Click here to enter

Monday, October 13, 2025

Dia de los Muertos Catrina


Even before we moved to the Southwest, I loved Dia de los Muertos (Day of the Dead), a celebration that originated with the Aztecs, and then when the Spanish colonized Mexico, was incorporated into the Catholicism they brought. Having grown up Catholic, we had three days of celebrations, starting with Halloween, then All Saints Day, then All Souls Day, which is when Dia de los Muertos takes place. It's always resonated with me because my own culture honors ancestors and that's what this celebration is all about. 

Year-round, you'll see Catrinas abound, and incorporated into public art, and you can read more about them here. For years, I've incorporated the holiday into my decor. 

Supplies:
  • Skull (Dollar Tree)
  • Multi-surface Acrylic Paint (Waverly)
  • Tissue Paper
  • Acrylic Paint Pens
  • Acrylic Flowers


The skulls they have at Dollar Tree every year. I used my go to Waverly no-prep acrylic paint in white to cover. 


I punched a couple of flowers from scrap tissue paper to create the eyes. 


Then I grabbed my acrylic paint pens and just winged it with the design. 


Decorate to your heart's content! 


Catrinas are often decorated with a crown of flowers so I made some tissue paper flowers with tissue that coordinated with the colors I used. These were probably a little too big, but go big or go home, right? 


I attached these with hot glue. I could have stopped here but what fun is that?!


I guess my "signature" is rhinestones and I often say "It don't mean a thing if it ain't got that bling" so, added them as shown. 


The inspiration for the colors I chose. Last year, when we were at Disneyland, (both parks honor Dia de los Muertos) I found this "Coco" sipper at California Adventure and made a beeline to the kiosk that had them! I knew it would get incorporated into my decor. 


And here's my Catrina on display on my island! 

While I'm not of Mexican ancestry, I love having a day where I can honor those I've lost, including those I never knew, who lived lives much harder than mine, so that I could be here.