Showing posts sorted by date for query egg. Sort by relevance Show all posts

Monday, March 25, 2024

Papercrafting: Faux Chocolate Bunny Cards


My inspiration for this year's Easter cards came from a classic Easter staple, the foil-wrapped chocolate bunny. I used dark brown cardstock and glitter cardstock.

Supplies:
  • Dark Brown Cardstock
  • Pastel Glitter Paper (Recollections)
  • Foiled/Marbled Background Papers (Recollections)
  • White Cardstock (110lb)
  • SVG File (I downloaded a set from Creative Fabrica)
  • Cricut Cutting Machine
  • Cricut Design Space
  • Self-adhesive rhinestones
  • Foam Tape
  • Tape Runner


I used these papers by Recollections at Michaels for the background panels. I had these in my stash but was thrilled to find they still carried the Spring Marbles stack and picked up another one during their recent sale. 


I found a collection of bunnies at Creative Fabrica, downloaded, and selected the one I wanted to use. 

A moment of self-congratulatory pride...drumroll please! The middle of the top layer was empty and I found an egg design in Cricut Design Space and added it to the middle! Please clap!

This idea was inspired by foil-wrapped Chocolate Bunnies so I used dark brown cardstock for the bottom layer (used the offset tool in Design Space to create) and then cut the glitter layers. 


I attached the glitter layers to the "chocolate" layers using foam squares.


The thing I love about the Recollections papers is how well so many of the patterned papers work with solids. Being a paper hoarder, I have stacks from different years and they work together. I chose solids from the Spring Pastels stack to coordinate with the Spring Marbles papers and the Glitter Stack is also Spring. 


As always, my cards are 5x7 and the panels are 4.75x6.75 and 4.25x4.5. I attached the marbled papers to the solid using my ATG tape runner, then attached the layered panel to the card, then the "Chocolate Bunny" to the center using foam tape.

To finish, I grabbed my stash of self-adhesive rhinestones and added as shown. Now, family and friends have a calorie free Chocolate Bunny!


I did versions in pink:


Blue


Green

Lavender


When I make multiples, I use the same image even if I do different colors to make it easy to keep the settings in the software and machine the same and not confuse myself! 


Thursday, March 14, 2024

BFF Open House


Happy Friday Eve again Creative Peeps! Ready for St. Patrick's Day weekend? We don't go out but I may make a Guinness Pot Roast since neither of us love corned beef. March is flying by. 

This week I made a couple of fun Dollar Tree Egg and Bunny Projects. I found the supplies at a different DT than I usually go to and hadn't seen the supplies at my usual ones. Now I wish I'd gotten more!

Let's take a look at some fun and festive Spring, Easter and St. Patrick's ideas! 


Selep Imaging shared this beautiful Shamrock Heart Ornament Mosaic. So festive! 


If you're looking for a new Easter egg idea, Serenity You has you covered with these Resist Art Easter Eggs.


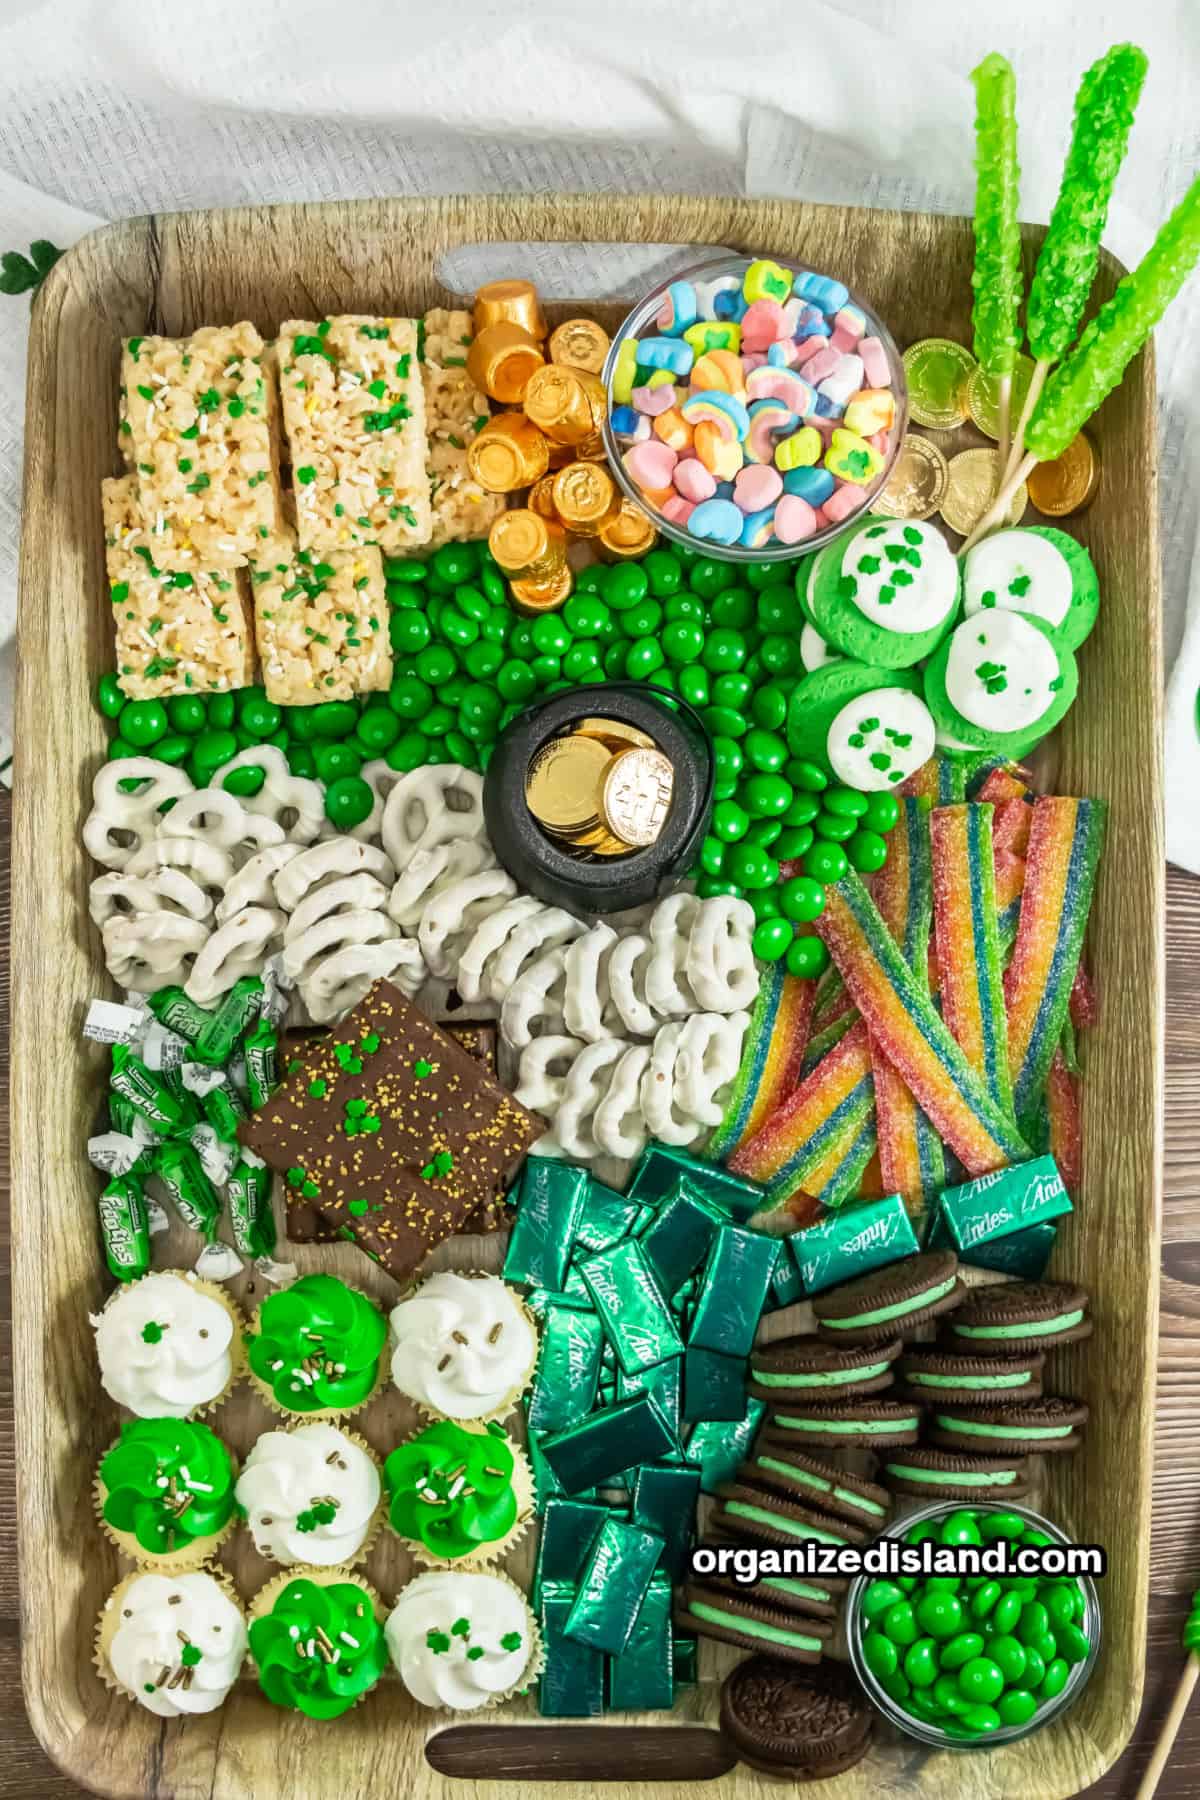
Organized Island shared this amazing St. Patrick's Dessert Board


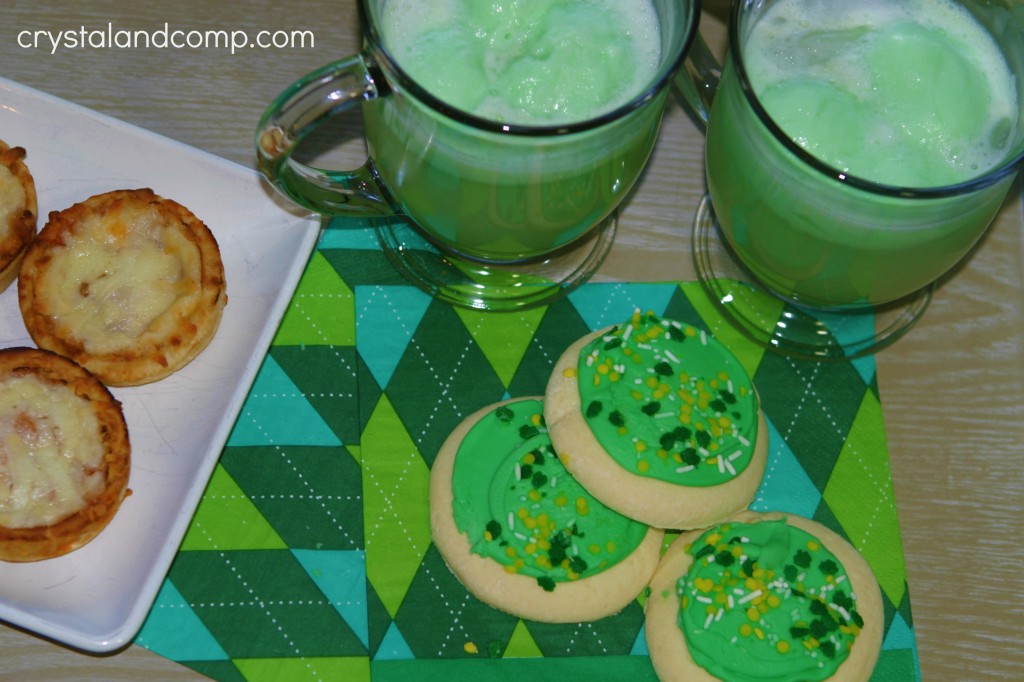
Finally, Crystal and Company shared this very family-friendly St. Patrick's Green Punch

Thanks to everyone who linked up! Wishing you a wonderful weekend and no Leprechaun pranks! 


You are invited to the Inlinkz link party!

Click here to enter

Wednesday, March 13, 2024

Home Decor: Layered Bunny and Egg


Mr. Chocolate now gets why I stop at different Dollar Tree locations. (And yes, I saw where they're closing stores!). We were out and about the other day and there was one next to a place we were going so of course I had to stop and I found some things I hadn't seen at other stores like these thicker "wood" eggs and Buffalo check bunnies! This idea instantly popped into my head. 

Supplies 
  • Dollar Tree Wood Egg
  • Dollar Tree Buffalo Check Bunny Garland
  • Dollar Tree Mini Wood Blocks
  • Hot Glue Gun and Glue
  • Ribbon
  • Acrylic Craft Paint
  • Coordinating Ribbon


The bunny garland would be cute as a garland but I already had this idea in my head. I painted the top of the eggs and left the sides bare. 


It only took one coat but I let it dry overnight. I took two of the bunnies off of the twine and replaced it with coordinated ribbon. 


I pulled the ribbon through the holes from the back, tied a square knot, then trimmed the ends as shown. I had some mini-wood blocks in my stash that I used to create depth to glue the bunnies to the eggs.


After I glued the block to the back of the bunny, I used more hot glue to attach the bunnies to the eggs.


Easy Peasy Dollar Treesy! But what to do with the remaining bunny garland? I decided that the remaining four would make two cute 3-D bunnies. 


I had these mini pom poms in my stash and went with the light turquoise ones to cover the holes from the twine. Then I glued two more of the wood blocks to the back and attached another bunny to the blocks. 


Be careful to make sure the bottoms are even so they'll stand up. 


They go with some eggs I did years ago!


And of course, now, I wish I'd bought another garland! 

Thursday, June 17, 2021

BFF Open House: Keeping It Real Edition


Happy Friday Eve Creative Peeps...this time from home vs this time last week in the hospital. Thank you for your kind words of support. Got sprung last Friday and on my journey of recovery. Normally I keep the intro to my party related to creative things or seasonal discussions but this one I'm going to "keep real" so if you want to skip straight to the party, scroll on down. 

What landed me in the ER last Monday was having dealt with of all things, constipation, for the two weeks prior. After my Mom's fall and her own hospitalization in March, recovery and follow up tests and appointments plus dealing with insurance stuff in April, making the decision in May to move closer to her, and then prepping to move, it wasn't that surprising since I had been doing a lot of on the go eating etc. 

Welp! That wasn't the culprit. But I'm glad I listened to my body and part of the reason I'm sharing this is to encourage everyone to LISTEN TO YOUR BODY! After blood tests and a CT scan in the ER, turned out I had a Tubal Ovarian Abscess as well as Colitis. The question became a chicken and egg one of which came first. Especially since I'd had a hysterectomy at 35 and there was no logical pathway to the Fallopian Tube and/or Ovary. The conclusion by the time I was discharged was, "doesn't matter". The treatment would have been the same. I had a white blood count double the top of the normal range which was "no bueno". Really really bad. So days of IV fluids and antibiotics ensued, including being discharged on the maximum dose of antibiotics for two more weeks. I also came home with a friend called a Pigtail Drain which is a tube that had to be put in my abdomen by a specialist called an Interventional Radiologist. Are we having fun yet? Nope! We are not. 

Most ( not all ) of my readers are women so I'm directing this to you. We tend to put ourselves last. As mothers, daughters, wives, sisters...we're the caregivers. PLEASE friends...listen to your bodies. Know when not to ignore that something's off. Don't feel like you have to power through everything. I'm a good one to talk because that's what I've done my entire life. My dad, may he RIP, set the minimum expectation at 110%. That was baseline. And I internalized it my whole life and as such, have sometimes ignored things I shouldn't. Likewise, we're bombarded with messages to push ourselves and accept no limits. Appropriate when contextualized perhaps, but it can be equally dangerous. So I implore all of you, don't think you have to be Wonder Woman. I love her but ... she's a fictional character. 

A big shoutout to Mr. Chocolate who has been there for me 100% and the burden of this move has fallen on his strong shoulders but he too is only human as I keep reminding him. Thankful that PhD Man is coming to help us finish up. 

Alright let's take a look at some of the creative ideas shared at last week's party. It's going to be a minute before I get back to creating. Have some follow-up appointments next week and a surgery in my future to remove these lady parts that tried to kill me. Also...moving. Never let it be said that I do things halfway!


Howling Liz shared some adorable and fun Summer Necklaces. 


LOVE these bright and fun Owl and Bird Painted Rocks from Simple Joys! There was a trend a couple of years ago of leaving painted rocks in random places. How fun would it be to randomly find ones this cute? I still have one I found at our Community Garden. 


This rescued makeover from French Creek Farmhouse is not only a beautifully refinished piece, but Kristi gives you some FABULOUS tips of things to look for in rescued / thrifted pieces and how to rehab them. Beautiful piece! 

Finally,  you know things must have been serious with me because I haven't even thought about chocolate for a couple of weeks. Seriously. I can't believe it either. This Chocolate Poke Cake from The Lou Lou Girls is definitely being saved for when that time comes!

OK let's see what you've all been up to this week and I would be remiss in not giving a HUGE shoutout to NURSES! I know I do not nor did I ever have it in me to answer this vocational calling. I truly believe it is a calling and the Nurses who cared for me were my angels. 


You are invited to the Inlinkz link party!

Click here to enter

Monday, May 3, 2021

Layered Butterfly Mother's Day Cards With Cricut


Things settled down enough on my end to be able to work on some Mother's Day cards for family and friends. I'd had fun with my Layered Easter Egg cards so I decided to keep it simple and use the same approach to these, creating three layers in Cricut Design Space and then attach them using foam squares. 


Supplies: 

  • Recollections 110lb Cardstock ( Michaels
  • Coordinating Paper ( Michaels ) 
  • Foam Dots / Squares
  • Self Adhesive Rhinestones 


Since Michaels enables me with their regular sales of their Hot Buy paper pads ( seriously, they could make me their ambassador for just these!) I gathered up some coordinating stacks. I decided on two color palettes. One pinks and lavenders and the other turquoise and white. 

I cut my own cards because I like them heavier than most of the pre-cut card packs since I tend towards heavier cards. This is why the Recollections 110lb Cardstock is my go to. Cuts clean and stands up to the weight of my cards. 

Using the Cricut Design Space software, I chose a plain Butterfly image then created two additional layers, adding ovals and circles. 


I cut each layer with the top layer being cut from the glitter cardstock. 

For the cards, I cut the cardstock 7x10 then scored, cut the panels and assembled the butterflies using foam squares. 


I kept these simple because the papers are pretty enough to speak for themselves. To finish, I cut a bunch of small flowers from white shimmer paper and layered with a foam square and curled up the top layer's edges. 


To finish, I added self adhesive rhinestones in the layered openings. Et, voila! 


Sharing At: