Showing posts with label Jewelry Making. Show all posts

Monday, June 17, 2013

Graduation Gift: Silver Softball Themed Necklace and Bracelet

Silver Softball Necklace and Bracelet

Sharing a graduation gift I made for the daughter of one of my besties. We have been friends forever (7th grade) and now her baby has now graduated from college!

My “niece” is a lifelong softball player and earned a scholarship to play softball in college. I knew I wanted to incorporate softball into her necklace but now that she’s a college graduate, also wanted something grown up that she could wear. I found this enameled softball charm that was neutral in color and designed things around it.

I used a combination of silver chains and a rhinestone chain I picked up at Michaels and deconstructed.

Softball Graduation Necklace

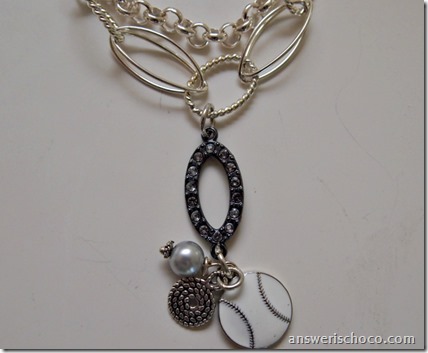
I didn’t take a lot of pictures while I was making it but basically just laid out the chain the way I wanted it, added a couple of the rhinestone links along the way, and then used one as the base for a pendant, attaching the softball charm, another silver charm, and a silver pearl attached using a head pin.
Silver Bead Bracelet

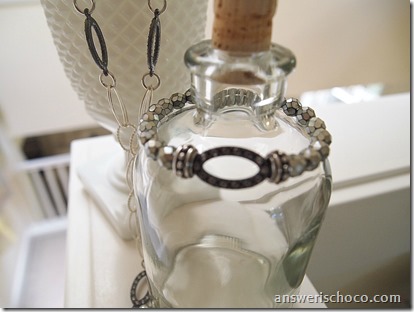
The bracelet (this pic came out a bit blurry) is a mix of silver crystal beads, silver pieces, and another link from the rhinestone chain.

Graduation was yesterday and I am really honored that she chose to wear these for her graduation. Wishing you all the best Ro!

Saturday, June 15, 2013

Jewelry Makeover: Clearance Earrings Into An Easy Necklace

Teardrop Metal Necklace 3

I’ve shared before that since I don’t have pierced ears I often buy pierced earrings and convert them to clips. This time, I found some on sale that I couldn’t see myself wearing as clips, but the parts intrigued me and the price ($4.99) was too good to pass up.

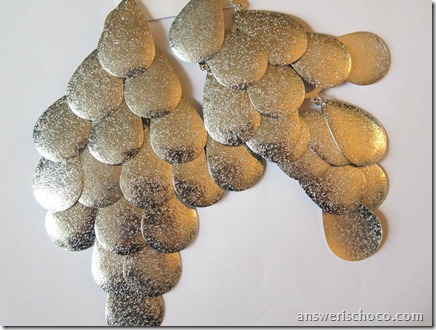
This is the before pic. Aren’t they ginormous? Each earring was made from 16 metal teardrop pieces.

Drop Earrings Before Pic

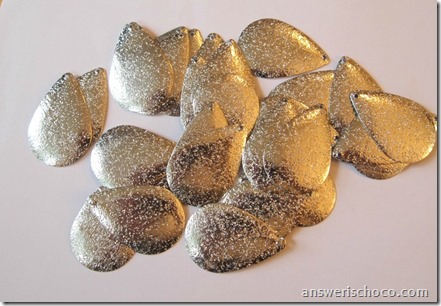
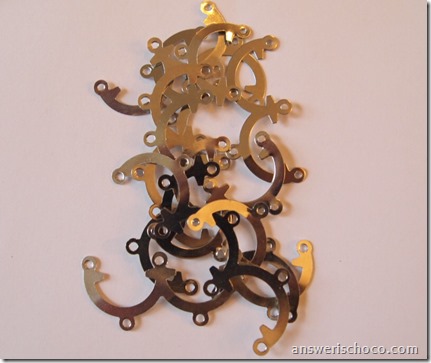
The teardrop metal pieces were attached with jump rings so I disassembled each earring and ended up with a pile of parts:

Earring Parts

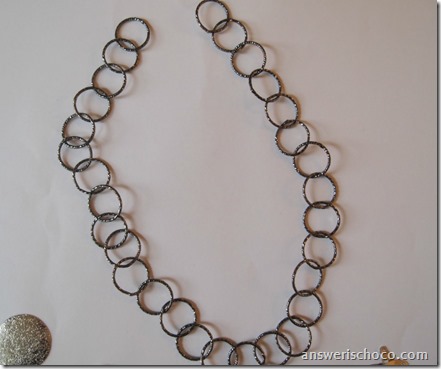
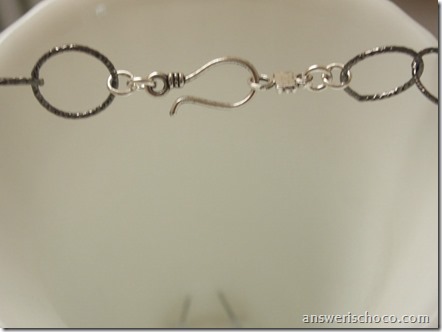
I had some dark pewter metal chain in my stash, measured out 18 inches and then attached a clasp.

Gunmetal Chain

Teardrop Metal Necklace Clasp

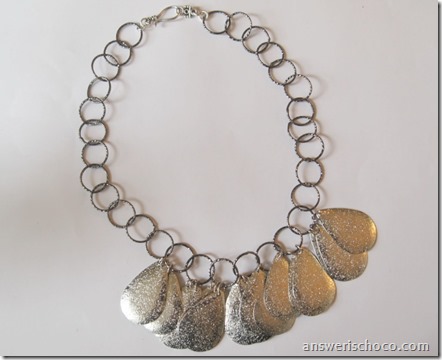
Then I attached three of the metal pieces ( saved the jump rings I’d removed) to a 7 links of the chain.

Teardrop Metal Necklace

I ended up using 21 of the 32 tear drops so I have some left over to play with. In deconstructing the earrings, I also ended up with another pile o parts that sparked some more ideas. Stay tuned!

P6140043

Sharing At:


Tuesday, May 21, 2013

Jewelry Making With Plaid and Martha Stewart. I'm In Love!

Martha Stewart Rhinestone  Necklace
This post is sponsored by Plaid , Martha Stewart Crafts, and The Blueprint Social. Projects and opinions are my own.


When I heard that Plaid was launching a Martha Stewart Jewelry line, I was excited. When I had the opportunity to get to play with products from this new line, there was no living with me. I camped out at the front door waiting for Mr. FedEx man. Martha and jewelry? This could only be phenomenal.  The only thing missing was chocolate.

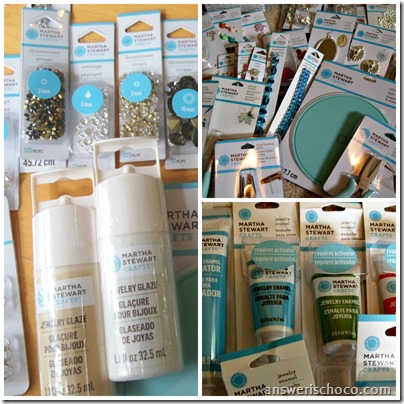
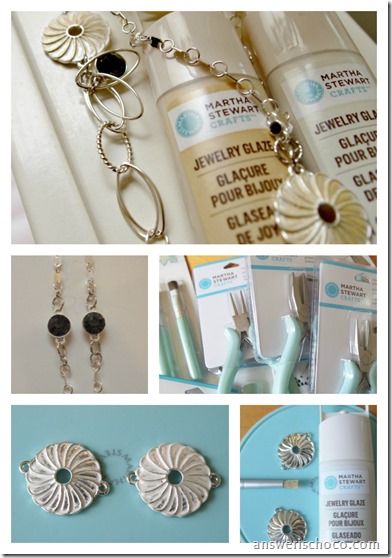
Martha Stewart Jewelry Supplies

Let’s start with the amazing variety and choices in this new line. Whether you’re a new jewelry maker or an experienced one, there’s something for you. Findings, chains, beads, charms, rhinestones, bails, bezels, tools. Two of the most exciting new products are the jewelry glazes and enamel paints.

You can make your own very elegant enamel charms in a variety of colors.  There are also  epoxy clays and silicone molds to make even more components. I had to start somewhere (this was the hardest part!) so I decided to play with the jewelry glaze.

Martha Stewart Glazed Charms

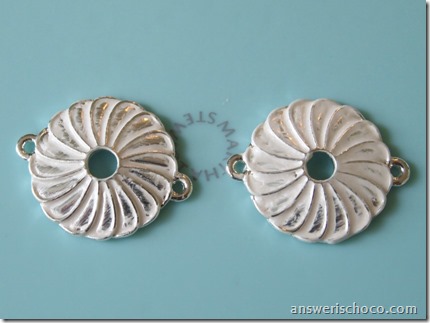
I covered two of the silver charms with  Ivory jewelry glaze. To apply it, squeeze a little glaze onto the silicone mat then stipple it onto the charm. This little silicone mat is genius! Works with the jewelry glaze and the enamel paints and cleans up easily.

Martha Stewart Pearl Glaze

I wanted a vintage look so I wiped a bit of the Ivory glaze off with a clean dry rag but if you want a more contemporary opaque look, just don't wipe away the glaze. After about an hour’s drying time , I went over the Ivory with a coat of the Light Gold glaze.

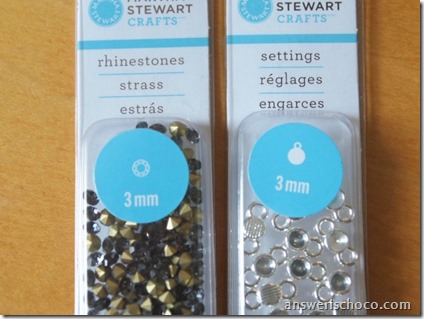
While my glaze was drying, I played with a couple different sizes of the rhinestones and settings, using the Martha Stewart jewelry glue to secure the rhinestones.There are two different kinds of settings; pronged and glue in. I used the 3MM and 6MM hematite colored rhinestones and settings .  I've mentioned before that I'm really sensitive to strong fumes and smells. The jewelry glue didn't bother me at all.

Martha Stewart 3MM Rhinestones

Martha Stewart Gold Glaze

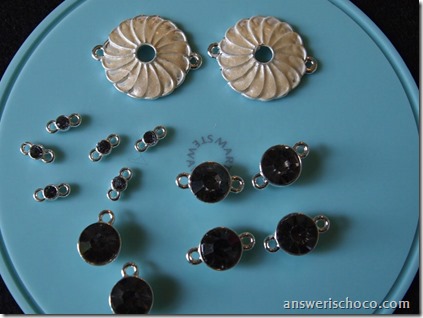
I used two types of silver chain that came in my supplies, connecting the rhinestone components with jump rings to sections of one of the chain and using the other chain in its entirety. I made a pendant out of one of the glazed charms and rhinestones and used the other glazed charm (with chain I had on hand) to make a matching bracelet.
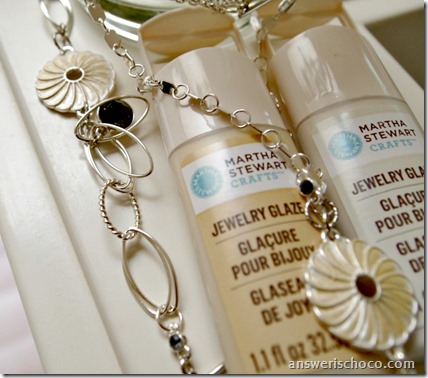
Martha Stewart Glazed Pendant Project

Martha Stewart Jewelry Glazed Necklace

The rhinestones come in a variety of colors and sizes and coordinate with other beads in the line. 
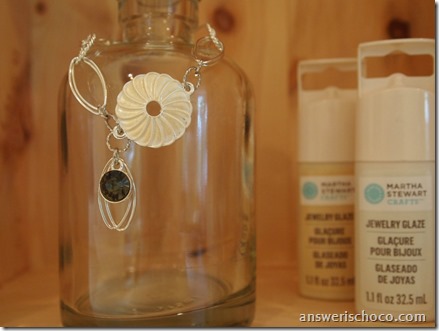
Martha Stewart Jewelry Glaze Bracelet

There are endless possibilities with these products, limited only by your imagination. You can check out the full line of products (available exclusively at Michaels) and get some other ideas here: 

  • Facebook: https://www.facebook.com/InspiredByPlaid
  • Twitter: https://twitter.com/PlaidCrafts
  • Pinterest: http://pinterest.com/plaidcrafts


And be on the lookout because other creative bloggers will be sharing their Martha Stewart Jewelry creations too.


Sharing At:


Wednesday, March 6, 2013

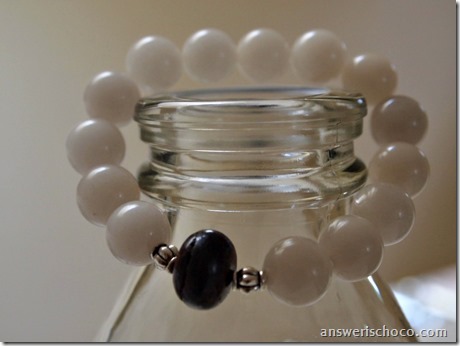
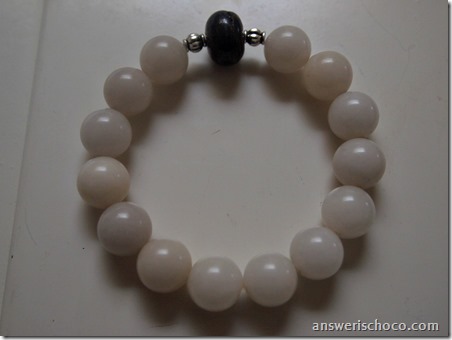
Designer Inspired Super Easy White Agate Stretch Bracelet

White Agate Stretch Bracelet

I mentioned in my previous post that I was seeing a couple of friends this week and like to bring them something on our all too rare get togethers. One friend is an uber fashionista .Simple but high end style.

I love the Simon Sebbag stretch bracelets I’ve seen at Nordstrom. If you’re not familiar with them :
which remind me of her so I decided to do my own version. The original uses all of the same stone bead with one or two accent beads.

White Agate Bracelet

Got my supplies out. For this you will need:
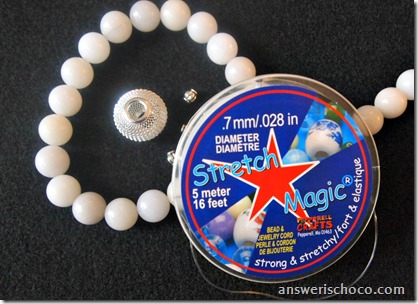
  • Stretchy Cord
  • Stone Beads ( I used white agate)
  • Focal Bead ( I originally planned to use this stainless mesh bead but it didn’t look right so you’ll see what I switched to after I took the picture)
  • Small silver beads

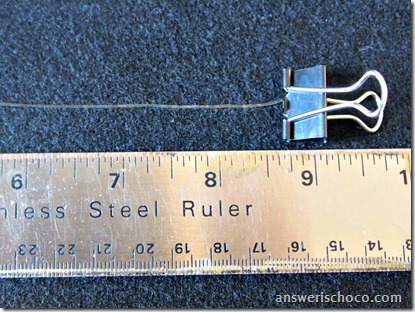
Measure a length of your stretchy cord. I generally do about 9-10 inches.

Stretchy Cord Measurement

String your beads on. This is THE perfect project for anyone who wants to make jewelry but doesn’t want to invest in tools. You can use what you have on hand. Ruler, binder clips, scissors.

Agate and Bronzite

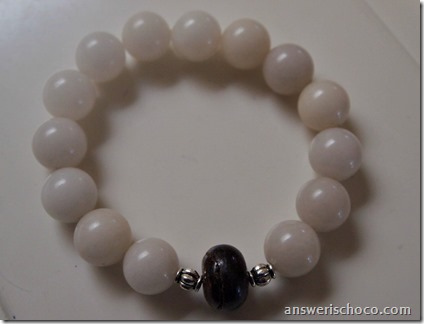
You can see here what I swapped out for the stainless bead. A bronzite bead with two small silver beads.
Once you’re satisfied that you have the right length to go around your wrist ( you want it to fit comfortably, not too tight) then you can tie off your ends and I always add a dab of super glue to the knot then tie once more.

Agate Stretch Bracelet


Stretchy Agate Bracelet


Even using real stone and silver beads my materials were a fraction of the cost of my inspiration bracelets.


Monday, March 4, 2013

Gardening Lover's Necklace

Bead Landing Boot Charm


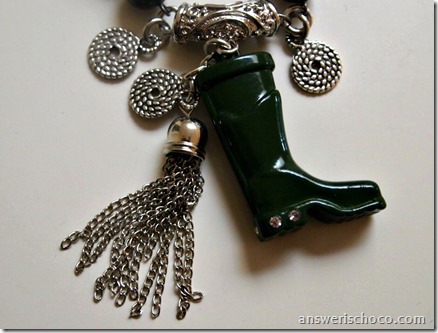
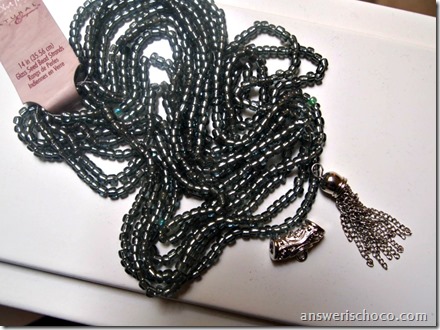
I’m catching up with a couple of girlfriends later this week and always like to bring them a little something. One is an avid gardener so I knew when I saw this little green garden boot charm on sale at Michaels I had to get it for her. There was also a beaded chain in the same section so I picked that up too.  Both are by Bead Landing from their “Derby Chic” collection.

Blue Moon Seed Beads, Bell Pendant Silver Bail
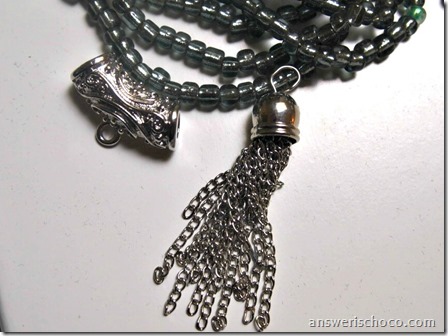
I had some complementary colored seed beeds in my Blue Moon Beads design team supplies, along with a very cool silver bail and bell charm.
Gray Seed Beads, Bell Pendant, Bail
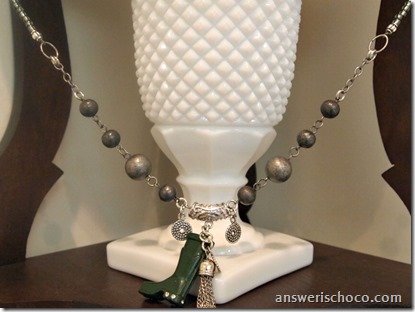
I attached the boot and the charm to the bail along with some silver charms I had in my stash.
Garden Boot Charm Necklace
I took the beaded chain apart at the middle , ran a small length of plain chain through the bail and then attached the beaded chain to either side.
Garden Boot Necklace
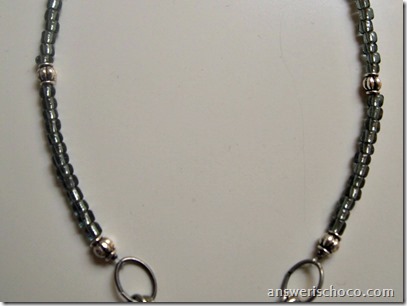
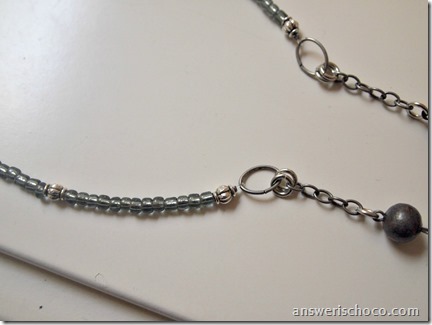
Using the seed beads, I strung two sections and attached oval jump rings to each end. Attached these to more plain chain .
Derby Chic Boot Necklace

Wellington Boot Necklace

I don't think she'll be wearing it while she gardens but I hope it captures her passion. 


Sharing At:


Sunday, March 3, 2013

Ten Minute Black and Gold Necklace


It's not as if I needed another necklace but what's that got to do with anything? I decided at the last minute before we were going to see a movie yesterday that I wanted a new necklace to wear.  I did this so fast, I barely took any pics. I remembered this black and gold chain that was in my Blue Moon Beads design team stash and decided to make it the focal of my necklace. 

Grabbed some gold chain, antique silver chain,  and a multi-strand waxed linen necklace, all by BMB. I took the clasp ends off of the waxed linen necklace, measured the three chains the same length, and attached them to one end of the waxed linen necklace. Attached one half of a  hammered gold toggle clasp to the other end of the waxed linen necklace and then the chains to the bar end of the clasp and done. 


Sharing At: 


Monday, January 28, 2013

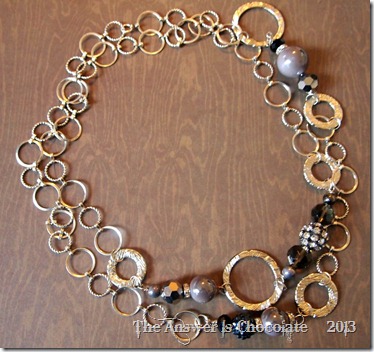
Double Strand Hammered Metal Connector Necklace

Blue Grey Metals

So apparently I really have lost my mind because I had this ready to post in DECEMBER and thought I had. That’s the sound of my palm hitting my head.

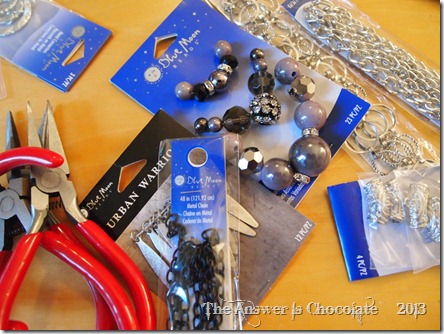
I made this necklace ( shown here doubled) with Blue Moon Beads and Bead Landing chain. The lightbulb went off yesterday when I was wearing it and someone asked me if I made it. That made me start thinking about when I made it and I realized I never posted it!

Blue Grey Metal

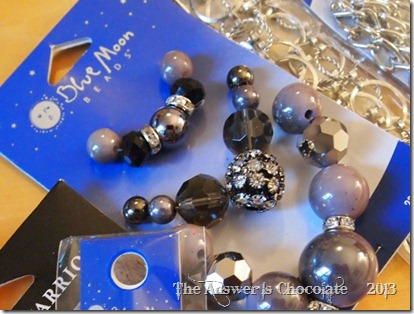
Whenever I’m making jewelry, I gather up what I think I’m going to use so here are the things I started with. The blue grey beads came in a pack of 23 coordinating pieces as shown on the card.

Blue Grey Metal

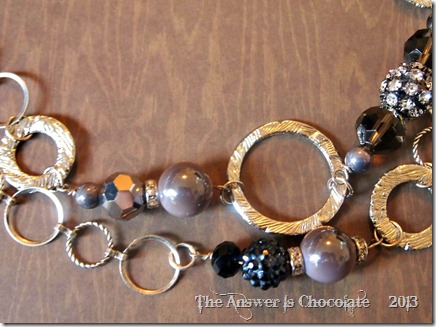
I cut different lengths of chain and made varying sections of beads and then randomly put them together with jump rings and hammered silver connectors:

Hammered Connectors

I made it really long so I could either wear it that way or double it. It’s hard to get a good photograph of it the long way but I’ve mostly worn it doubled anyway.

A mind is a terrible thing to lose!


Sharing At: