OK let's speak truth. Coffee is calling me all year round, whether leaves are falling or not. But I was actually looking for something else when I "remembered" (aka this SVG file popped up and I'd forgotten) I had it. And a Reverse Canvas seemed like the perfect thing to do with it so I did!
If you're unfamiliar with Reverse Canvases ( because I've learned that not everyone can keep up on every DIY trend all the time) they are basically deconstructing a pre stretched canvas that you can get at any craft store and re-imagining them using the frame you don't normally see. Let's see what I mean!
Supplies:
- 12x12 Canvas ( Michaels)
- Vinyl ( I used a faux wood grain vinyl from JoAnn)
- Acrylic Paint
- Staple Gun
- Utility Knife
The first and most tedious step is removing the staples from the back of your canvas. There will be swearing involved and you will end up searching online to see if there's any kind of tool that will do this better than your mini screwdriver, letter opener, plier combo. I think I may have found one at Lowes but I need to see it in person so I'll update on my next one of these! Back to this one.
Next, you'll need to decide what you want on your canvas. I was originally going to do another "Fall" idea and then as mentioned, this one popped up and I changed my mind. You're allowed to do this. Especially when the nice people at designbundles.net keep having amazing and free bundles which is where I got the file for this one.
Size in Cricut Design Space if you're using an Explore Air 2 like I did, or in your Silhouette SW if you're using a Cameo. Cut. Weed. Apply Transfer Tape. Set aside.
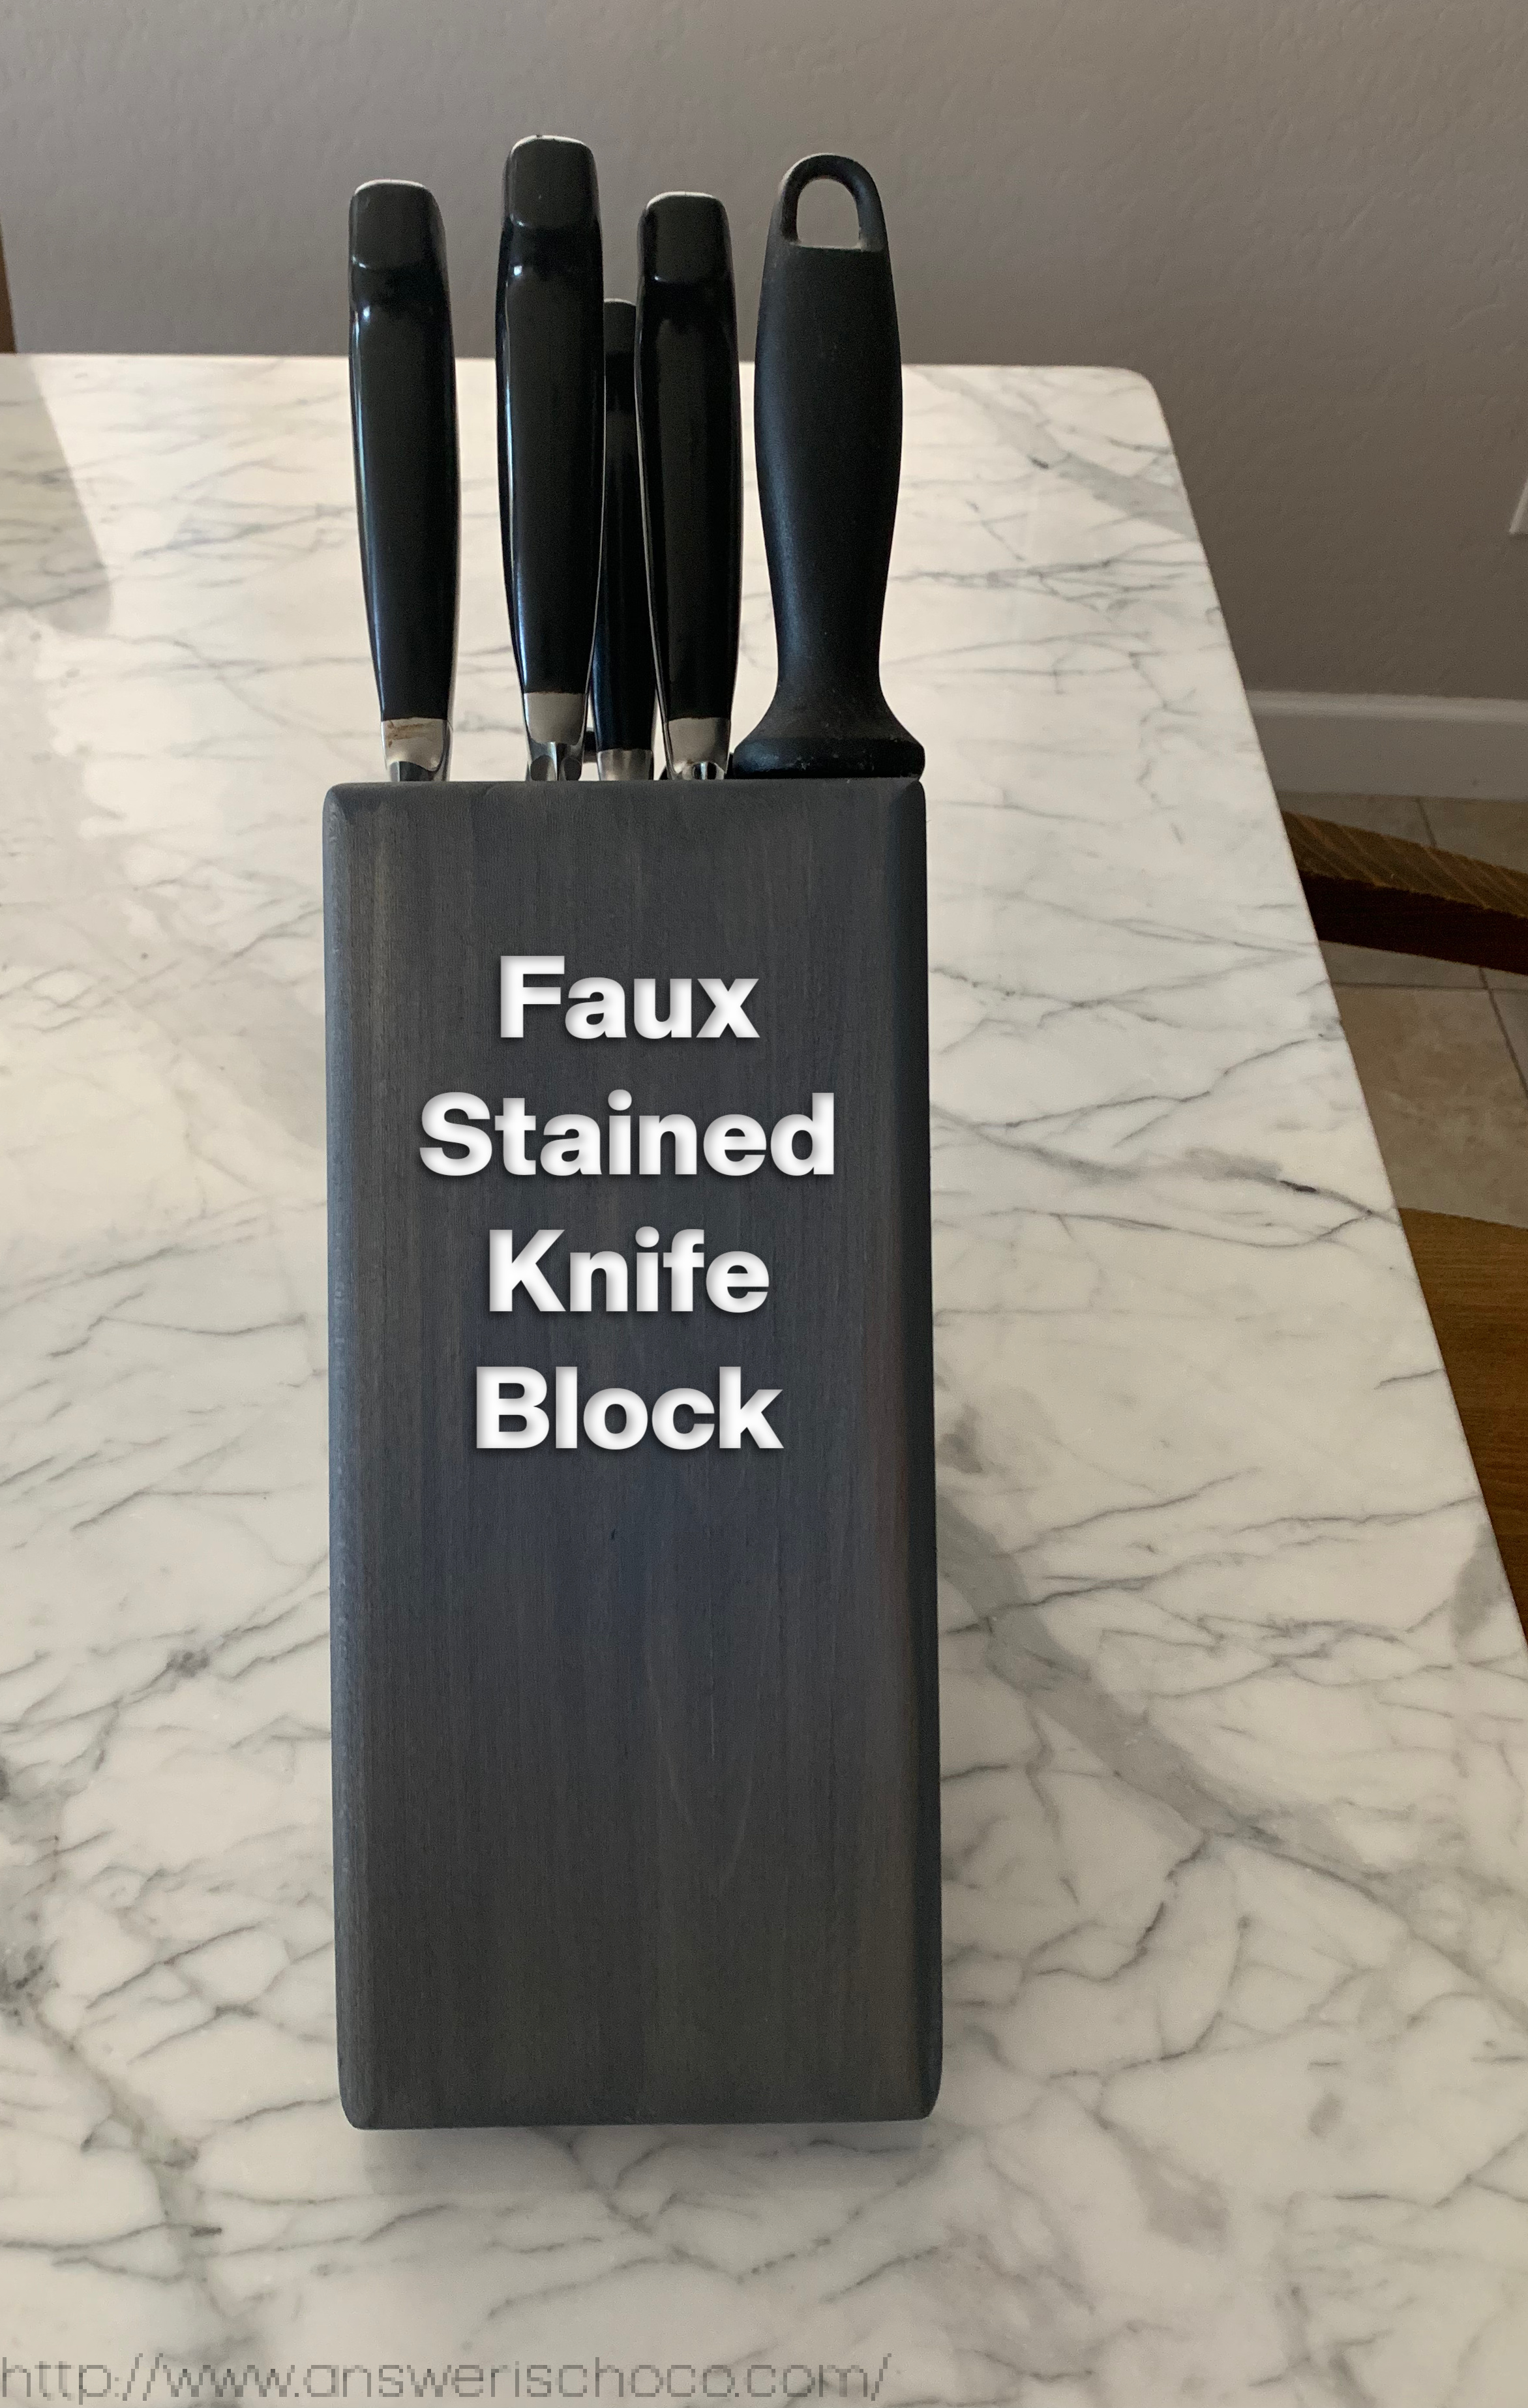
Set your liberated canvas aside and decide what you want to do with your frame. You can leave naked, paint it, or stain it. I didn't have stain but wanted a stained look so I thinned some brown acrylic paint with water and winged it. You don't want to use the side from which you removed the staples. Flip that puppy over and use that side.
Thin your paint with water, brush on, wipe off with a rag. If too much wipes off just repeat. You can either leave the staples in the corners as shown or as you'll see later, I added some giant rhinestones to cover.
Now it's time to apply your vinyl to your canvas. Sorry for how dark this pic is. Ugh.
NOTE:
Technically, your vinyl goes on the untreated side of the canvas in which case you really will want to use a heat transfer vinyl. When I do another one of these I'll remember that. Because I didn't. And I felt dumb. So I'm telling you this because I don't want you to feel dumb. But I didn't feel dumb for long because duh...flip the canvas over to the treated side and the non-heat transfer vinyl sticks just fine.
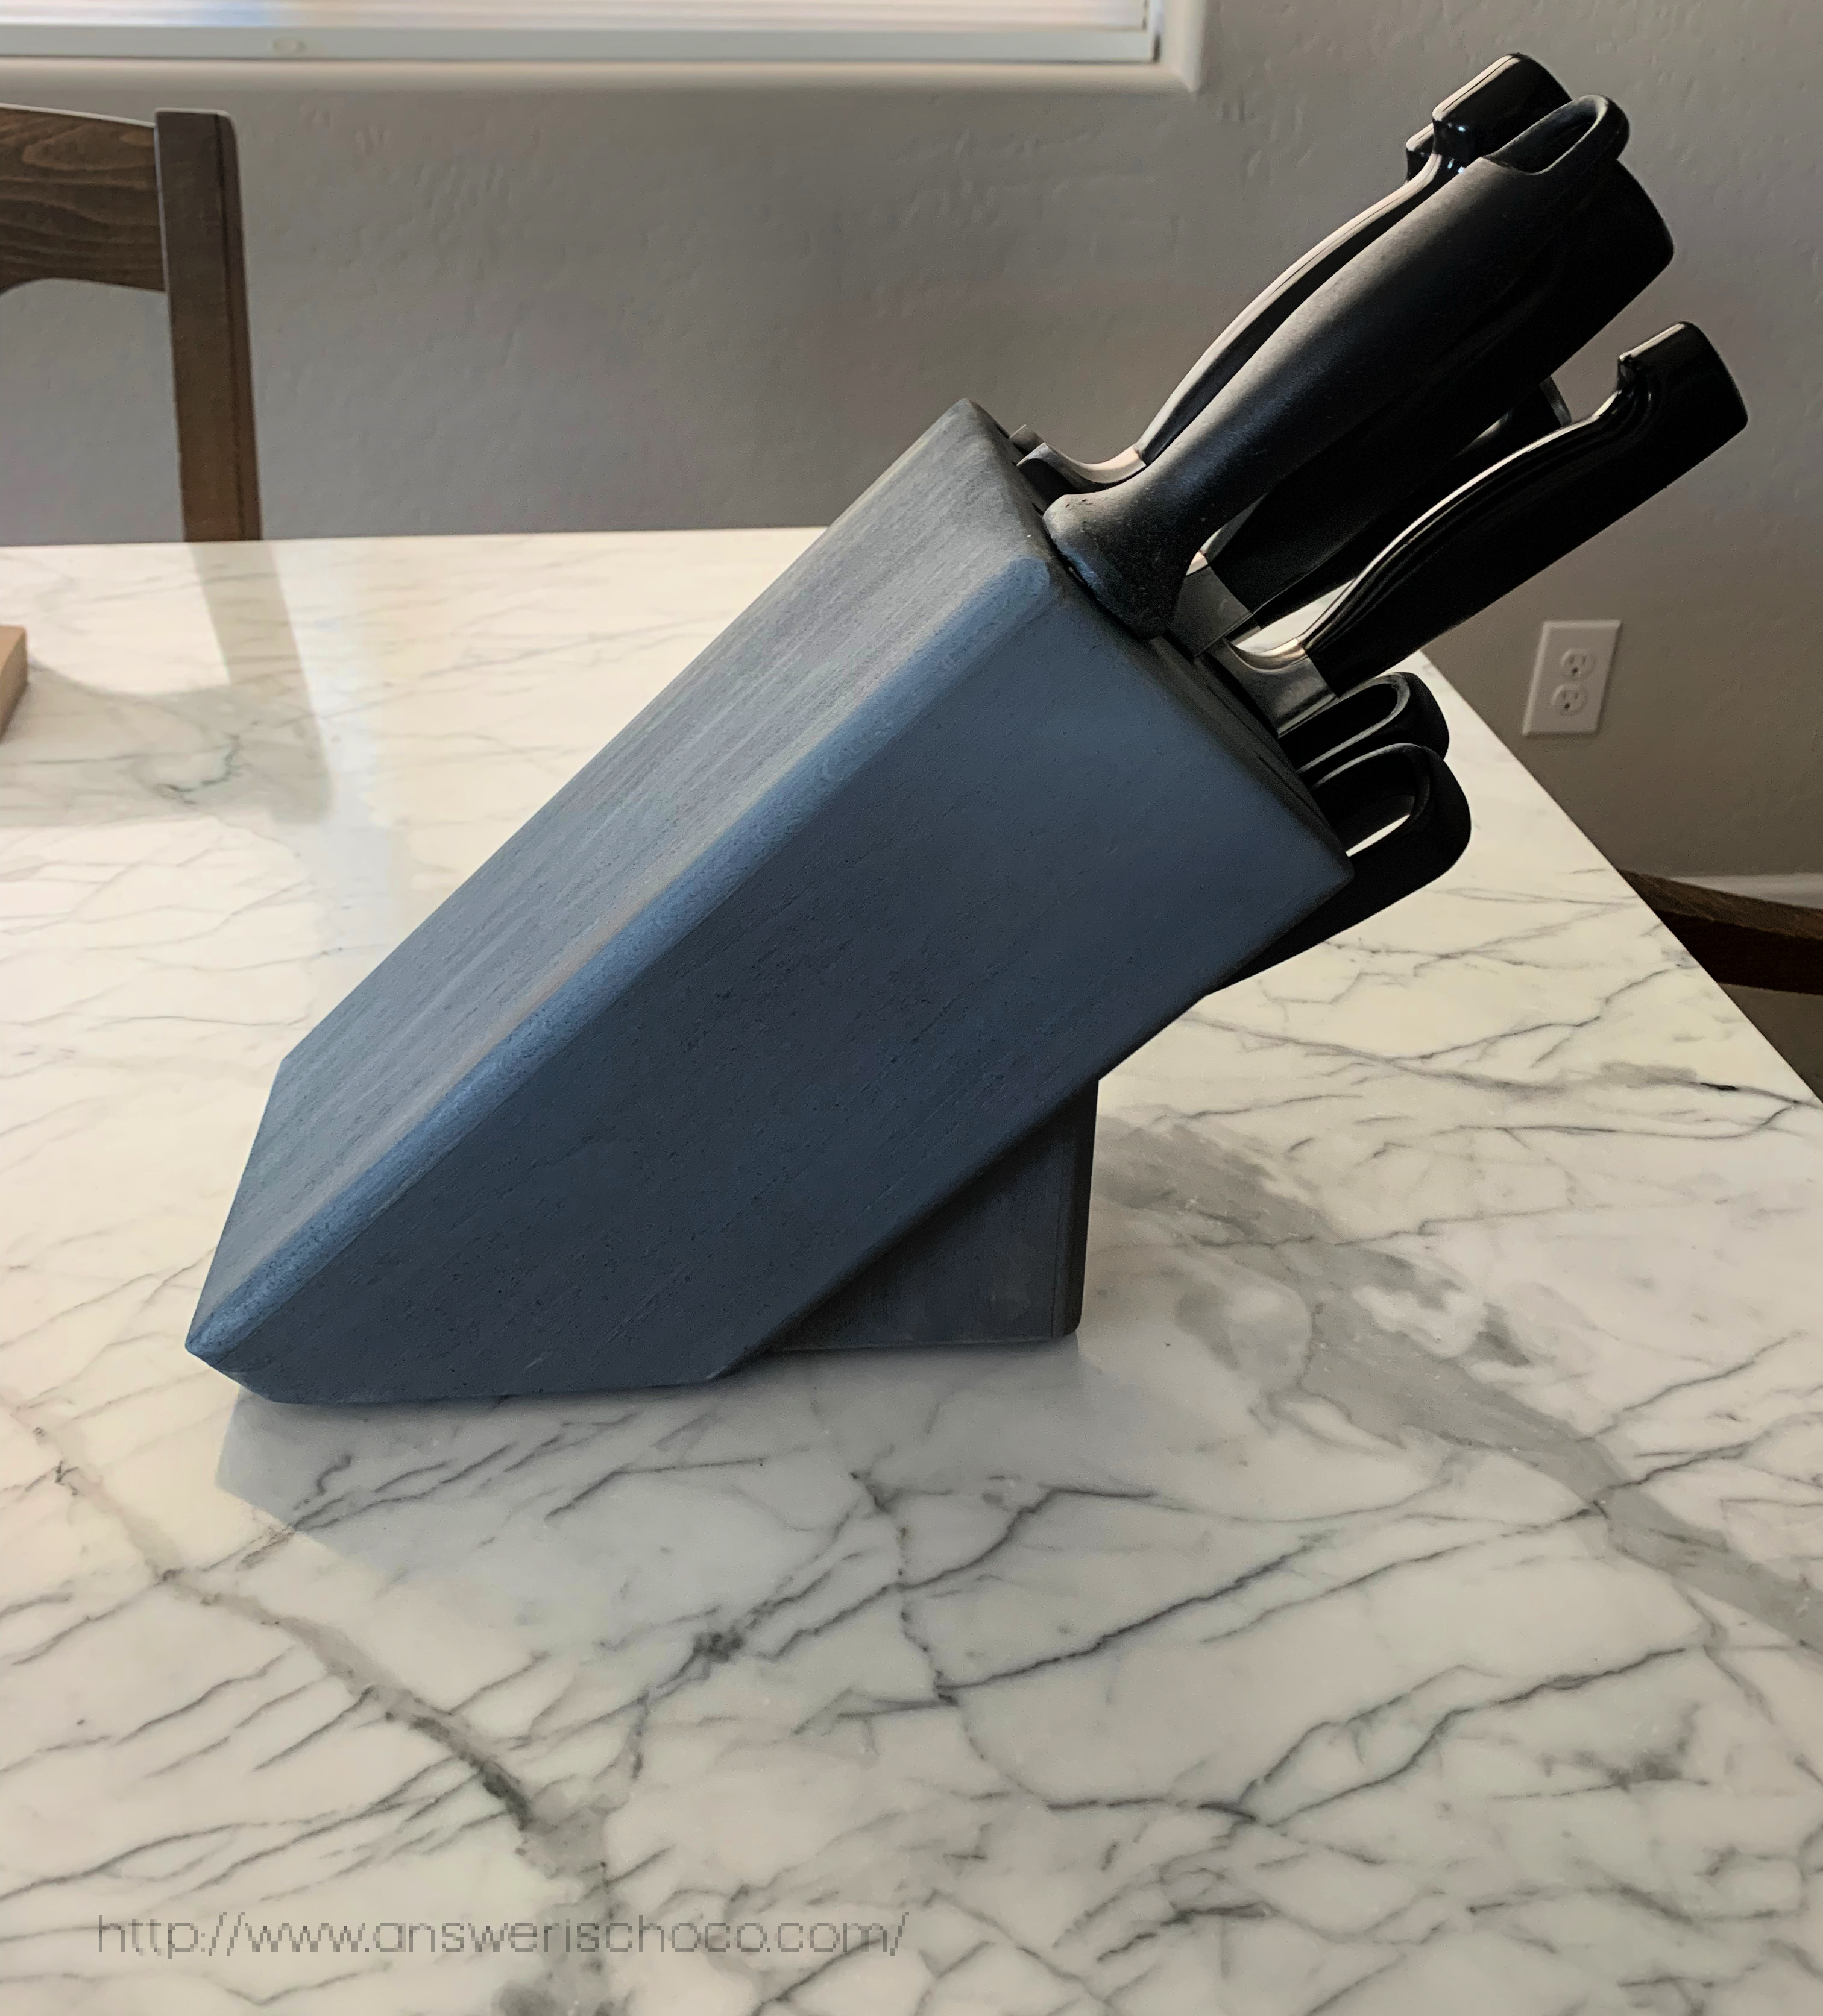
Now you're ready to reunite the canvas and the frame. Here's where you need your staple gun!
Position your frame where you want it and I cheated and used a couple dabs of hot glue to keep it in place for when I flipped it back over to staple the frame. Then staple around the frame ( "Didn't you just remove all those staples?" asked Mr. Chocolate? "Go away"). You want to make sure your canvas is pulled taught. Almost done. The last thing you need to do is trim your canvas.
When you remove the canvas from the frame you'll have excess since the canvas was folded over the back of the frame. Once you've stapled the frame back on, then go around the edges with a sharp knife to trim,
I had these large rhinestones in my stash. They were actually brads, so I cut the pokey brad part off the backs and glued as shown with hot glue. Et voila!
Sharing At:


.jpg)


