Showing posts with label Dollar Tree. Show all posts

Wednesday, December 7, 2011

Naughty or Nice? Vinyl Charger

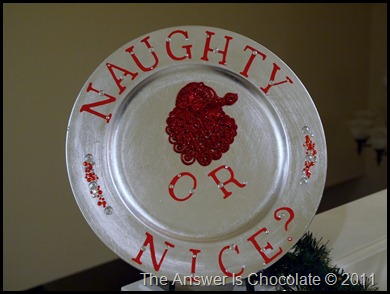
One of my décor staples has become those vinyl chargers that you can get at Michaels in a variety of colors. I look at them as blank canvases to play with. I did one for Thanksgiving and picked up some others to use for Christmas. Charger + Vinyl = easy peasy

Charger Naughty or Nice
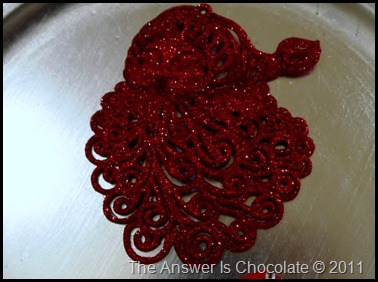
I cut the letters from red vinyl  and placed on the charger. Since the message was “Naughty or Nice” and Santa is the one who knows which one you’ve been, it was a perfect use for more glittered ornaments I found at the Dollar Tree ( 5 for $1 )

Santa Ornament Closeup
I ended up going over the face with silver RubnBuff to give it more definition but had already taken the pic.

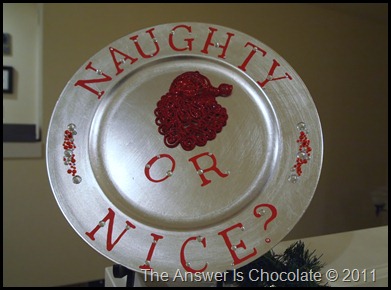
Finished off with red and clear rhinestone strips I had in my stash, picked up on sale after Christmas last year, and dotted the letters with individual clear rhinestones.
Naughty or Nice Charger

So which one does Santa think you are? Naughty or Nice?

Sharing At:
HookingupwithHoH


Monday, December 5, 2011

Blast From The Past: Tinsel Trees (Stinkin' Easy)

OK this was the easiest thing ever. So easy it’s not really even worth posting about but what the heck.

I have lots of different styles of Christmas décor. I like different looks, and since I decorate just about every room, I figure I can do different styles in each. This year I’ve caught a glitter bug and am doing a kind of retro mid-century modern mantle. Enter the tinsel!
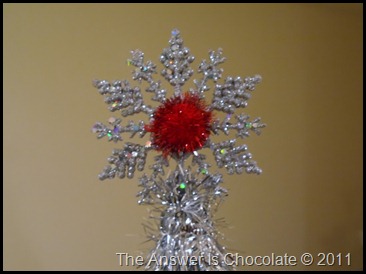
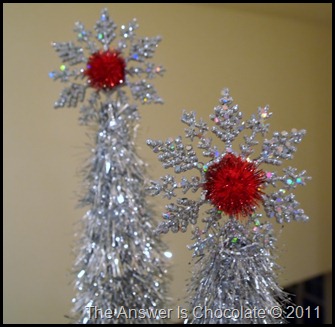
Tinsel Tree With Topper
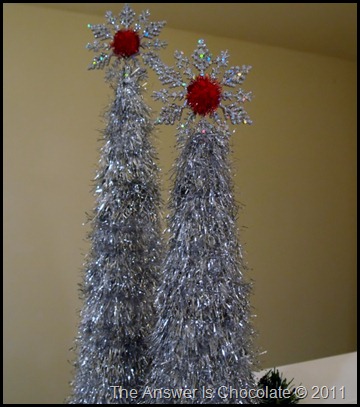
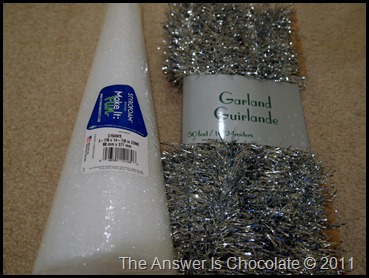
What the heck are they you ask? Tinsel trees I answer. With Snowflake toppers.  Here are the complicated ingredients for this crazy concoction:
Tinsel Trees
Styrofoam Cone and Tinsel Garland. I hoped to get the cone at Dollar Tree but apparently they don’t have them anymore so I got one at Michaels with a 50% off coupon and one at JoAnn’s with a 40% coupon. The tinsel garland I did get at Dollar Tree. 50 Feet for a buck.
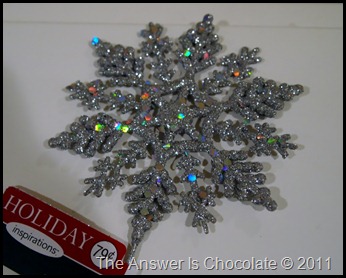
Snowflake Pick
For the topper, a VERY expensive glittered snowflake from Jo Jo’s ( JoAnn) $.79 and 50% off . I know…pricey!

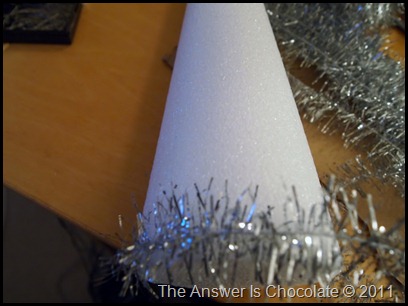
I didn’t even use glue. Just started at the bottom of the cone and stuck a straight pin through the tinsel garland and a few more as I went around the bottom to make sure it was on there good.
Tinsel Tree Start
And wrap. And pin…from time to time in random places on the way up to the top.

Before I stuck my snowflake pick in, I added a glittery red pom pom I had in my stash.
Snowflak Topper
The mantle’s not quite finished but getting there and I’ll show it soon. In the meantime, I’m in the mood to watch some cheesy 60’s sci-fi Christmas movie like Santa Claus Conquers The Martians. OK so that may be the ONLY cheesy 60’s sci-fi Christmas movie and I don’t even know how I ever saw it but somehow I did. Don’t judge!
Tinsel Snowflake Trees
“Take me to your leader. No not the crazy woman with the glue gun. Anyone but her!”

Sharing At:
homework

Photobucket
HookingupwithHoH


Tuesday, October 25, 2011

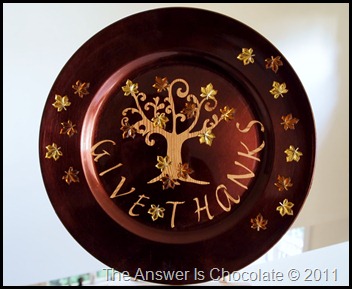
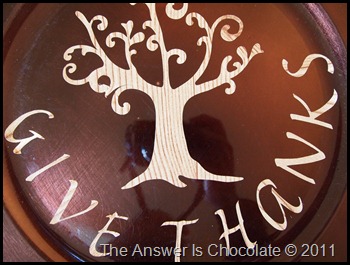
Giving Thanks for Dollar Tree Contact Paper Charger

Confused yet? Let me explain. But first let me thank Viv over at The V Spot who unknowingly answered a question I had which was whether you could cut Contact paper with a Cricut. She did it fabulously here.

OK so back to my explanation. Maybe it’s easier if I show you:
PA243255
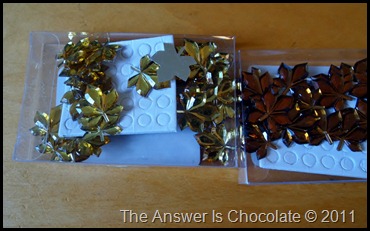
I started with a charger from Michaels that I bought when they were 2 for $3. Used one in my Halloween décor but now I’m moving on to Thanksgiving. I also bought these acrylic leaves at Mike’s ( we’re really good friends Michaels and I …we’re in the nickname stage now) in their 2 for $3 section ( ya know…used to be a dollar…sigh, I’m not quite over that Mike) . Moving on.
PA243252
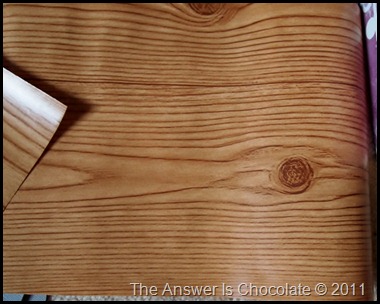
Then, when I was at Dollar Tree after Viv’s genius confirmation that you can in fact cut Contact paper with a Cricut, I picked up a roll for well, a dollar. This wood grain pattern:
PA243248
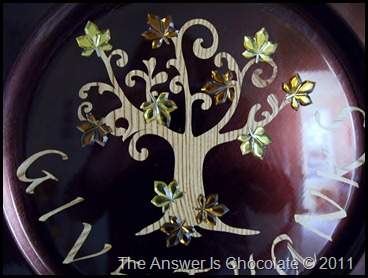
So what’s made out of wood? Trees silly! And since leaves also come from trees ( it’s late when I’m writing this so keep that in mind when you roll your eyes!) it made perfect sense to cut a tree from this stuff and then glue on some acrylic leaves. I mean nothing says nature like faux wood grain and acrylic am I right? But I went with it anyway!
PA243247
Pay no attention to the reflection ….hate that. Cut my tree from Wall Décor and More and my letters using the Jasmine cart. Then glued my leaves on and done and done.
PA243259

PA243258
Thanks Viv. And you too Mike. And Dollar Tree.
Linking Up At: 
Photobucket
homework


The DIY Show Off
Visit thecsiproject.com


Saturday, April 2, 2011

Dollar Tree Washer Charm Bracelet Tutorial


I thought I'd share a project I made for a guest post I did the other day at the blog


I was honored when Bella invited me over to guest post! One of the things I love most about blogging is how supportive and helpful bloggers are to each other.

oneprettything
Washer Charm Bracelet
Washer Charm Bracelet (2)

Like so many of us creative bloggers, I’d be lost without The Dollar Tree! I go there at least once a week just to walk the aisles and see what I might find. Last time I was there I found this pack of washers.

Dollar Tree Washers

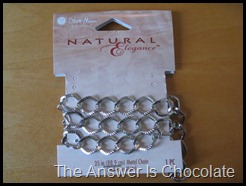
I had some chain on hand in my jewelry making stash:
Blue Mountain Natural Elegance Chain
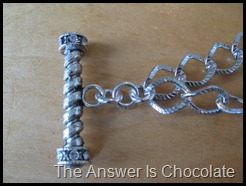
I got mine at JoAnn’s but you can get this or similar many places. I measured off two lengths bracelet size. I attached the two chains to either side of a toggle clasp using jump rings.
IMG_5249
Then I went to work on my  washer charms.

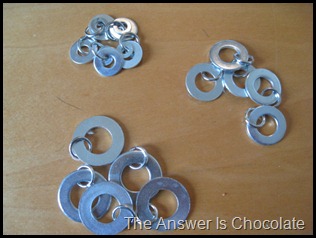
I made sets of small, medium, and large based on the size of the washers, putting a jump ring on each:
Washer Charms
On the small ones, I put one of the smallest washers on either side. Then I just started adding these to the chain, eyeballing the spacing but not being overly precise.

It doesn’t matter which of the chains you attach your washer charms to. It all kinda blends.

If you haven’t ever made jewelry, don’t be intimidated. Working with chain is very forgiving and there are tons of  instructions out there. Here’s a video on how to open / close a jump ring and once you do that, you can open / close the links of chain…same principle.
Washer Charm Bracelet (2)

Linking Up At:


UndertheTableandDreaming


Photobucket


Friday, March 25, 2011

Altered Vintagey Bottle Tutorial

Altered Bottle (3)
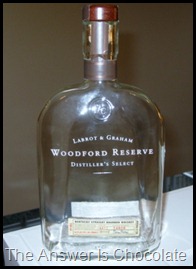
Most of the time I like upcycling things to use for for something like storage. But sometimes the shape of an item just intrigues me and I want to play with  it like a blank canvas. Bottles for instance. Like this one:

Altered Bottle
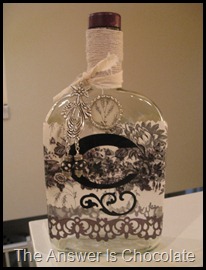
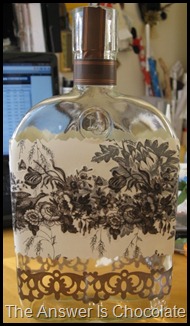
I loved the shape which is kind of square and flat. The writing is painted / etched on so I covered the bottle with some of the contact paper I’ve been having fun with from Dollar Tree. I also had a pack of K&Co scrapbook borders called “Flora and Fauna” . These are vellum and somewhat transparent. I layered one of the borders over the contact paper and another on the bottle itself:
IMG_5224
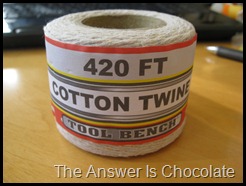
I didn’t feel like scraping the label from the neck of the bottle so I covered it with this cotton twine I got from Dollar Tree:
Dollar Tree Twine
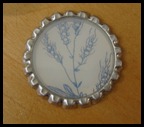
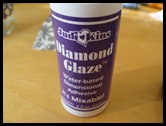
I had a vinyl monogram that I picked up at JoAnn’s on clearance a while ago for like $.25 and that went on the front. The bottle also had a seal that was part of the glass that I wanted to cover up so I punched a piece of the contact paper and put it in a flattened bottle cap which I then covered in Diamond Glaze:
Bottle Cap Diamond GlazeDiamond Glaze
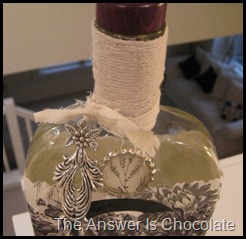
Finished the whole thing with a pendant thingy from the jewelry section ( also one of those poking around the clearance bin finds) to which I added some beads and tied to the neck with a scrap of torn muslin:
Altered Bottle Closeup (2)
Altered Bottle
Altered Bottle Closeup
While function is nice, sometimes so is just looking at something pretty. I hope this is that.
Linking Up At: 
UndertheTableandDreaming