Monday, November 18, 2013

Necessity Is The Mother of Color Combinations: Altered Cookie Tin

Altered Cookie Tin

This will be the second year that College Boy won’t be home for Thanksgiving. It’s all good. He would have to travel late on Wednesday and Sunday, the busiest and most expensive travel days of the year and he is fortunate to have multiple invitations to Thanksgiving dinners.


Still, I wanted to send him some goodies from home which presented a reason , excuse, opportunity to alter something. Oh darn!

My  problem was, the only tin I had was not exactly a Thanksgiving color (bright blue) and I didn’t feel like painting the rim. Then it dawned on me that College Boy’s school colors are orange and blue so I thought orange = pumpkin = I have scrapbook paper in a color that will work!

For this project you will need:
  • Empty tin ( forgot to take pictures…this one was from those long rolled filled wafer cookies)
  • Scrapbook paper ( I used a harlequin and polka dot pattern in matching colors. Paper from Oriental Trading Company)
  • Decoupage Medium ( I used Martha Stewart Matte finish)
  • Coordinating Ribbon, button, beads
Altered Cookie Tin Pumpkin and Blue

Measured the harlequin paper to fit the tin and applied with the decoupage medium. Using the lid as a guide, traced a circle on the same paper, cut out and applied to the lid, leaving the rim bare. When I alter tins with lids I like to leave the top of the tin itself and the rim of the lid bare so there isn’t any issue with fit.
Altered Cookie Tin Top

I decided to keep the rest simple ( OK simple for me) and happened to have some coordinating glitter ribbon in my stash which I applied to the top and bottom of the tin.
Using the coordinating polka dot paper, I made a medallion for the center of the tin ( 3x12 with 1/2 inch pleats). Hot glued this to the tin and finished with a coordinating button tied with plain twine and leaf shaped beads.
Inside the tin are chocolate butter cookies that he loves. I only make these once a year during December, but this year I made an exception !

Altered Cookie Tin Pinwheel


Sharing At:


Thursday, November 14, 2013

BFF Open House Link Party #131

The Answer Is Chocolate

Is it already time for another party? Indeed it is. I can't believe it's only two short weeks until Thanksgiving and there are fewer days between Thanksgiving and Christmas this year so time will fly at warp speed. 

Here are some highlights from last week's party to inspire you! Thanks again to all who link up week after week. I am truly thankful for each of you. 


Who needs to rake leaves when you can use your rake to make this great fall wreath? Get the details from Connie at Hill House Homestead


Fall Spool Craft: Make Your Own Vintage Thanksgiving Turkeys

How about some vintage turkey table decor? Laura from The Shed has an awesome project using dyed spools and a downloadable printable.  


The Crafty Lumberjacks have a festive idea that works for festive holiday drinks, alcoholic or non-alcoholic; hot or cold. Brown sugar and cinnamon rimmed glasses. Works great with a seasonal beer, cider, cocktail. 

Even though I did a special Chocolate / Thanksgiving roundup this week, you know I have to have a chocolate feature! 

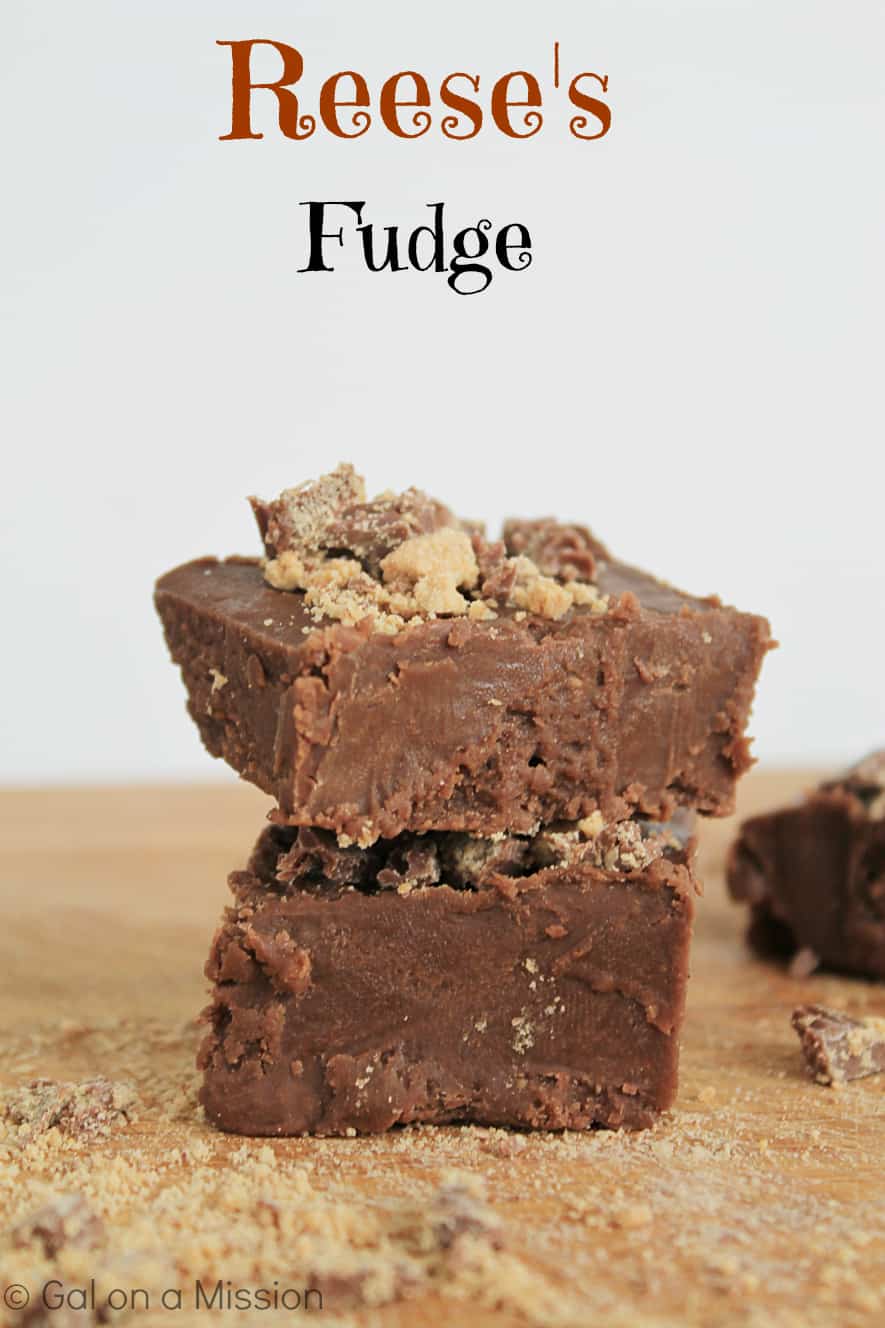
Reese's Fudge #Fudge #Reese's #Candy #Desserts #Recipes

Can you say Reeses Fudge? I know you can! Gal On A Mission has the recipe. 

OK let's see what you've been up to this week! 


Wednesday, November 13, 2013

The Let's Put More Chocolate In Thanksgiving Roundup

When you think of "chocolate" holidays, I'll bet you Thanksgiving is not at the top of the list. Valentine's Day, Easter, Halloween, Christmas, check check and check. Hearts, Eggs, Pumpkins, Trees... easy to find. Thanksgiving? Not so much. What's a chocoholic to do? Most years I just complain about the lack of chocolate. This year I asked some bloggy friends to share some of their chocolate related Thanksgiving goodies and I also rounded up a few from around the internet.

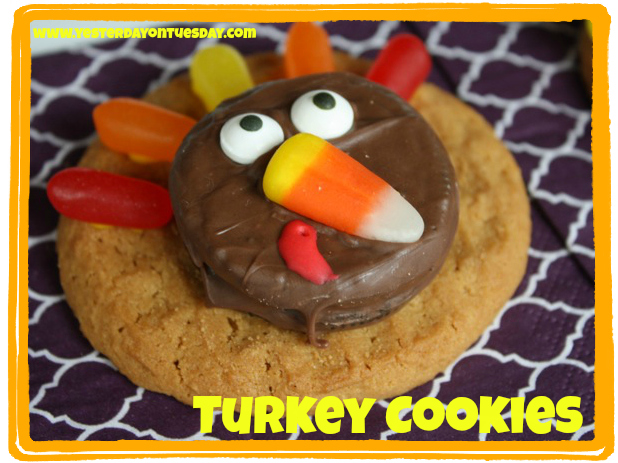
Malia from Yesterday on Tuesday shared these fun, gobble worthy ( and no bake!) Turkey Cookies which would be fun for younger guests:

Thanksgiving Treats


I am not a huge fan of pumpkin. I bake pumpkin pie and don't eat it. But Jessica from Mad In Crafts has a recipe I may just have to try and which I love just for the name: 

One Pan Chocolate Pumpkin Thanksgiving Wacky Cake

Say that three times fast "One Pan Chocolate Pumpkin Thanksgiving Wacky Cake". Look at that fudgy goodness! I may just be able to have my pumpkin and eat it too :) 

Viv, from The V Spot reminded me of an old episode of Friends where Monica tried to bring some more chocolate to Thanksgiving. I was right there with you Monica.  I think Viv's Mocha Brownie tart would be a great addition to any dessert table don't you? 


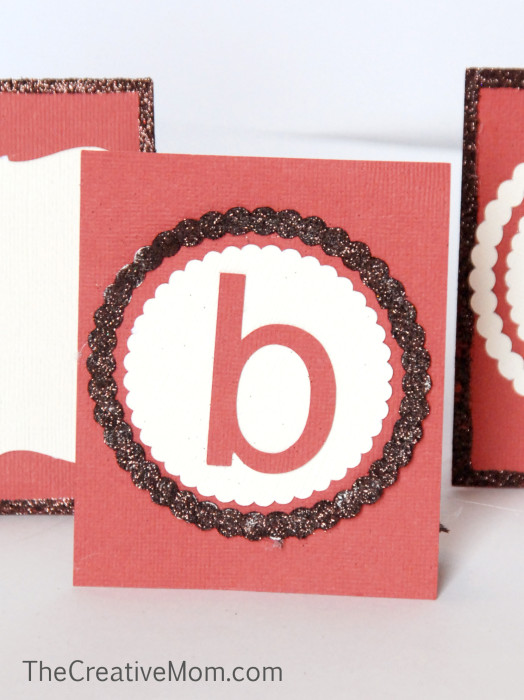
Do you have any leftover Halloween candy? Natalie from The Creative Mom has a wonderful way to use it up and decorate your Thanksgiving table with festive placecards. 


Here are a few other ideas I thought were fun to share.

mld104111_1108_candyybar.jpg
Your favorite candy bar can be wrapped up in this downloadable label from Martha Stewart (see Martha, we bloggers still reference you!)  and serve double duty as a place card. 


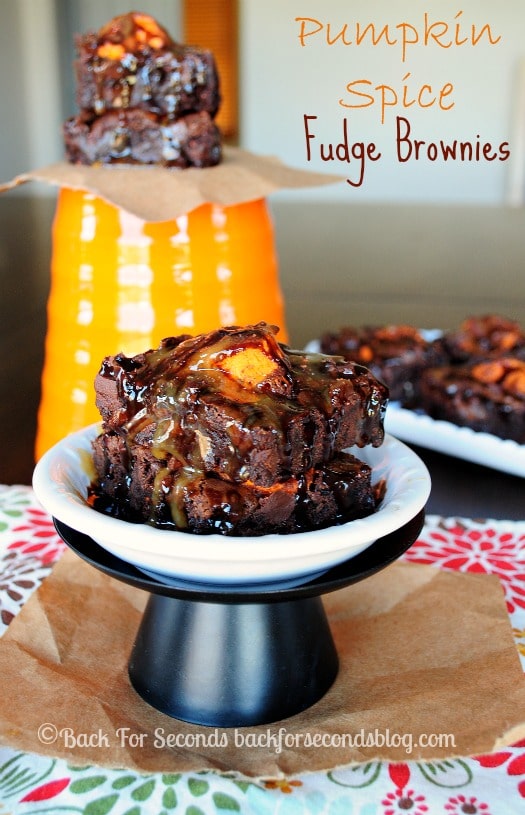
Pumpkin Spice Fudge Brownies - The chocolate lover's way to celebrate fall!  http://backforsecondsblog.com  #brownies #pumpkin #pumpkinspice

Stephanie from Back For Seconds blog guarantees you'll be back for seconds of these Pumpkin Spice Fudge Brownies. 

Chocolate Pecan Pie4

I stumbled upon a new blog I need to follow called Sugarplum where I found this Double Chocolate Pecan Pie. YUM!

I hope you've found some chocolate inspiration for your Thanksgiving table. 


Monday, November 11, 2013

Chocolate and Silver Napkin Rings

Maple Leaf Napkin Ring

I’m swapping out some of my Thanksgiving table décor this year and going with a Silver and Chocolate theme. I was looking around in my jewelry making stash and had an idea for some new napkin rings.

Thanksgiving Napkin Rings

For this project you will need:
  • Stretchy Beading Cord ( I used Stretch Magic 1MM)
  • Focal Bead ( I used large chocolate colored glass pearls, available at craft and bead stores)
  • Bead Caps
  • Spacer Beads
  • Faceted Crystal Beads ( I used Jablonex)
  • Charms
  • Jump Rings
You really don’t need any jewelry making skills to make these. If you can thread beads on a string, you can make these. I didn’t even take pictures of the process…decide on the order you want them, string, tie off your stretchy cord ( I always add a drop of super glue to the knot). I added my charms using jump rings ( OK you need to be able to open and close a jump ring which is super easy and here’s a tutorial how from Jewelry Making Journal

They go fast and are easy to do while watching TV etc.

Chocolate and Silver Napkin Rings

Now I'm thinking I really need to get some metallic brown and silver chargers hmmm...

Thursday, November 7, 2013

BFF Open House Link Party #130

The Answer Is Chocolate

Was Halloween already a week ago? November is already flying by! Just three weeks until Thanksgiving and the start of Hanukkah!  Then madness begins. Here are a few features from the last two parties ( kinda oopsed last week). 

An ugly light fixture gets a makeover with some paint, brushes, and painters tape. Easy!

With holiday entertaining season upon us, it's time to spruce up the homestead. Laura from The Shed has got a fantastic before and after  on some light fixtures that had seen better days ( I've got some of those too). Fantastic results!


Whether you need some additional seating or just a place to put your feet up, Kristina from ReMade Simple has a wonderful pouf idea using the sewing machine she got at Ikea. I didn't even know they sold sewing machines! 

Traditional apple pie got a make-over! Apple pie cups with cinnamon streusel topping from Roxanashomebaking.com

It's apple pie time! OK not that you can't have apple pie all the time but this time of year is what I associate with apple pie the most. Love these apple pie cups from Roxana's Home Baking. Bite sized perfection. 


I say this every year. Thanksgiving needs more chocolate. ( Um Reeses, you can make a heart, a tree, an egg...you can't make a turkey or a leaf? ) Here's a cute idea to bring chocolate to your Thanksgiving table . Hershey's Nugget Turkeys from The Pin Junkie!

OK now time to see what everyone's been up to lately!


Monday, November 4, 2013

Painted Glass Appetizer Plates

Hanukkah Plates

Hanukkah comes early this year. It actually starts on Thanksgiving. Inspired by some votive holders I made as a gift last year, I made some little appetizer plates this year in festive Hanukkah colors. These are for the same friend.
For this project you will need:
  • Clear glass plates ( I got mine at Cost Plus)
  • All purpose craft paint ( I used Martha Stewart Gloss and Glitter paints)
  • An oven or 21 days ( will explain below)

Clear glass plate

You’ll be painting the underside of the plates so clean the bottom with alcohol to ensure your paints adhere. This is kind of a reverse process . Place your plate with the bottom side up. I found it easier to elevate the plate on something.  I started with the gold glitter paint ( Florentine Gold) and went around the rim. Let dry and went around with a second coat.

Hanukkah Plate Glitter

I didn’t want perfectly even coverage. I wanted a kind of mottled, watercolor effect so my painting was random. Once the second coat of glitter was dry, I used a sponge paint dauber and “spounced” one shade of blue (Martha Stewart High Gloss Pond) randomly around the rim. When that was dry, I painted over that with High Gloss Indigo.

Hanukkah Plate Blue

Kind of looks like I taped it off with painters tape doesn’t it? Once that was dry, I used another sponge pouncer and more of the Florentine Gold glitter paint and went over the unpainted part of the plate.

Hanukkah Plates

Here’s where the oven comes in. You can either “cure” your plates by letting the paint sit for 21 days, or you can let them dry for an hour, and bake them in the oven. Place your piece in a cold oven, turn to 350 degrees ( the glass needs to heat up gradually), bake for 30 minutes and then let your oven cool down to room temp.  They are now top rack dishwasher safe and all the paint is on the underside so the tops are food safe.

Hanukkah Plates


This was a really easy, fun, and rewarding project. You could make a few of these as gifts, for your own holiday entertaining, and the only limit is your imagination on a color scheme.

Sharing At: 


Friday, November 1, 2013

BFF Open House LInk Party #129 Better Late Than Never

The Answer Is Chocolate

Happy November all. Hope everyone had a safe and Happy Halloween. Time got away from me so the party's a little late and no features this week. Still, let's see what everyone's been up to !