Monday, September 3, 2012

BFF Open House Link Party #68 Wrap Up and Features

Thanks everyone for a great party last week. Creativity is boundless in the blogosphere. Here are just a few ideas that caught my eye.


Marty, from Marty’s Musings shared a lovely way to collect and display cards for her daughter’s wedding. This could adapted for birthdays, anniversaries, graduations etc.


Janet, from Janet of All Trades, shared this fun bracelet idea.


Danni, from Silo Hill Farm, showed how to make a cute Fall Subway Art sign using scrapbooking stickers.


There were also several chocolate confections. Like these amazing looking cupcakes from Mommy’s Sweet Confessions

Or this incredible cake from Back for Seconds:

How adorable is this?!

Thanks everyone who linked up and for choosing to share your creativity here at The Answer Is Chocolate. Make it a creative week!

Saturday, September 1, 2012

Decor Craft: Numbers, Time Pieces, and Mod Podge

Numbers , Time, Mod Podge

You can still link up to this week’s BFF Open House here.

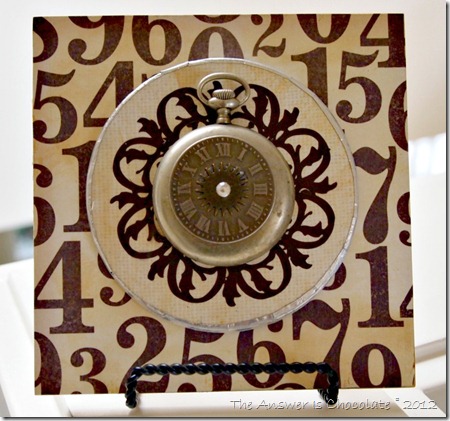
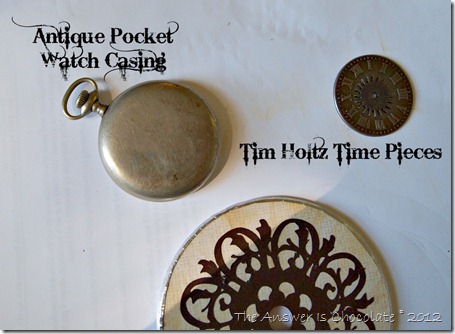
I thought I’d share a little something I made to commemorate our Anniversary. We both love clocks, time pieces, etc. For Mother’s Day this year we went to a local flea market where I found an antique pocket watch casing but hadn’t decided what I wanted to do with it. Then this idea came to me when I picked up some of this numbers paper by Recollections at Michaels recently.

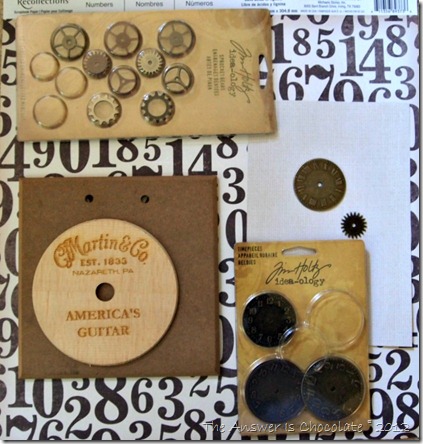
Recollections Number Paper

I had some  Tim Holtz time piece and gear pieces in my stash, and Mr. C gave me a couple of wood discs ( I have no idea what they are) he found in his den. Add to that an MDF plaque from stash and another piece of scrap paper.

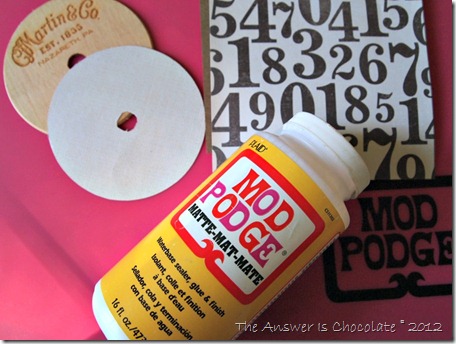
Mod Podge Recollections Numbers Paper

I traced the plaque and disc on the papers and cut out. Then applied with Mod Podge and sanded the edges when dry.
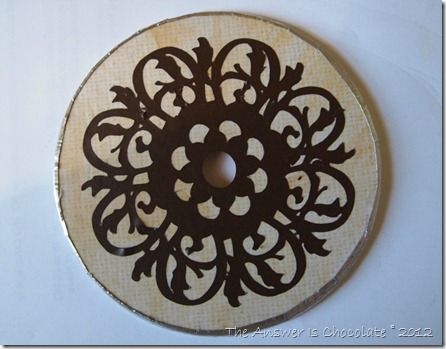
Cricut Damask Decor

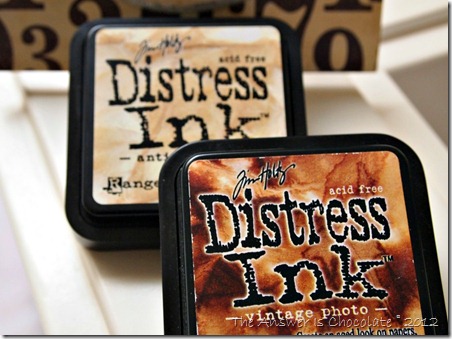
I liked the design I used from the Damask Décor Cricut Cartridge on my upcycled cheese box so I cut another one out of chocolate brown vinyl.  I antiqued both the paper covered disc and the plaque with Ranger Distress  Inks:

Ranger Distress Inks

and edged the wooden disc with some aluminum tape. Once the paper pieces were done, I glued all my watch pieces together with E-6000.

Tim Holtz Time Pieces

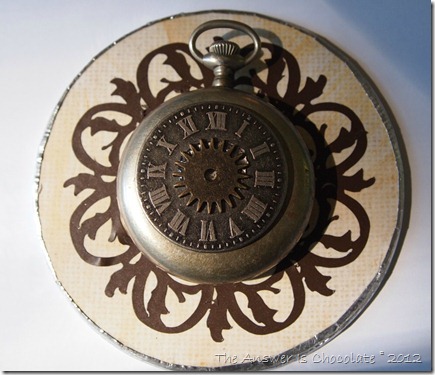
I’d debated whether to use the inside or back of the pocket watch casing and decided to go with the back. So glued the time pieces together then glued to the casing , then glued to the disc.

Repurposed Pocket Watch

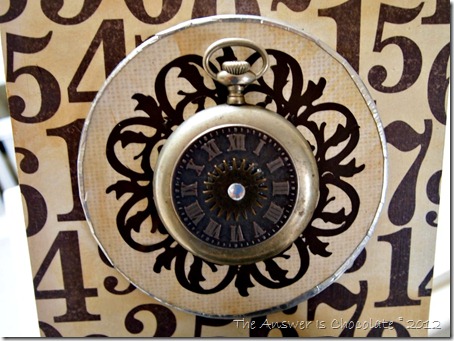
Me, being me, I had to add a rhinestone in the middle as the final touch! Gotta have bling!

Numbers, Vinyl, Pocket Watch

The most expensive piece of this was the pocket watch casing…$10 which I still don’t know if that was a good deal or not, but it’s silver and it spoke to me, and so there.

The Tim Holtz sets are around $5 or $6 each ( of course I buy these w/ 40% coupons!) and you get several projects out of them. The MDF frame I got at Ben Franklin for $1.99 and the rest of the stuff I had. Oh the Recollections paper was 4 for $1 on sale at Michaels.

The 21 years of memories that this project represents? Priceless.

Sharing At: 


Thursday, August 30, 2012

BFF Open House Link Party #68: William Shakespeare Edition

Doesn’t it seem like Summer just started? And here we are at the end of August already!


So what’s up with the title you’re thinking. . Thanks to old Will, 21 years ago tomorrow ( Friday ) I married the guy I met in a College Shakespeare class  5 years earlier. I chose the class specifically for its content; he needed an English credit and it fit into his schedule.
The Tempest – Act 3, Scene 1
I would not wish any companion in the world but you
We still debate about who liked who first ( he totally liked me first) and we were just friends for four years before we actually dated. Then “twu wuv” ( Princess Bride). I love you Mr. Chocolate and hopefully you won’t be too mad at me for getting all mushy gushy on my blog.

Now, whatcha been up to this week? Who’s going to be the first to share a Halloween project? Let’s see!

link party rules-001

Monday, August 27, 2012

Green Craft: Turn A Cheese Box Into A Gift Box


I recently shared this project over at the Expressions Vinyl blog but wanted to share it here with all of my readers.

I know I'm not the only one who looks at something for its crafty possibilities before recycling or putting it in the trash. I've seen some other crafty peeps use these cheese boxes and had been saving one to play with. 


Laughing Cow Box

I used my box to trace two circles onto the scrapbook paper you see in the background, cut them out and then applied them to the box using Mod Podge. 

While that was drying, I went to work on what would be the focal point of my box. I alternate between my Silhouette Cameo and my Cricut Expression, both of which I love to use to cut vinyl. I used the Cricut for this.

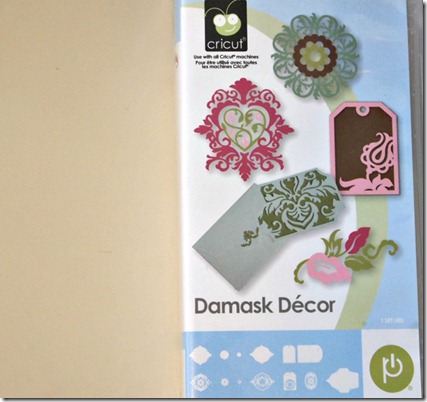
Damask Decor

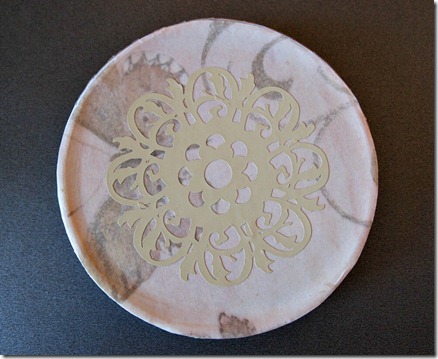
I used the Damask Décor cartridge and a taupe vinyl scrap and cut out my image ( #30).

Damask 30 Cricut

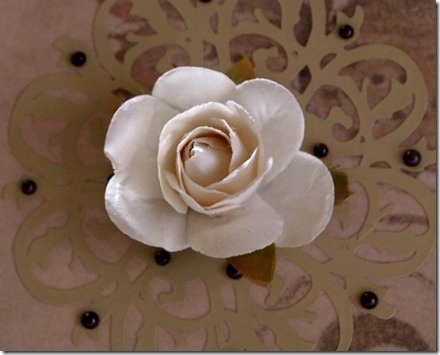
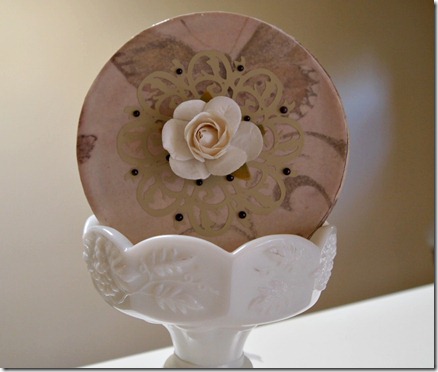
Here’s the vinyl all cut out and placed on the top of the box. I liked it well enough at that point but never being one to leave anything alone, I went to my embellishment stash and decided on a paper flower and some chocolate colored self adhesive pearls.

Vinyl Embellished Gift Box

The whole thing took maybe an hour and most of that was drying time for the Mod Podge.  Simple, inexpensive, uses what you might already have on hand. Now I just have to finish the gift that is going inside the gift box!

Damask Vinyl Box

Sharing At:

BFF Open House #67 Wrap Up and Features

Thanks everyone for joining in the fun another week. Here are just a few of the fabulous projects that were shared:

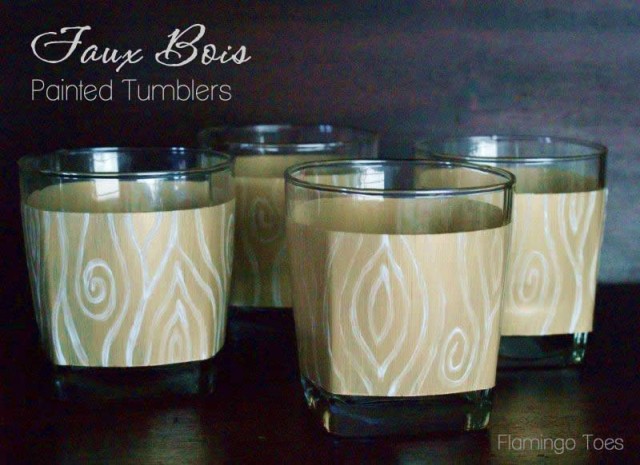
Bev from Flamingo Toes shared thise Faux-Bois painted tumblers. Be sure to check out her tutorial for the glass painting technique she used.

I have yet to make one of these yarn wreaths but the gals over at Six Sisters Stuff have definitely inspired me to try with this cute ruffled wreath!


Sometimes the prettiest things are also the simplest. Like this trash can from the Dollar Tree wrapped in burlap. Go see Rhonda at The Messy Roost for another high impact low cost idea.
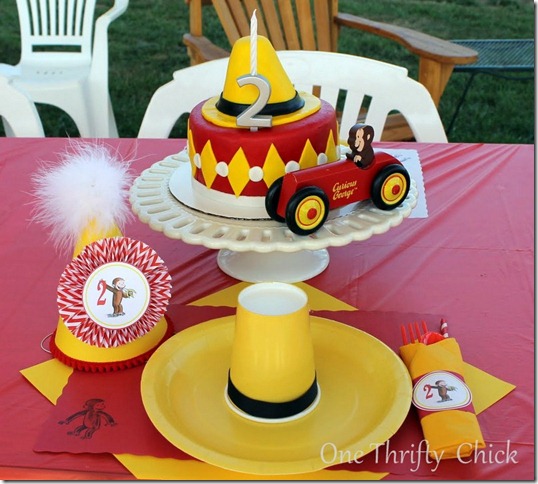
And finally, if you want to see the CUTEST party ever ( I could have featured this entire party!) go visit Jennifer at One Thrifty Chick to see this amazing Curious George extravaganza!
IMG_5357
Thanks again to everyone who linked up and hope you have a creative week!

Thursday, August 23, 2012

BFF Open House Link Party #67

Hey there, howdy, and hello and welcome to another party! Nothing too exciting on this end. College Boy is settled in his new dorm and we’re adjusting to the empty nest again. We’re in high back to school time so I’ve been seeing some really fun projects. Let’s get right to it!

link party rules-001


Don’t forget to spread the party love and go visit each other!

Tuesday, August 21, 2012

Ribbon and Jump Rings Necklace Part Deux: Cream and Amber

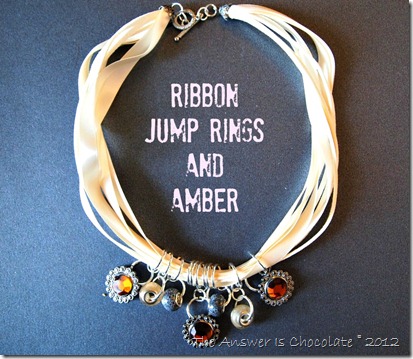
Ribbon Rings Amber

I had so much fun with the Ribbon and Jump Rings necklace I shared last week that when I found myself at Michaels again this weekend ( they really need to give me my own parking space) I went looking for another one of the ribbon necklaces I used.

No more black ( eeek! boo! it’s my signature color!) but they had the same one in cream so I decided to branch out! Hello , my name is Carol and I’m a neutral-holic.

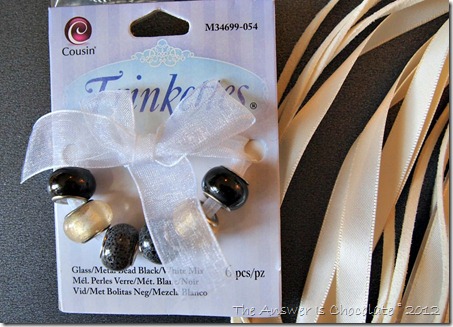
Cousin Trinkettes

I also picked up a package of these Trinkettes beads by Cousin (fear not colorful people they come in loads of colors) and while I was scrounging around in the clearance bin again, came across these gorgeous amber-crystal-cabochony thingies. $1.99. SCORE.

Ribbon Rings Closeup

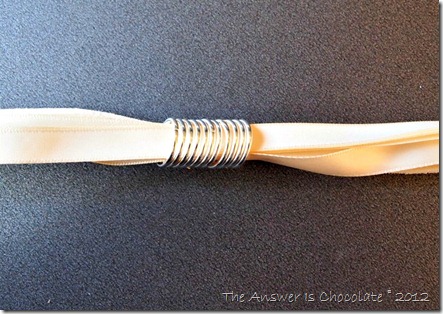
Similar to the black necklace I made, I strung large jump rings onto the ribbon necklace, over all of the layers.

Rings on Ribbon

Total number of jump rings: 11 It made sense to  me to have 5 on each side and one in the middle. No reason other than that's what felt right. You could use more. You could use less.

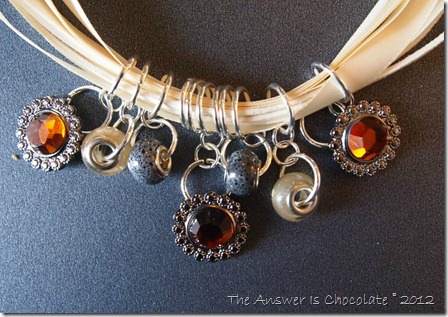
Then I put some of the Trinkettes beads on some of the large jump rings and the amber cabochony thingies on other jump rings and used smaller jump rings to attach everything together. I’m very technical! Seriously. This is super super easy and there are several different types of ribbon necklaces avail even if you don’t find this exact one by Bead Landing because I bought them all.

Ribbon Rings Closeup

Cabochony thingy, Trinkettes beads, cabochony thingy Trinkettes etc.

Look Mom, I didn’t even use the black beads ( YET!). And yes I did drive to another Michaels looking for another black ribbon necklace. No luck. There’s another Michaels I’m checking out this weekend. Sssssshhhhhh.

Sharing At: