Showing posts with label upcycle. Show all posts

Thursday, October 13, 2011

Upcycled Halloween Gift Bags

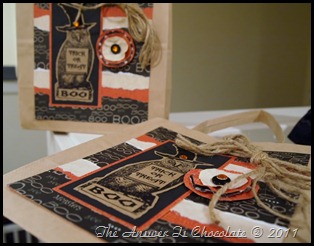
PA133215
I needed something for the Altered Halloween Canvases I made and I love gift bags. But I’m trying to reduce, reuse, and recycle so I wanted to use things I already had on hand. Enter some small, fairly plain, grocery bags!
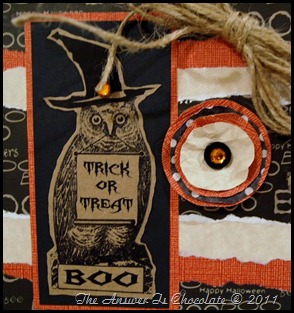
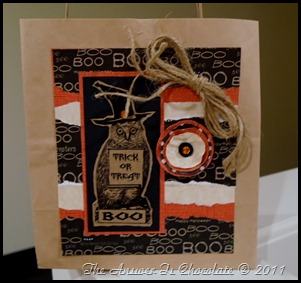
I went to my scrap bin and pulled out some coordinating scraps and made the panel for the front of the bag. Then I went to my Graphics Fairy file because there is always something good there! I had downloaded this owl and decided it was perfect. I added a hat and text using my PrintShop Deluxe program, and printed on kraft cardstock. Trimmed, mounted on a black panel, then on an orange one.
PA133214
Finished off with a jute bow ( just cut several lengths of jute twine and made a bow; hot glued on to the bag) a layered flower from more scraps, and self adhesive rhinestones.
PA133212
Easy peasy!
Linking Up At:
A Little Knick Knack

Saturday, March 19, 2011

Time for Cocoa and Bling!


The March Open House Link Party is still going on ==>here<==
You may have noticed that I have a thing for bling. Specifically, self adhesive rhinestones which I stick on everything. I even picked one off the dog the other day although I didn’t intentionally put it on her.
But as with other craft supplies, you open a package and don’t use the whole thing and need some way to store the leftovers. I’d been keeping the plastic cards these come on in an envelope, but when I used up a container of cocoa powder the other day, I got an idea!
IMG_5158
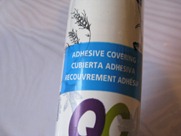
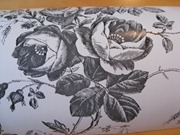
Started by peeling off the label from my Hershey’s dark cocoa powder. I didn’t care about the stuff around the top of the rim since I was going to put the lid back on. I had just picked up the prettiest contact paper at $1 Tree so it was the perfect excuse to play with it:
IMG_5162IMG_5164
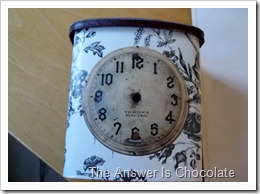
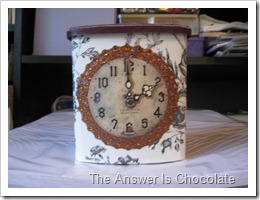
Wrapped the container in the contact paper and also covered the top of the lid with it, leaving the rim exposed. Went to my sticker stash and found a clock face, and since this was going to hold my bling, a Making Memories blingy border!
IMG_5165
IMG_5169
IMG_5176
Thinking there’s another roll of this contact paper in my future.
Linking Up At: 


UndertheTableandDreaming
Anything Related
Photobucket


Wednesday, March 9, 2011

My Can Needed A Friend

And thanks to the garbage man who took out the utility pole that supplies power, cable, and phone service to our house today, I had time to make him one.
IMG_5102
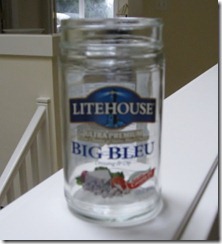
You know you’re a craft addict when you buy salad dressing because you like the jar:
IMG_5088
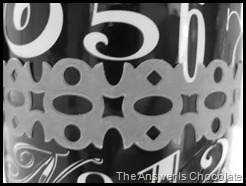
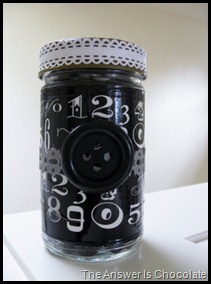
I also liked that the label came right off! Used my contact paper leftover from my can to cover the jar and then went around that with more of my typography tape (two strips). The white contact paper sets off the tape because the numbers are clear. Went around the middle with a K&CO scrapbook border.
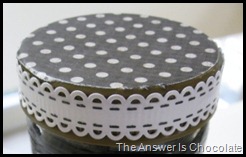
Mod Podged a scrap of polka dot paper to the top of the lid and went around it with another K&Co adhesive scrapbook border. Sealed that w/ Mod Podge too.
IMG_5100
The whole reason for this “jarring” transformation was something to hold black, white, and neutral colored buttons that were here, there, and everywhere. Finished it off with a big fat black button in the middle:
IMG_5098
Did I mention I’m in love with this tape?!
Linking Up At: 
giveaways
Beyond The Picket Fence
Catch a Glimpse Button


Photobucket


Tuesday, March 8, 2011

I Knew I Saved That Can For A Reason!


Thank You Monique! 


My son was on a smoothie kick requiring pineapple juice which I could only find in the kind of can that juice doesn't come in that often anymore. It's about 7 in tall. I saved one of them because it seemed like a smart thing to do and with my addiction  collection of K&CO adhesive scrapbook borders continuing to grow, I needed a better way to contain the mess  organize them!

Large juice can

Ordinarily I would have covered with scrapbook paper, but I remembered I had some contact paper scraps and thought they'd work. I also had some decorative tape I picked up from Michaels $1 section so that went into the plan.

Wrapped the can in the contact paper, went around the top and bottom with the tape. Then I went to my sticker stash and got out some clear stickers from American Crafts. I love these sticker books that have pages and pages of stickers and I'm pretty sure I got this one for $2, 3 bucks at Michaels w/ a coupon!

Since this was going to hold my K&CO scrapbook borders, I thought I should use some of them too: 

For the focal, I took a small flower sticker from the pack and mounted it on a white card stock scrap and then mounted to the middle of the medallion sticker on the can using a foam dot.

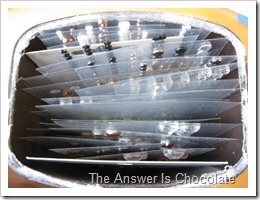
Here are my scrapbook borders all neat and tidy ( and there's even room for a few more!!!)

Linking Up At: 


giveaways
Beyond The Picket Fence
Catch a Glimpse Button

Photobucket