Showing posts with label Recollections. Show all posts

Monday, October 22, 2018

2018 Halloween Cards Gothic Grey Gold and Purple


Michaels Recollections collections continue to make my card making life easy! I 

I fell in love with these papers the instant I saw them. The colors and designs were perfect for my more gothic Halloween style, and the fact that they were already foiled left me with not a lot to do. 

I was also thrilled that it happened to be when the focal papers and washi tape were 50% off AND on a day when I had an extra 20% off coupon on my phone. 


I knew I had coordinating papers in my stash at home since I tend towards similar styles and colors. I couldn't wait to get home to start playing! With sale and coupons, my cost for the new materials was $5.99!  

Supplies: 

New: 
  • Recollections Halloween Cards stack, 24 double sided sheets
  • Recollections Moonlit Manor Paper Pack, 24 sheets
  • Recollections Foiled and Spider Washi Tape

Stash:
  • Black and White Cover Stock (Recollections)
  • Gold Foil Paper (Recollections)
  • Black Kraft and Gold Foiled Stack ( This was a Michaels "Hot Buy" when they have 12x12 Stacks for $5)
  • Misc. Embellishments
  • ATG  Tape Gun and Tape

The cards are all 5 x 7, trimmed from 8.5 x 11 sheets, and then scored using a scoring board. I selected sheets and trimmed panels of the Kraft Black and Gold foiled papers measuring 4.75 x 6.75 ; trimmed panels of the Halloween Cards stack and layered onto the gold foil paper and attached to cards as shown. 


I had some gold Halloween themed word stickers in my stash so I mounted those on scraps of cardstock and mounted to the cards with foam tape. To embellish I used the washi tape, and Stickles Glitter Glue. 


Monday, September 25, 2017

September Celebration Cards


I make probably one or two cards a week during non-holiday times and don't post them all but sharing two special ones. 


My two oldest ( as in length of time, not age!) friends happen to share the same birthdate. Same date, one year apart. So my birthday "twins" each got this card, using washi tape one of them gave me for my own birthday last year. For the birthday cards, I used the "Confetti Stack" by DCWV that has coordinating birthday papers, and cut layers of a cake in two different colors using my Silhouette Cameo. I alternated the layers of the cake and glued them together then added to the center of the card with foam dots. 


The second card was for a friend celebrating Rosh Hashanah. Since apples are a prominent part of celebrating Rosh Hashana, I had fun doodling an apple and then using the Recolor app to color it. 


After I colored the apple, I chose coordinating papers from my stash to make the card. 


I had this gorgeous brocade looking paper ( Recollections, Michaels) that went w/ the colors,  accented w/ coordinating glitter papers, printed and layered the sentiment as shown. 


Tuesday, December 20, 2016

Hanukkah Card and Tags


Ack. I've been without a computer for almost a week which is a lifetime in blogging years. Backup your stuff people because we always think it can't happen to us and then boom, new hard drive. 

In the meantime, made Hanukkah cards and tags for a couple of friends. I'm tickled that the tags I started making a few years ago for one friend get asked about by her relatives "Is she making any this year". 


I've always loved shiny and glittery things so I had a lot of fun working with gold foiled and glitter papers found at Michaels. The foiled papers are a combination of Recollections, Craft Smith, and DCWV stacks. Add to that my weakness when Michaels has their specialty papers 10 for $10 and I'm in paper hoarder heaven. 

For the card, I cut a menorah on my Cameo ( image found in the Silhouette Online Store) and then just hand cut the candles and flames freehand. I double cut the menorah and gave it depth using foam dots by layering one piece atop another. Blue and gold glitter papers were layered on top of a foiled piece. Simple but I am really happy with the outcome. 

For the tags, I just like to play around with bits and pieces with no particular plan. I just want the colors to work with each other so when I package them, they look like a set. 

My signature paper style is tearing things. I just can't not have some ragged edges! 

With freaking out over my computer crash, would  you believe I forgot to take pics of this year's Christmas cards? I did manage to take pics of a set of Christmas tags I made as a gift! Whew. 


Papers used here are from the Traditional Christmas paper pack from Oriental Trading Company along with some of my glitter and foil stash. 

Wednesday, November 5, 2014

Lazy Frame Makeover and Thanksgiving Printable

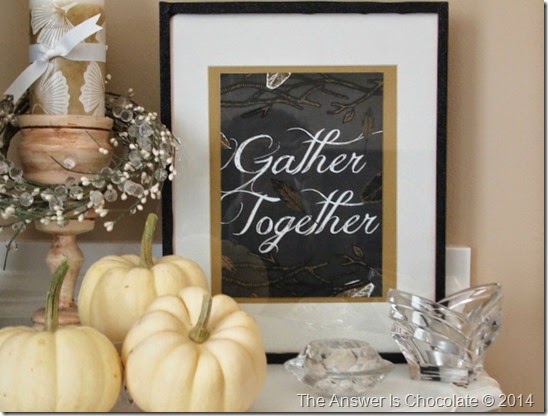
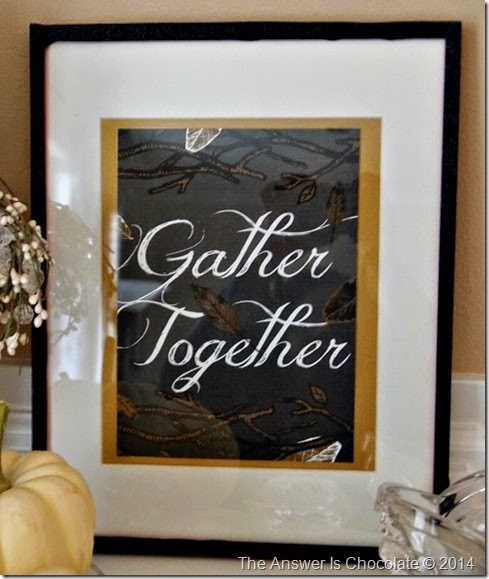
Frame Makeover After

This quick frame makeover was the laziest project in the history of lazy projects. It took longer to make the printable than update the frame.  I love neutrals and black and white in case you can’t tell. I did try for a few years to do the color thing and I LOVE nature's colors this time of year , especially here in the PNW where the leaves are brilliant right now. But I went back to my comfort zone this Thanksgiving.

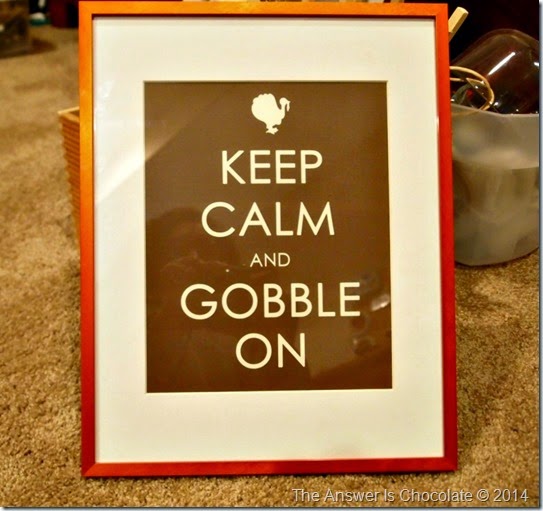
Frame Makeover Before

See ….proof! I had a metallic orange frame that’s been part of my décor the past few years. It just wasn’t going to go with what I had in mind for my mantel this year. I thought about painting the frame which wouldn’t have been that hard, but I was tired and I did mention this was a lazy project right?  Thank goodness for self adhesive glitter tape!

For this project you will need:
  • Simple frame
  • Glitter tape ( I used Recollections from Michaels)
  • Printable
I dis-assembled things, cleaned the glass, and said goodbye to the previous printable. Then I just went around the edges of the frame with my (black)  glitter tape. This does not require advanced crafting skills. This does not require ANY crafting skills.

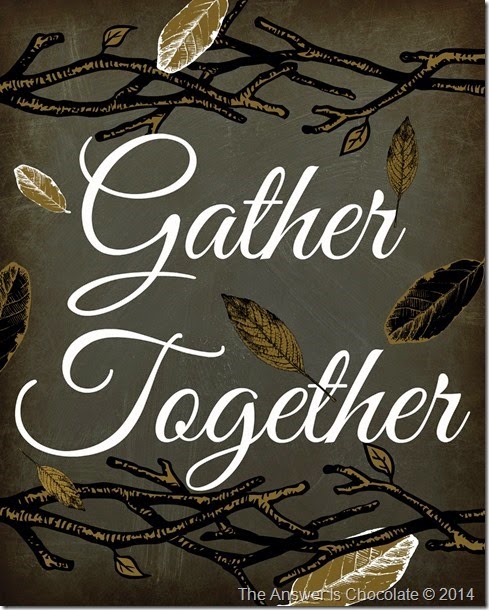
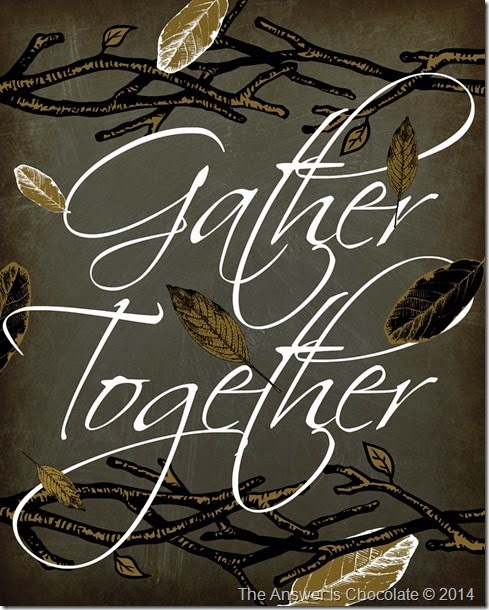
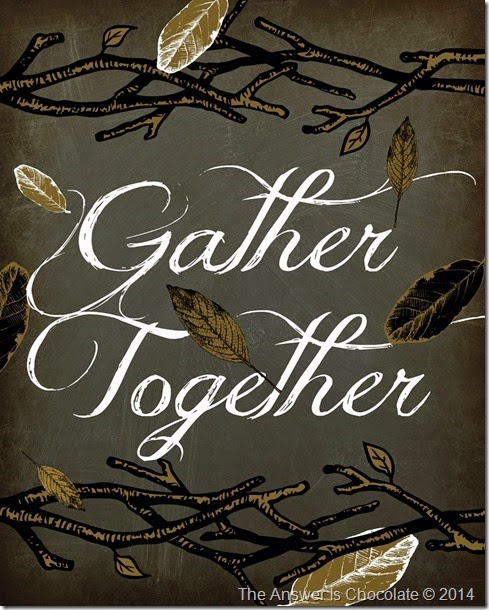
Then I printed out the printable I made in PicMonkey. I couldn’t decide on a font so I made three versions.

Gather Together

Gather Together Scriptura

and the one I printed out

Gather Together Delicious Cake

Oh did I mention I'm sharing them? Click on to bring to full res, right click to save as. 

Confession. I goofed on my sizing when I printed it but waste not want not. Instead of reprinting, I just mounted it onto some gold cardstock that was the right size for the mat. Done and done!

Frame Makeover After 1

Tuesday, August 12, 2014

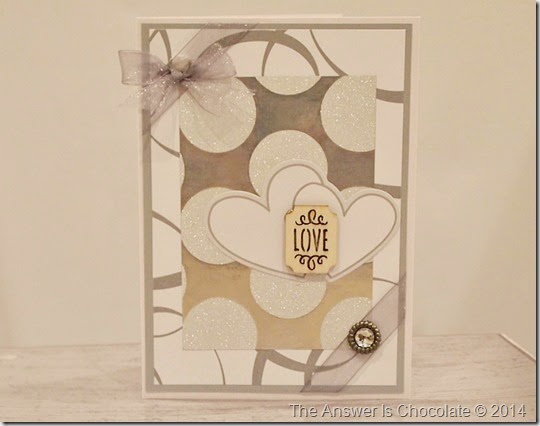
Happy Accident: Silver and White Wedding and Thank You Cards

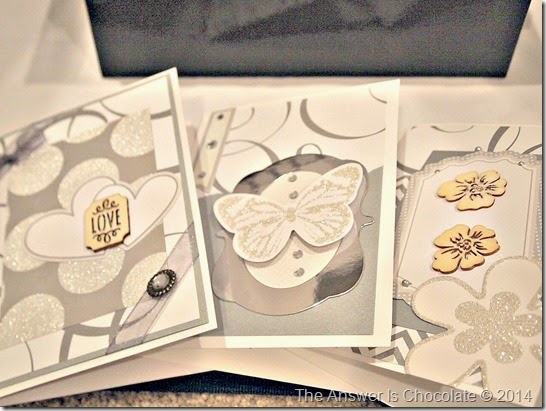
Recollections Silver White Cards

I didn’t set out to use papers and embellishments from one company but that’s how these worked out. I needed to make a few cards and it wasn’t until after I’d chosen the papers and coordinating embellishments that I realized they were all Recollections from Michaels. Some might say that I spend too much time at a certain craft store because these were not all purchased together.

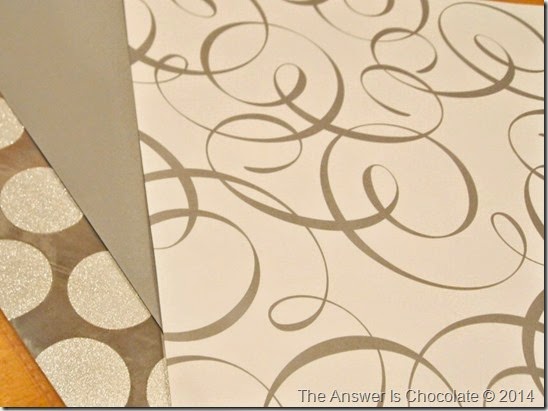
Recollections Papers Silver and White

I used a silver polka dot glitter paper, a silver cardstock weight paper and a silver and white swirl. All papers are 12x12. Cards are all 5x7.

Recollections Wedding

For the wedding card, layered the papers as shown and tied silver ribbon around the corners of the panels.

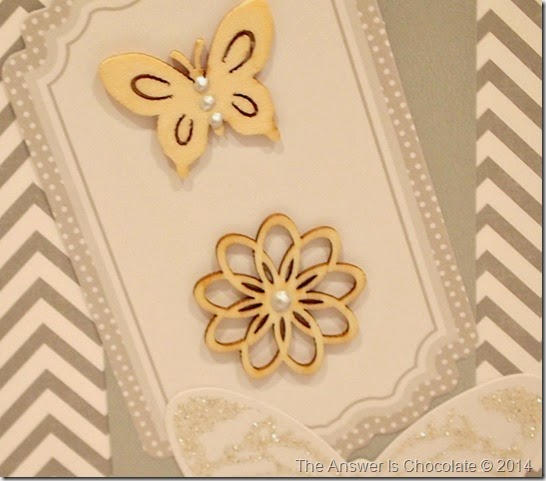
Recollections Silver White Thank Yous

For the Thank You cards, I used a package of die cuts and unfinished wood embellishments, randomly placed.

Recollections Chevron

Finished up some of the cards with dots of Liquid Pearls.

Monday, June 9, 2014

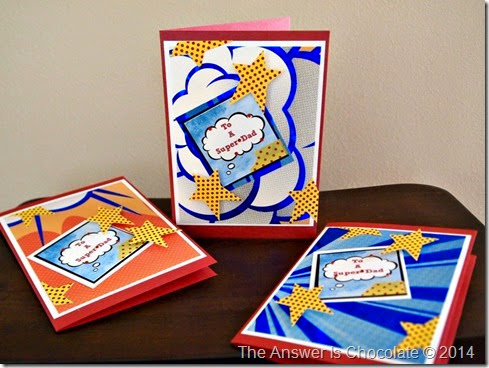
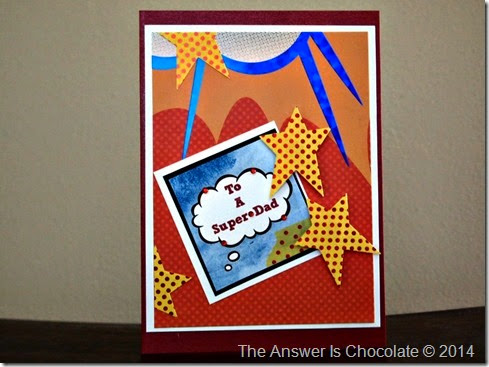
It's A Bird It's A Plane It's Super Hero Father's Day Cards

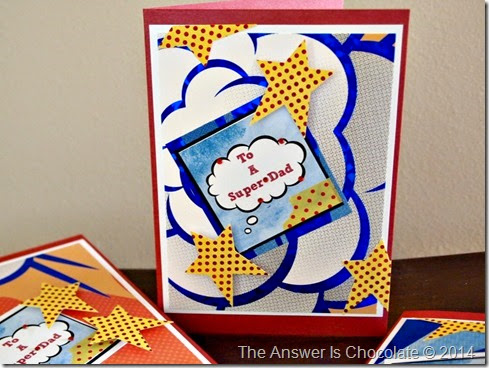
Super Dad Cards

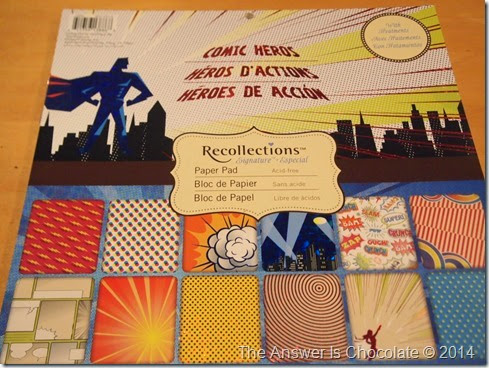
I’ve been on a paper diet lately, resisting the temptations of all the paper stacks calling my name. However, I couldn’t resist one stack I saw at Michaels…the Comic Heroes stack from Recollections.

P6072082

SInce College Boy is a self described comic geek, it went without saying that this had to be part of my collection. Then I started thinking about Father’s Day cards and what a perfect match!
Supplies Needed:
  • Comic Heros paper stack
  • Cardstock
  • Computer generated image
  • Washi Tape
  • Rhinestones

Comic Father's Day

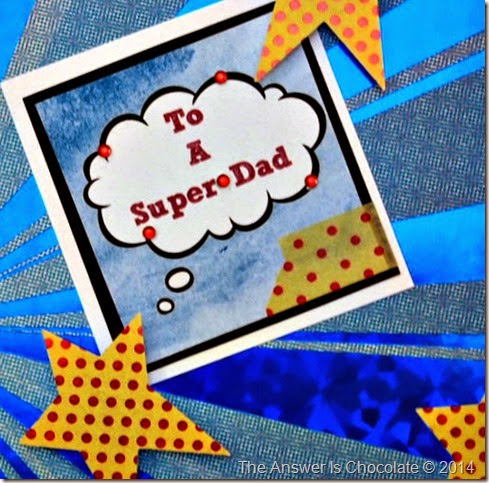
For the card focal , I created an image in PicMonkey and then printed on plain white cardstock. I thought the could shaped comic bubble worked with the papers. Trimmed, matted with black and then again with another scrap of cardstock.

Super Hero Dad Closeup

The papers are so detailed that I didn’t need to embellish a lot. I punched stars from another sheet from the stack.

Super Dad Father's Day

I had some washi tape that coordinated with the paper I used for the stars and reminded me of the dots you often see in comics.  I used foam dots to adhere some of the stars and others I trimmed and laid flat with tape.

To finish, I added a few tiny red self adhesive rhinestones around the cloud bubble.

Up up and away!

Monday, February 11, 2013

Vintagey Valentine's Cards

Valentine's Cards 2013

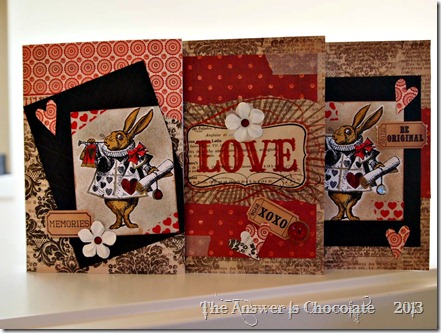
I love sending Valentine’s to family and friends. Consistent with my paper addiction, Valentine’s Day was just the excuse reason I needed to pick up another  Recollections paper pack at Michaels called “Union Square”. It’s full of vintage papers in muted shades of red, black and neutral, with lots of damask overlays on text and assorted other patterns.

Heart Bunny

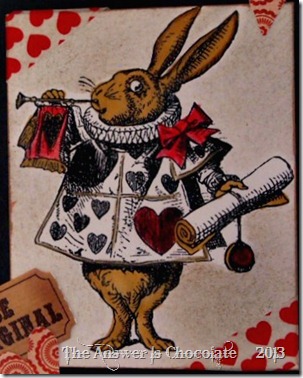
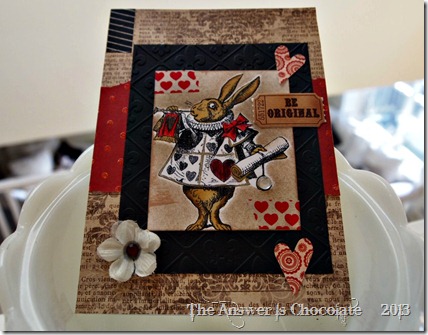
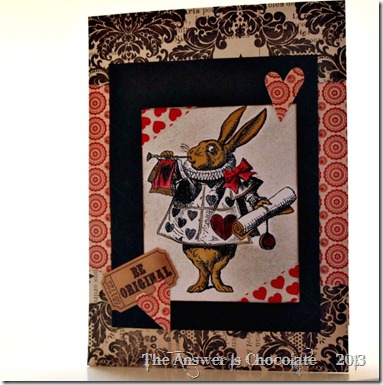
A few of the cards were made using a digital image of “Alice’s Rabbit” found here : Free Vintage Digital Stamps.

I downloaded, sized and printed on white cardstock, then colored in the rabbit with alcohol markers and colored pencils. I decided to only color in spots of his vest etc.

Heart Bunny

I trimmed one of the images to use as a mask , laid it on top of the other images and then “spounced” around the exposed edges with a brush and “Antique Linen” distress ink.  Trimmed and mounted my rabbit panels on black panels embossed using a fleur-de-lis embossing folder by Cricut.

Hybrid Digital Valentine's Card

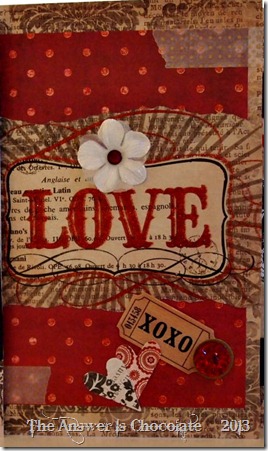
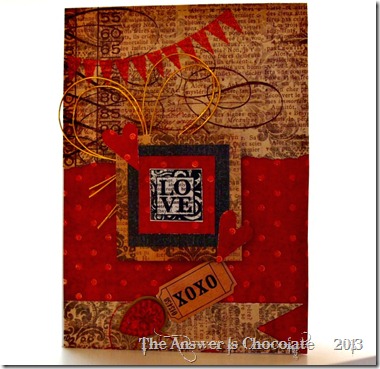
The cards are 5x7 ( I used blank cards I had on hand) and I covered the front with torn pieces of papers from the pack. Embellished with coordinating washi tape, hearts punched from scraps, Prima flowers, rhinestones, and some ticket stickers from my stash.

Valentine's Cards 2013 

For some of the other cards, I tore a panel from a page that already had LOVE written out in glitter, along with other washi tapes and embellishments.

Recollections LOVE Card

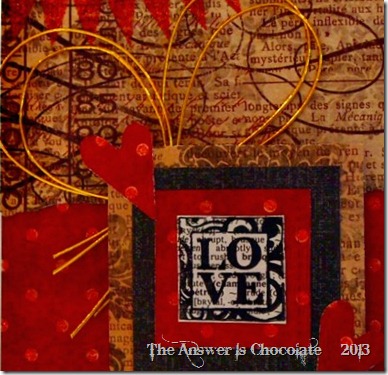
or stamped the word LOVE onto a book page and then mounted with coordinating papers. My gold heart there is made from loops of mizuhiki cord I found at the Japanese dollar store chain Daiso.

Recollections LOVE Card


Sharing At:


Saturday, November 24, 2012

Easy Christmas Countdown Banner

Coundown Banner

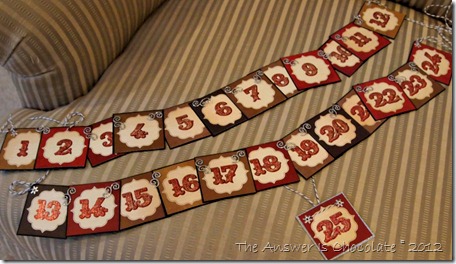
I haven’t hung this up yet since I haven’t decided where it’s going but thought I’d share this quick Christmas Countdown banner.

Once again, I fell in love with a paper stack. It’s an illness. I accept  I have it.

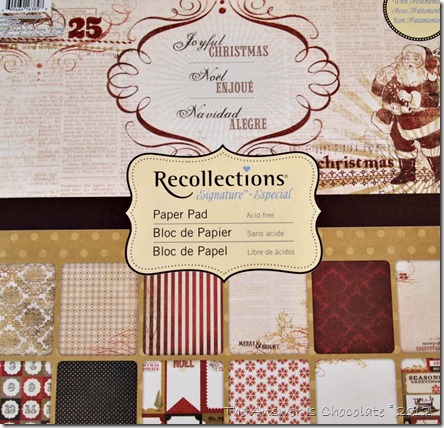
Joyful Christmas

This time it was “Joyful Christmas” by Recollections at Michaels. Lots of vintagey goodness with some sheets full of glitter accents. Yum.

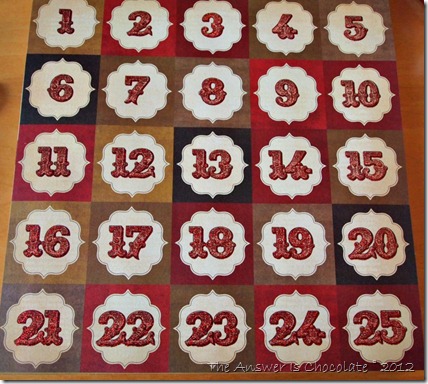
Countdown Page

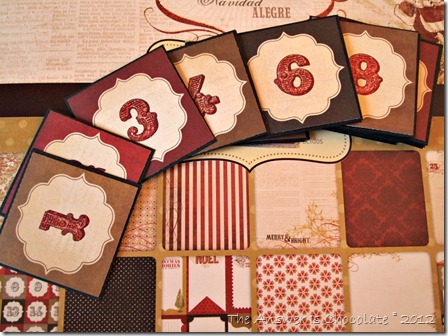
You can see how easy they made it to make this banner since there are a couple of countdown sheets in the stack. I just cut each one out and mounted onto a black panel.

Countdown Numbers

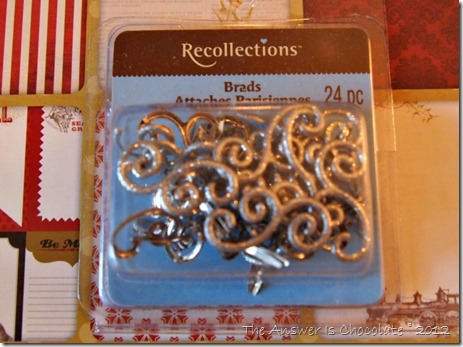
I had these brads in my stash from after Christmas shopping last year:

Recollections Brads

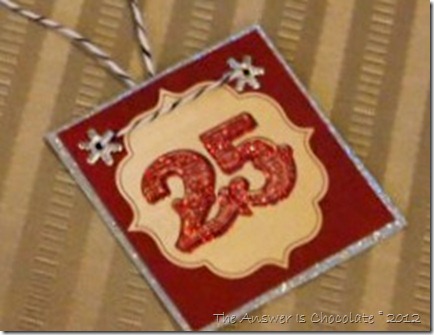
Connected the corners using the brads but decided that 1-25 all together would be way too long so I did 1-12, 12-24 and then 25 as a standalone.

Coundown Banner

Framed "25" with a silver glitter scrap and snowflake brads. Used black and white bakers twine to finish things off.

Sharing At: