Showing posts with label Michaels. Show all posts

Tuesday, February 14, 2023

Jewelrymaking: Rose Quartz Bracelet With Heart Charm


I had some silver heart beads left over from the earring project I shared and I remembered that I'd picked up a strand of Rose Quartz beads at Michaels not too long ago. They're really upped their game by carrying a much bigger selection of natural stone. Rose Quartz is a PERFECT stone to use with hearts or for Valentine's day because: 

"Rose quartz is known as the crystal of unconditional love. It's said to boost feelings of self-love and foster loving relationships with others."

And I really liked these beads because of the paleness of the pink. I'm not a super pink person but these I call "neutral pink". 


Supplies: 

  • 12MM Rose Quartz Beads (Michaels)
  • Stretch Cord
  • Silver Heart Bead 
  • Headpin
  • Black Crystal Beads
  • Crystal Cup Charms
  • Jewelry Plier 
  • Jewelry or Super Glue


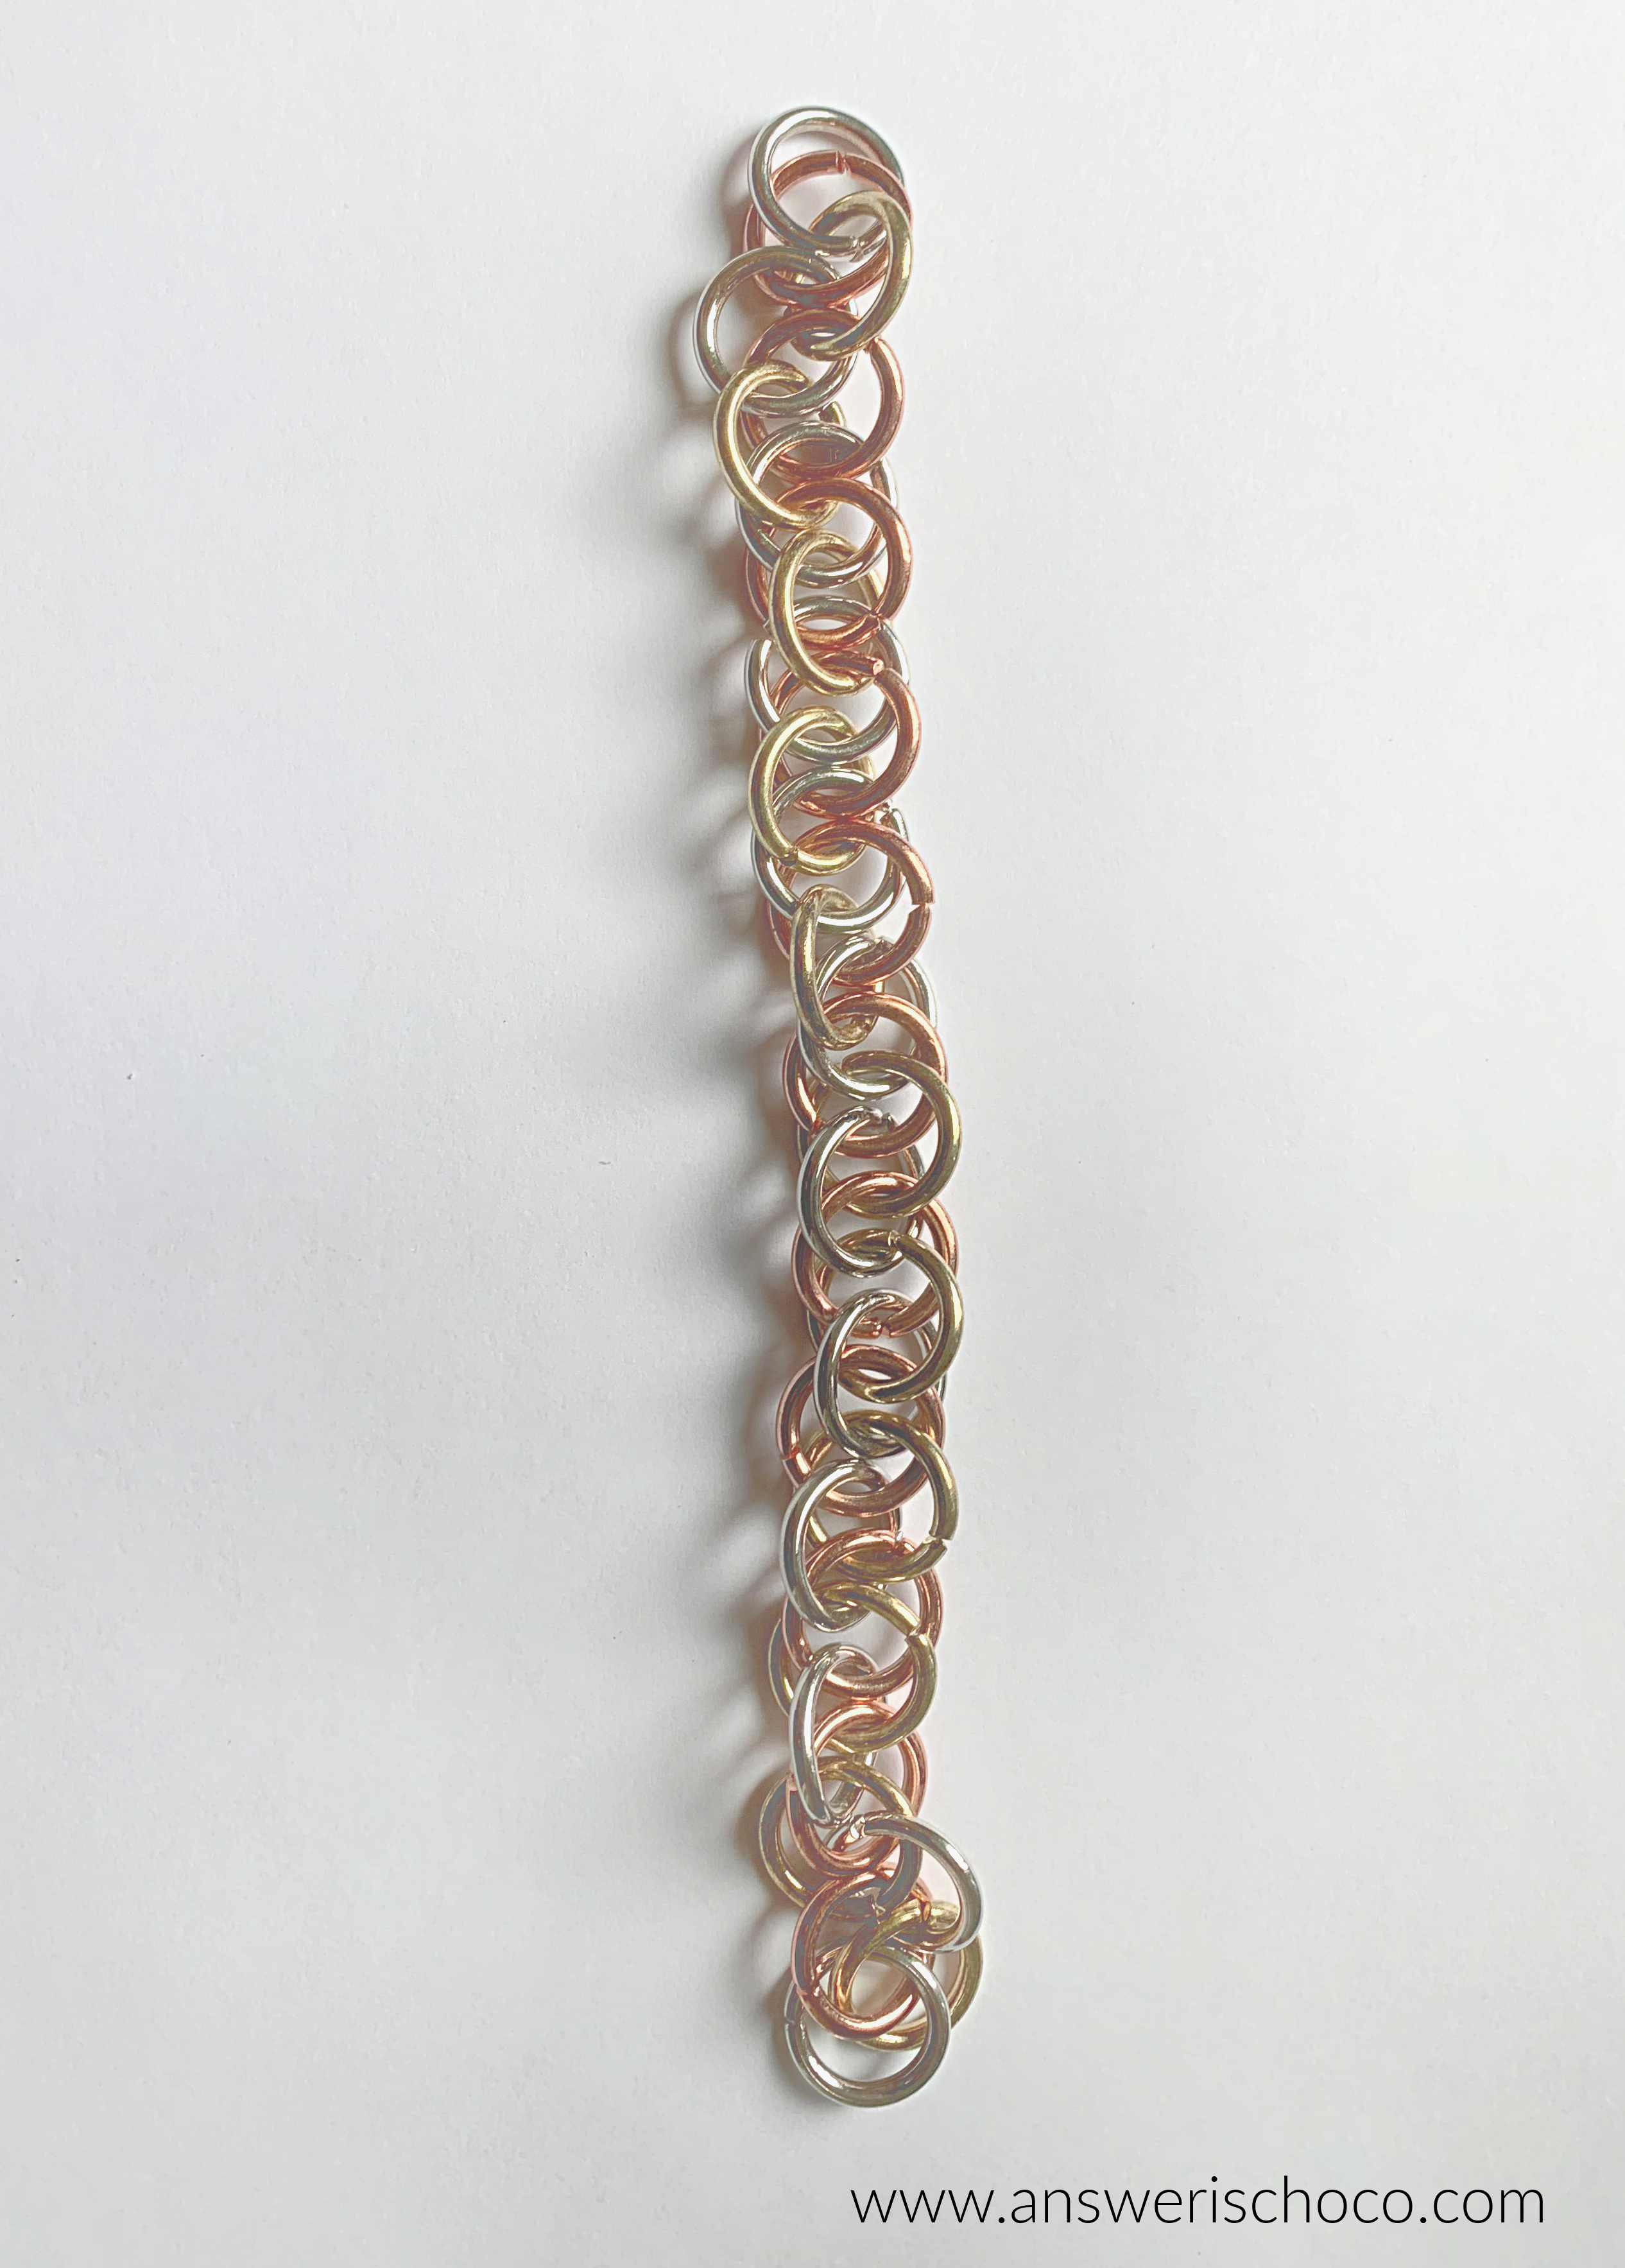
If I have a "signature" it's adding charm dangles to my stretch bracelets. It started with one and became a habit. So that's the first thing I did using the same process I did to make my earrings. 


I used one of the heart beads and two more black crystal beads strung on a headpin. 


After stringing the Rose Quartz beads on the stretch cord to fit my wrist, I tied off the cord with a simple knot and then added a dot of Super Glue, let dry, then tied another overhand knot. 


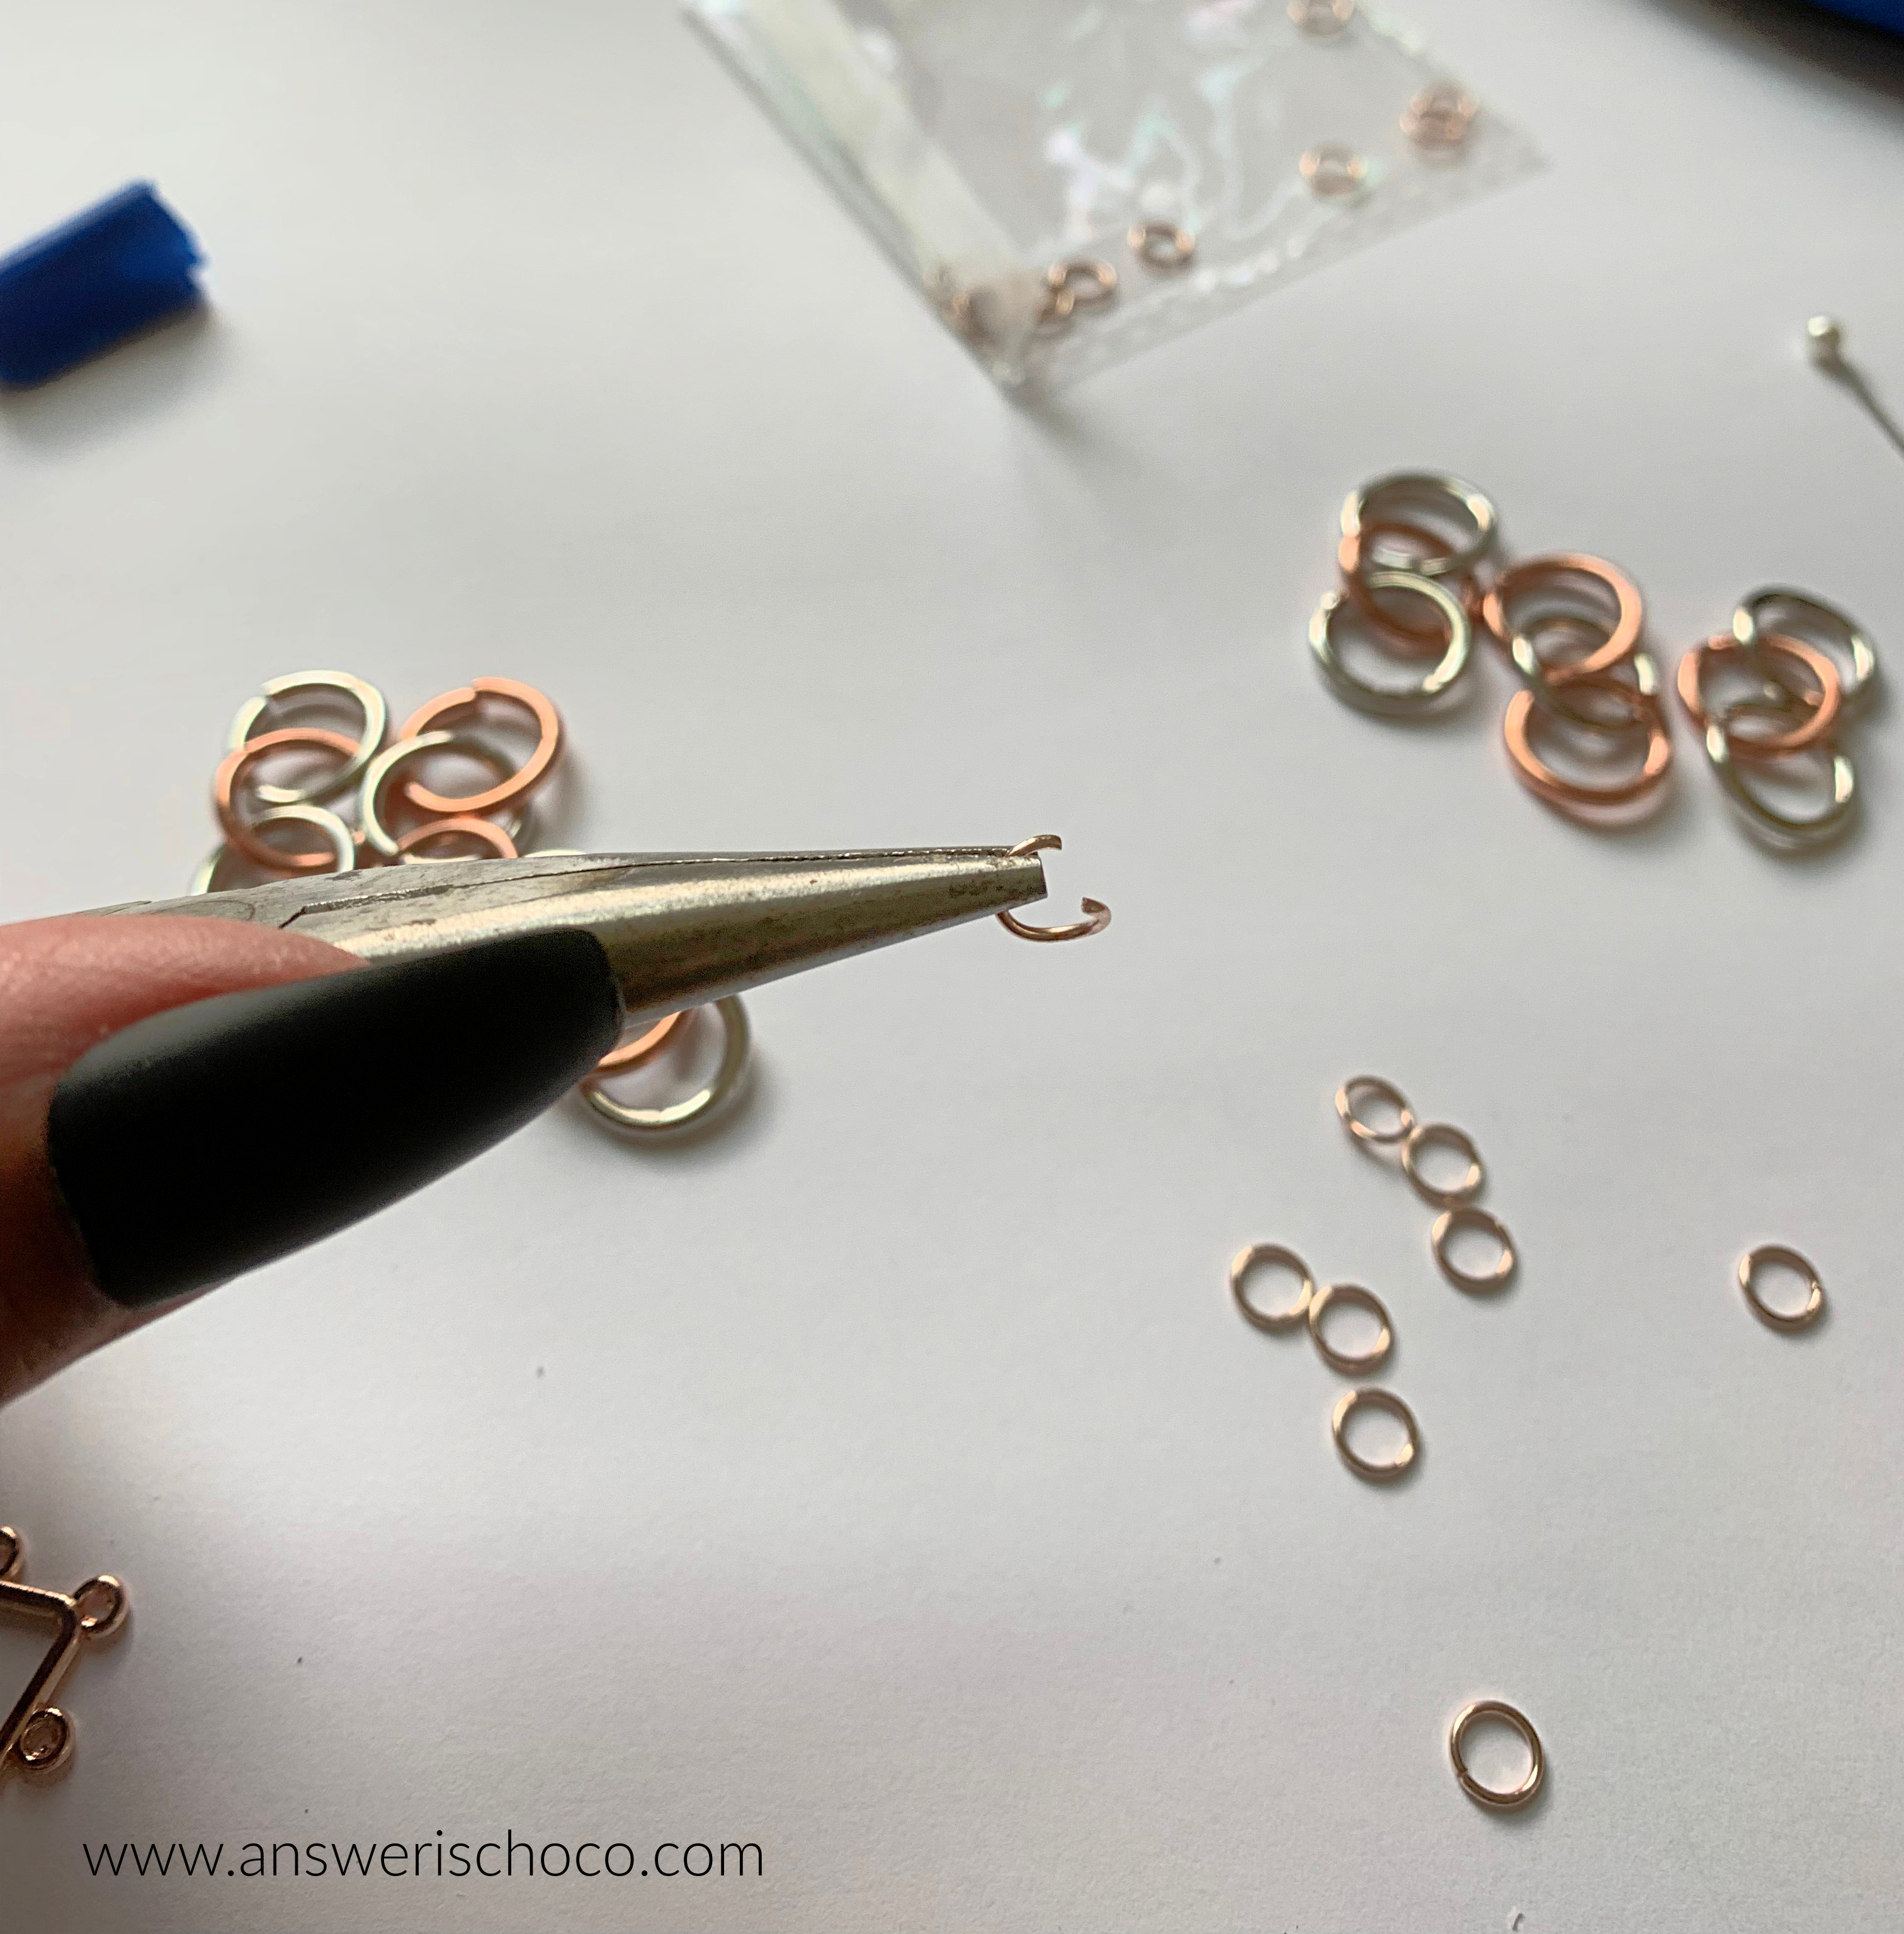
I opened a jump ring and added the charm to it.


To finish, add the dangle to the bracelet. I also added a Charm A Long crystal charm because I'm blingy like that. 


Like the earrings I made, it doesn't scream "Valentine's" to me but something that can be worn whenever. 


Sharing At: 


Tuesday, November 29, 2022

Gift Giving: Pet Ornament and Card


Working on some holiday gifts! When we moved this Summer, we needed to ensure that we found a new place to board our furbaby, and we are so glad we found one nearby; they love her and take great care of her. They are definitely on my nice list, and I wanted to make sure I showed them that we appreciate them!

Supplies:
  • Ceramic Disc Ornament (I got these at Michaels last year and then bought a bunch more on sale after Christmas).
  • Black Vinyl (I used Cricut Glossy Black)
  • Ribbon
  • Pet Sentiments (Creative Fabrica)
  • Coordinating Scrapbook Papers
  • Transparency
  • Paw Jeweled Sticker (Jolies, Michaels)
  • Digital Cutting Machine (Cricut Explore 2)


I removed the ribbon that came w/ the ornament and then cleaned it with alcohol to remove any residue. I downloaded a bundle of Pet Sentiments from Creative Fabrica, chose one for the ornament, sized in Cricut Design Space, and cut using Cricut Glossy Black Vinyl. 


Weeded the vinyl and applied the transfer tape then applied to the ornament. To finish, added a piece of ribbon to use to hang. 


But what's a gift without a card? I grabbed some papers from my stash, used another sentiment from the Creative Fabrica bundle, cut more vinyl, and applied to a piece of transparency cut to size.  


Using Cricut Design Space, I made a rectangle shape with a circle cutout as shown, then layered background paper, transparency, and top. 


Admittedly, I goofed on the "O" when weeding so I added a rhinestone as the hole in them middle, ad finished with some paw shaped rhinestone stickers I found at Michaels on clearance!


Sharing At: 


Monday, November 14, 2022

Papercrafting: Copper and Berry Layered Pumpkin Thanksgiving Cards


Cardmaking has always been and probably will be my first love. I should probably have kept track of the number of cards I've made! And I love making Thanksgiving cards to send to friends and family. This year, I went with copper and berry for my colors. Technically, the "copper" is considered rose gold but it's copper to me! 

Supplies:
  • Scrapbook Papers (I had these on hand. Craftsmith, Craftsmart, and Recollections from Michaels.)
  • Layered Pumpkin SVG (I used one from Creative Fabrica)
  • Digital Cutting Machine (I used my Cricut Explore 2)
  • Tape Gun and Spray Adhesive
  • Iridescent Sequins


The great thing about "building up a paper collection" (or what Mr. Chocolate calls "How can you possibly need MORE paper?") is how you can pull out different stacks and mix and match. It's also a  great way for me to find inspiration. These were the stacks from the stash I used. 


I downloaded the image, imported into Cricut Design Space and used 3 of the 4 layers. (Orange, Pink, and Grey).


This is the first layer. 


Second layer.


Layers one and two. I used a 3M Spray Adhesive to attach each layer since they're so delicate. 


And finally, all three layers combined! For the cards, I used a 110lb cream cardstock (Recollections) and then cut panels from the paper stacks I'd selected. 


I used foam tape to attach the layered pumpkin to the cards just to give things a little depth. To finish, I grabbed some iridescent sequins from my stash and used a dimensional glue to attach. 


Sharing At: 


Wednesday, November 2, 2022

Jewelry Making: Copper and Silver Chain Earrings


I have a bunch of jewelry supplies left over from a stint on a design team. Of course, that doesn't mean I haven't or won't continue buying more but I wanted a pair of earrings that were "Fall" now that it's actually feeling like it here in the desert. I primarily wear silver but decided to branch out and use some copper. I was in Michaels (see...impossible not to add new supplies!) and saw some copper earring pieces ON SALE and remembered some chain I had in my stash. 

Supplies: 
  • Copper Earring Components (Michaels)
  • Copper and Silver Chain (Stash)
  • Clip Earring Backs (Michaels)
  • Silver Floral Charms (Shipwreck Beads)
  • Jewelry Glue or Super Glue (Aleene's Jewelry Glue, Walmart)


NOTE: I don't have pierced ears, hence the clip on backs. To get the same look for pierced ears, use post style findings to glue to the floral charms. 

The chain I used also had gold links. Since I don't really wear much gold, I removed these and set them aside for other projects. 


After taking off the gold links, I separated six sets of three links using just the copper and silver. 


Each earring component can hold three sets so I did silver, copper, silver for the ends and copper, silver, copper, for the center. 


The earring components came with their own jump rings which I used to attach the trio of links. 


At this point you could attach fish hook ear wires. 


With the earring backs glued to the charms, I attached these to the earrings using a silver jump ring from my stash, et voila!

I love the copper for "Fallvember" especially since I always associate Fall with copper. 


Sharing At: 


Tuesday, October 25, 2022

Jewelry Making: Glass Opalite and Obsidian Bracelet and Earrings


I recently made a Thank You gift for a family friend. I don't know her well but still wanted her to know how much we appreciated her recent help with my husband's dad and black and silver seemed pretty universal. I have some "special" beads that I keep set aside for special gifts so I grabbed a pair of black and white Murano style glass beads and some coordinating Opalite and Snowflake Obsidian beads from my stash, along with solver spacer beads and bead caps and went to work. 

Supplies:
  • Murano Style Fused Glass Beads (Specialty Bead Shops or Shipwreck Beads/Fire Mountain Gems)
  • Natural Gemstone Beads (I used Snowflake Obsidian)
  • Silver Bead Caps and Spacer Beads (Sterling or Plated, Bead Landing from Michaels)
  • Earring Wires
  • Jump Rings
  • Head Pins
  • Stretch Jewelry Cord
  • Jewelry Glue (Aleenes, Walmart)


The black and white glass beads worked perfectly with the Opalite, picking up its luminescence.  I love the head pins by Bead Landing at Michaels because they're strong yet bend smoothly. 


I strung an Opalite bead on the pin followed by the black and white bead and finished with a bead cap before making a closed loop.  


Once you're done with both pieces, attach to the ear wires using jump rings


Then I went to work on the bracelet which used a combination of Snowflake Obsidian and Spacer Beads. 


The design on these coordinated well with the bead caps. Spacer beads are also by Bead Landing. I strung a spacer bead and then a black crystal bead followed by another spacer bead and completed the rest of the bracelet alternating spacer bead, gemstone bead, spacer bead until I had the right size. As I shared in my Spooky Season Jewelry post, clamp on end of your stretch cord length, and I just eyebal until I have the size I need for my wrist which is pretty average-sized. 


To finish, I added a small rhinestone charm (Charm Along, Michaels) using another jump ring. Since this was a gift, I wanted to present it as such. I love these organza bags which you can find at Michaels, JoAnn, bead and packaging shops. 


I cut an earring card using my Cricut and placed the bracelet in a small bag and the earrings in a medium one to accommodate the earring card. .


I love making gifts for special people but I also always hold my breath. I think as makers, we know we love what we do but maybe wonder if other people do? Maybe that's just me! I exhaled when I got the nicest thank you note stating that the recipient LOVED her gifts. 

Sharing At: