Thursday, October 24, 2013

BFF Open House Link Part #128

The Answer Is Chocolate

Can you believe Halloween is a week from today? Guess what? I've got something even scarier. Two months from today is CHRISTMAS EVE eeek!!! Hanukkah comes early this year converging with Thanksgiving...barely one month from now. Scared? Mwaaaaaahhhhhhh. 

Now that I have you terrified, let's see some highlights from last week's party :) 


Amaranth and Kale shared these wonderful brown paper bag leaves. Would you have guessed that these started out as brown paper bags? 


Wouldn't this coffee filter and burlap wreath look great next to a garland of those paper bag leaves? Go visit Crafts a la mode for the how to. 


Still looking to add to your Halloween decor ( or pin for next year)? Check out these no sew pillow covers from 24 Cottonwood Lane. NO SEW!

And this week's chocolate feature is courtesy once again of Karyn from the aptly named Dieter's Downfall


OK now for this week's treats!


Tuesday, October 22, 2013

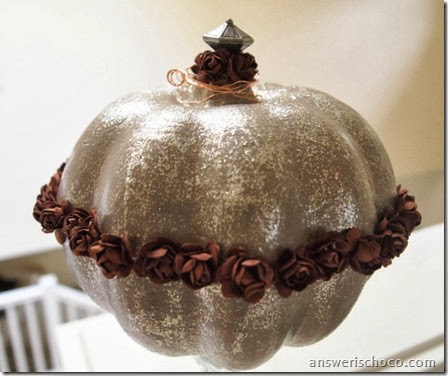
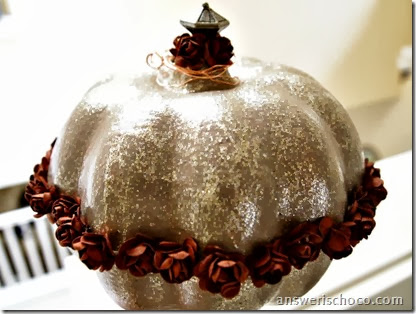
Cheap to Chic Pumpkin Transformation

Silver and Brown Pumpkin

So last week when I was playing with a foam pumpkin and wished that I’d bought another one, Mr. Chocolate heard me and went someplace he doesn’t ever go: Dollar Tree. I didn’t even have to ask. He surprised me and came home with a pumpkin. That’s what I call true love!
For this project you will need:
  • Small foam pumpkin
  • Acrylic craft paints
  • Embellishments
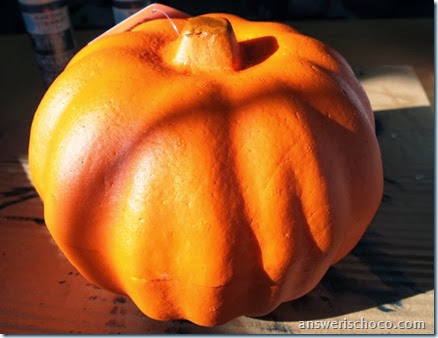
I started with my diamond in the rough cheapo foam pumpkin.

Dollar Tree Pumpkin

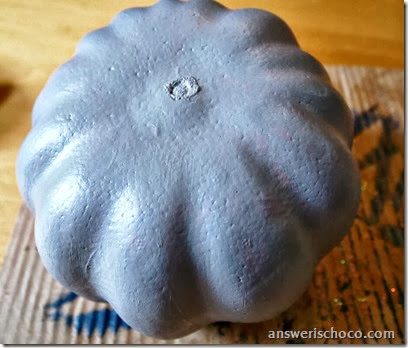
I knew I wanted a non-traditional look so I chose a gray satin paint to base coat the pumpkin. Two coats.
Dollar Tree Pumpkin Basecoat

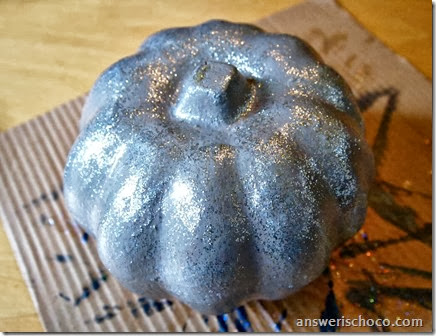
I kind of liked it but what fun is just a couple of coats of paint? So I added a couple of coats of a coordinating glitter paint.

Glitter Pumpkin

Almost left it alone after that but …nope!

Glitzy Pumpkin

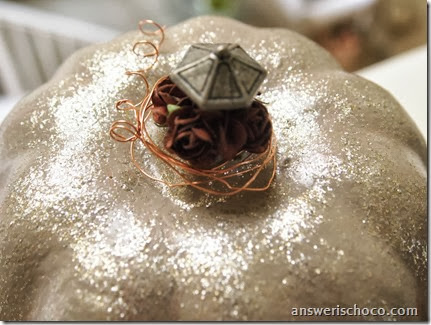
I had a bunch of chocolate brown paper roses in my stash ( the kind you find in bridal supplies) so I popped the heads off the stems and hot glued them around the middle of the pumpkin.  I also remembered these funky Industrial Chic knobs I picked up on clearance at Michaels. One of those things you have no idea why you’re buying but know there will come a project and an aha moment.

Dollar Tree Pumpkin Top

I just pushed the knob right through the foam and then secured it with a dab of hot glue and added some more roses. Finished with some  copper wire wrapped around the stem. 

I may have to make yet one more trip to Dollar Tree. I may also have decided upon my Thanksgiving color scheme.

Monday, October 21, 2013

Zombie Cookies and Monster Fingers: This Year's College Boy Halloween Treats

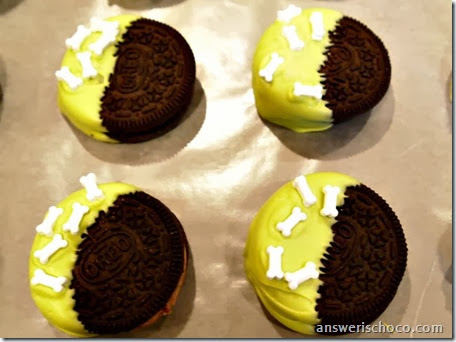
Monster Mash Oreos

If you’ve followed my blog for the past few years, you’ll know that I usually do a Halloween care package for College Boy. Halloween always falls around mid-terms and if you’re the parent of a college student, you might be familiar with the “send your kid a care package” letters that usually come out this time of year. Some company will deliver a care package to your student but needless to say, I’d rather make my own.


I try to make these fun but keep the cost down especially since we have to mail these. Dollar Tree, Michaels, and stuff I had on hand came together. 

This year I went with a Zombie / Monster theme . We’re huge “Walking Dead” fans. While Zombies aren’t known for eating bones, I couldn’t find any candy brain sprinkles so bones it is.

Monster Mash Cookies

For this project you will need:
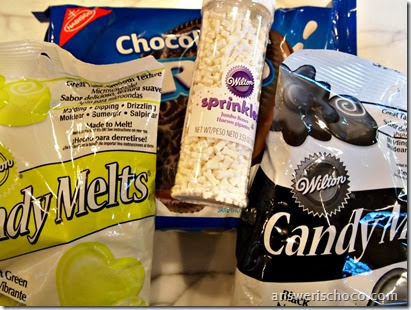
  • Oreos
  • Candy Melts ( I hadn’t yet decided between the green and the black but ultimately just used green)
  • Bone sprinkles ( if anyone finds brains, let me know!)

Dipped Oreos are about the easiest thing you could ever do. To start:

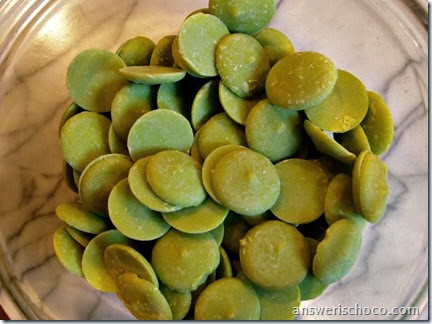
Wilton Green Candy Melts

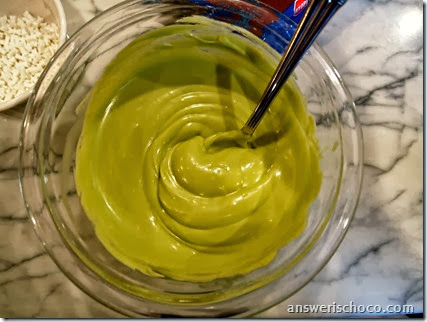
Melt candy melts. I usually do mine in the microwave.

Melted Green Candy Melts

Once melted, dip. Place on wax paper. Sprinkle with stuff. Done. Seriously.
I had some green goo left over and I’d picked up a Halloween themed silicone mold at the Dollar Tree because I have wanted to try using them . I have had mixed results with the clear plastic molds. I’m hooked on the silicone molds!

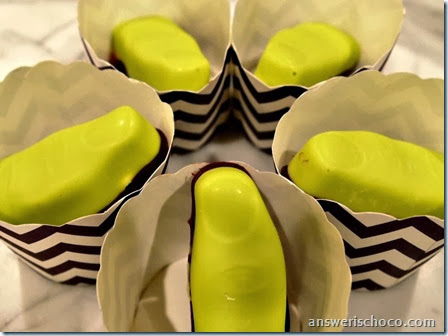
Double Layer Crunchy Fingers

I made crunchy candy Monster Fingers! I spooned the leftover green melted candy into the mold until about half full.  I spotted some M and Ms and decided to sprinkle them on top of the green candy. Then went over that with melted dark chocolate. When you bite into the finger, CRUNCH, just like a bone. I know, I’m twisted.

Crunchy Fingers

For the bone shapes in the mold, I filled with dark chocolate.  Not a great photo but didn’t have time to worry about lighting when I was trying to “set my bones”.

Monster Mash Cookie Cups

To package everything, I used these purple chevron striped cups I got last year from Pick Your Plum. I stacked the cookies and wrapped them using clear cello bags. Same for the fingers.

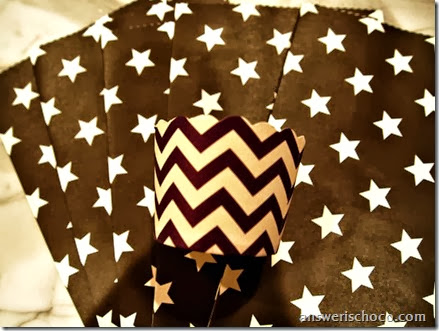
Star Bags

Paired the cups with these black and white star bags I picked up on one of my dig through the clearance stuff trips to Michaels. 75% off!

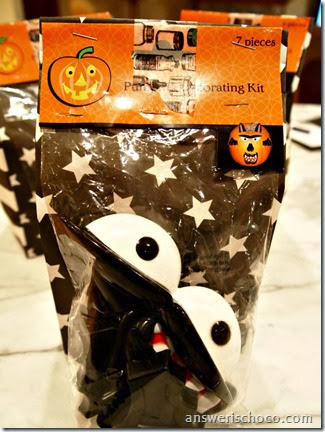
While I was at the Dollar Tree, I also picked up some pumpkin decorating kits. No carving required, the pieces just stick to the pumpkin. Last year I recall he and his friends went in search of no carve options so hopefully they still want to do this!

Vampire Pumpkin Decorating Kit

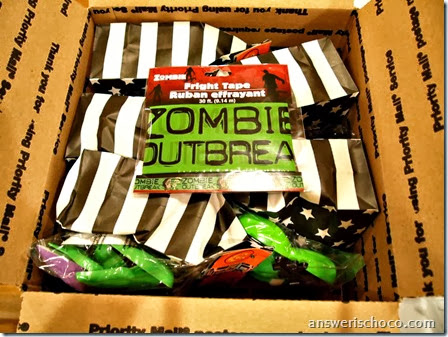
Filled the paper star bags with the cookies, finger, and additional candy and stapled the kits to the outside.
Zombie Outbreak

Dollar Tree also had some Zombie Outbreak tape that went well with the theme so added that. All packed up and ready to go!

2012 Halloween Treats  "Fangtastic Treat Bags"

2011 Halloween Treats  "Reverse Trick or Treat"

Sharing At:
Thursday, October 17, 2013

BFF Open House Link Party #127

The Answer Is Chocolate

Hard to believe that we're halfway through October already and Halloween is in two weeks. After that I think time will only speed up through the rest of the holiday season. Now that's scarier than anything Halloween related!

Here are a few features from last week's party. 


Halloween's not just for kiddos. More and more I see grown up and sophisticated Halloween decor. Check out these far from silly ideas from This Silly Girl's Life. Gorgeous! 


Fall dinners will be warm and inviting with these cozy ideas from An Extraordinary Day. I'm really loving these sweater pumpkins and felt utensil holders. 


This would make a great hostess gift or just something yummy to have on hand for yourself. Pumpkin Spice Latte brown sugar scrub from Domestic Bliss. You don't even have to be a coffee drinker to love this!


This week's chocolate feature is this wonderful ribbony chocolate bread ( chocolate and bread... dangerous combo) from Twigg Studios

It's also time to announce the winner of my little Breast Cancer Awareness Giveaway. Thanks to all who entered. 


The Winner (via Rafflecopter) Is: 
Betsy! 

Congrats, you have been emailed.


Tuesday, October 15, 2013

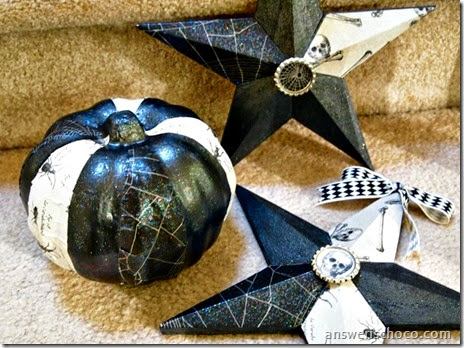
Halloween Crafting With Martha Stewart Decoupage: Glitter Finish Stars and Pumpkin

Martha Stewart Halloween Decoupage

Disclosure: This is a sponsored post by Plaid, Martha Stewart Crafts, and The Blueprint Social. Project ideas and opinions are my own.

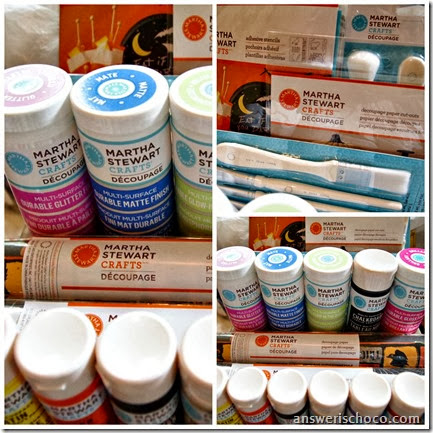
I have three words for you: Martha Stewart Decoupage.  It is no secret that I love to decoupage things. The dog runs away when she sees me with decoupage medium in my hand. Martha and Plaid have taken decoupage to a whole ‘nother level with a new line of decoupage formulas that can be used on surfaces such as glass, fabric, paper, metal and wood to create a lustrous finish and are dishwasher safe, machine washable, non-yellowing, dry hard with no tack, and can be used indoors or out.


I was so excited when the wonderful folks from Plaid sent me some of these new goodies to play with, but I was beside myself with the kind of  joy that usually only chocolate brings when I saw that included in my box was GLITTER FINISH DECOUPAGE. 

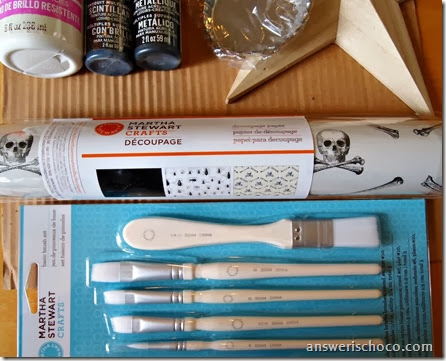
Martha Stewart Decoupage Supplies

While the glitter finish caught my eye immediately there are some other mind blowing finishes including glow in the dark, matte and gloss. But back to the GLITTER! I had some wood stars in my stash I’d been wanting to play with and an idea was born.

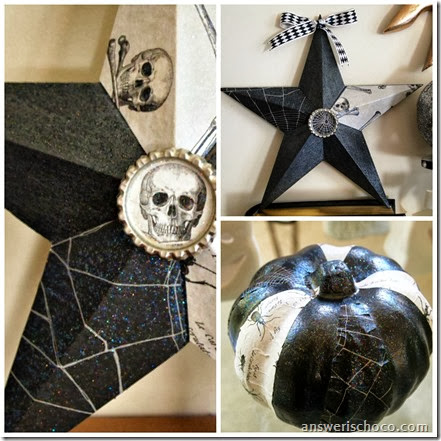
Martha Stewart Decoupage Star

I chose Black Nickel Metallic paint from the paints that came in my box and painted the stars. I went over some sections of the stars with Onyx glitter paint and left others with just the Black Nickel metallic.

Martha Stewart Halloween Supplies

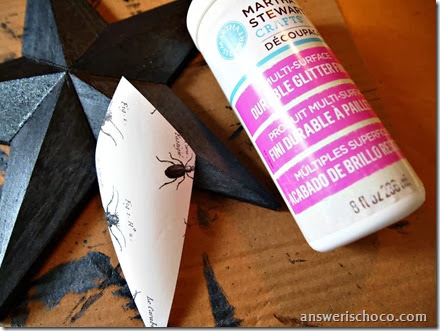
Using some of the decoupage papers that were also included, I cut out pieces to cover some sections of the stars. The papers are a great weight and texture to absorb the decoupage mediums. Since the glitter finish has the glitter mixed in, you just coat your surface, the back of your paper , adhere, and then coat the top of your paper. It works just like other decoupage mediums. Except of course for the fabulous part where it dries all glittery and you’re not covered in glitter! Also with the glitter being part of the medium you get a consistent all over glitter finish without bare spots.

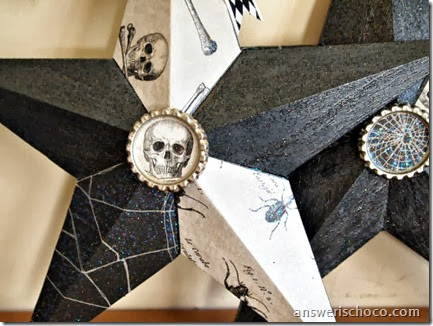
Glitter Stars Closeup

You can do one coat or more depending on what effect you want. I was happy with just one coat. I punched circles from scraps of the paper and using the glitter decoupage glued them into flattened bottlecaps and went over the top with more decoupage medium.

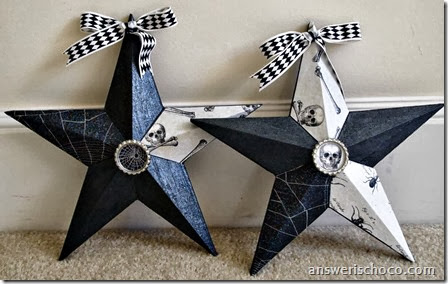
Martha Stewart Glitter Decoupage Stars

Stars and Pumpkin

I was having too much fun to stop. Since the products say they are multi-surface, I decided to see what I could do with a foam pumpkin from the dollar store. Guess what? The paints cover EVERYTHING.

Dollar Tree Pumpkin

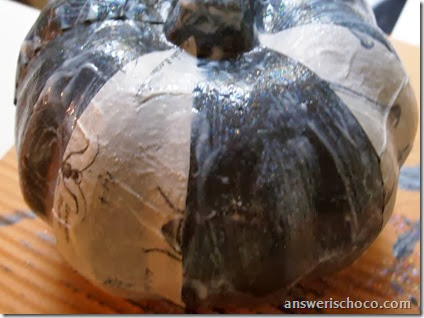
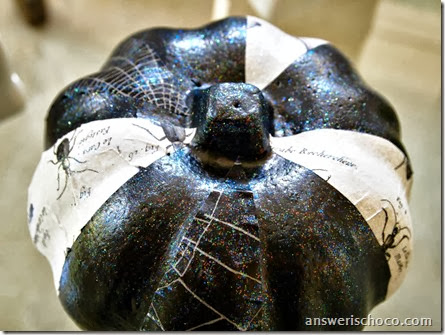
No prep, no primer. Just painted the pumpkin with the Black Nickel, let dry and added one more coat. Then I cut some leaf shaped pieces from more of the decoupage paper and added to the pumpkin using the glitter finish decoupage medium.

Martha Stewart Decoupage Drying

You can see that even before the decoupage is dry, the glitter starts to appear!  I didn’t use glitter paint on the pumpkin but just slathered the whole thing with the glitter decoupage.

Martha Stewart Decoupage Pumpkin

Dries to a clear glittery finish.

Black and White Pumpkin

Sharing At:


I am so in love with this. I can’t wait to play with it some more and put it on everything! The full line is available at Michaels.  In the meantime, be sure to check out these links for more inspiration:


Monday, October 14, 2013

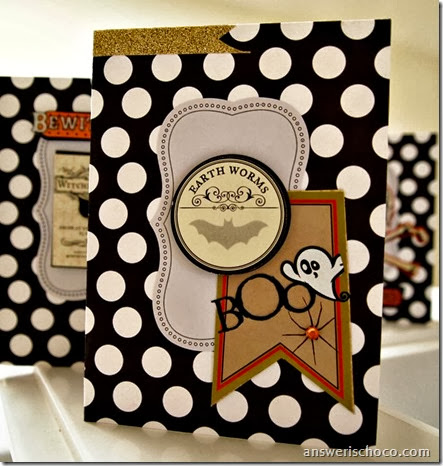
Halloween Cards: Quick, Easy, and Stashbusted

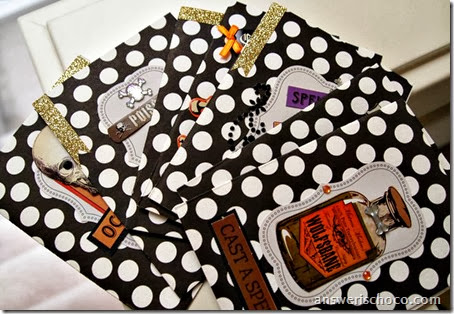
Quick Halloween Cards

While I love nothing more than shopping for new goodies each season, sometimes you really need to use what you have. For this year’s Halloween cards I decided to do that and pulled out miscellaneous things from my stash.

Quick Halloween Card Canvas Corp

The cards themselves ( Canvas Corp) were from a pre-made pack. Black and white polka-dot cardstock. Perfect for Halloween! I used a label sticker from a pack I’d picked up along the way somewhere.  For the card shown above, I added a chipboard banner shaped sticker on top of which I put a scrap of a Halloween rub-on. Added a sticker from another leftover package and finished with a leftover orange rhinestone, and scrap of glittered ribbon.

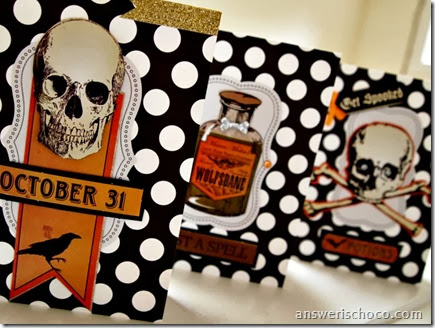
Quick Halloween Cards Stickers

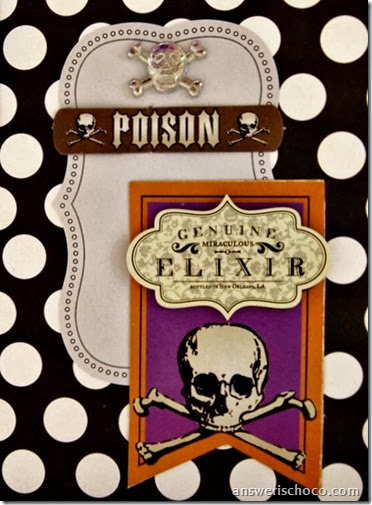
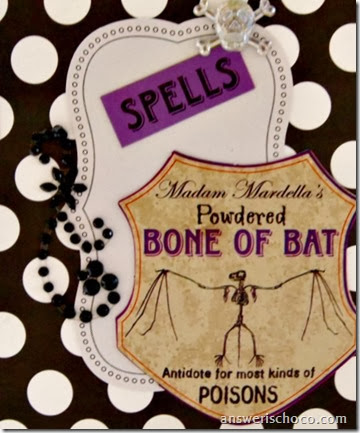
I did the same with the other cards I made, coordinating whatever went together from what I had on hand.
Halloween Cards Fast

Quick Halloween Cards This N That

Thursday, October 10, 2013

BFF Open House Link Party #126

The Answer Is Chocolate

Happy Friday Eve! Hope everyone has had a good week so far. Did you recover from last week's chocolate features? The party was a fun one thanks to all of you! Here are a few inspiring ideas that caught my eye:


I'm sure a Psychologist would have lots to say about my lifelong fascination with seeing images in blobby things like clouds. This DIY inkblot art by Creative Blossoming  definitely caught my eye. What a fun and fresh decor idea. Plus there's no right or wrong either in what you make or what you see! 


These luminaries by the Crafty Lumberjacks are just the right combination of whimsy and spooky don't you think? 


Steph from the The Silly Pearl is as "punny" as I am and has some great Halloween themed printables to share. 


I'm late to the mason jar trend but the ladies from Made From Pinterest have a must try idea. A wreath made from mason lid jars and washi tape! 


This week's chocolate feature is from The Sweet Tooth Life. Double fudge  peanut butter cookies with homemade peanut butter chips! 

So...whatcha been up to this week?  As always, thanks for making The Answer Is Chocolate a part of your week!